Painstaking Pyramids
Sounds so simple, looks so fancy, doesn’t it?
But wait! It CAN be! If you haven’t checked out my first expedition into tape mani territory, click here to see what a “Mummy Tape” manicure looks like — instructions included. Varnish posted on how to make Chevrons (an angular spin on the sought-after yet difficult “half moon” manicure) yesterday.
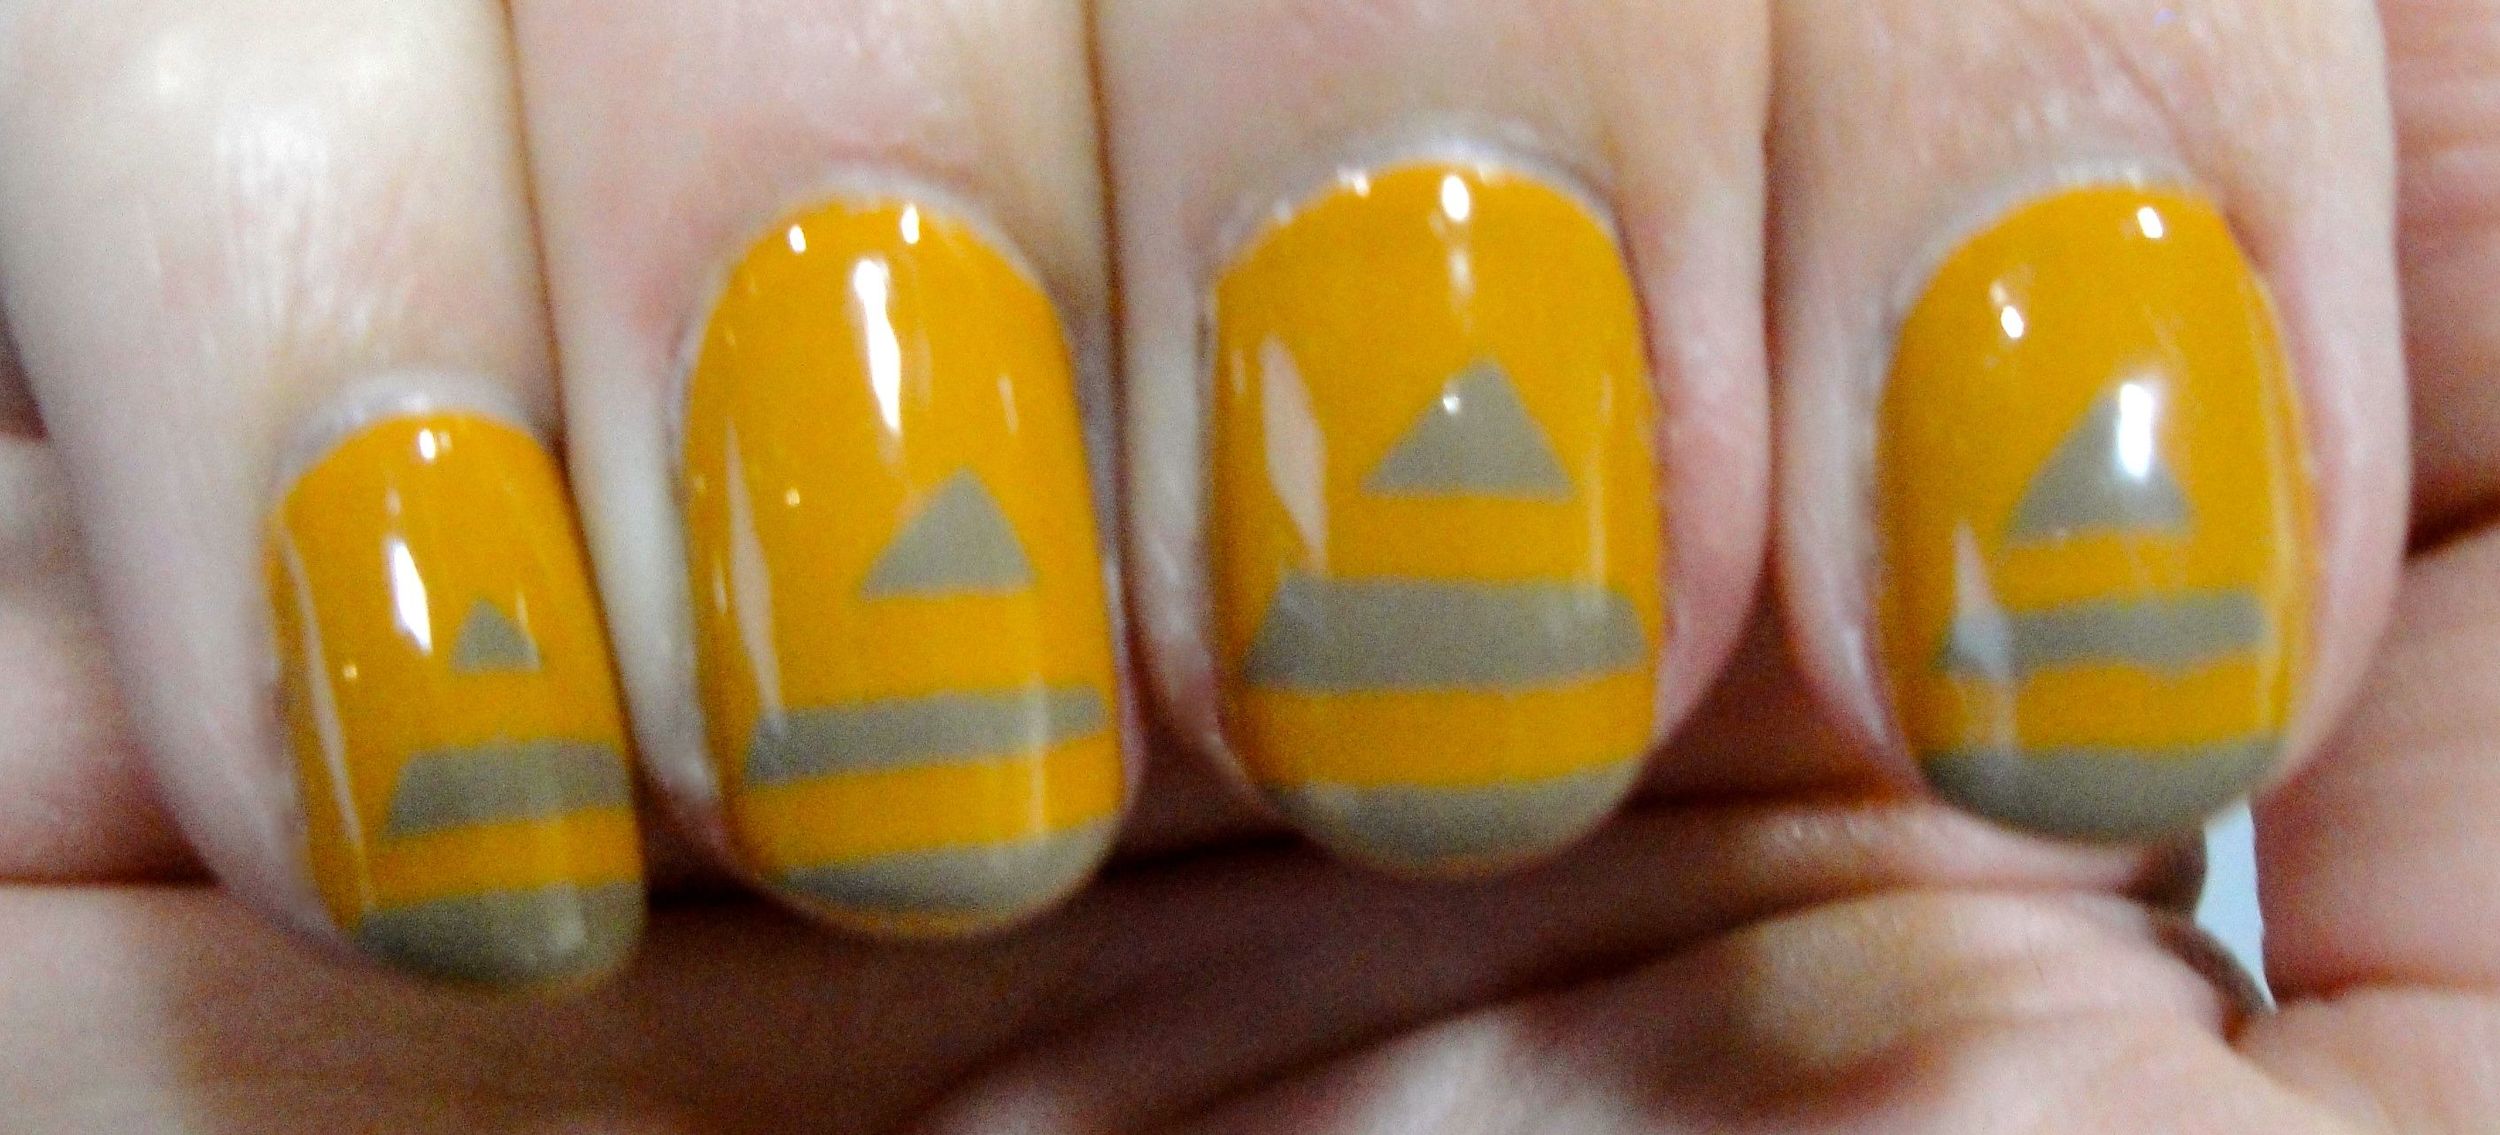
This time, I was up for a true challenge: a Pyramid mani. Jane at Nailside is such a source of inspiration! Click here and here for two of my favorite Pyramid manis she’s done. In fact, I think she actually invented Pyramid manis (f’real), so Jane … this one’s for you.
SUPPLIES:
- Scotch Tape
- Scissors
- Tweezers
- Unsolicited Mail Envelope
- Base Coat
- Base Color
- Tape Color
- Top Coat
HERE'S HOW:
1. Pick your colors wisely.
- You have a lot more flexibility with your “base color” than you do with your “tape color.” I think any base color would work, providing you’ve picked a tape color that is opaque enough to obscure the base color after only one coat. There’s the rub: your tape color can only be ONE coat, so choose carefully.
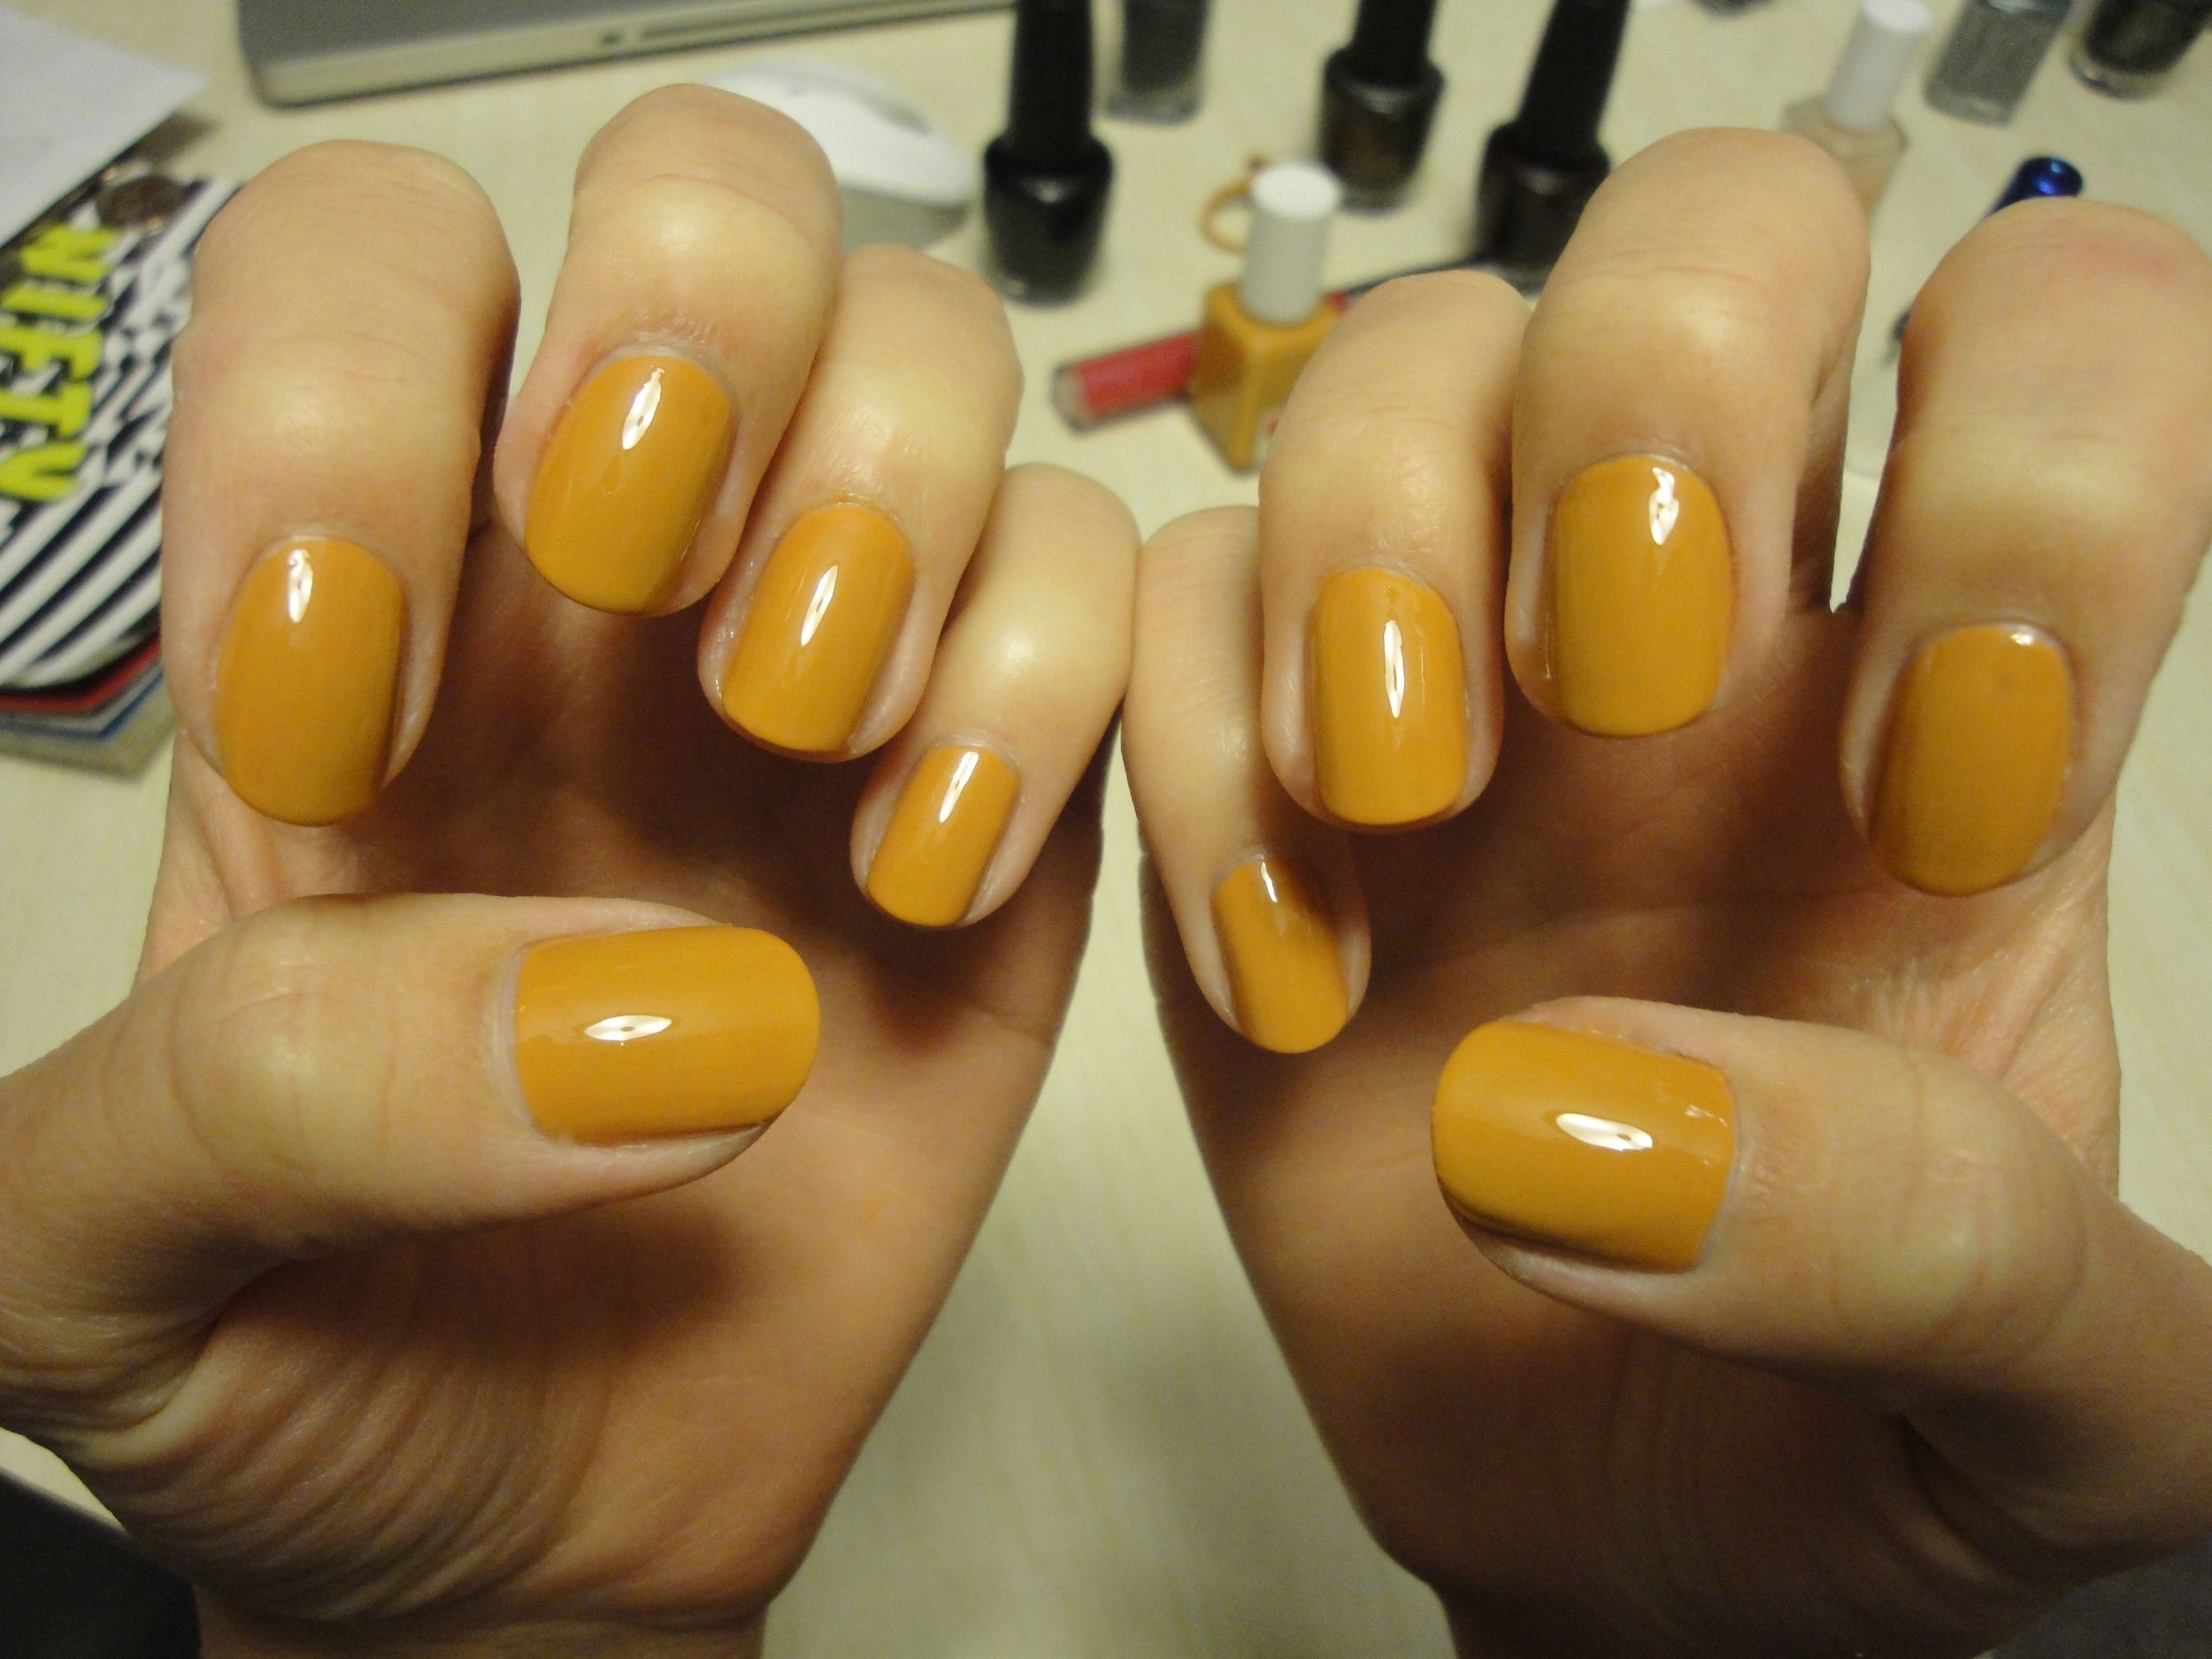
- I’d found Hard Candy Hot Rod at a local beauty store on a heavy discount. It was a grody looking bottle. The polish was separated, it looked completely rancid, but I couldn’t resist because it was such an odd color, and at the price they were asking for it was a deal, NO, a steal! (This paragraph is using a technique that a high school English teacher would call “foreshadowing.”)
2. Let your base color dry completely.
- You’ll be putting sticky tape on it, so if your polish isn’t fully dry, you’ll pull it off along with the tape, and all of your hard work will be for naught.
- Note: Hard Candy Hot Rod. You know why it looked spoiled? Because it WAS. 14 hours later and it still wasn’t 100% dry.
3. Get your tape ready!
- I got my tape ready as Step One, and since I have two furry cats around… I guess this is gross to admit, but by the time I was ready to tape, there were dust motes and cat hairs on some of my tapes. Word to the wise! Don’t do this too far in advance.
You need to prep:
- Two pieces of tape per nail (20 total)
- 20 thin, evenly cut strips of tape (2 per nail)
4. Get to taping!
Guys, this is tricky. I am going into detail, so brace yourself.
- You’ll want to take two pieces of tape (no special cutting necessary, just straight off the dispenser) and create a “V” shape. I made the point of my V by placing the tapes pieces at opposing angles, starting just higher than center nail, spreading out toward the tip of the nail (see below for photo).
- I used my fingers for the placement, and then I was careful to smooth the seal of the tape on the nail
- It could be cool if you did a reverse V, like Varnish’s Chevrons, with the widest point up at the cuticle, tapering to a point mid-nail
- And now the hard part. Thin strip of tape placement.
- Hopefully you’ve cut strips of tape that are pretty uniform in size. Use the slightly thinner ones on your pinky, and slightly thicker ones on your thumb, for proper pyramid scale.
- It makes sense that the pyramid is slightly bigger on your thumb than it is on your pinky, therefore the stripes are a littler thicker too.
- Look at the triangle you’ve created. Examine it. Using tweezers, apply two thin strips, one at a time, to create the stripes.
- You’re making negative space. The part that you cover will stay the same color as your base.
- You can look at placement one of two ways:
- Imagine the triangle V divided into thirds, and place the strips to leave you with three exposed stripes that are about the same width
- Imagine the triangle divided into fifths and place your strips accordingly
- All you can do is eyeball the spacing as best as you can; it's okay to try, try again. It shouldn't be a problem as long as your base color is 100% dry.
- NOW this is KEY: Don’t place the thin strip of tape with the length perfectly centered on your nail. Leave as much excess hanging off to the left or the right of your finger as you can. Read on to see why.
- Smooth the tape down on your base color so that polish can’t seep under the strips.
5. Painting
- In retrospect, it would be easiest to tape one hand first, then paint it, then let it dry before you move on to the next hand. If you have the patience. (I didn’t.)
- So you’ve got your big “V” making pieces of tape on and you have your thin little strips placed perfectly. Now we paint.
- Paint a nice thick-ish coat over the exposed nail between the strips. Count to 10.
- (Peel too late and you’ll have trail of gummy nail polish strings, like melted cheese on top of spaghetti dangling off your fork… peel too soon and the polish could spread a little; it needs to coagulate a tiny bit.)
- Using your tweezers, first peel off the thin strips FIRST, one at a time, very carefully. Luckily, you left some excess strip off to one side that you can easily and securely grab with your tweezers.
- Using your tweezers, make the little strip you just peeled off stick to your envelope instead, so you can be done with it
- When the little strips are off, remove the big V strips and stick them to your envelope, too
- And voila! Repeat 1,000,000 times.
6. Top Coat
- Don’t apply this too soon, or else you could smear your stripes. What’s awesome is that, once you apply your clear coat, the stripes will appear to blend seamlessly into your base color.
A few more photos...
And so…
This was only my first attempt at a Pyramid tape manicure. It was the most technically challenging manicure yet, but I felt such an intense sense of accomplishment and pride when it was all over that it made it the effort worth it.
This will take patience. This will take precision. But you can do this, and in a sick masochistic way, it’s very fun. Every time you peel off a strip, you’re in danger of ruining everything. A true adrenaline rush, lol.
Let me know if you have more tips to add, and please PLEASE send any pics you want posted to definepolishment (at) gmail.com. It would be our honor to post your hard work.
xxo, GLOSS


