Sally Hansen — Salon InstaGel Strips

insta insta gel

You gals (and guuuuuys) know that I am a long-time reader of Allure magazine. I love Allure because they cover a great spectrum of beauty brands, from drugstore staples to department store indulgences. It's also one of the few magazines that doesn't give me some kind of complex after I've finished reading it, so there's that.

I was thrilled to be chosen for an Allure-sponsored product trial for Sally Hansen — Salon InstaGel Strips.

I went in with a personal bias. I love the normal Sally Hansen Salon Effects. Seriously, seriously LOVE. If I didn't blog about polish and have tons of colors to try out... I'd probably wear Salon Effects at least half of the time. They're fast, easy, dependable and have a great array of on-trend colors & intricate patterns. I just love them.

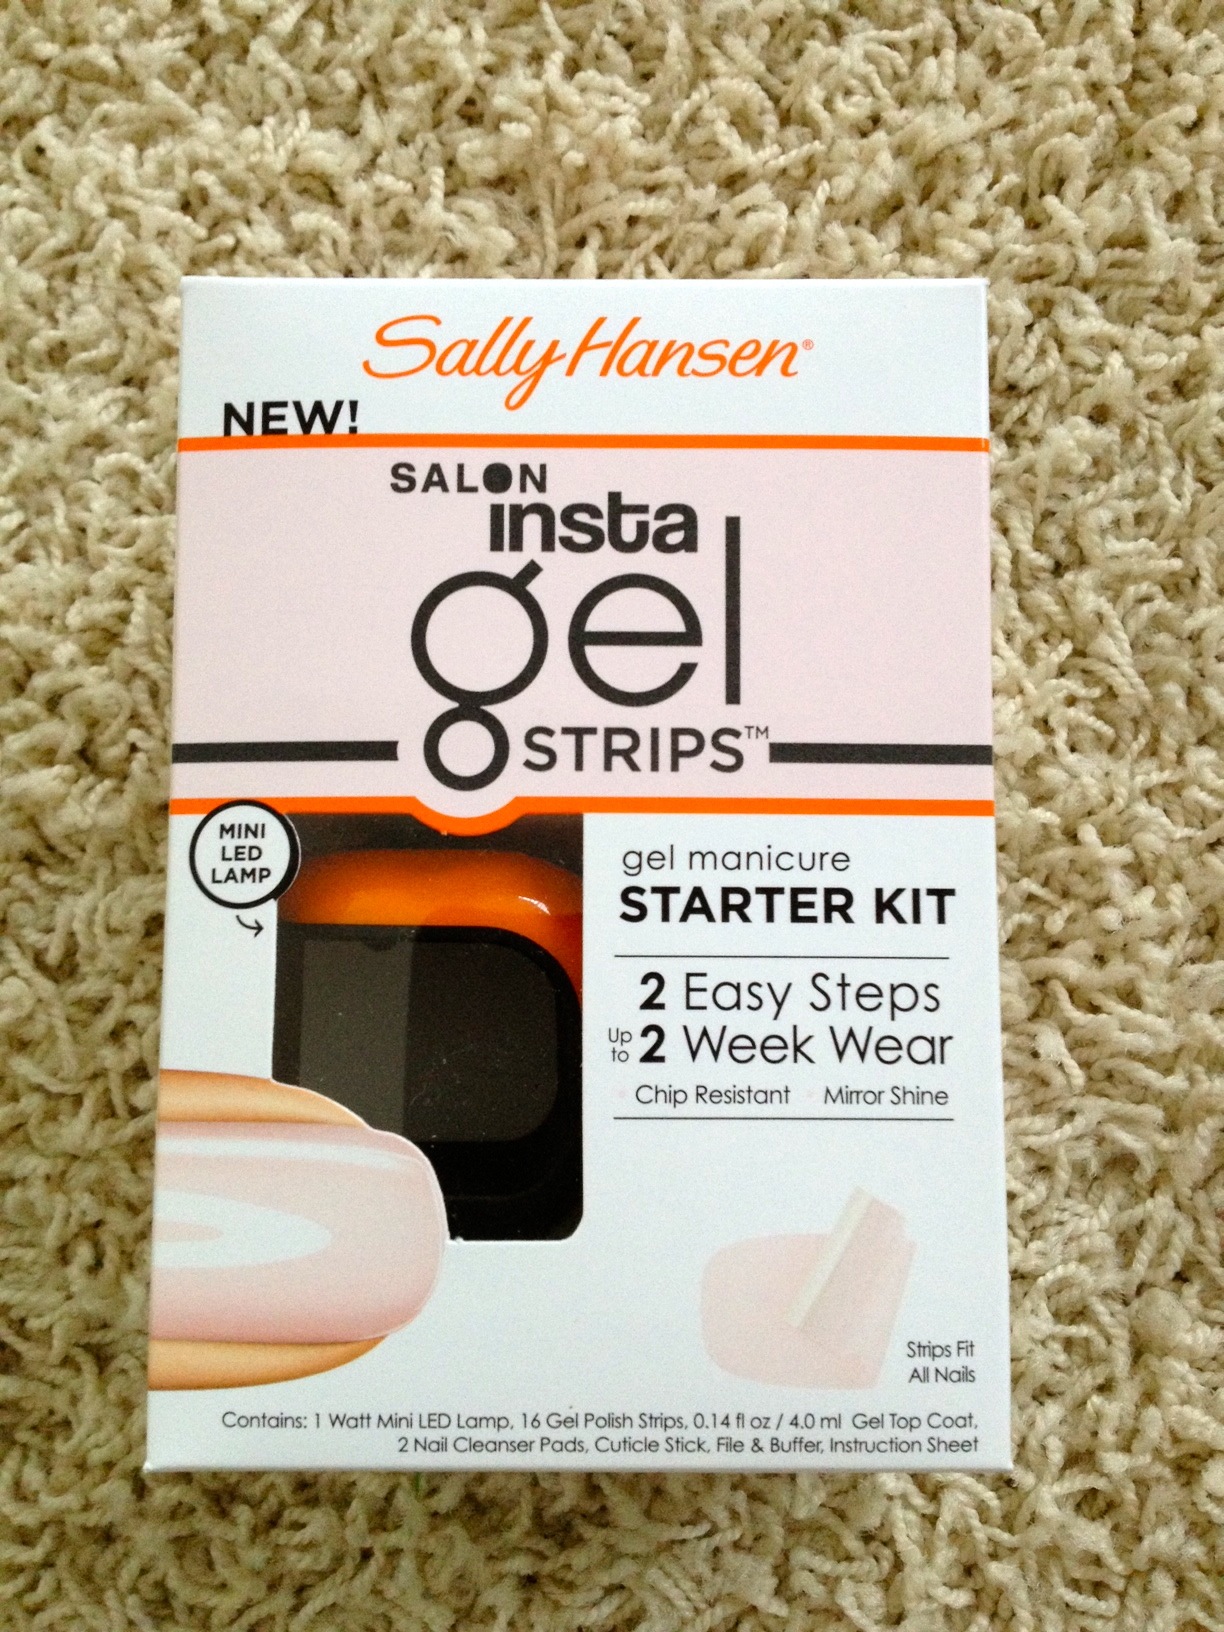
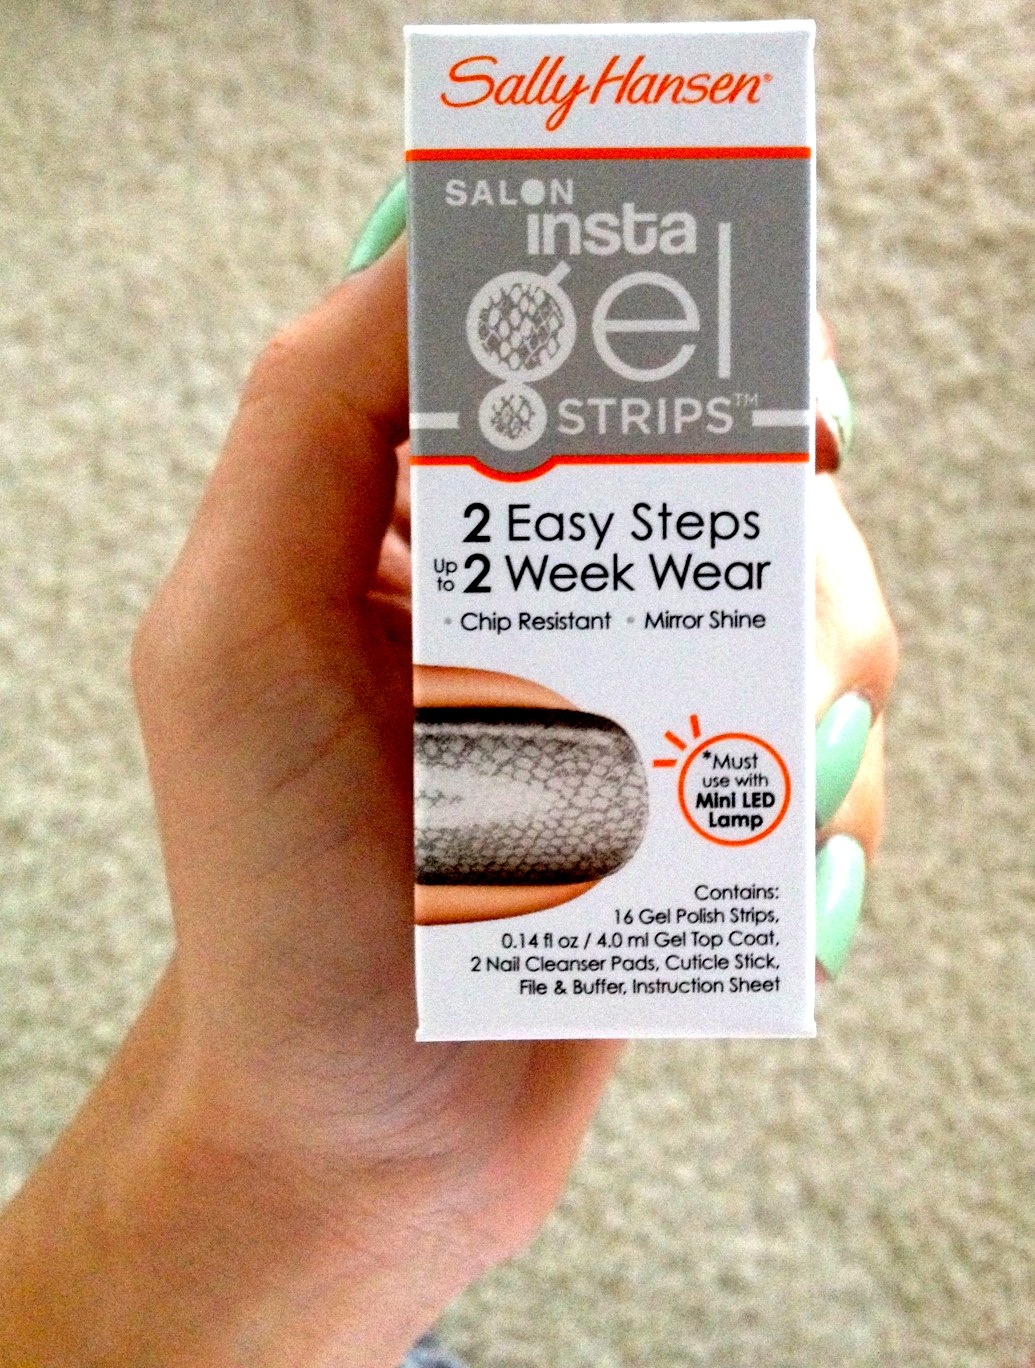
Allure sent the starter kit, which included a very demure shade of pink called Shell We Dance, and a more experimental snakeskin option called SSS-Snake Eyes.

photo 11

photo 13

photo 15

photo 12

APPLICATION

The strips enable you to sport a gel manicure with an intricate design for a much cheaper price than you'd pay for a professional for such artistry. If you already own a traditional gel kit and enjoy solid colors (which Sally Hansen also offers), then I cannot honestly say that this kit will save you an outrageous amount of time. You still need to sort out which applique is the right size for which nails... and it still never seems to work out perfectly, so you'd got to franken-nail things up here and there.

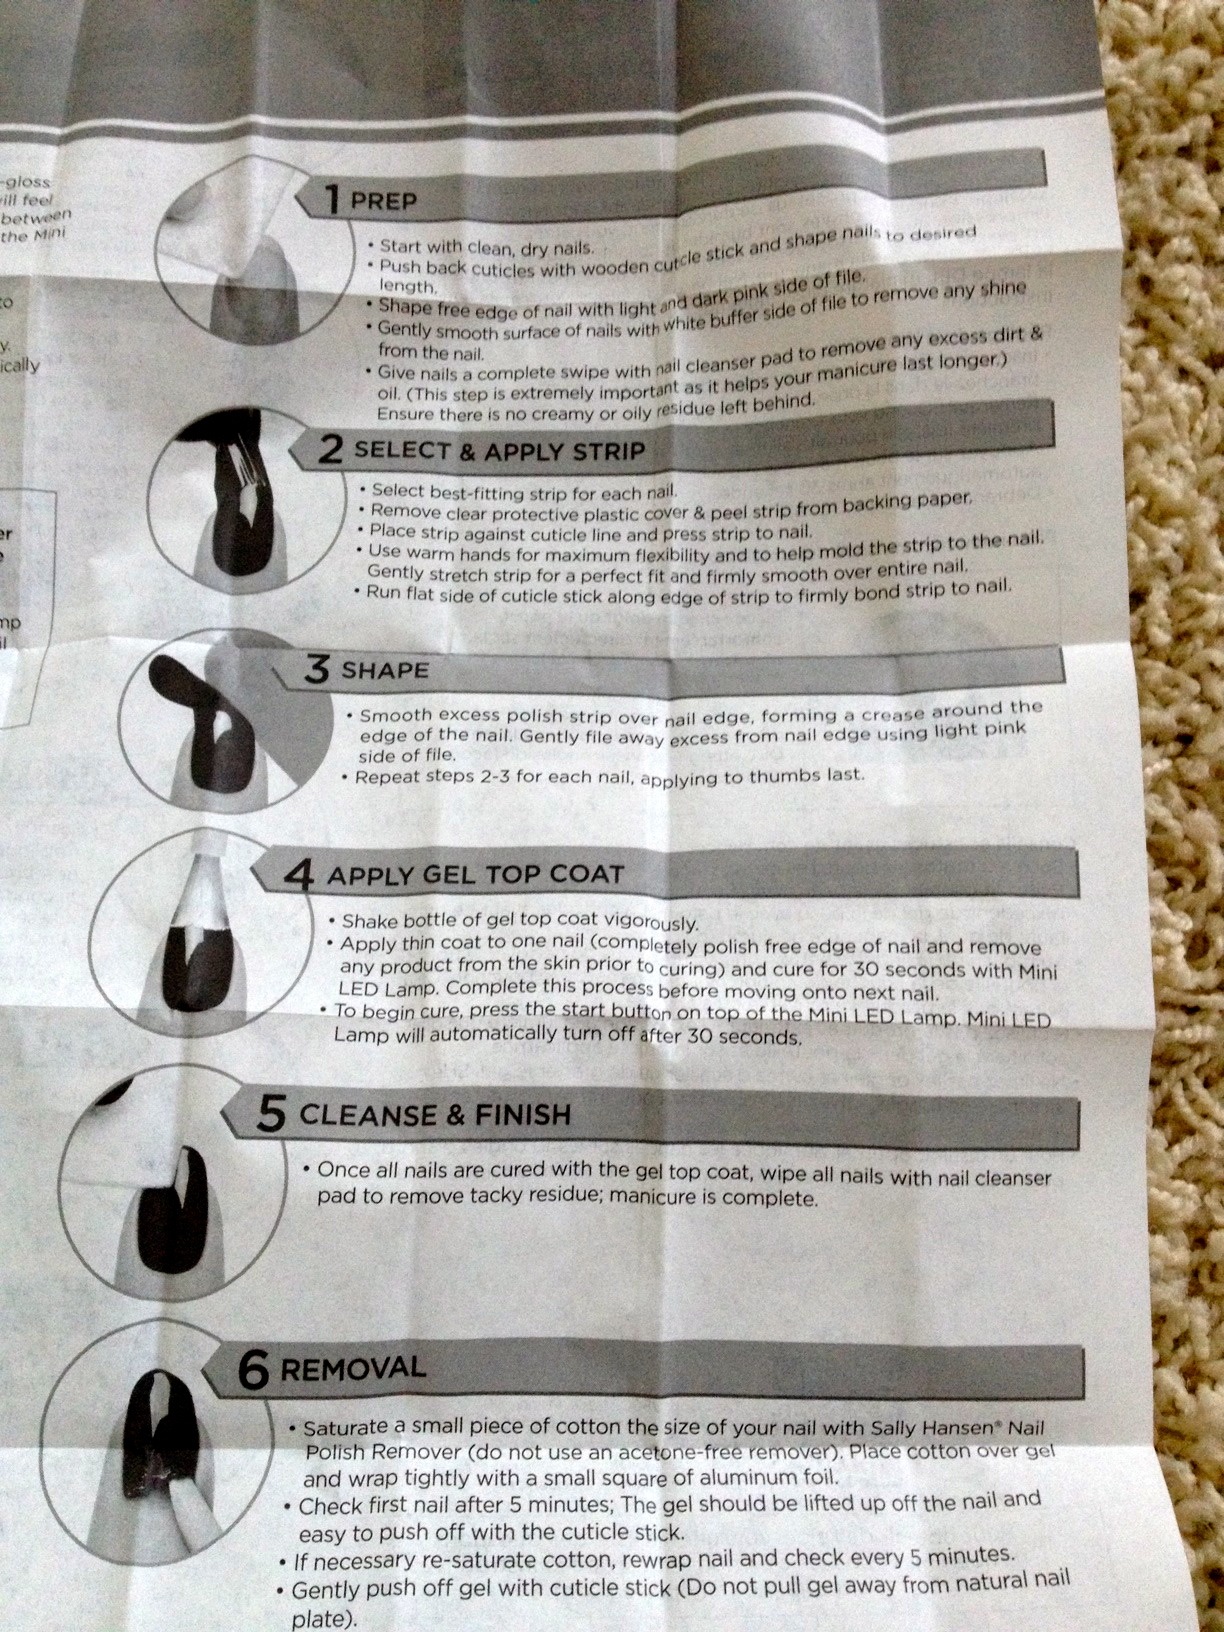
It's essentially a 5-step process. Prep (file, shape, buff, wipe with alcohol pad). Apply strips. Apply gel top coat. Cure with the UV light. Wipe with alcohol pad. Done!

A normal gel manicure means: Prep. Apply base coat. Cure. Apply color coat. Cure. Apply second coat of color. Cure. Apply top coat. Cure. Wipe with alcohol pad. And, finally, done. Depending on what kind of lamp you're using, that can be a bit of a time investment. But I don't think doing your nails is a very speedy process to begin with.

photo 14

photo 1

photo 2

OLD 2

WEAR & TEAR

Fantastic. By the end of my two-week trial, I had maybe three tiny chips, and they were only noticeable upon the very closest of inspections. And the look stayed shiny for all 14 days. Love that.

One bummer was the grow-out. Like the other appliques, these strips have a very defined edge that lies near your cuticle. As your nails grow, that sharp edge becomes exposed and you can get things caught in between the ridge of the applique and your cuticle. And by "things," I mean strands of your own hair. Eugh.

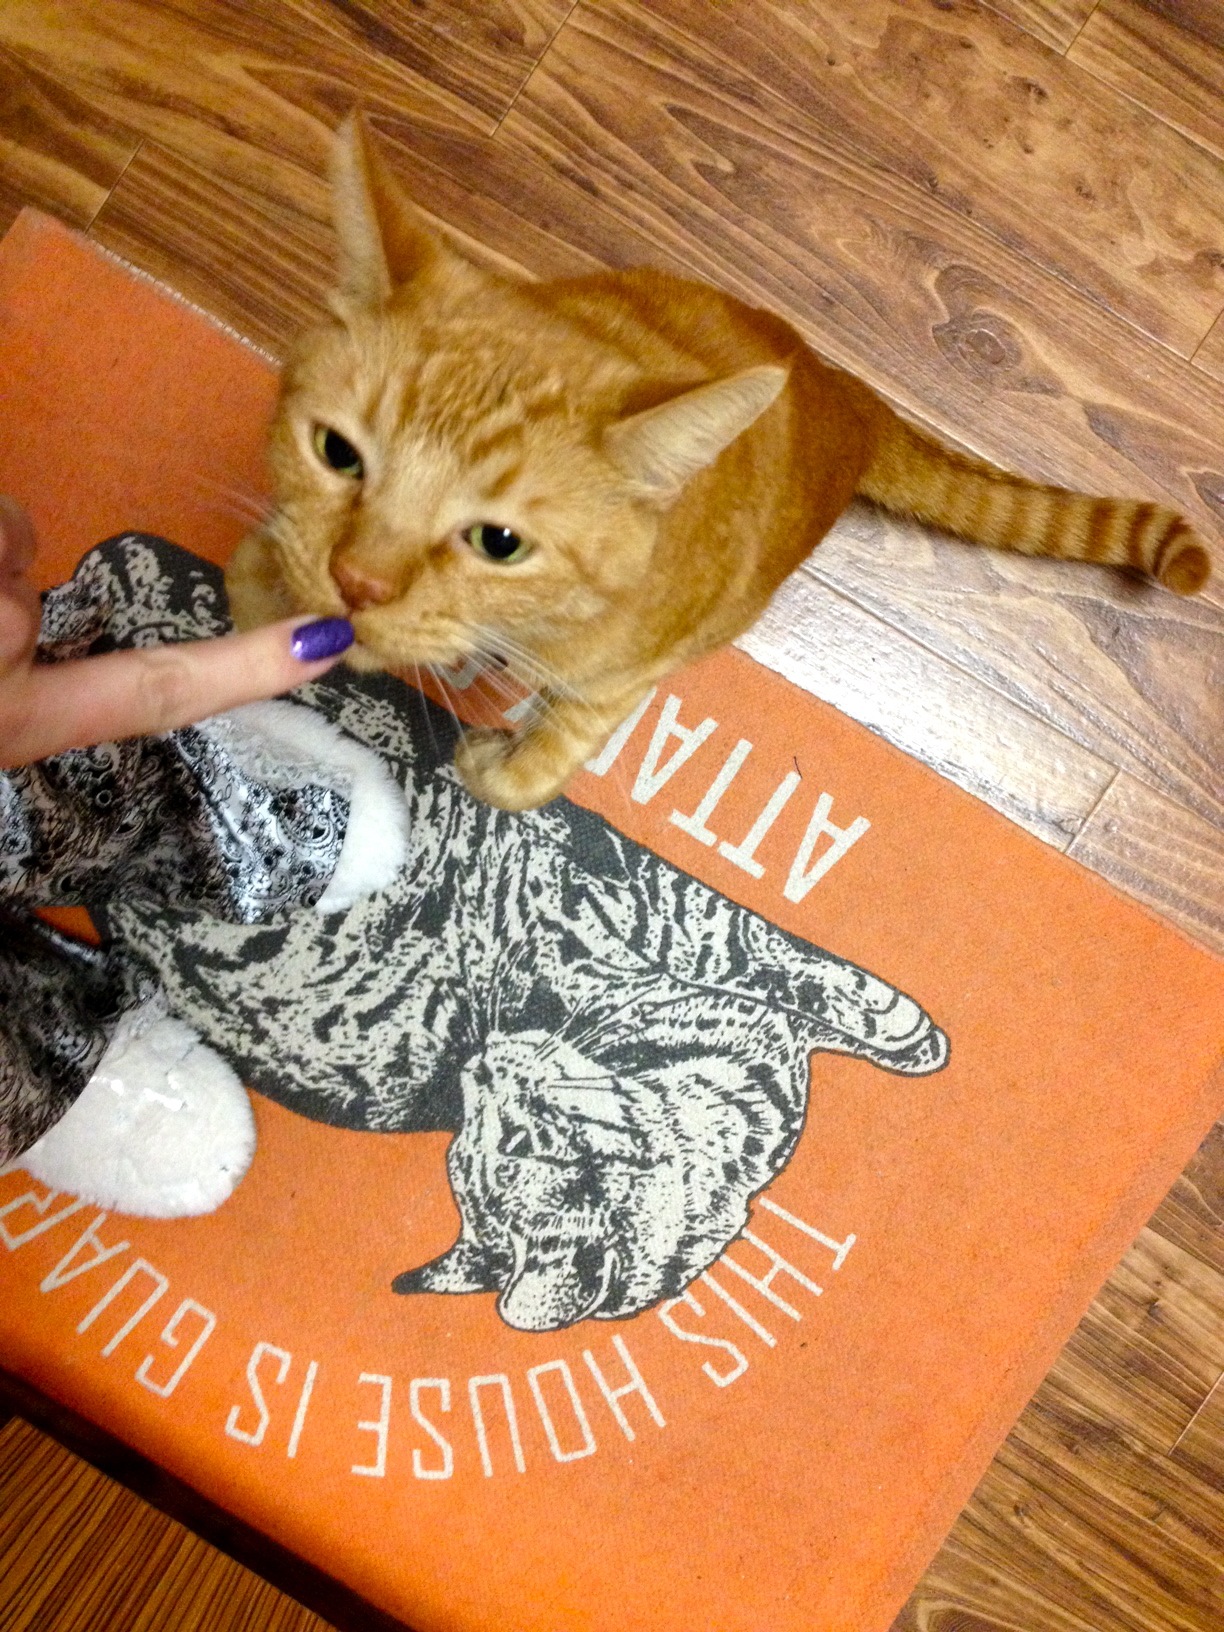
Note the growout. And the cat toy.

REMOVAL

Hmmm. Removal. I mean, if a mani's going to stay pretty indestructible for two weeks, it stands to reason that it's not going to be incredibly easy to remove. That's just like, a law of physics or something, lol.

I gently scuffed up the surface of the gelicure with a nail file to break through the hard shiny shell that the top coat made. Then I used The Foil Method, of course. In the end, there was still a lot of soaking and a bit of scraping off carefully with a cuticle stick, but these were pretty standard gel manicure issues

OVERALL

If you're someone who loves gel manicures but doesn't want to drop that kind of cash twice a month or so, this is a great product to consider.

For those of you that already own a gel manicure kit, I am not sure that you need to replace it with this kit. In fact, I suspect you could probably skip the starter kit and just buy a pack of the gel nail appliques. As long as you already have a gel topcoat and a UV lamp to cure it, you should be good to go.

Don't wear gel manicures often, or only really get them for special occasions / vacations? I might suggest skipping at-home kits entirely and continue going to your favorite salon. If you view a gel mani as a treat, then you'll miss the whole salon experience when you use an at-home kit. They are pretty utilitarian, after all.

xxo, Francesca

Nail Art — It's Not for Everyone. And That's Okay.

Pshiiit, Nailside, and Chalkboard Nails are some of my favorite nail bloggers. Pshiiit's gift for photography and playful pairing of colours is truly magnifique. Nailside basically invented the tape manicure and she continues to come up with creative designs. And Chalkboard Nails is incredibly talented. She made a holiday mani with a string of Christmas lights... that glowed in the dark. Genius.

Such a fresh and pretty pink

Nailside

Chalkboard Nails

If you guys are like me, after checking out such amazing nail art (and I do mean art) your first thought is, "What the... How did they do that?!" And your second thought is, "I'll never be able to achieve such wonder..." And then you stare sadly down at your poor, solid-colored nails.

And it may be true. Some people are gifted with steady hands. And for others, it's cause for celebration when we manage to paint our right hand half as well as we did our left. I totally get it! But there's no need to feel inadequate.

Nowadays, there are tons of options for those who want the nail art look, but don't have the painting chops to make it happen. There are appliqués, like Sally Hansen Salon Effects. There's Konad stamping. There's even Kleur Custom Nail Art if you live in the Los Angeles area.

And you know what else there is? The simple nail.

That's right. No nail art. No glitter. Just plain and simple, eye-catching color. It's always been my standby and still remains one of my favorite looks.

Sometimes a color's just so pretty, it needs no embellishment at all. Why gild the lily, amirite? Or perhaps you're going a bit daring with a neon or a nontraditional shade like green. Add some nail art or glitter and it can take a wild color into trashy-looking territory. But a pure, glossy finish can never be wrong.

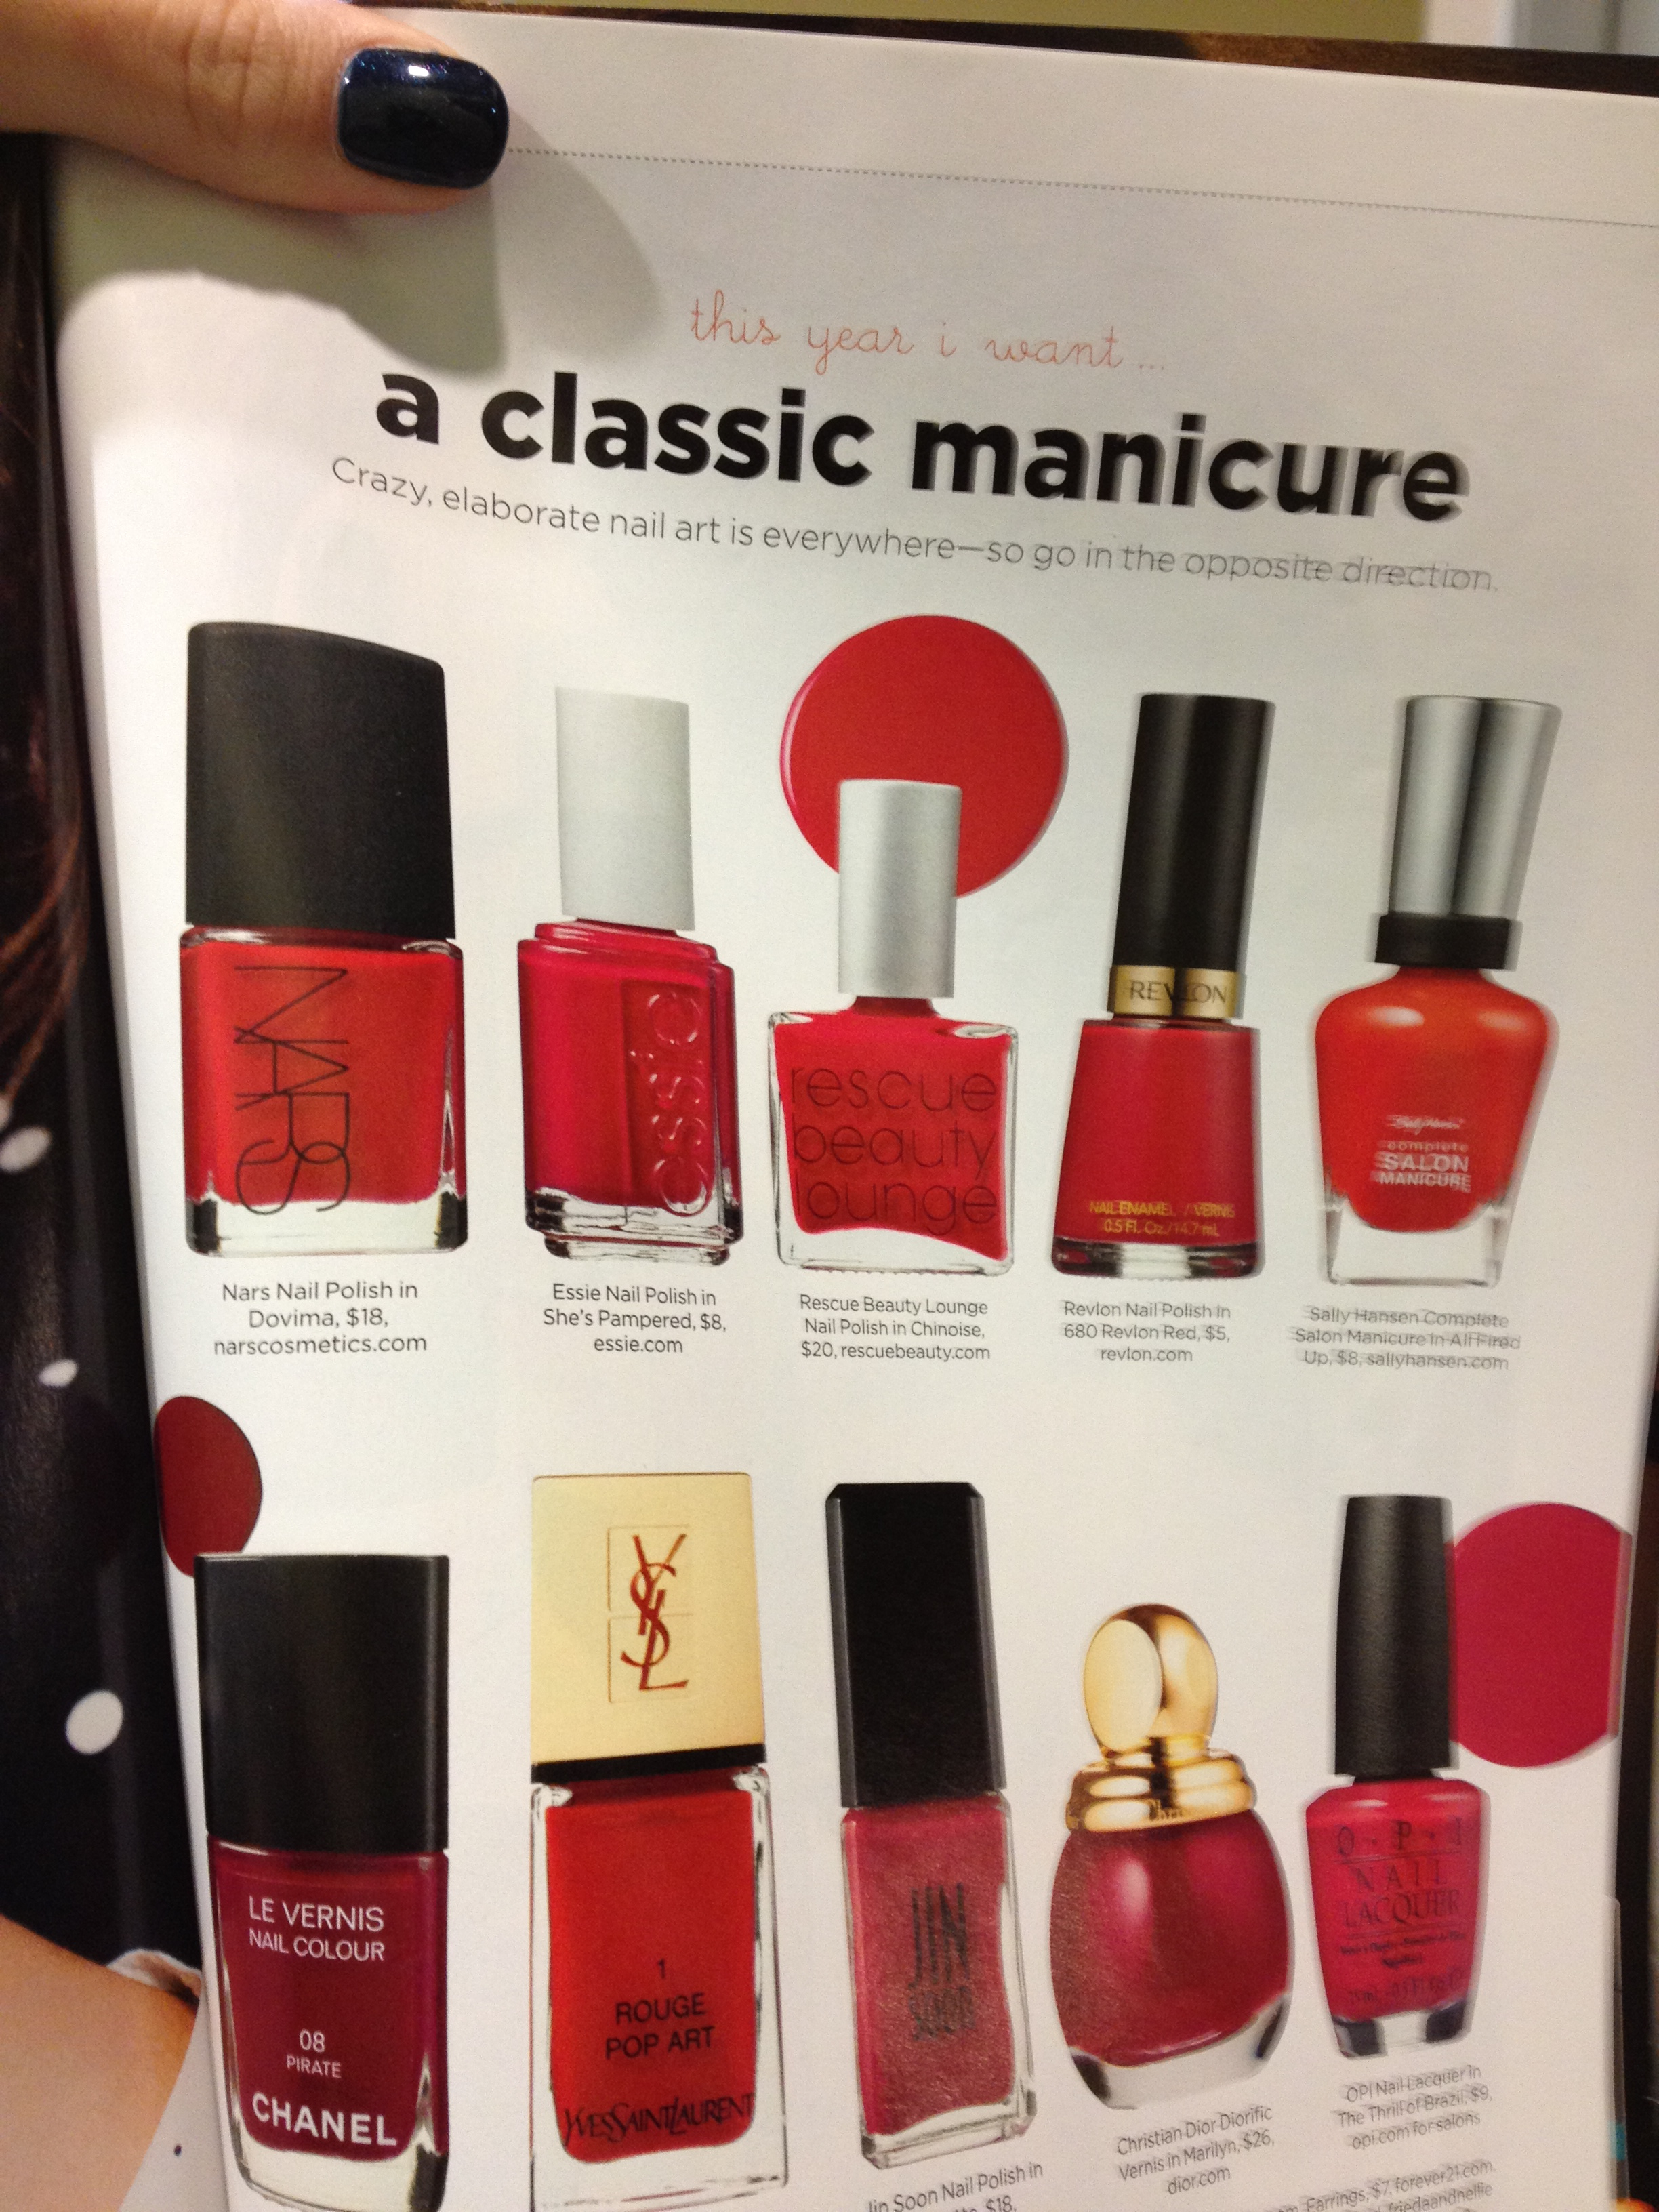
Turns out I'm not alone in my love for simple color! Allure wrote a blurb on the return of the classic mani. Have a look-see.

allure_anti nailart

dowhatyouwannado, Francesca

[youtube=http://youtu.be/RzG-BP6RYko]

The Très Chic Upside-Down French Mani

Ooh La La, Lopez!

If a tree falls in a forest and no one is around to hear it, does it make a sound?

If something as simple as Jennifer Lopez's manicure makes headlines, does that mean she's still relevant?

The answer is yes, evidently.

This mani was a Big Deal. Big.

To be fair, it's possible that J.Lo's upside-down French manicure (also called a "reverse French manicure") isn't getting press just because it's gracing the fingers of La Lopez. It's getting attention because it looks good. Period.

And guess what, guys! With the right colors, a steady hand and some patience, this look is yours.

photo 1 photo 2 photo 3

Upside-Down French Mani How-To

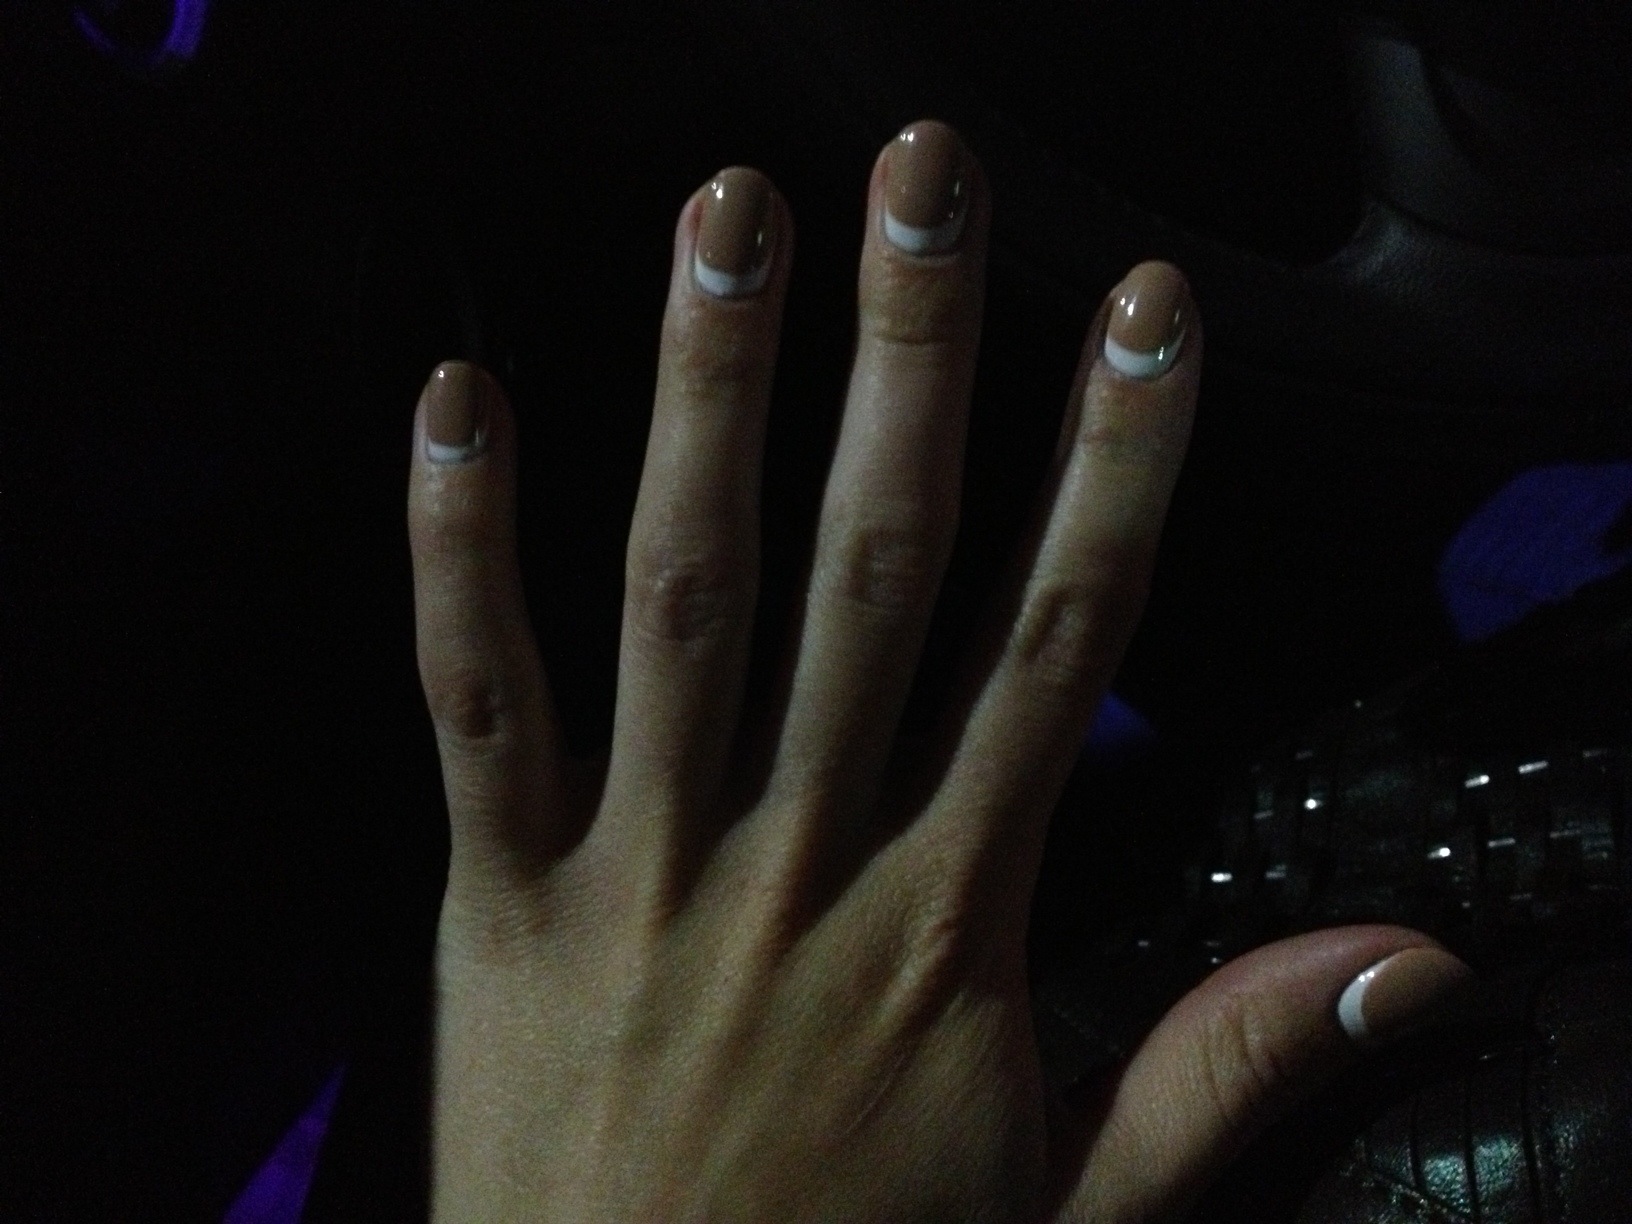
I used OPI Alpine Snow (my favorite white ever) and a color called Naked from Urban Decay's new NAKED Nail Set. This is the first color from that set I've tried, and this reverse French manicure was the perfect way to wear it. UD Naked is quite close to my skin tone, so having the sliver of white gave this look a pop of color and helped the manicure feel fresh and chic.

  1. I shaped my nails and buffed them.
  2. I painted two thin coats of OPI Alpine Snow and allowed them to dry for about 15 minutes. If the white base color is too wet, you'll mess things up and get some swirl action going on as you apply your top color.
  3. Next, I painted UD Naked on — by hand. The key was having just the right amount of polish at the end of the brush; not so much it's going to drip, but enough so that you see half-a-drop gathering. It's that drop that will spread evenly as you carefully press the brush to your nail, apply a little pressure, and let the bristles gently fan out so that they create a good, smooth crescent.
  4. Once you have the top of the crescent created, swipe the brush down toward the sides of your nails to continue the nice curve you created with the crescent. Make sure you keep consistent with the space you're leaving on each nail. Maybe a little less on your pinky, maybe a little more on your thumb.
  5. Apply a second coat (carefully!) of your top color, enforcing & perfecting the crescent-y curve.
  6. Top coat it and voila! C'est magnifique.

I had a lot of fun sporting the upside-down French and definitely plan on trying a new color combo soon. If white & nude is too safe for you, go wild! Creamy charcoal gray paired with hot pink would be awesome. What about blue on blue? The possibilities are endless; the only rule of thumb is making sure your top color can fully cover up your base color in two coats.

aurevior, Francesca

P.S. I leave you with (arguably) some of J.Lo's finest work.

[youtube=http://youtu.be/dly6p4Fu5TE]

"Wizard Hat" Mani

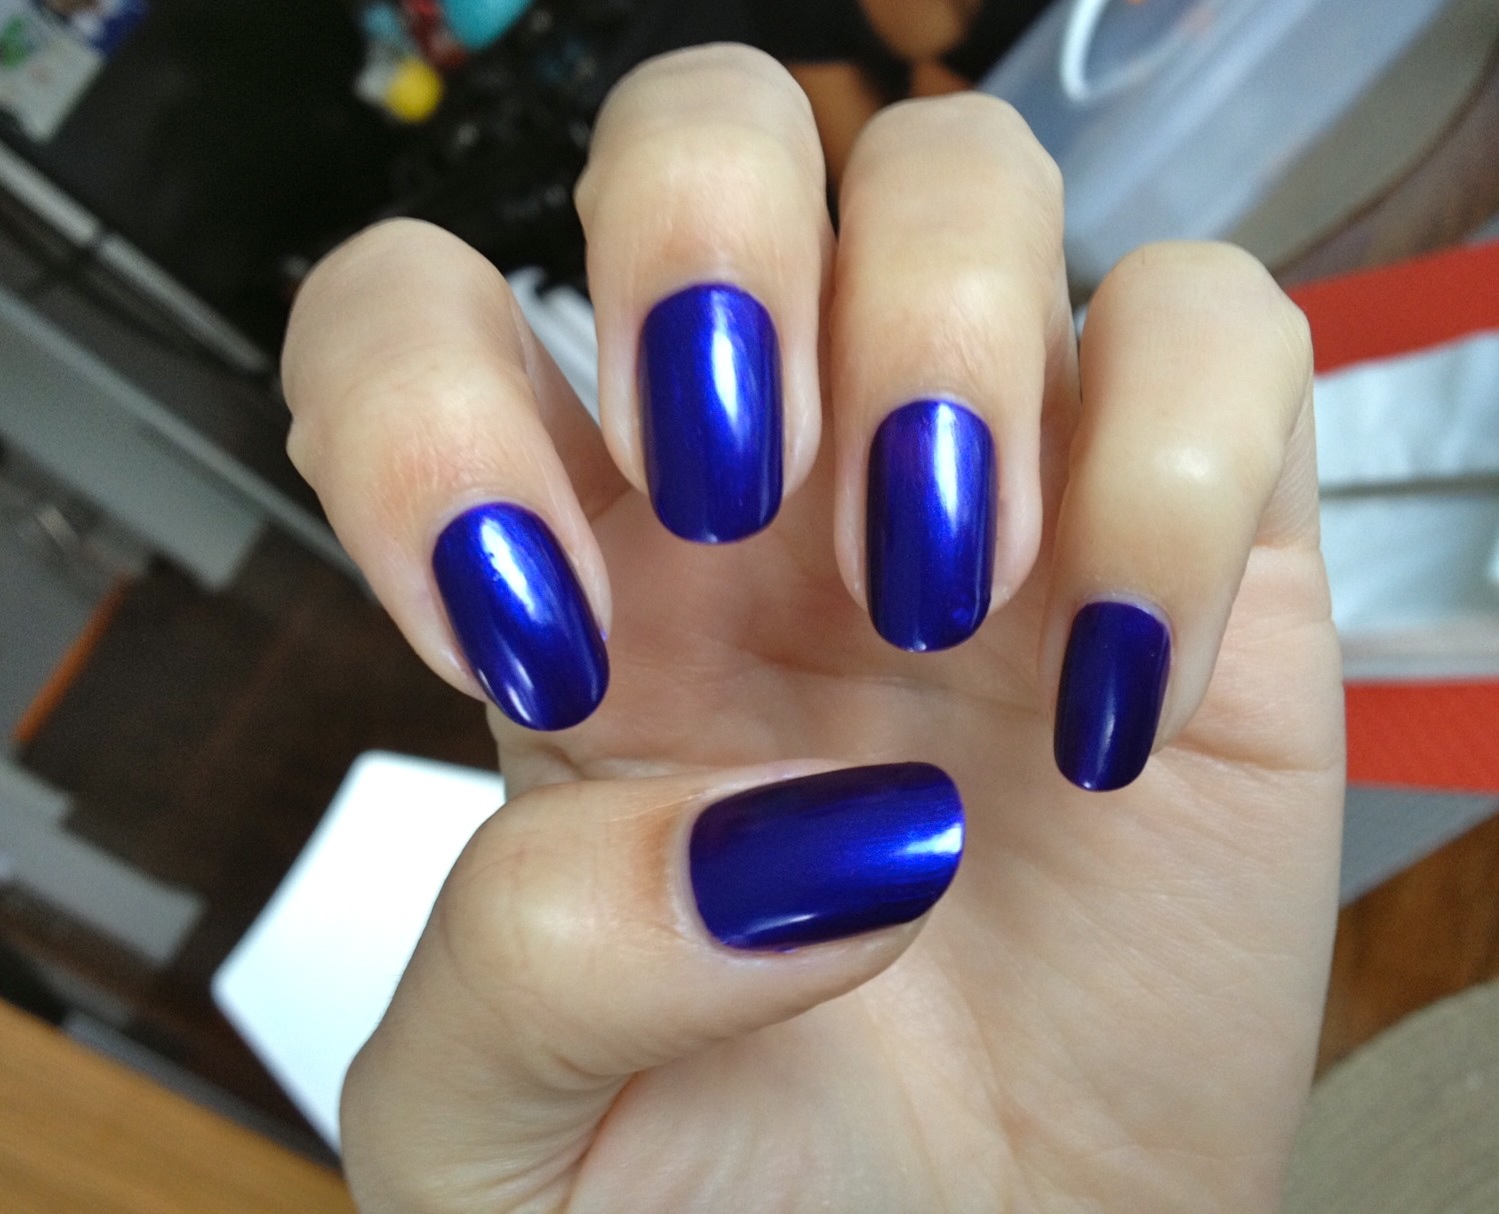
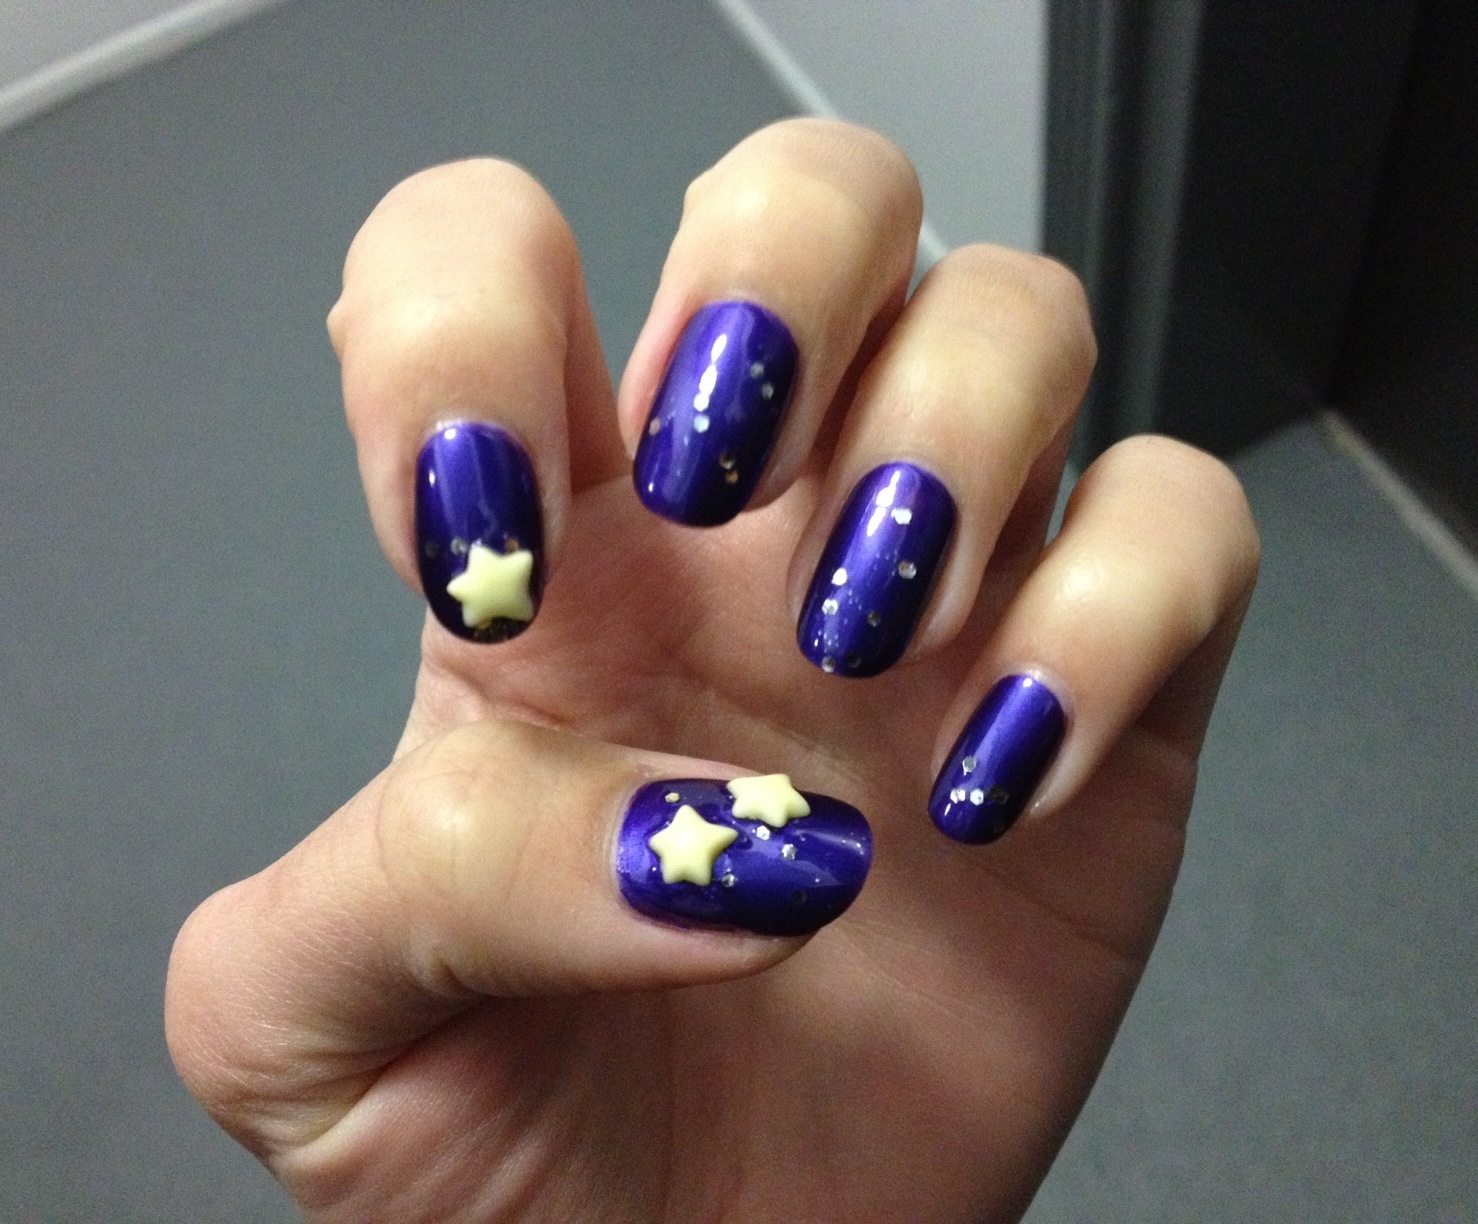
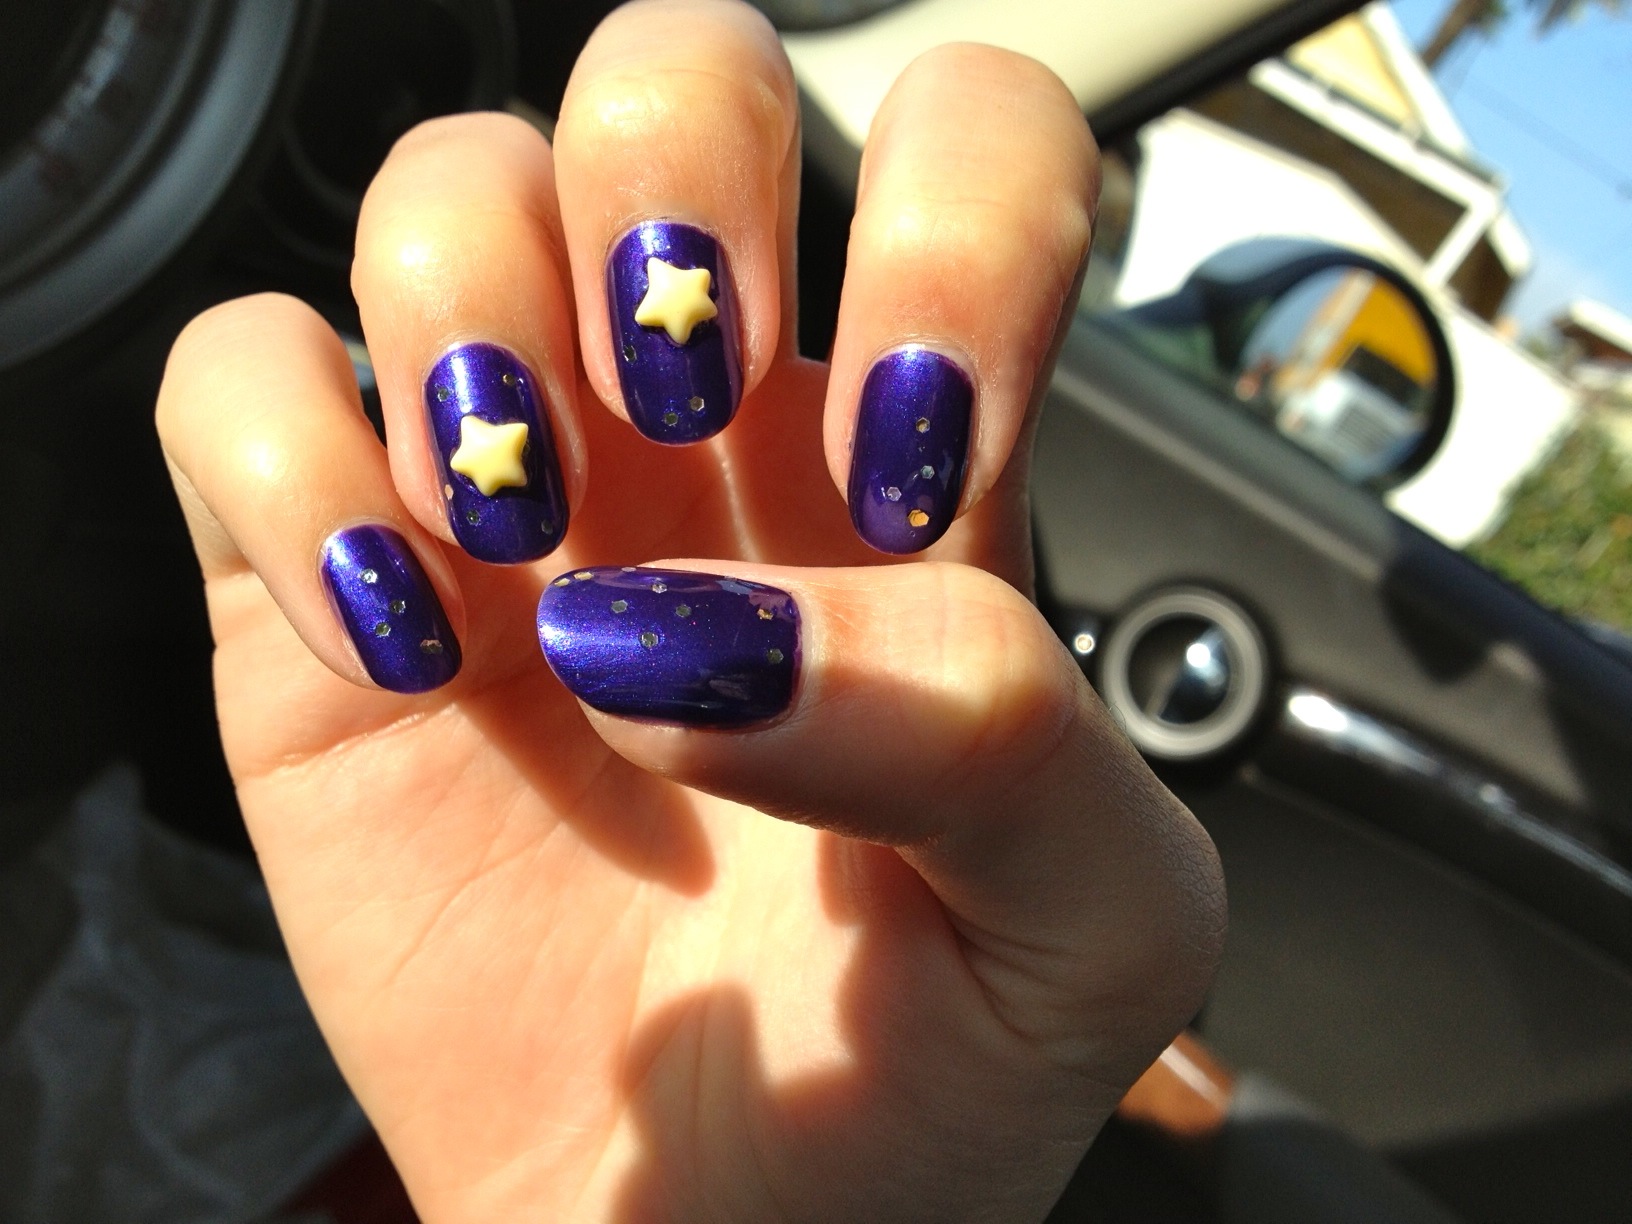
The last time I went to my nail supply shop, I saw some crazy colored star-shaped nail accents that I couldn't resist. They came in pastel pink, mint and yellow, each pack containing five stars. I was in the mood for something whimsical, so stars it was! I had a bottle of OPI Tomorrow Never Dies from the Skyfall collection, a gorgeous metallic indigo and I had some silver glitter on hand, and thus a plan was born.

Good Night Moon Mani_1

I applied two coats of OPI. Next, I used a toothpick to apply silver glitter in a purposeful way. Some of my nails feature real constellations; others are just well-strewn "stars." The final touch was adding the pastel yellow stars. I used a generous dab of Seche Vite and let the stars set, then applied a nice, thick coat of Seche Vite, completely covering the stars to make sure everything stayed put. I also wanted to be sure that there wouldn't be any edges along the stars for my hair to snag on. Blegh.

Good Night Moon Mani_2

Here's my left hand in indirect sunlight on the way to work.

And my right hand in the bright sunshine!

Since the stars are kind of kitchsy and cutesy, the resulting look was a little child-like and reminded me of Good Night Moon... or a wizard.

wizard costume

That said, I got a huge kick out of having such a playful manicure. The best part of the mani was touching the stars on my nails. They felt a little alien, but I was down with the weirdness.

Have you guys ever tried any super-sized nail decals?

ohmystars! Francesca

[youtube=http://youtu.be/ThHz9wlBeLU]

OPI — Can't Let Go (Liquid Sand)

OPI_liquid sand_mariah I'm going to ask the question that's on everyone's mind: What happened to Mariah Carey?

It's kind of like there are two Mariahs. There's the Music Box / Daydream / Butterfly Mariah that loves rich colors like camel and cocoa, mixed with stark blacks and soft grays. A touchable, flirtatious, womanly Mariah. And then there's post-Glitter Mariah that bedazzles everything, prefers to eat reclining on a chaise lounge (am I the only one who saw her Cribs episode?) and dresses mainly in pink.

Before.

After.

What a face...

What the...

So I guess it's fitting that the new OPI Mariah Carey Collection reflects her... dual nature. Some of the colors are sophisticated while others are major glitz. The collection is literally divided into "Studio Shades" (metallics and cremes) and "Stage Shades," which are all in the new Liquid Sand formula.

Top row, from left: A Butterfly Moment, Sprung, Pink Yet Lavender, and Anti-Bleak.Bottom row, from left: Stay The Night, Get Your Number, Can't Let Go, and The Impossible.

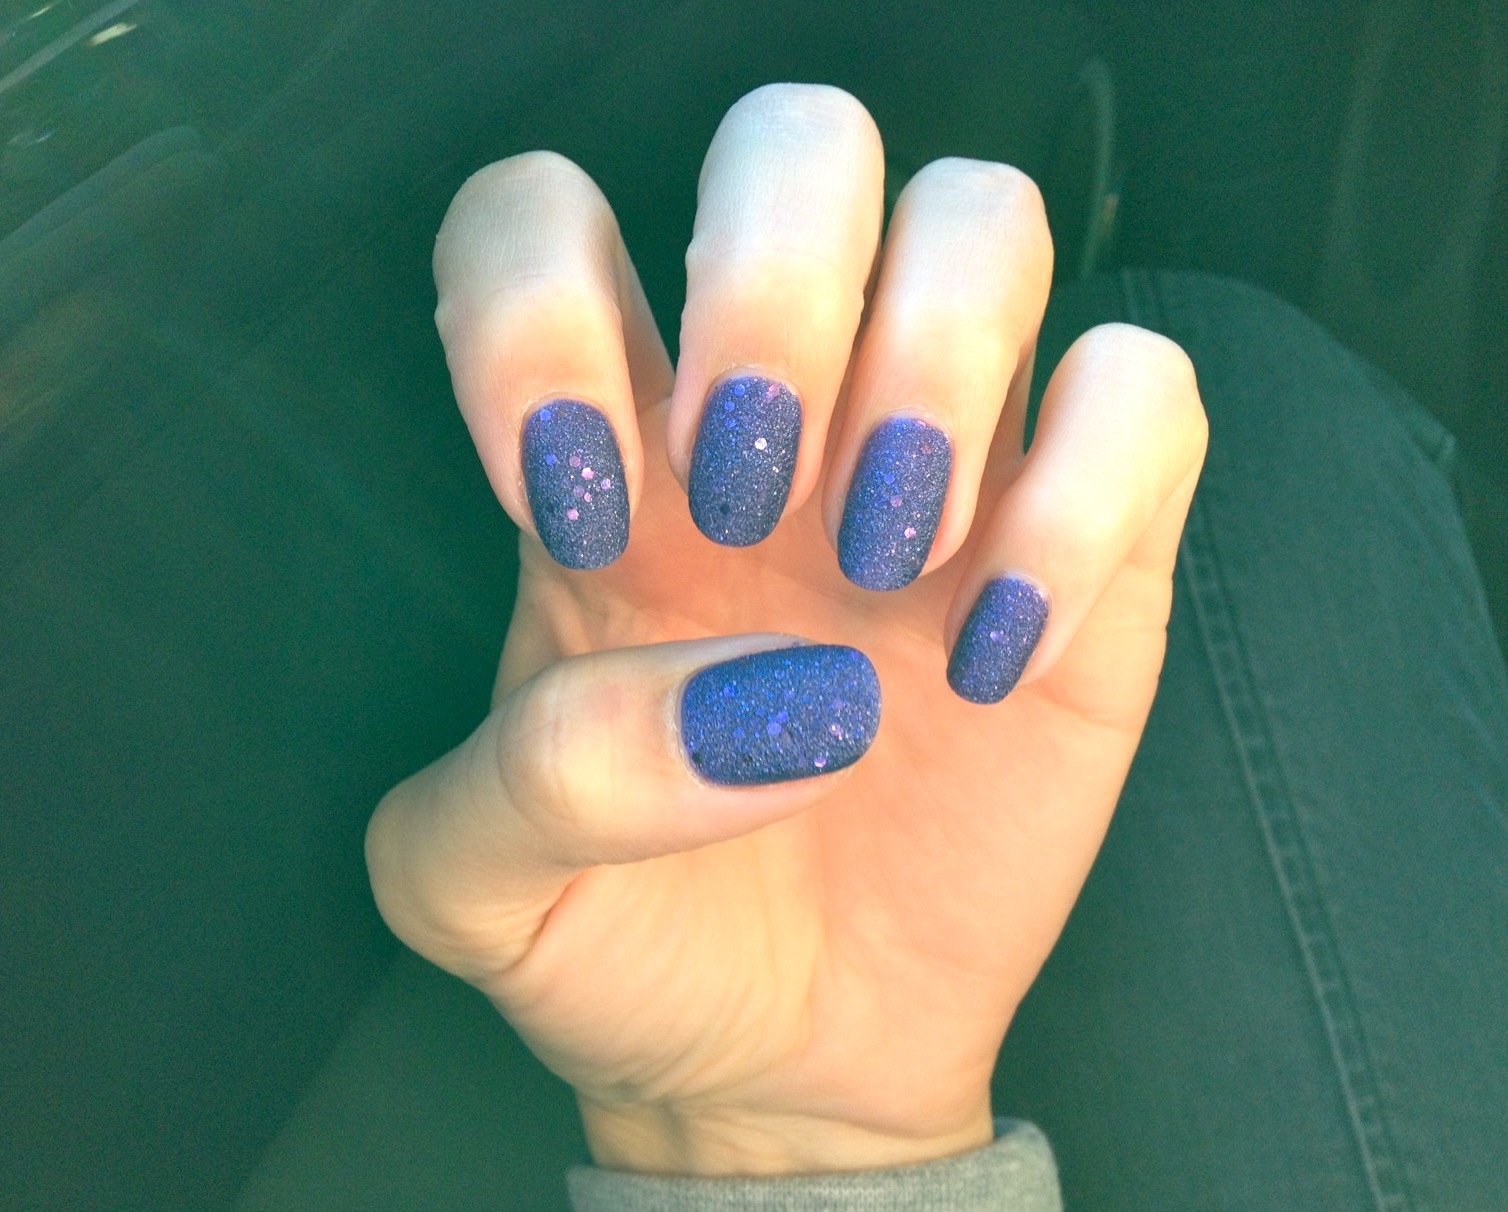
I was really eager to try one of the Liquid Sands. A new formula from OPI is a big deal! I lurve purple, so I chose Can't Let Go*.

OPI_liquid sand_indirect

Here's CLG in the sun. See the gritty texture?

The was entranced by these.

Can't Let Go has his Seal of Approval,

I love OPI's new Liquid Sand formula! It reminds me a lot of a velvet manicure, but it's much easier to do and not messy at all. A nice touch is that the sandy texture has a matte look, but the glitter embedded in the shades adds depth and sparkle to keep your nails from looking completely dull.

I'd recommend buying a bottle of Liquid Sand if you like purple or charcoal shades; the turquoise "Get Your Number" and strawberry "The Impossible" are a little much. Can't Let Go (purple) and Stay The Night (charcoal) are versatile enough to integrate into your nail wardrobe.

One more thing to share: I get nervous about daring formulas like Liquid Sand. They're generally declared a hit and explode, like Shatter (and its countless impostors) did, or they're a quickly abandoned experiment and become HTFs. So if you're thinking of investing, don't wait too long.

The Polish Aholic swatched the entire Mariah Carey collection. Click the pic to check out her post and admire her great shots.

Anyone thinking of trying a Liquid Sand Shade?

xxo, Francesca

*product provided for honest review