Ciaté Mini Mani #1 — Cupcake Queen

ciate_cupcake queen_pose Now I know that when I posted about my gorgeous Ciaté Mini Mani Month box, I claimed I'd do a manicure a day... Welp. That obviously hasn't happened — but wait, there's a reason, I swear!

It's because the colors have been on the demure side. Don't get me wrong, I love a good pink or bordeaux, but I've been in the mood for some unusual nail colors and none of the mini bottles have been getting my wheels a-turning, aside from Numero Uno.

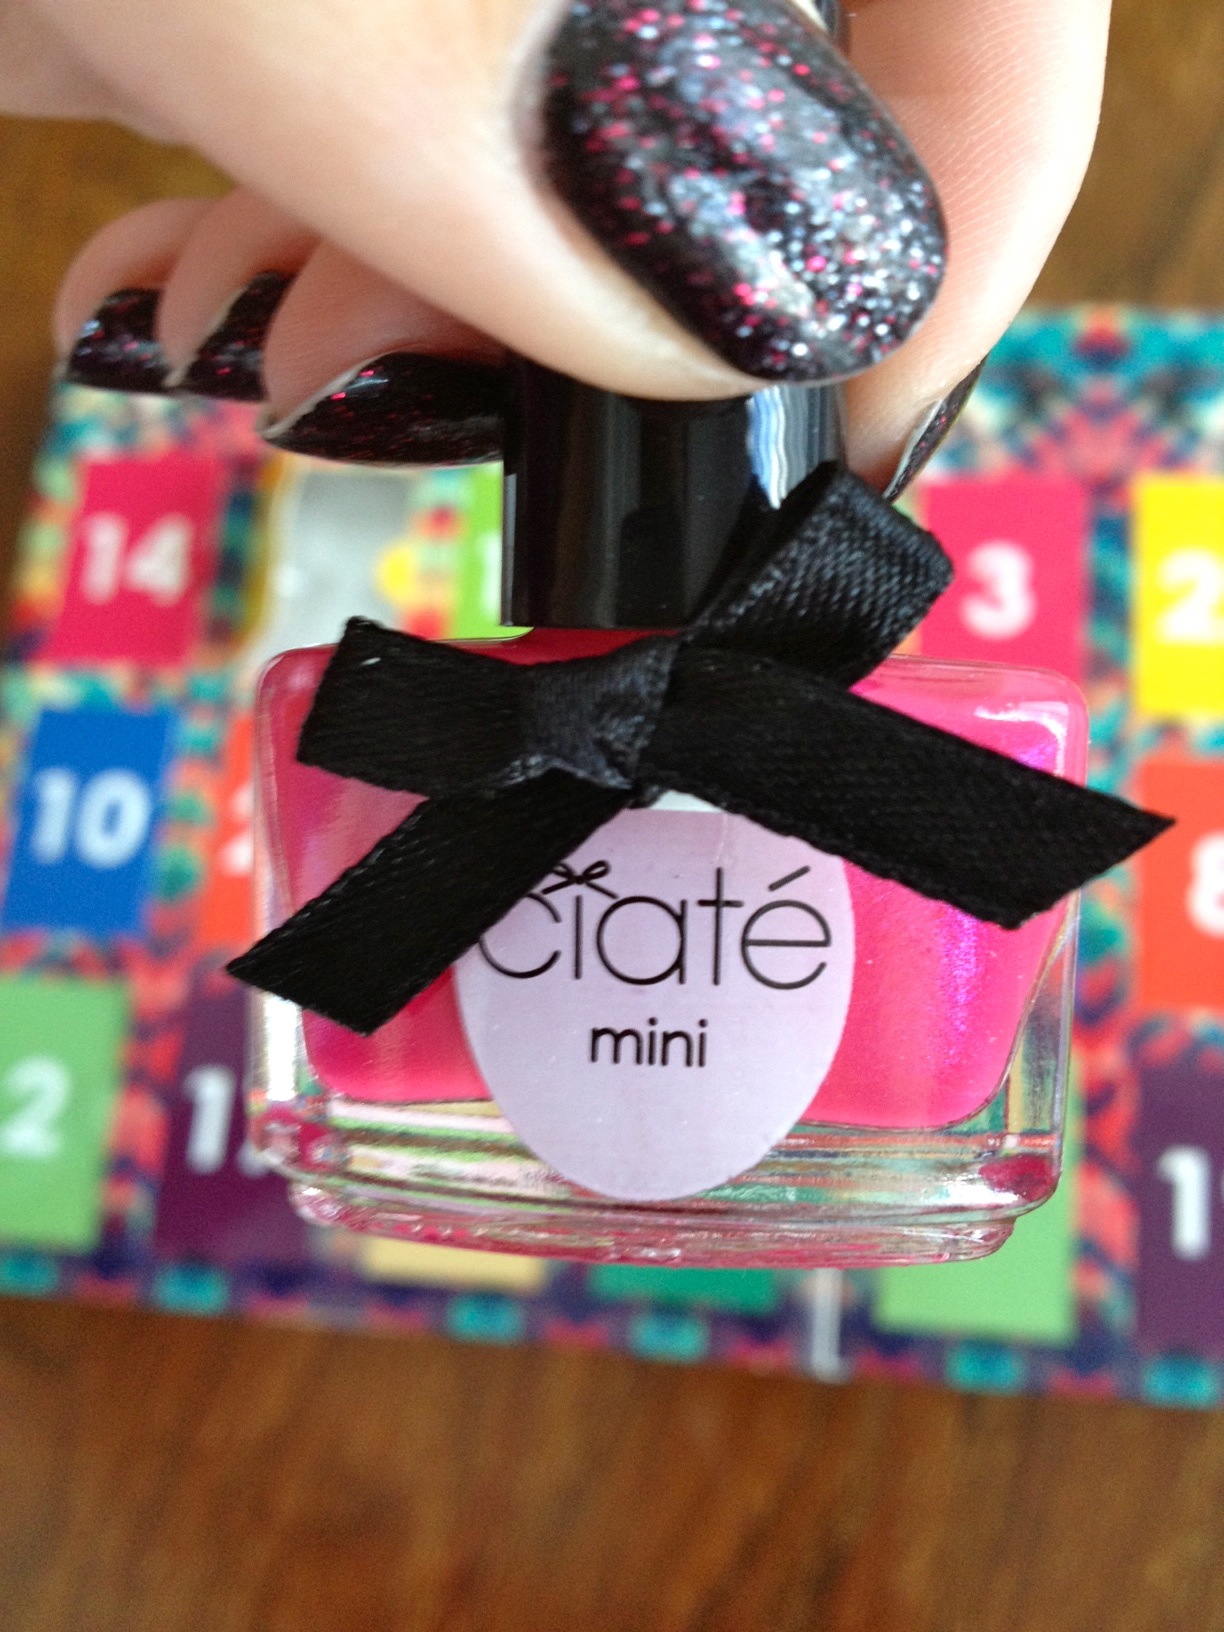
The first bottle to be revealed was Cupcake Queen, a bright magenta with (gasp) a violet sheen. It was totally late 80s. I think Barbie may have had a Corvette or two like this. It didn't scream sophistication, to be sure. Cupcake Queen? Maybe. But think Hostess, not Sprinkles.

Just look at how cute these little bottles are.

See that shimmer? When I see colors like this, I just... Phew. Flashbacks. I didn't know colors like this still existed.

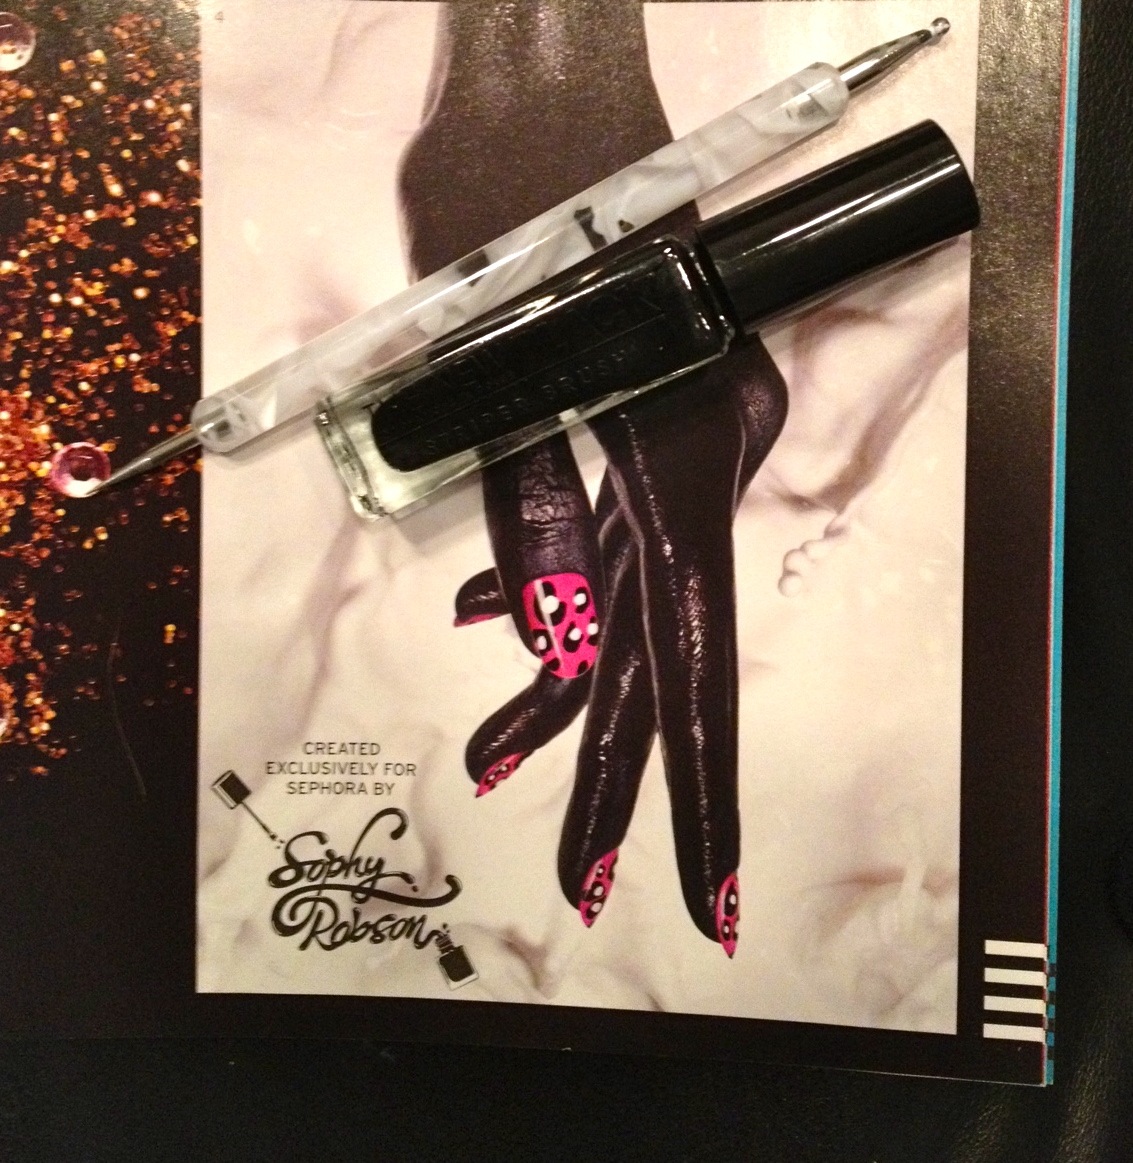
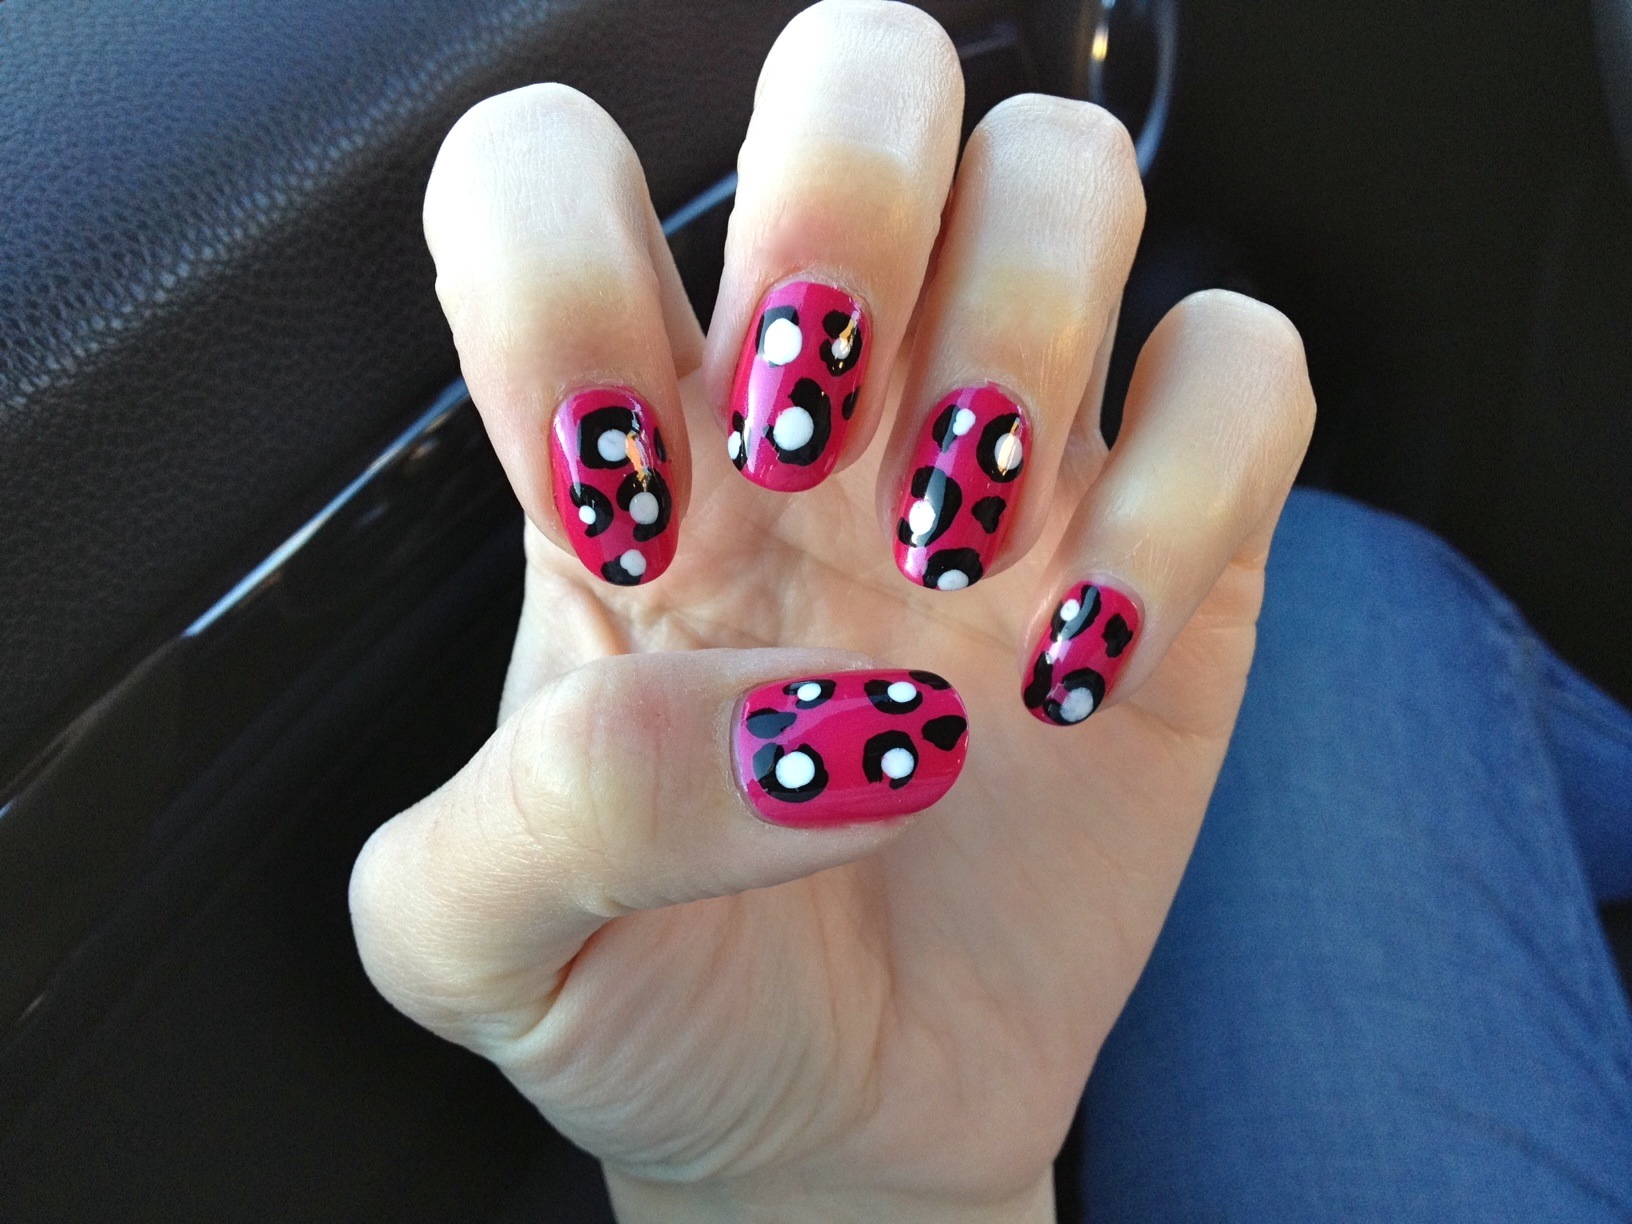
And yet the pink looked bright enough for a look I'd been meaning to try — freehand leopard spots! I was inspired by this page in a Sephora catalog that I've been hoarding for a year and a half. /wink

My inspiration. My tools.

Here's my left paw in the shade.

And some early morning California sunshine.

These spots were incredibly easy to do! All you need is a dotting tool (or even a bobby pin) and a good black striping polish.

I used a black striping polish from The New Black. What a great buy; the polish is pigment-rich, super smooth and even dries pretty fast. The brush itself is perfect, too. Using the brush, I drew little half moons and circles, being sure to make the edges of the moons and circles a bit wobbly and uneven looking so that they'd look like stylized leopard spots instead of straight-up polka dots. The organic look we're going for really comes in handy when it's time to paint your non-dominant paw. ;)

Then I used my dotting tool and my Konad white stamping polish to add small white dots in varying sizes on most (but not all) of my black half moons and circles. I nearly reached for my trusty OPI Alpine Snow, but I was worried about transparency issues — and nothing's more opaque than Konad.

I enjoyed this look so much that I couldn't bear to remove it the next night! Or the night after that. So now you've discovered the second reason why my manicure-a-day plan didn't make the cut.

quitethecupcakequeen, Francesca

butter LONDON — Shag

And now, another new shade from butter LONDON's fall lineup — Shag*!

Shag is such a foxy shade, perfect for fall. Here in California, the only rusty shade I see is on old cars... but I remember my days on the East Coast. I recall the reds, yellows, and oranges of crisp leaves, the deep sapphire of late September skies... the comforting scents of cinnamon and apple... Can you tell that I miss my favorite season?

Shag is like autumn in a bottle. A deep, rusty copper with burgundy undertones, Shag has left me feeling festive — well, as festive as I can feel when it's still hot as blue blazes and feels like midsummer here in Los Angeles.

The formula was smooth and very pigmented; my look required only 2 coats. I found that it chipped after 5 days, which was a little disappointing, but I still think 5 days is a good run. As always, when choosing a shade as reflective as this, be sure to buff your nails so that you've got a smooth surface to work with — or else the gleaming finish will highlight ridges & imperfections.

xx, Francesca

*product provided for honest review

Sally Hansen "Magnetic" Nail Color — Ionic Indigo

Ladies and The One Gentleman Who Reads This Blog (thanks Gary), a word from this week's guest writer... Scotland Yard. This polish is a lot like "The NeverEnding Story"

...fun, full of wonder, but ultimately misleadingly titled.

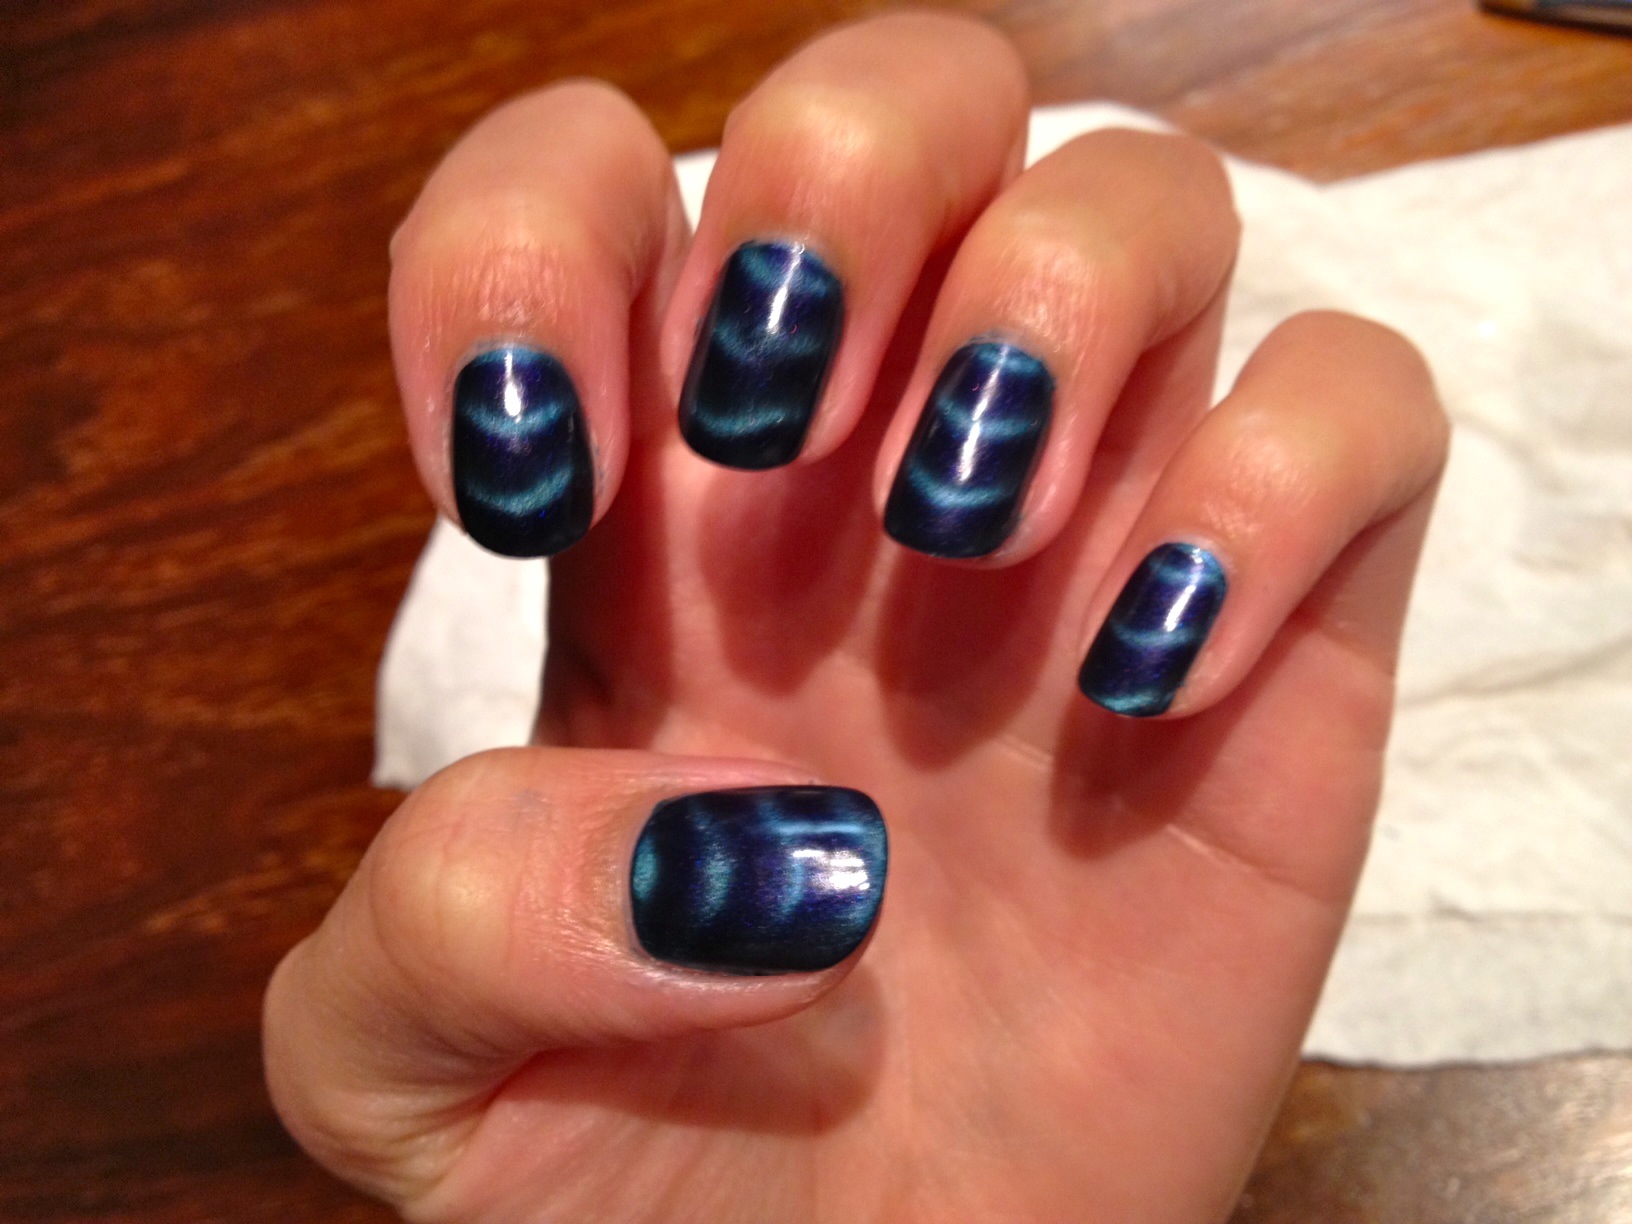
They should call it "Sally Hansen's Affected by Magnets Nail Color." Because the polish itself is not magnetic. You can't pick up paperclips with your nails once it's applied. Sure that may be annoying at the work place but it would also be the best thing since Wooly Willy. Imagine you could instantly wipe out your credit card debt and by debt I mean just the cards. But that break from shopping could help you reevaluate your spending habits. Our nation is drowning in debt. But I digress. This nail polish itself is not magnetic. But hey, if your personality is, this polish could be just one more awesome thing people like about you.

...and we're back. I think it's always important to seek out other opinions, you know?

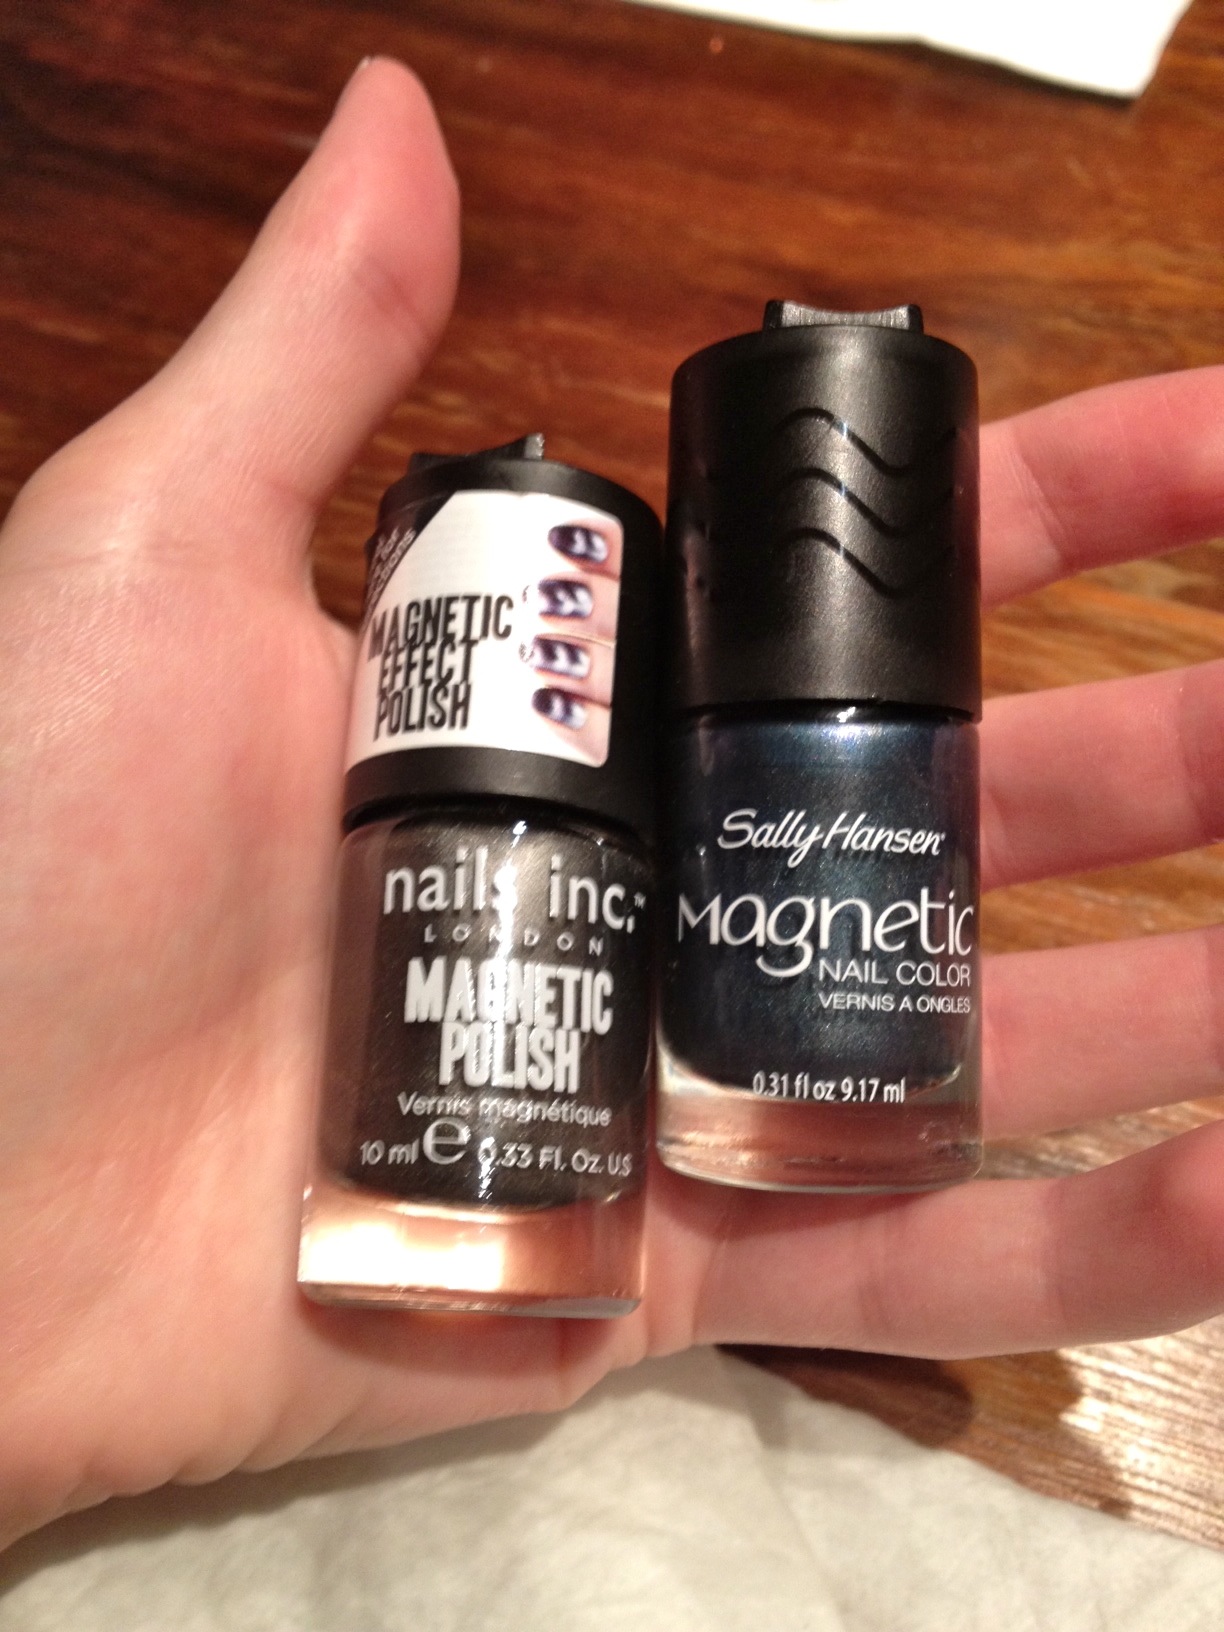
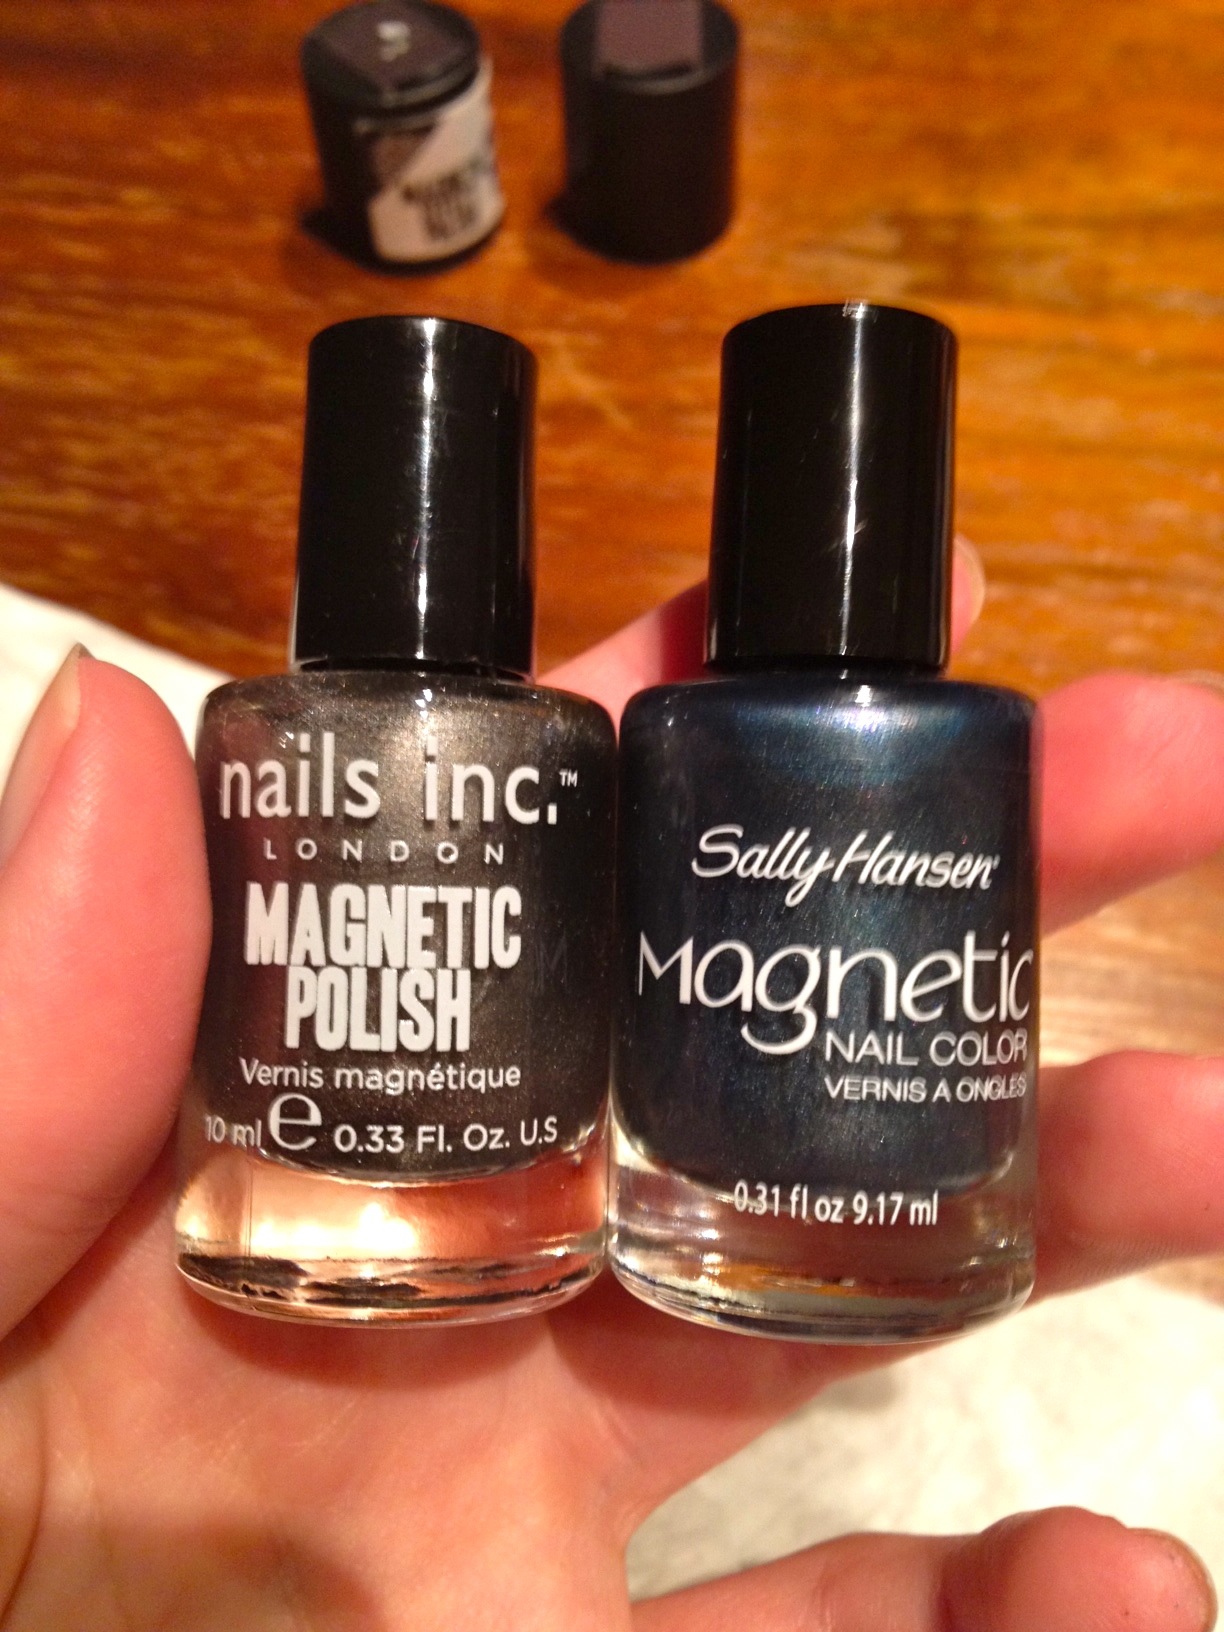
Anyway, I loved the Nails Inc. magnetic polish when I tried it last November. When I saw that Sally Hansen came out with their own version of magnetic polish, I felt somewhat skeptical. Would it be as nice as Nails Inc.? Would the colors be cool? Would there be a noticeable difference in quality? The answers are yes, yes and NO.

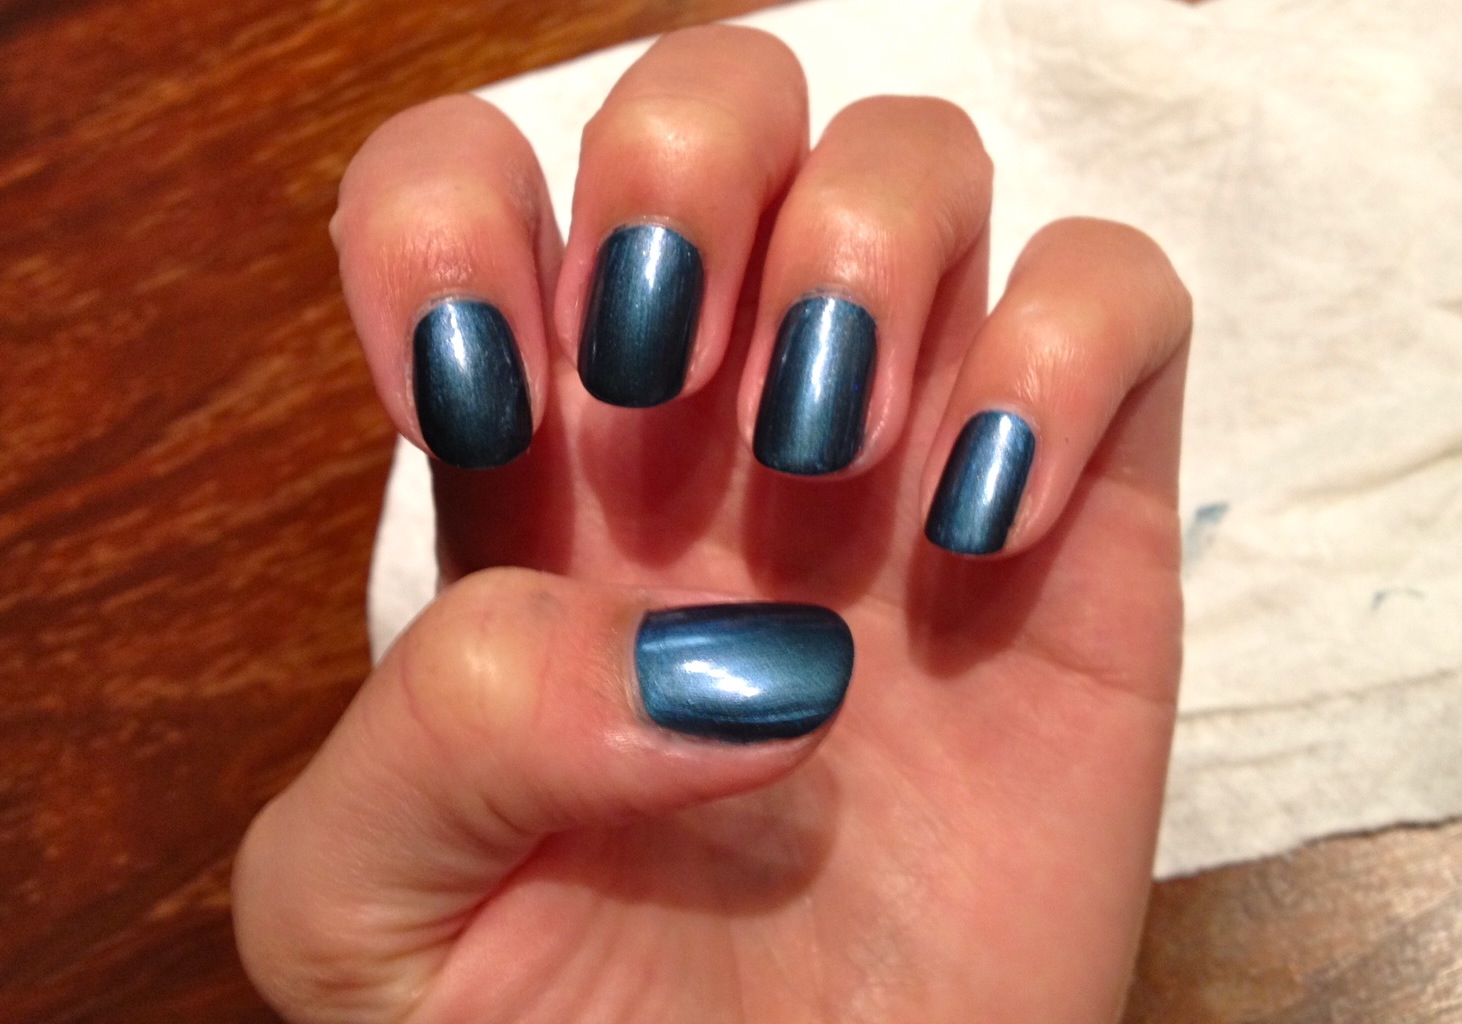
Here's Ionic Indigo*, a denim blue colored metallic polish from Sally Hansen's new Magnetic Nail Color line.

Have you guys tried the Sally Hansen Magnetic line? And if so, what do you think?

One more thing! Scrangie's got an amazing FAQ on magnetic polishes that you've got to check out if you're thinking of trying one. And if you're already acquainted with magnetic polish but want to get some pro tips, check this out!

xx, Francesca

*product provided for honest review

butter LONDON — Dodgy Barnett

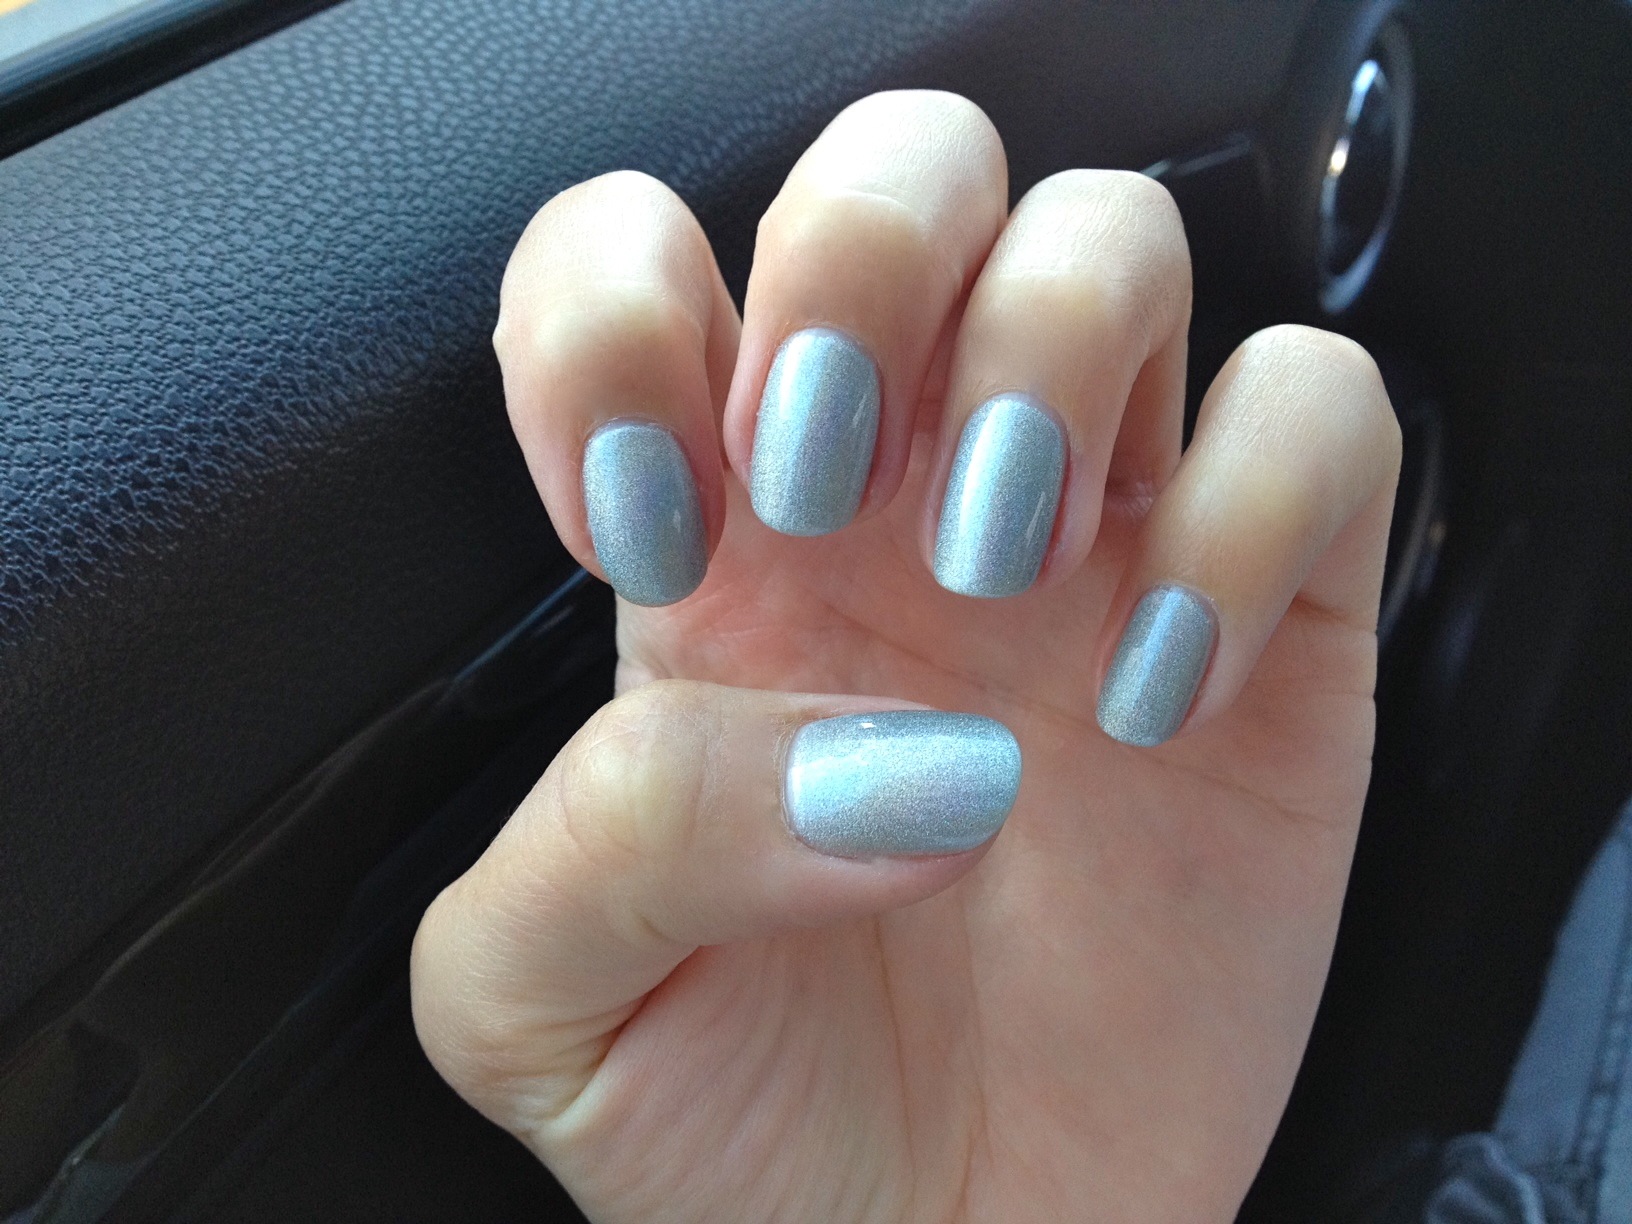
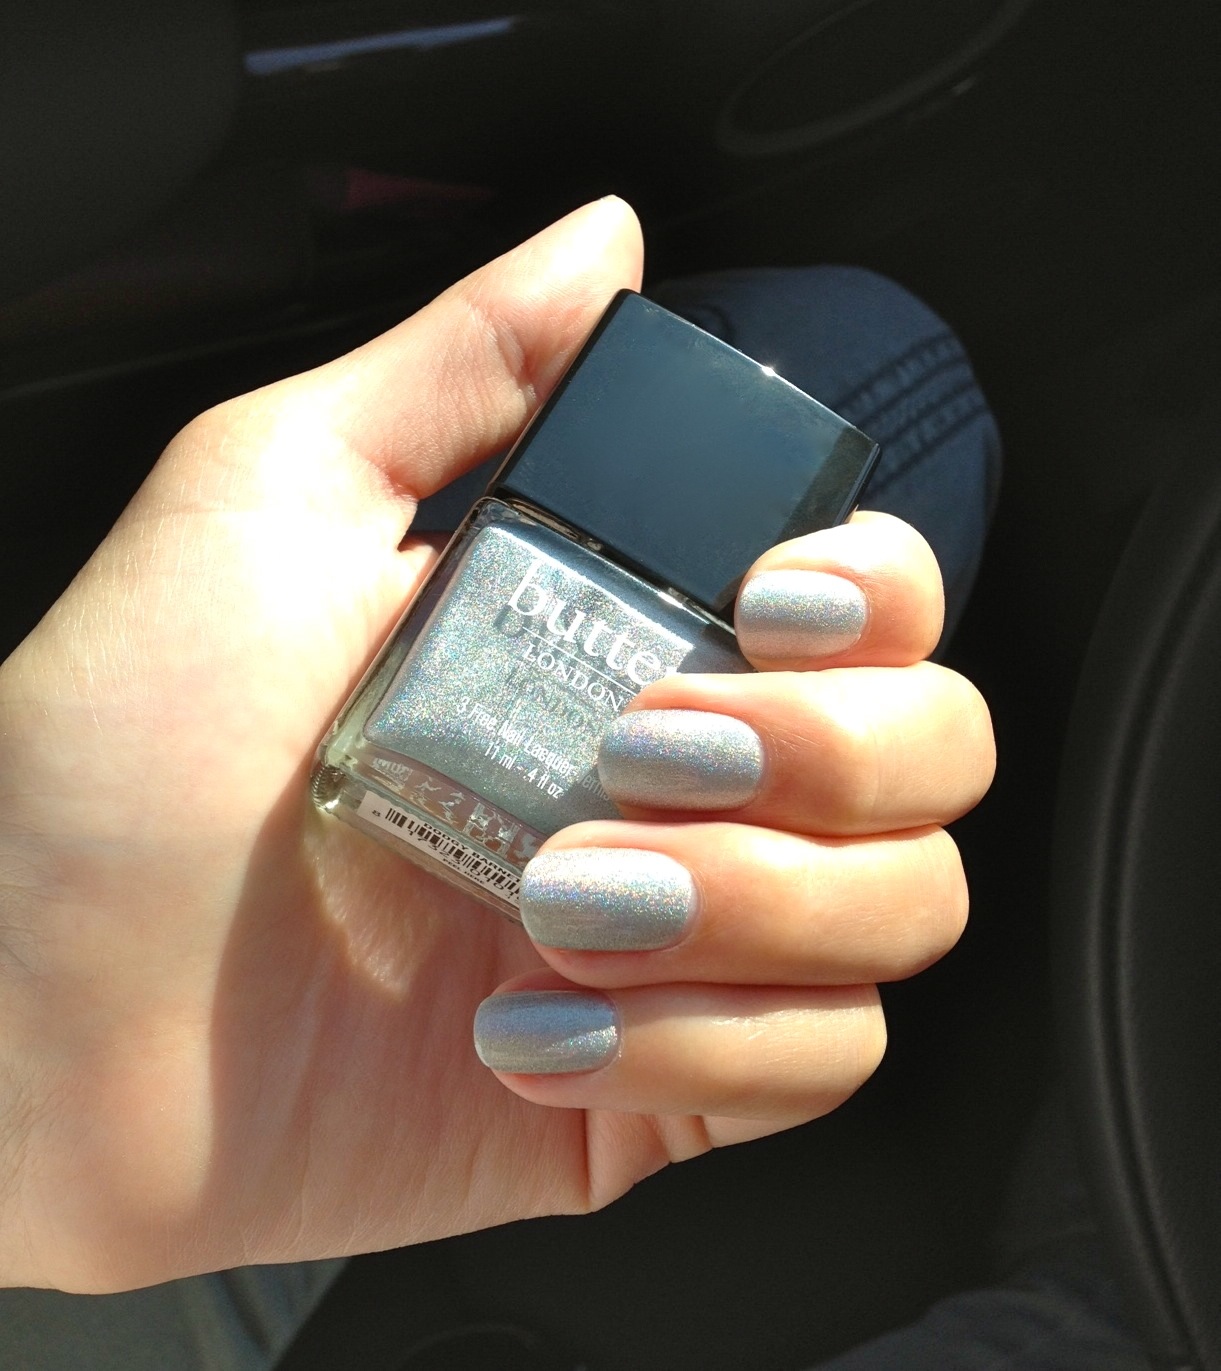
Oi! The birds at butter LONDON have sent me a few colors to try from their fall collection. So, first up is Dodgy Barnett*!

We'll get to basics straightaway. Yes, it goes on smoothly; smooth as silk since butter LONDON's formula is, as you may know, one of the best. (Like most of my manis, I wore this for a full week and only started to get little chips on the 6th day, and even then they were barely noticeable.) I strongly considered putting down a coat or two of ORLY Mirror Mirror, a pale creamy gray, to give myself a good base, but I decided against it. I wanted to see Dodgy Barnett in its full glory.

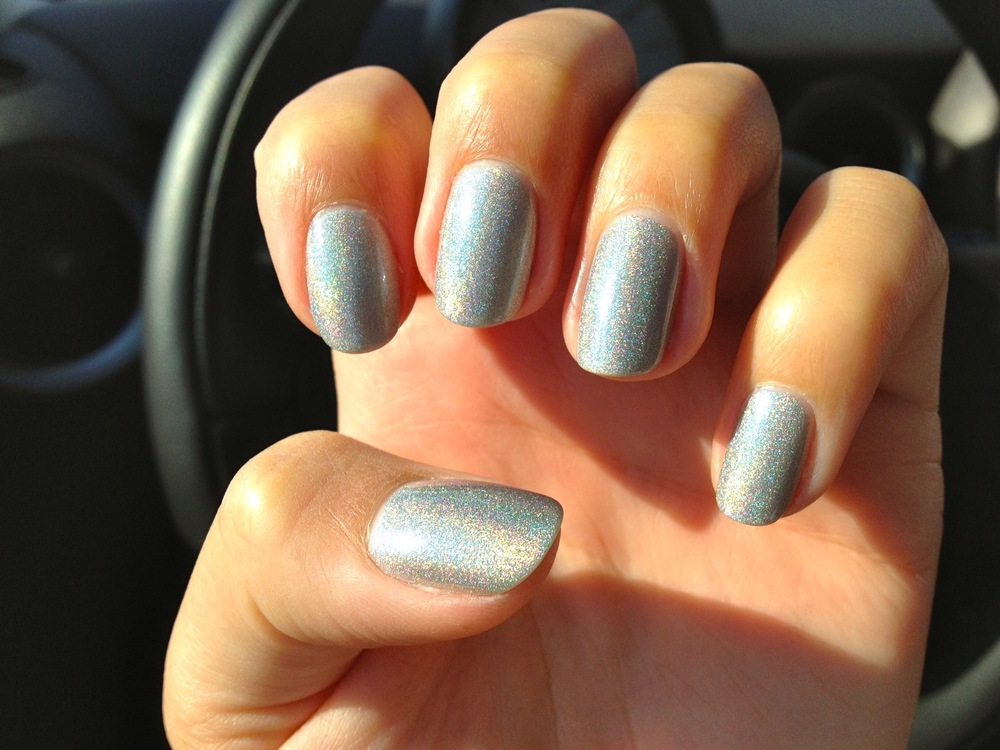
It's a holographic polish, but it's a bit unusual in that it's not a true holo that goes on opaque and is crazy crazy bling, like Nfu Oh 61. Instead, you can see that the holographic specks (too small to even call them microglitter) are suspended in a translucent base — almost clear, but not quite.

The first coat did amazing coverage and no streakiness at all. The second coat nearly satisfied me. If you have naturally beautiful nails with pretty moons and tips, then two coats may be the perfect way for you to show off. I, however, wanted GLITTERO MAXIMO, so I applied a third thin coat and got just what I asked for. Awesomeness.

The thing to remember, my Polishment pal, is that you and I... we know nail polish. We are no stranger to holos. We've seen so many pictures online, we've been left with the feeling that holos are not particularly unusual. And you're right, they are not. To polish people, they aren't. But to the average Joe or Jane...

You guys, this rocked my coworker's (and friends!) worlds. Dodgy Barnett was treated liked a big time celeb around here. Kind of comical, actually. I haven't gotten compliments like this in a while. Of course I was flattered, but I was also terribly amused. It was just so... quaint. All this hubbub over a holo? Oh, you silly, silly noobs.

Then I looked back down at my nails and thought, huh. Maybe you all have a point.

While it's true that Dodgy Barnett is not as early-2000s BAM holo as it could be, that's exactly why I like it. It's a pretty, (somewhat) sophisticated holo that is a great addition to your Stash if you're looking for a little pizazz. And as a side note, although this is part of butter LONDON's Fall 2012 collection, I think this color's totally appropriate all year round.

holothere, Francesca

*product provided for honest review

The "Glop It Like It's Hot" Manicure

One of my biggest sources of inspiration is the mademoiselle Pshiiit, of Pshiiit.com. She's absolutely incredible. Her photography is completely pro (no car driving shots for her), her colors are gorgeous, her accessories are tres chic (the rings! the pendants!), and her nail art is oh-so-pin-worthy.

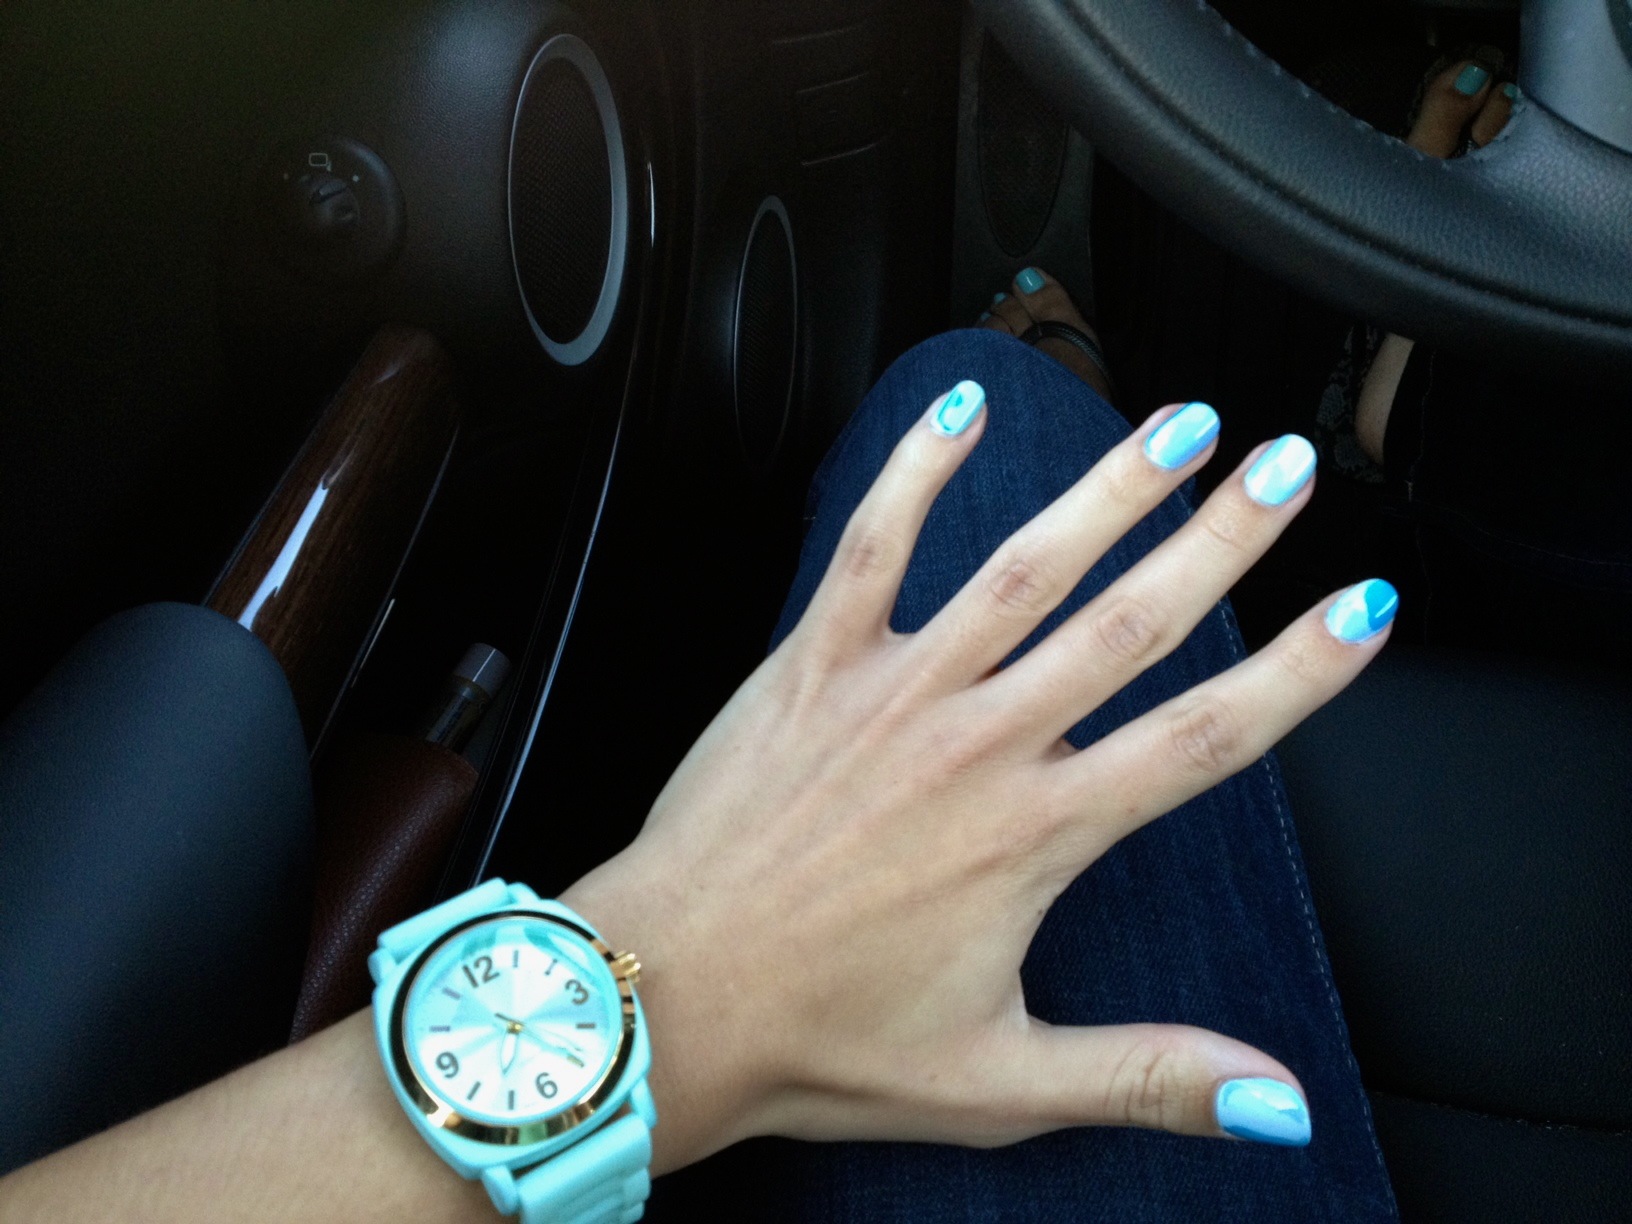
After staring longingly at this photo of hers, I decided to give this look a whirl at home.

This was really very simple to do. In retrospect, I should have kept it simple with only three colors. Since I used four total colors but only three on each nail, I was switching colors out a lot and keeping track of patterns, and it really did not need to be that complicated.

Step one, I painted my nails with Essie Borrowed & Blue. It was pale enough to use as a base, but blue enough to work with my palette if it ended up showing through here and there.

Step two, I honestly just glopped the polish on! I did one nail at a time, because it's important that all of the colors are wet as you blend. I found that I didn't need to be careful about the brush of one color touching a wet polish patch of a different color. Since polish is so thick, the polish itself protects the brush from picking up another color.

So, I glopped it on and prodded the polish here and there for an irregular effect. This DIY nail art is great because it's just so organic. However it comes out is how it's meant to be!

I loved this manicure because I felt like I had 10 little pieces of vacation on my fingertips. Aquamarine pools, turquoise Caribbean waters and clear blue seas.

splishsplash, Francesca