You gals (and guuuuuys) know that I am a long-time reader of Allure magazine. I love Allure because they cover a great spectrum of beauty brands, from drugstore staples to department store indulgences. It's also one of the few magazines that doesn't give me some kind of complex after I've finished reading it, so there's that.
I was thrilled to be chosen for an Allure-sponsored product trial for Sally Hansen — Salon InstaGel Strips.
I went in with a personal bias. I love the normal Sally Hansen Salon Effects. Seriously, seriously LOVE. If I didn't blog about polish and have tons of colors to try out... I'd probably wear Salon Effects at least half of the time. They're fast, easy, dependable and have a great array of on-trend colors & intricate patterns. I just love them.
Allure sent the starter kit, which included a very demure shade of pink called Shell We Dance, and a more experimental snakeskin option called SSS-Snake Eyes.
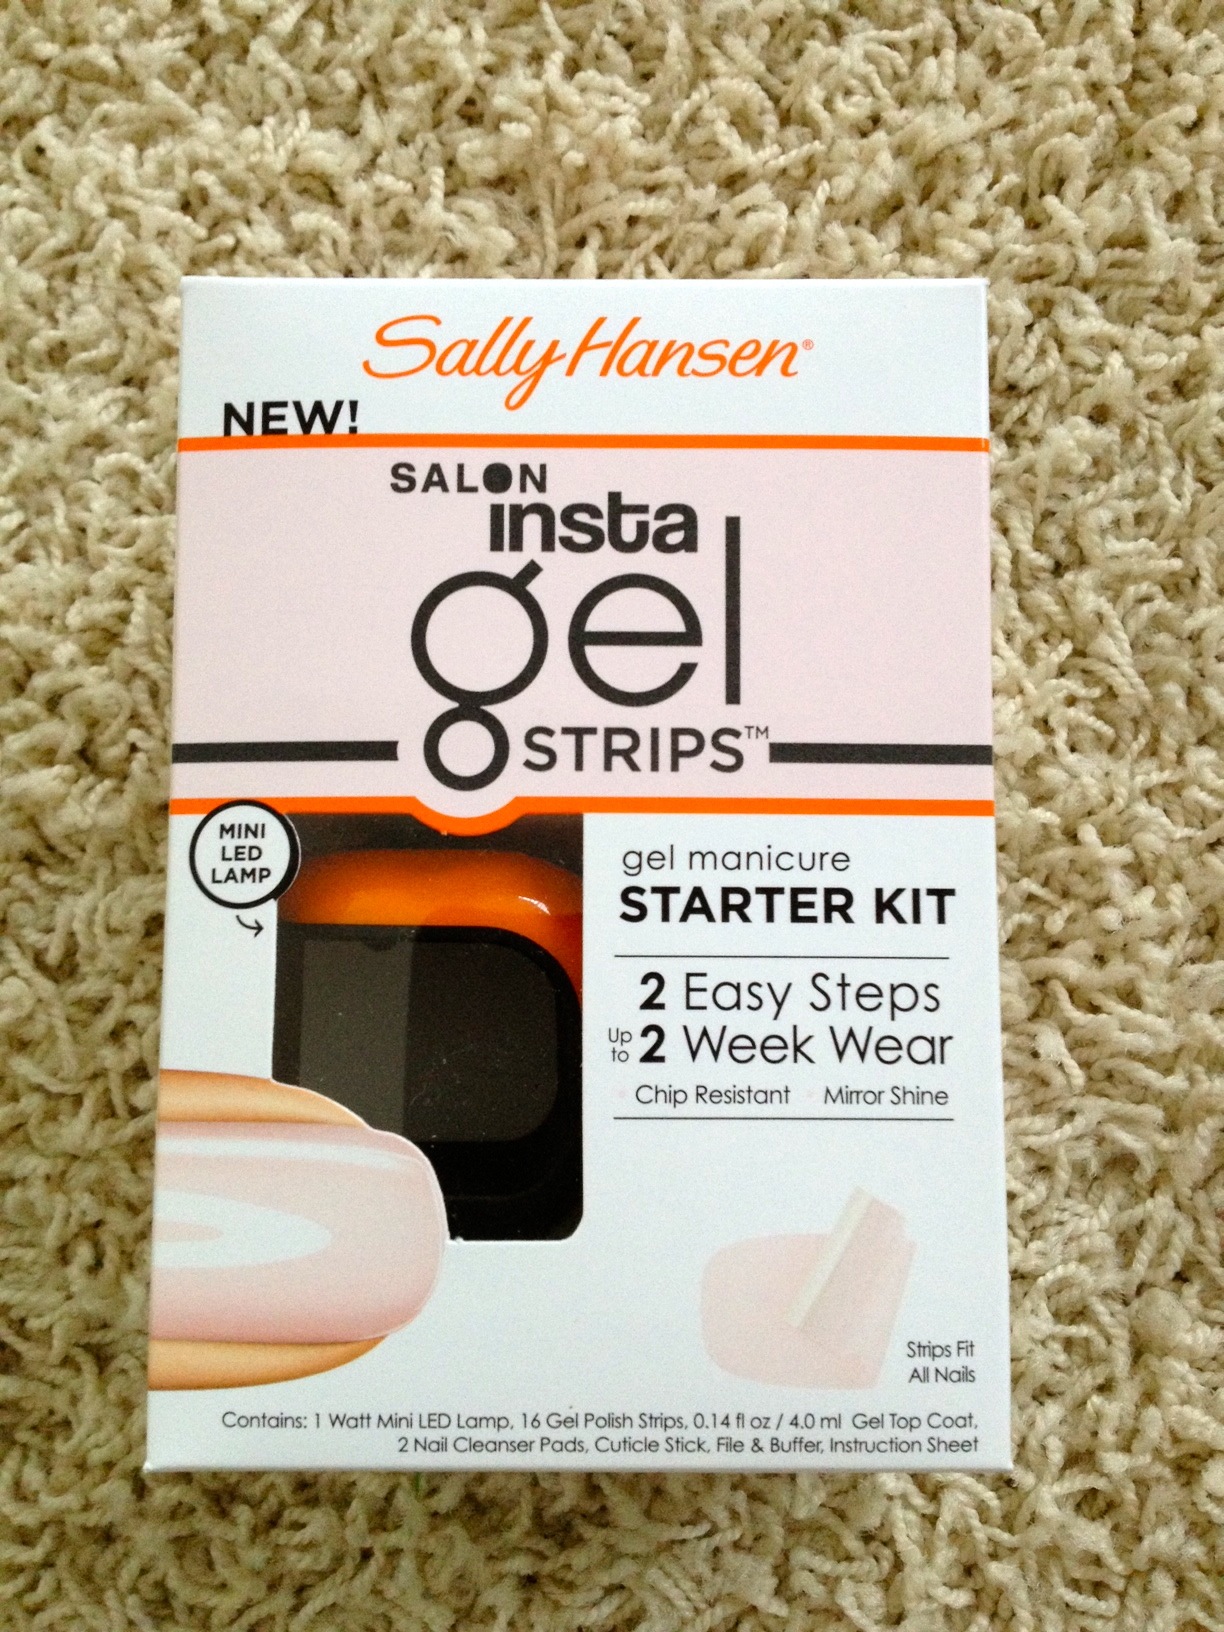

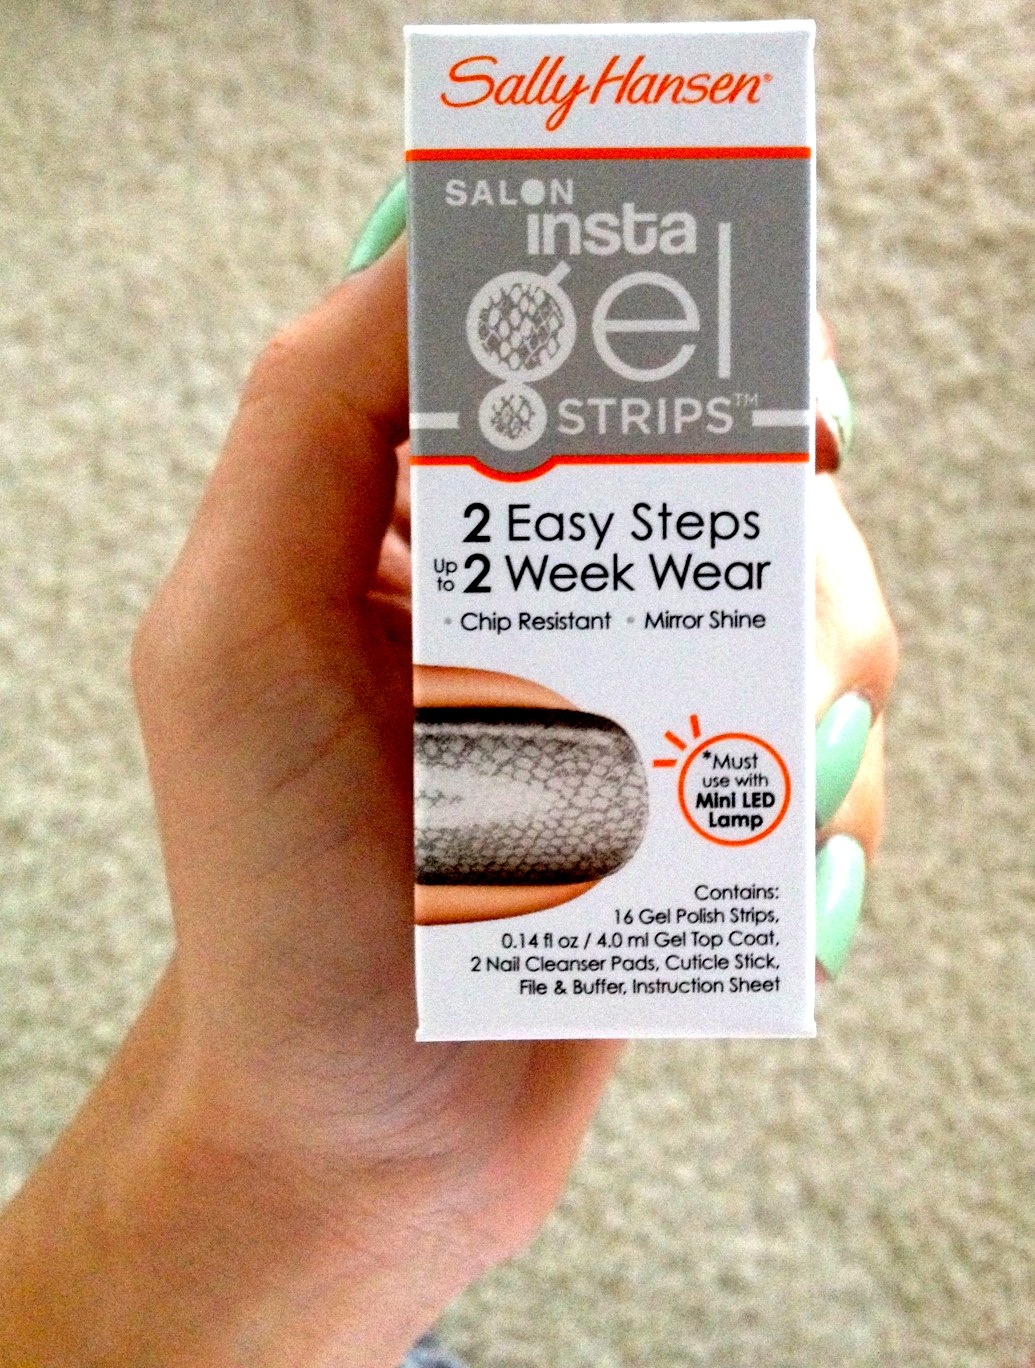

APPLICATION
The strips enable you to sport a gel manicure with an intricate design for a much cheaper price than you'd pay for a professional for such artistry. If you already own a traditional gel kit and enjoy solid colors (which Sally Hansen also offers), then I cannot honestly say that this kit will save you an outrageous amount of time. You still need to sort out which applique is the right size for which nails... and it still never seems to work out perfectly, so you'd got to franken-nail things up here and there.
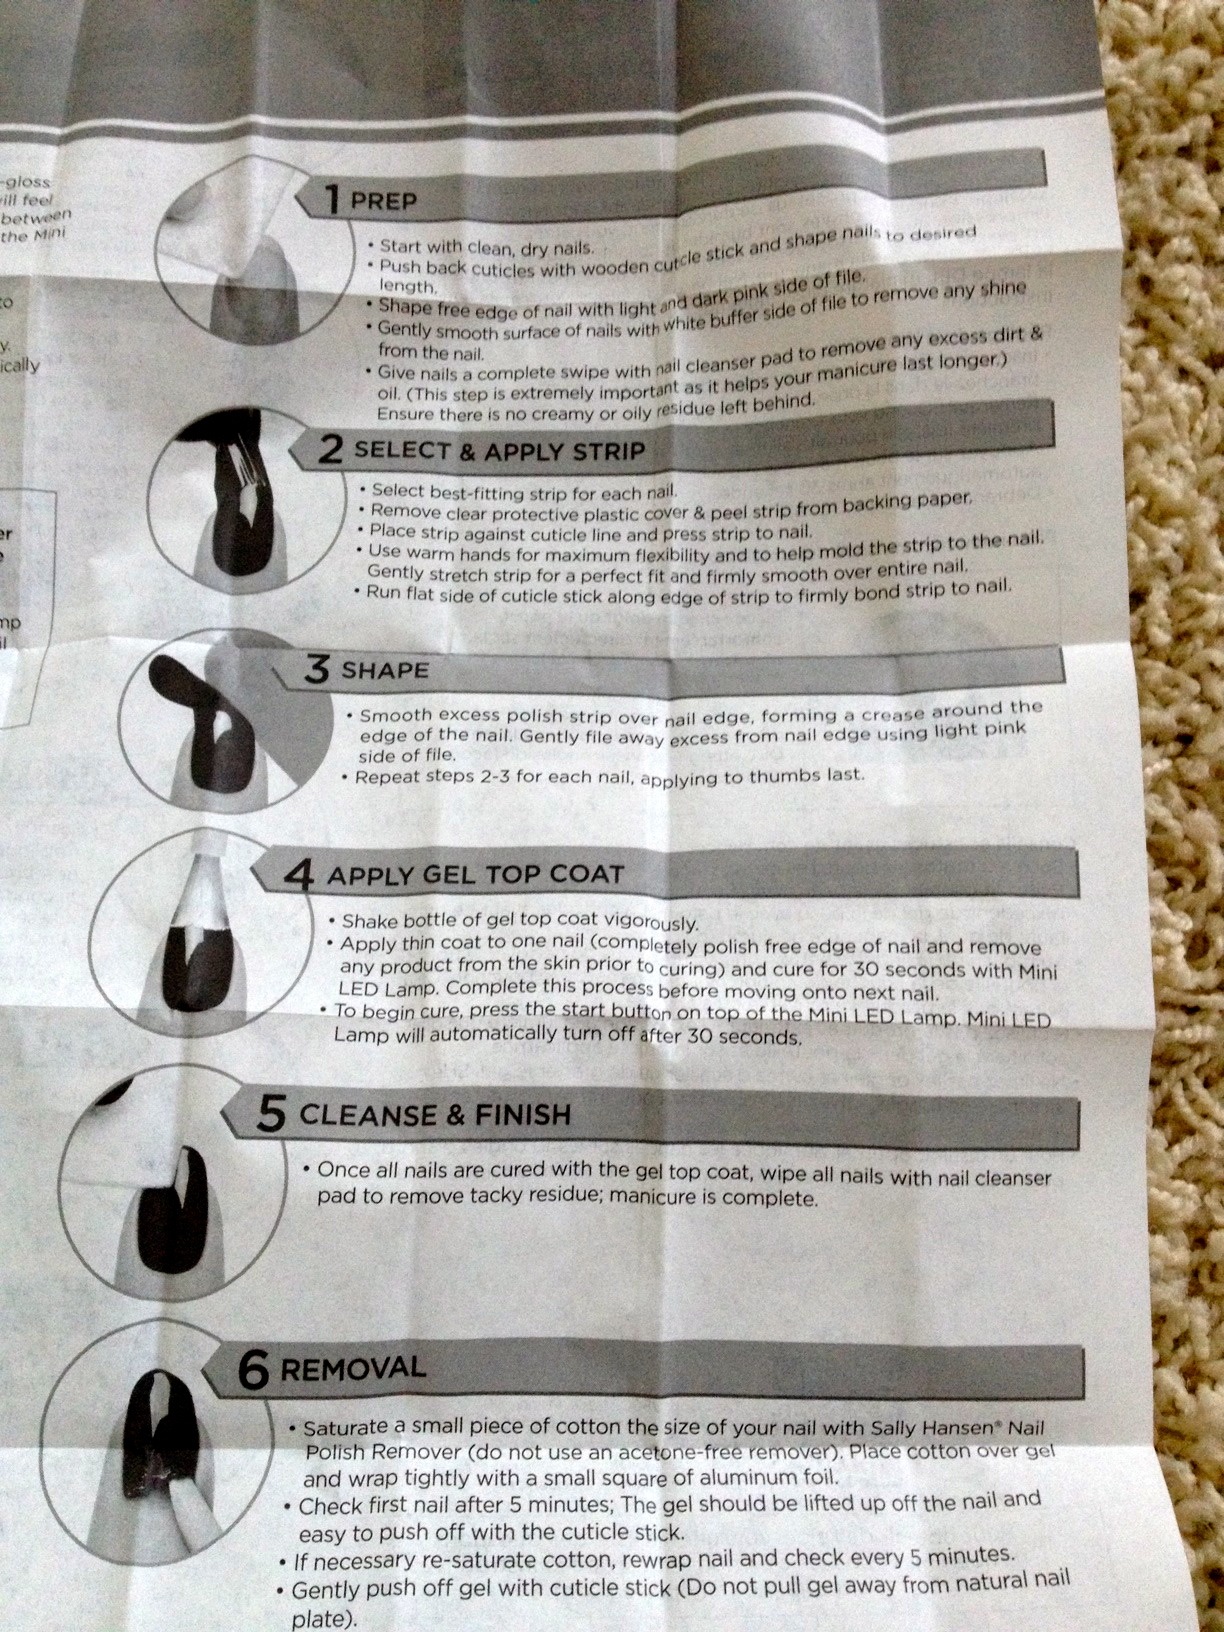
It's essentially a 5-step process. Prep (file, shape, buff, wipe with alcohol pad). Apply strips. Apply gel top coat. Cure with the UV light. Wipe with alcohol pad. Done!
A normal gel manicure means: Prep. Apply base coat. Cure. Apply color coat. Cure. Apply second coat of color. Cure. Apply top coat. Cure. Wipe with alcohol pad. And, finally, done. Depending on what kind of lamp you're using, that can be a bit of a time investment. But I don't think doing your nails is a very speedy process to begin with.


WEAR & TEAR
Fantastic. By the end of my two-week trial, I had maybe three tiny chips, and they were only noticeable upon the very closest of inspections. And the look stayed shiny for all 14 days. Love that.
One bummer was the grow-out. Like the other appliques, these strips have a very defined edge that lies near your cuticle. As your nails grow, that sharp edge becomes exposed and you can get things caught in between the ridge of the applique and your cuticle. And by "things," I mean strands of your own hair. Eugh.

REMOVAL
Hmmm. Removal. I mean, if a mani's going to stay pretty indestructible for two weeks, it stands to reason that it's not going to be incredibly easy to remove. That's just like, a law of physics or something, lol.
I gently scuffed up the surface of the gelicure with a nail file to break through the hard shiny shell that the top coat made. Then I used The Foil Method, of course. In the end, there was still a lot of soaking and a bit of scraping off carefully with a cuticle stick, but these were pretty standard gel manicure issues
OVERALL
If you're someone who loves gel manicures but doesn't want to drop that kind of cash twice a month or so, this is a great product to consider.
For those of you that already own a gel manicure kit, I am not sure that you need to replace it with this kit. In fact, I suspect you could probably skip the starter kit and just buy a pack of the gel nail appliques. As long as you already have a gel topcoat and a UV lamp to cure it, you should be good to go.
Don't wear gel manicures often, or only really get them for special occasions / vacations? I might suggest skipping at-home kits entirely and continue going to your favorite salon. If you view a gel mani as a treat, then you'll miss the whole salon experience when you use an at-home kit. They are pretty utilitarian, after all.
xxo, Francesca


