Christian Louboutin — Rouge Louboutin

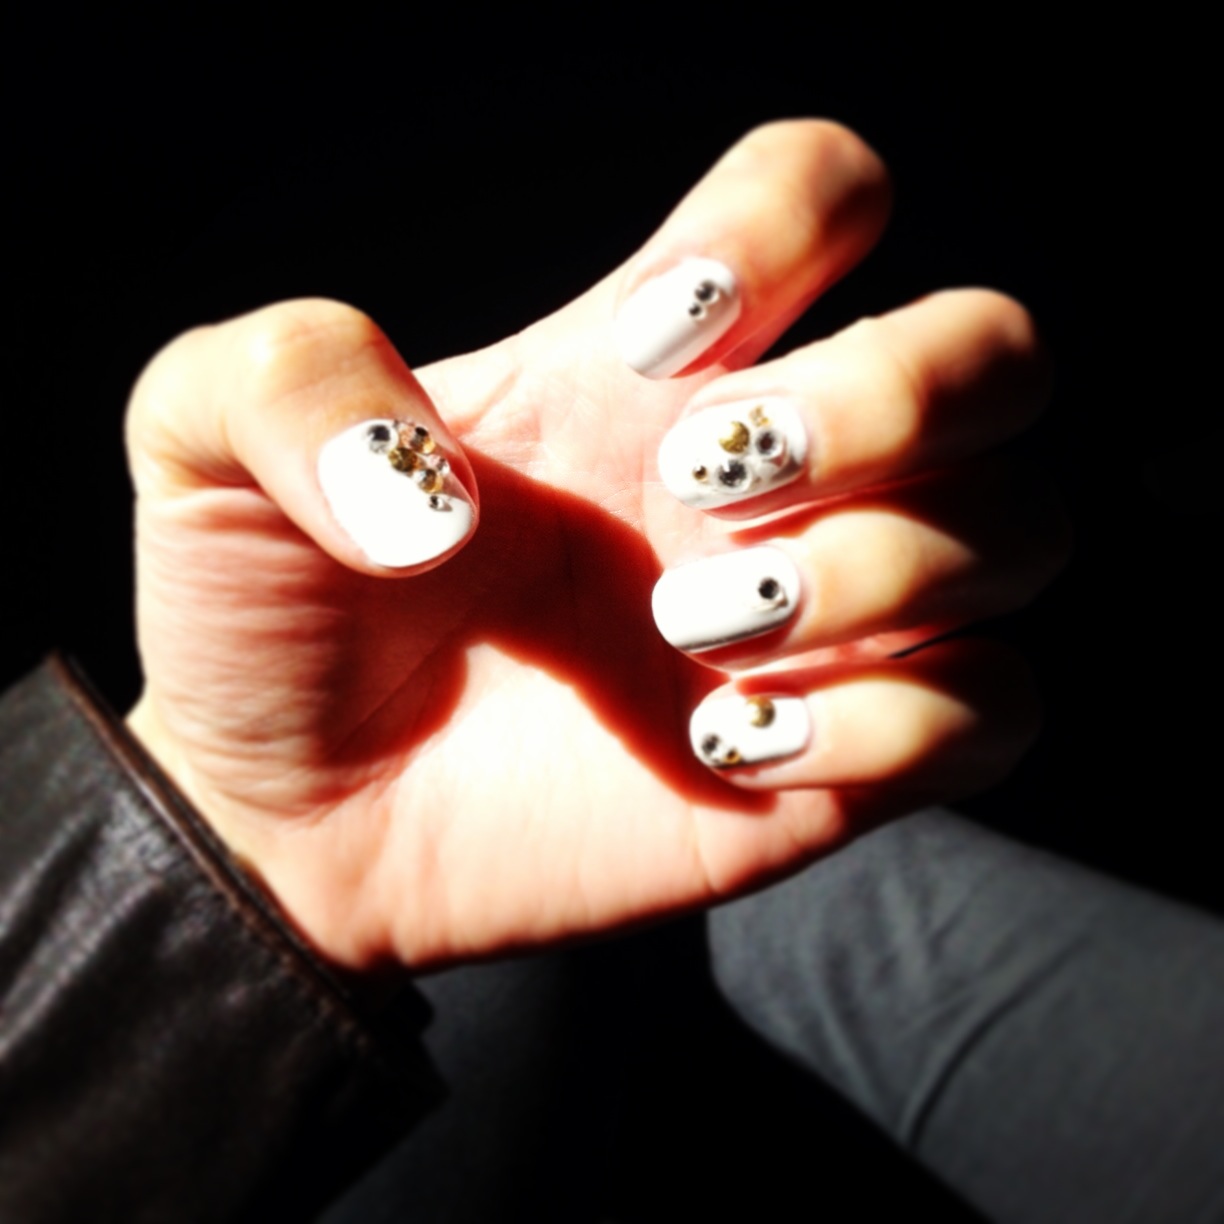
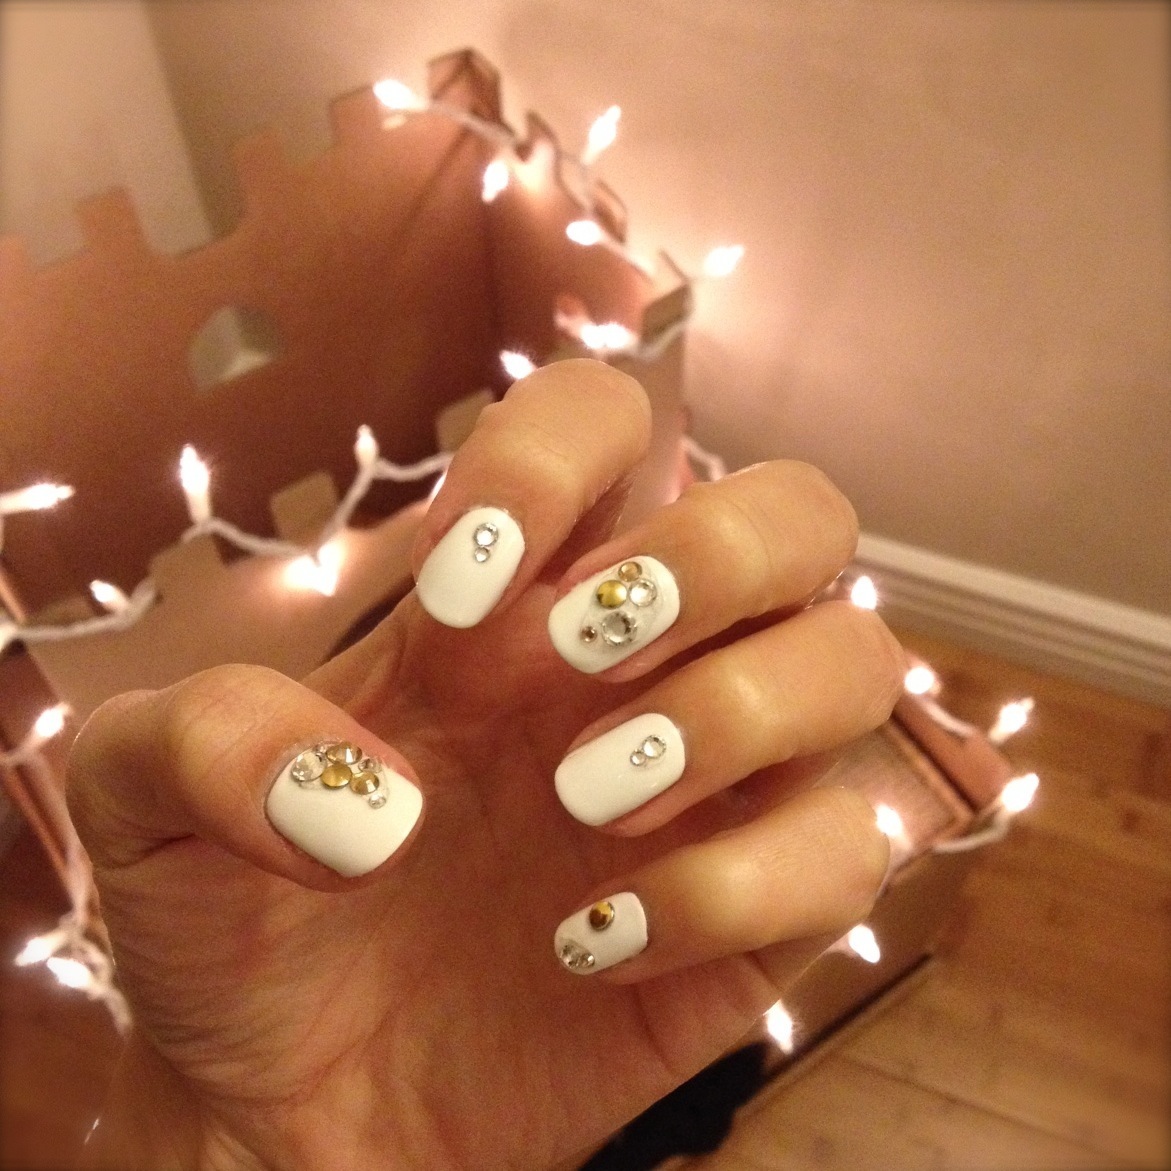
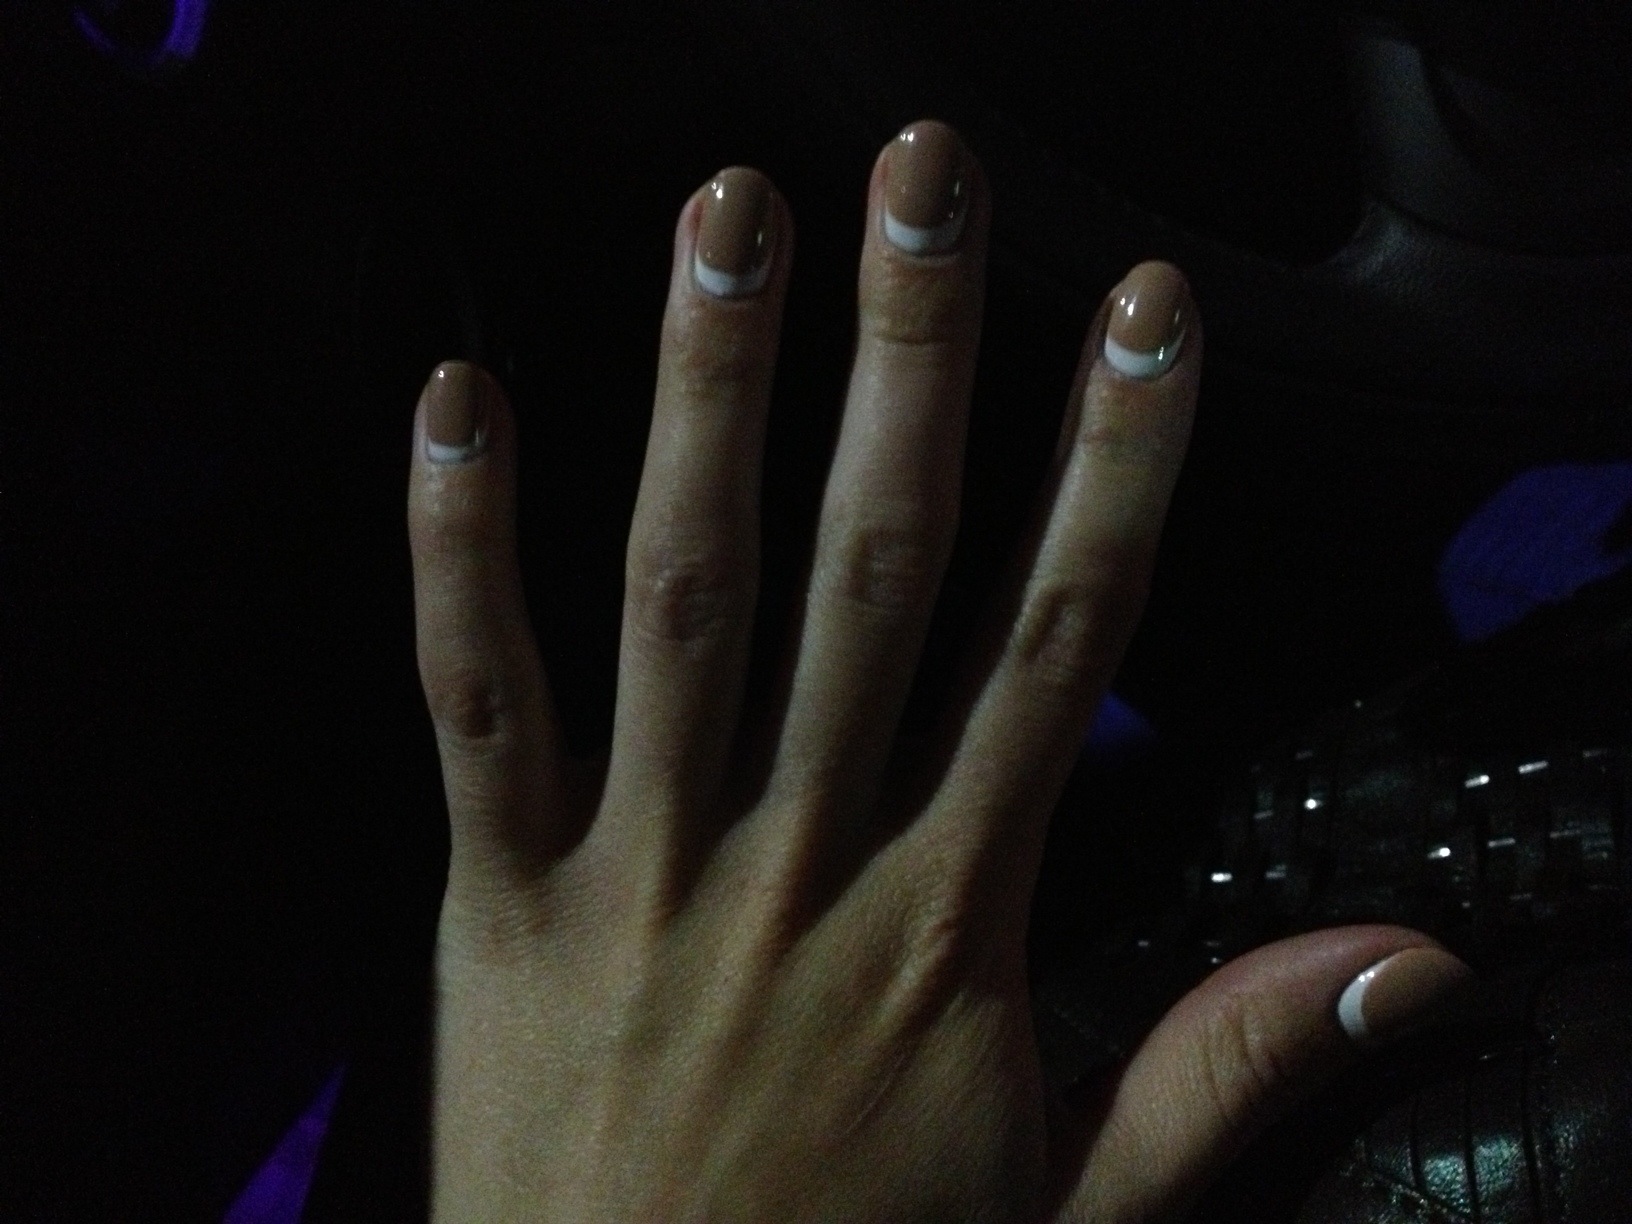
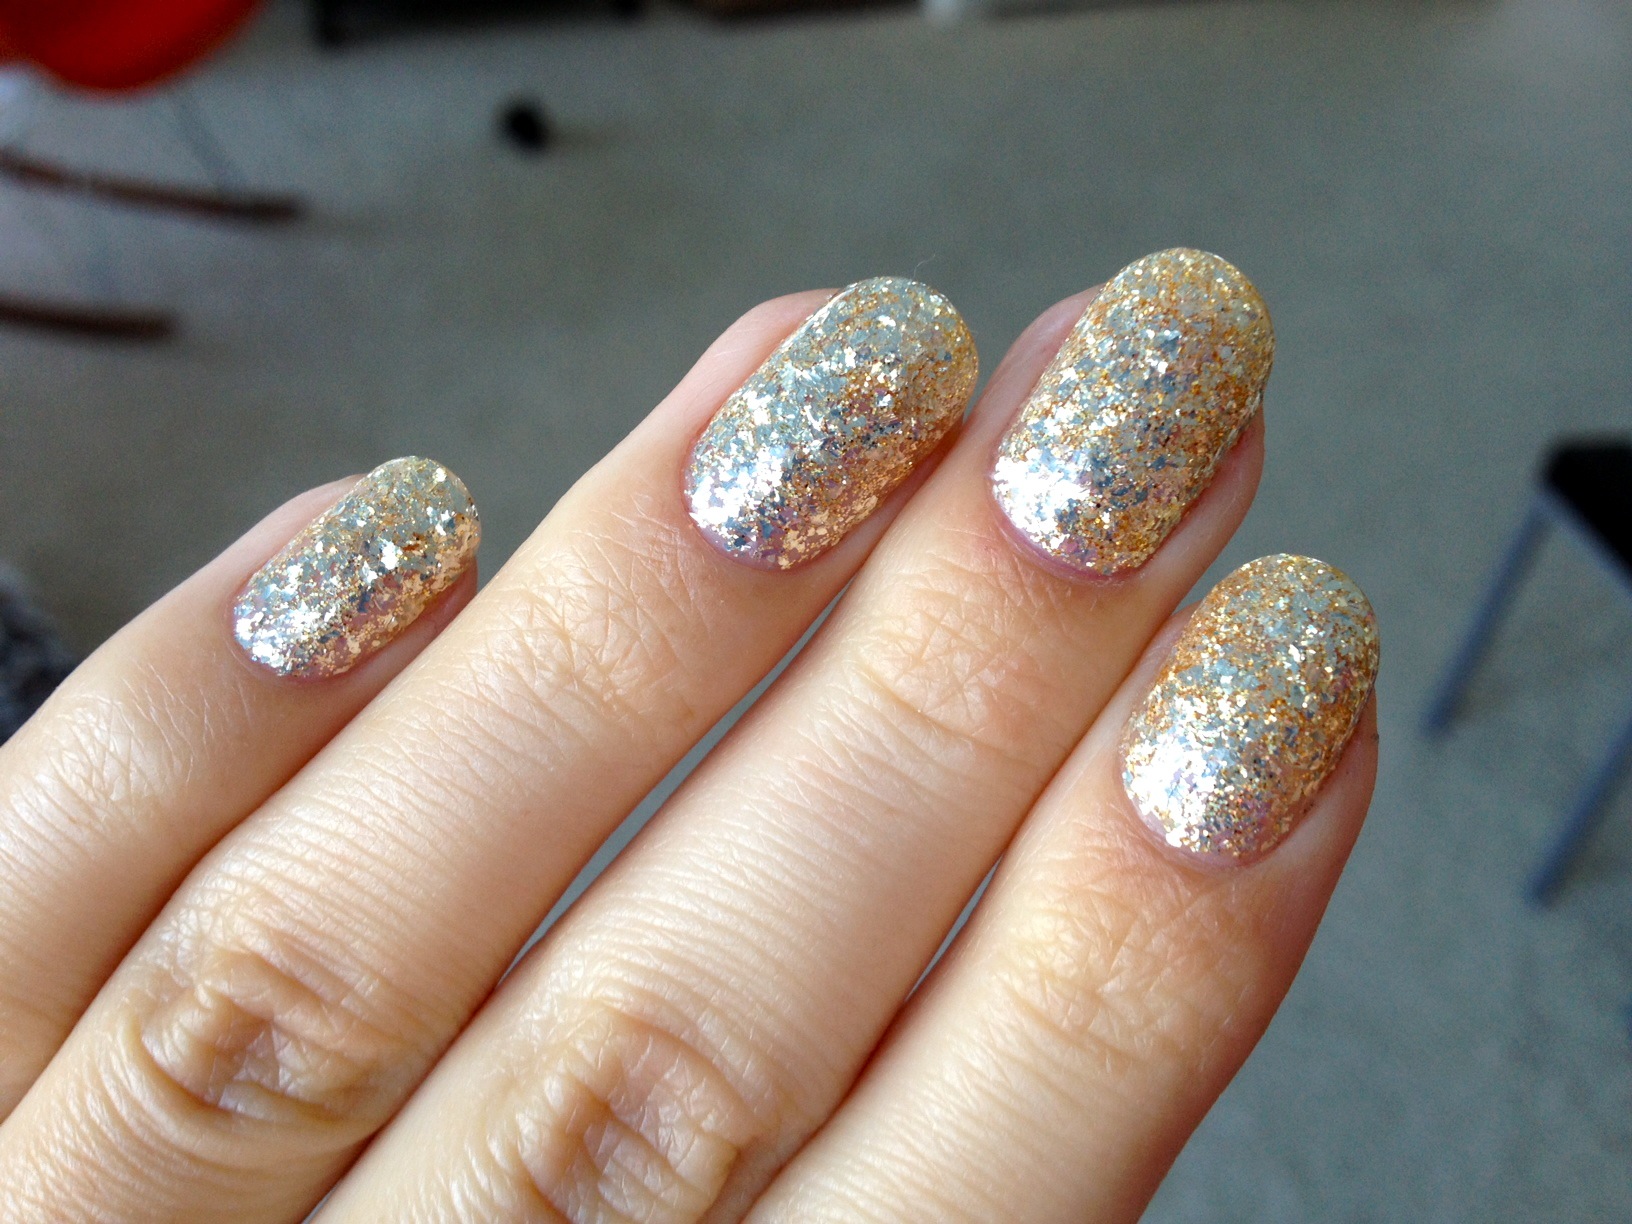
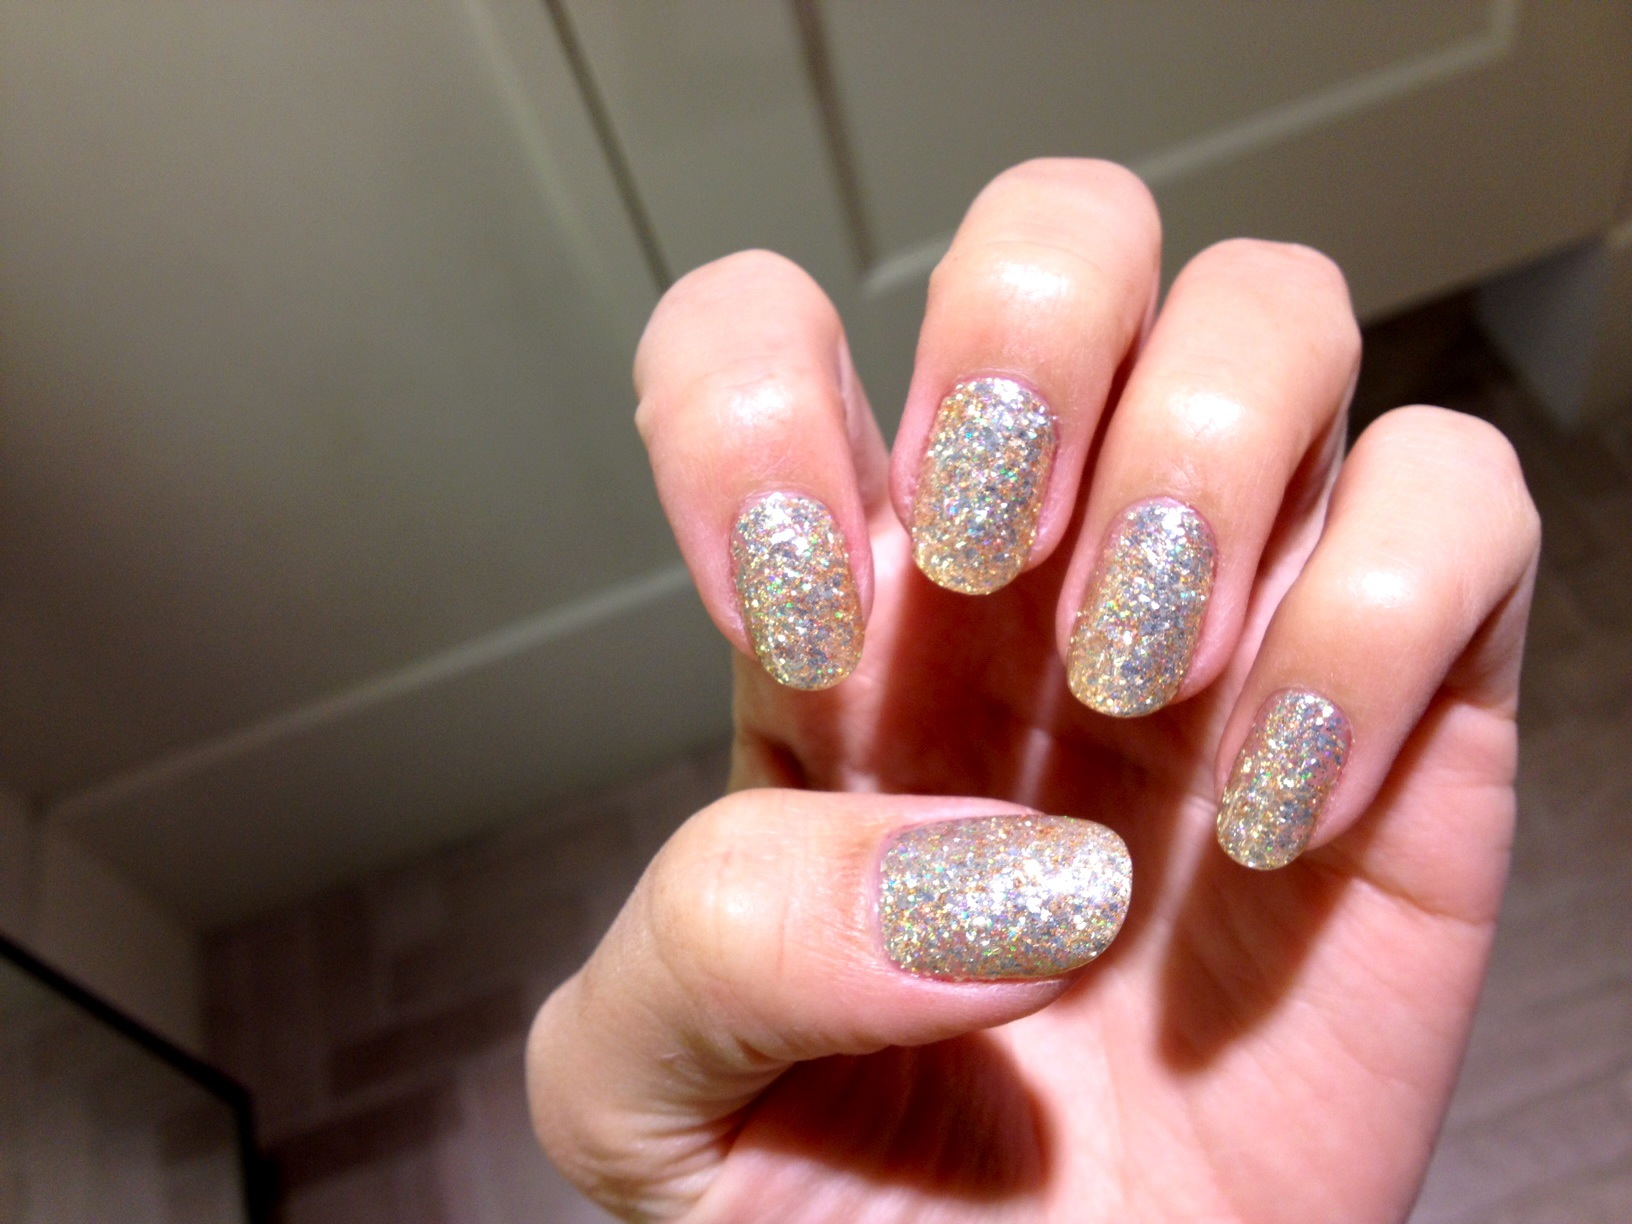
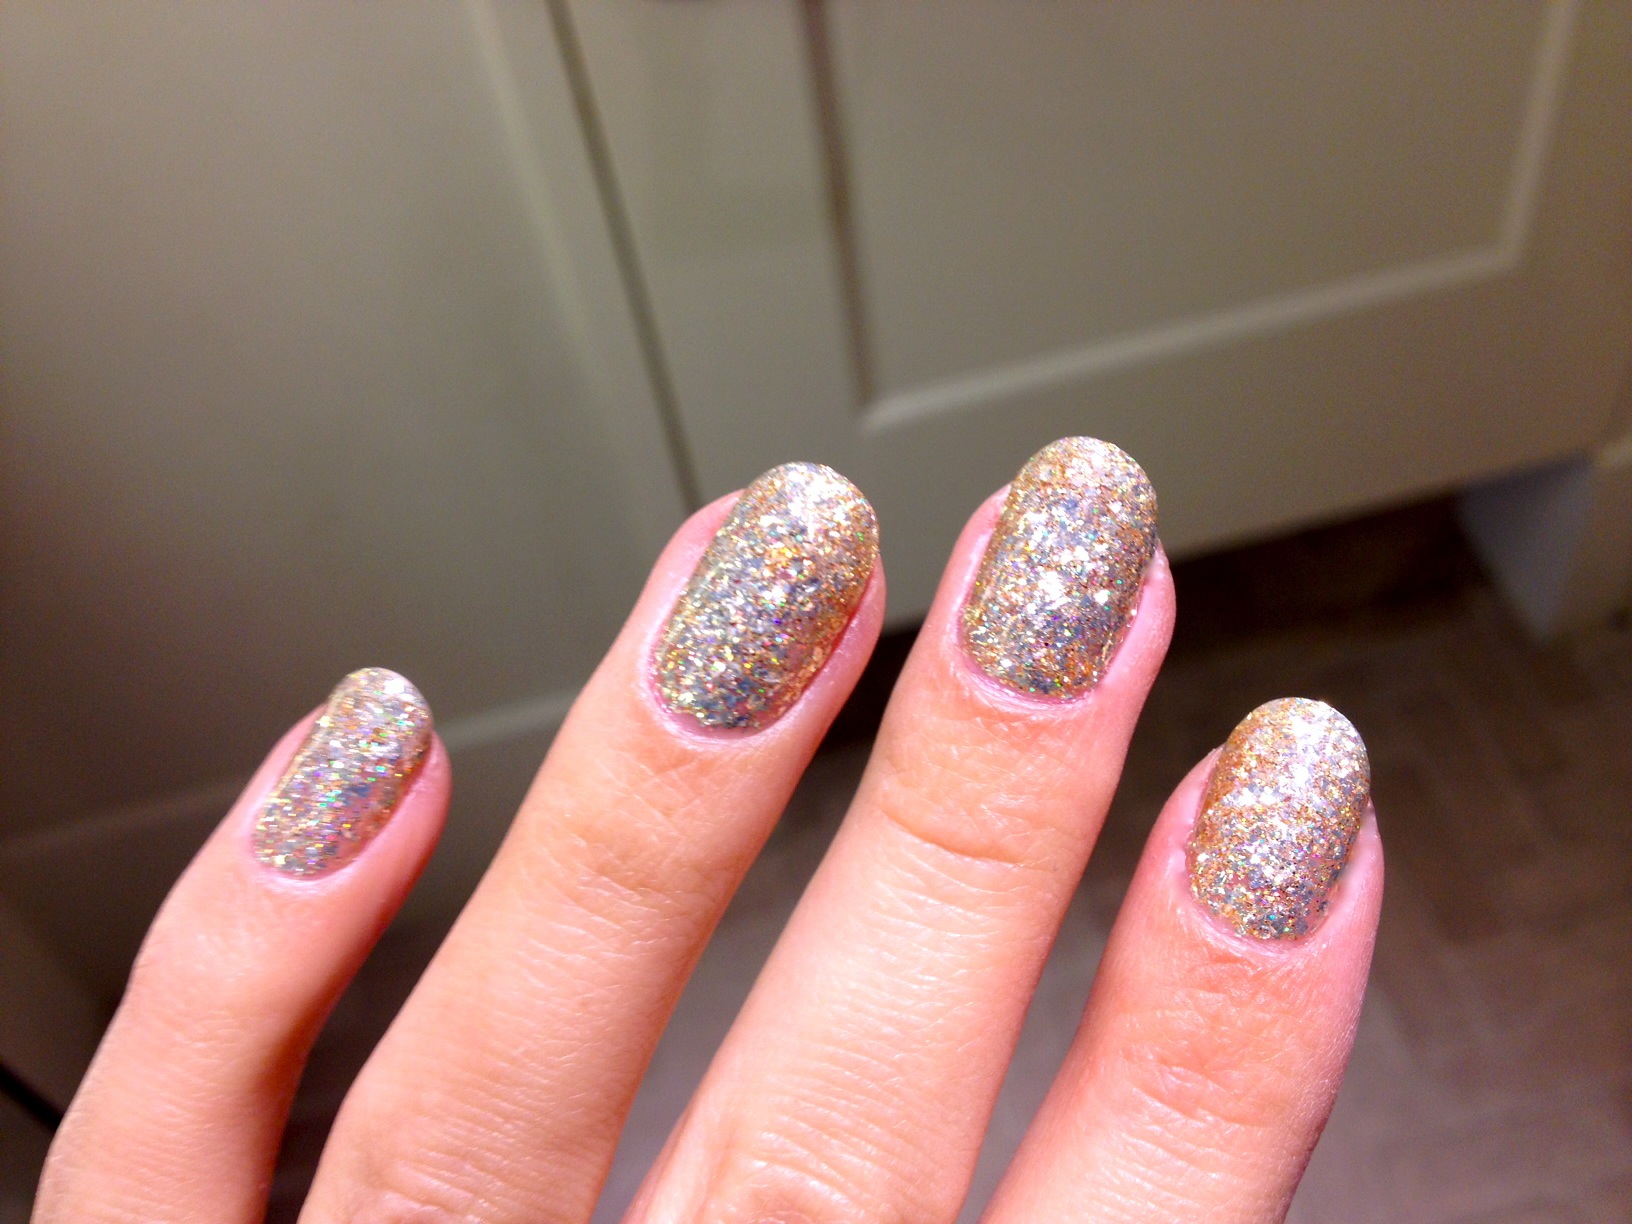
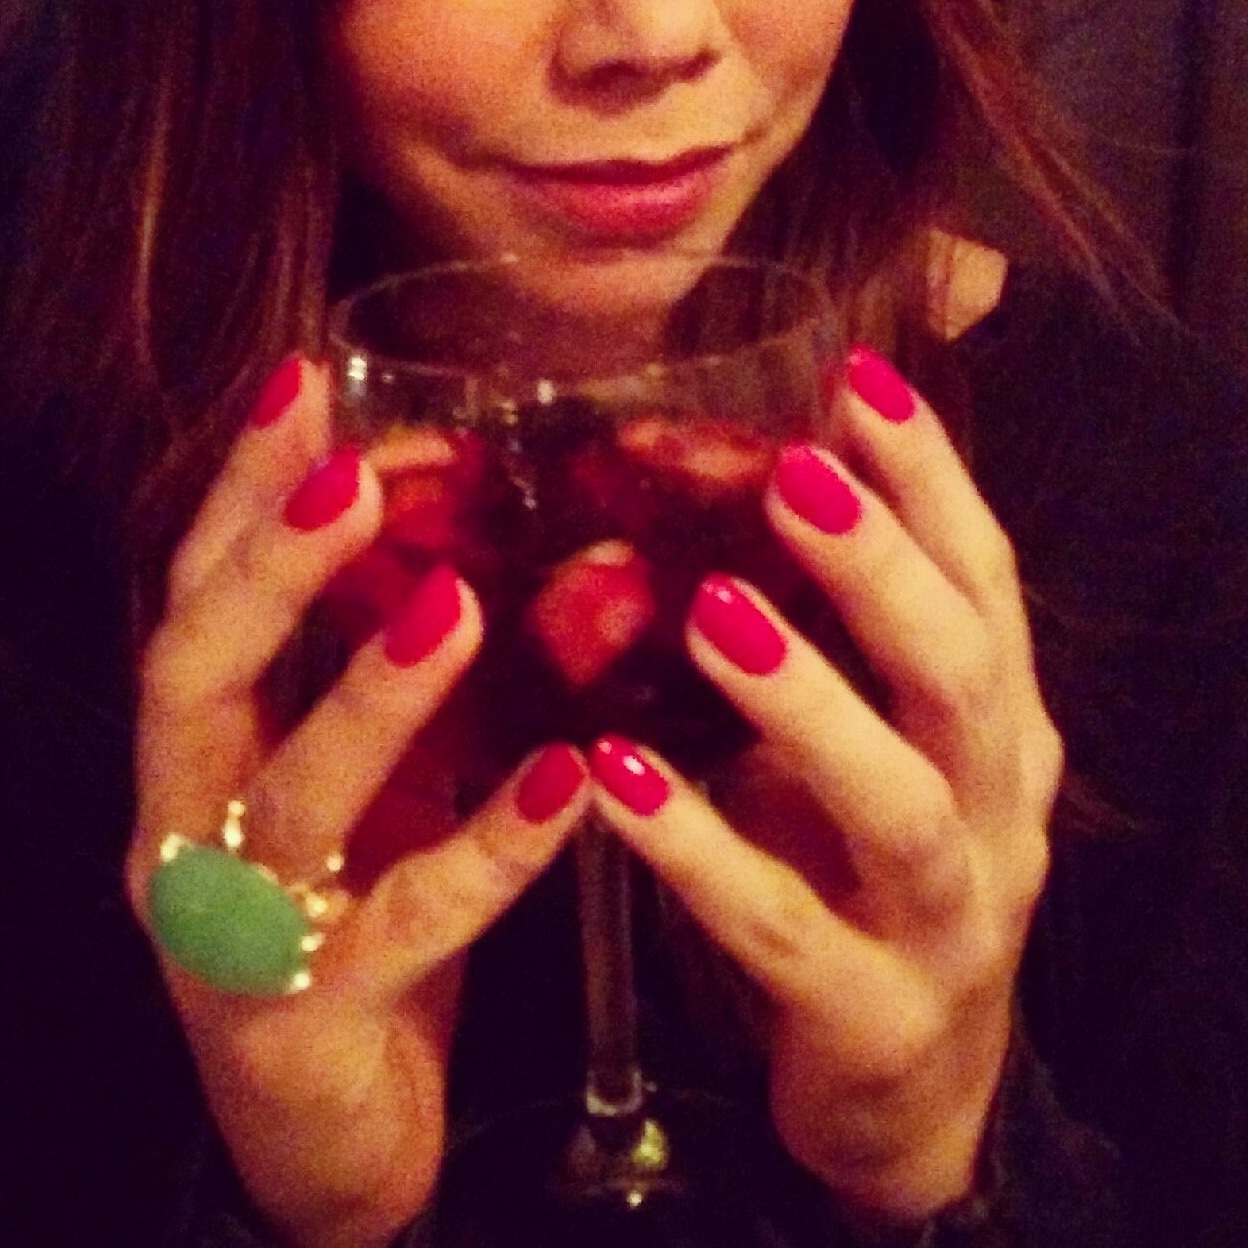
Happy New Year! My first mani of the year was definitely one to remember.

I'm back behind the wheel, y'all.

My brother Alex has a history of getting me very thoughtful, very magical gifts. Christmas last year? A real, ceramic ocarina with a songbook from The Legend of Zelda: Ocarina of Time. It’s truly a work of art. Granted, I never even got the hang of a recorder, so it serves as decorative piece to show how cultured and cool I am ;) and less of a true musical instrument. For my birthday? Lucius Malfoy’s walking stick. Pull on the silver cobra head at the top of the staff and — voila— the magic wand is revealed. It is of the utmost quality and is a legit weapon. I keep it near my front door so that a) all guests may admire it and b) it's close at hand to battle potential hot prowlers.

And so, Christmas 2014. What would young Alex surprise me with now?

This.

Christian Louboutin / Rouge Louboutin nail varnish.

Check out that black on black packaging with a saucy wink of red. Ooh la la!

CL_Rouge_CU

From the CL website:

Rouge Louboutin… a timeless, vibrant red suited to any skin tone. A true objet d’art of a dramatic 8-inch height inspired by the tallest heel Christian Louboutin ever created- the Ballerina Ultima.

But wait. There's more...

The iconic Rouge is encased in a faceted, weighted glass bottle with an unique ombré effect. The tall slender cap, inspired by calligraphy, turns the application into a luxurious experience, inviting women to take their time.

A true indulgence at $50 for one bottle. Yowza! The color is richly red. It’s not quite a true red; it veers on the warm side. The application was great, and the brush made for a very different painting experience. It wasn’t necessarily unwieldy, but it definitely felt unusual. They say that in Roman times, patrician women would dip the tips of their fingers in bright red dye. This was called their domestic look. I felt a little like that; the paint job felt ritualistic in some way.

The spiked handle of this polish is sarcastically large. It's 8" (or so it SAYS, hahahah). My friend told me it looks like dark magic; like you have to stab the spike into someone's still-beating heart and the spike sucks the blood out, and then that id what you paint your nails with. This bottle, combined with my Lucius stick, means I am at least 80% real sorceress.

CL_Sangria

Legend has it that Christian painted the soles of a high heel he was designing with red nail polish on a whim. That moment of inspiration helped him make a name for himself in fashion, and now his iconic rouge lacquer serves as the first brick in the beauty product empire that he’s aiming to build. It’s poetic.

Christian Louboutin Rouge will sit in a place of honor, on top of my Stash; partly because it can’t fit with the rest of my bottles, but also because it is a goddess among mortals.

Sincerely, Francesca

The Snowzilla Polarpocalypse Mani

Baby, it's cold outside! Since I live in Los Angeles, I'm blissfully unaffected by the POLAR VORTEX that's been pillaging the U.S. I do, however, have lots of friends and family who are dealing with The Polarpocalypse, and all the pictures of snow floating around the The Gram and FB have put me in the mood for a white mani.

photo 4

photo 1photo 2

This was a very easy manicure to do. I began with two coats of OPI Alpine Snow (so aptly named) and let it dry. Once the polish was mostly set, I applied the Swarovski crystal stickers I'd been hoarding.

photo 2

What's cool about this product is that the sticker itself is completely clear, and it holds the crystals in place so you don't need to spend time painstakingly placing the gems on your nails. The other nice thing is that there's a little chart included to recommend which sticker goes with which nail. You could go rogue and pavé your own way (ha), but I stuck with their suggestion (hahaha).

Next, I put on a nice thick layer of Seche Vite, being sure to coat the edges on the stickers to make them better seal to my nails. Anything to avoid the dreaded "hair-catching" syndrome.

photo 3

This is a great manicure for a special event or party-filled weekend, but be warned: it's not very long-lasting. Despite my best efforts to seal the deal with Seche Vite, the stickers did begin to come off by Day 4 and by the end of Day 5, the polish was not looking so pretty. But it was fun while it lasted!

Even sad fluorescent lighting couldn't dull down this mani. Unfortunately, the jewels did begin to fall off. Note that I'm missing one on my ring finger.

snowin'ballistic, Francesca

P.S. Want MOAR white mani ideas? Check out these posts:

Funfetti Glitter Mani

Sparkling Snow Globe Manicure

The Trés Chic Upside-Down French Mani

China Glaze — Sun Worshiper

I’ve talked about my sun worshipping on this blog before. I know it’s terrible but there’s nothing like a little old fashioned sunshine to cheer me up. I tend to run on the cold side — basking in the sun’s rays makes me feel so cozy!

When I think about sunbathing, I recall a poster in the waiting room of my childhood doctor’s office that said something about how 5 great civilizations worshipped the sun, and 4 are extinct. Aight, doc, point taken but correlation does not imply causation. So no, I do NOT think that sunbathing was the downfall of the Egyptian empire. But I digress.

I recently wore China Glaze Sun Worshiper; not a color for the faint of heart. I mean, it barely matches anything and it glows in the dark, so if you’re looking for a color that whispers, “Take me seriously, I’m a professional,” I’d suggest looking elsewhere. But if you want a shade that shouts, drunkenly, “ZOMGYOUGUYS this is my favorite song!” you may have found her.

Screen Shot 2013-09-26 at 1.36.58 PM

Sun Worshiper is a neon yellow-orange that packs a major punch. What’s funny is that the color itself isn’t necessarily flattering to many (or… any?) skin tones, but you’ll still get tons of compliments because it’s just fun to look at. And therefore fun to wear. :)

Here's Sun Worshiper in direct sunlight.

Look at the way the thumb still glows in the shade.

The coverage is pretty good for a neon. I skated by with three coats since it can be a little streaky. A good idea may be to do a white base first, if you have the time. Three coats will be opaque though, so it's not a necessity. Keep in mind this is about as neon as you can get, so you’ll definitely want to top it all off with a nice glossy topcoat since it dries matte.

Ohmygawd, I'm glowing!

And now I’m off to sunny Palm Springs! Have a great weekend!

sunsuncomeondown, Francesca

The Très Chic Upside-Down French Mani

Ooh La La, Lopez!

If a tree falls in a forest and no one is around to hear it, does it make a sound?

If something as simple as Jennifer Lopez's manicure makes headlines, does that mean she's still relevant?

The answer is yes, evidently.

This mani was a Big Deal. Big.

To be fair, it's possible that J.Lo's upside-down French manicure (also called a "reverse French manicure") isn't getting press just because it's gracing the fingers of La Lopez. It's getting attention because it looks good. Period.

And guess what, guys! With the right colors, a steady hand and some patience, this look is yours.

photo 1 photo 2 photo 3

Upside-Down French Mani How-To

I used OPI Alpine Snow (my favorite white ever) and a color called Naked from Urban Decay's new NAKED Nail Set. This is the first color from that set I've tried, and this reverse French manicure was the perfect way to wear it. UD Naked is quite close to my skin tone, so having the sliver of white gave this look a pop of color and helped the manicure feel fresh and chic.

  1. I shaped my nails and buffed them.
  2. I painted two thin coats of OPI Alpine Snow and allowed them to dry for about 15 minutes. If the white base color is too wet, you'll mess things up and get some swirl action going on as you apply your top color.
  3. Next, I painted UD Naked on — by hand. The key was having just the right amount of polish at the end of the brush; not so much it's going to drip, but enough so that you see half-a-drop gathering. It's that drop that will spread evenly as you carefully press the brush to your nail, apply a little pressure, and let the bristles gently fan out so that they create a good, smooth crescent.
  4. Once you have the top of the crescent created, swipe the brush down toward the sides of your nails to continue the nice curve you created with the crescent. Make sure you keep consistent with the space you're leaving on each nail. Maybe a little less on your pinky, maybe a little more on your thumb.
  5. Apply a second coat (carefully!) of your top color, enforcing & perfecting the crescent-y curve.
  6. Top coat it and voila! C'est magnifique.

I had a lot of fun sporting the upside-down French and definitely plan on trying a new color combo soon. If white & nude is too safe for you, go wild! Creamy charcoal gray paired with hot pink would be awesome. What about blue on blue? The possibilities are endless; the only rule of thumb is making sure your top color can fully cover up your base color in two coats.

aurevior, Francesca

P.S. I leave you with (arguably) some of J.Lo's finest work.

[youtube=http://youtu.be/dly6p4Fu5TE]

The Oh-So-Glam Gold Glitter Gelicure

Ever since my friend Andi treated herself to a Rockstar Manicure at Pampered Hands on Melrose, I've been dreaming of doing the same. Remember this?

Over the holidays, I finally treated myself. I figured I'd be socializing and catching up with my nearest and dearest, so spiffing up my claws was really the least I could do.

Pampered Nails is, hands-down, my favorite salon in Los Angeles. It's my go-to place for a reliable mani/pedi. Great service, affordable pricing, bustling atmosphere, huge selection and free boba smoothies. A dream come true.

Getting the manicure was just as much fun as sporting it; it felt like a very intense crafting project. First, Gelish brand foundation gel was applied and cured. Next, a second thin layer of Gelish foundation gel was added and then the dipping commenced!

Pampered Hands has at least 250+ glitters to choose from, so the whittling down the selection was pretty tough — so many glorious, glittery choices! I finally decided to go for gold, but even that left me with a ton of contenders. I opted for a glitter that was a cooler, more champagne-y gold rather than yellow gold. I especially liked my choice because this glitter had several sizes and shapes of specks, which I thought would yield a nice layered affect and really give the sparkle some depth, too. If you go, it's called "T-1."

So a large jar of loose glitter in my color of choice, T-1, was brought over. The second thin layer of foundation gel was still wet, and my fingertips were dipped into the jar one by one. When my finger emerged, it was completely covered in glitter. My nail technician gently patted down each nail with her finger to make sure the glitter was adhering to the gel beneath it. She cleared away extra glitter and moved along to the next nail.

After all of my nails were patted and complete, I cured away under the UV light again. Next, the nail technician got out a pot of clear gel polish and painted it on with a separate brush. (I think it's because she was able to wipe the brush off on a towel if needed, rather than contaminate a gel bottle with whatever color glitter she was using.) And then I cured again! Last but not least, a thin layer of clear topcoat was applied and voila, I was done.

Gold Glitter Gelicure_Pampered Hands_2 Gold Glitter Gelicure_Pampered Hands_3 Gold Glitter Gelicure_Pampered Hands_4 Gold Glitter Gelicure_Pampered Hands_6 Gold Glitter Gelicure_Pampered Hands_7

A Rockstar Manicure is more intense and a little more expensive than a normal gel manicure, but it was totally worth it. I couldn't have been happier; I got nonstop compliments for two weeks and had so, so much fun wearing these gorgeous nails. I was sad to see them go!

Cranberry White Chocolate Chip Cookies, with a dash o' glitz.

Nailz & I had a lot of fun at The Getty Villa. Gorgeous day!

Photo's out of focus, I know, but I wanted to show the way these nails just twinkle away.

All in all, I think the Rockstar Manicure was $60; not cheap by a long shot. But for glittering, gorgeous nails that made me feel like the life of the party and stayed flawless through cookie baking, holiday kitchen cleanup and lots of hands-on activity, it was worth the splurge.

staygolden, Francesca

I treated my mom to ocean view cocktails at Shutters on the Beach when she came to visit. A must when you're in town!