Sally Hansen — Salon InstaGel Strips

insta insta gel

You gals (and guuuuuys) know that I am a long-time reader of Allure magazine. I love Allure because they cover a great spectrum of beauty brands, from drugstore staples to department store indulgences. It's also one of the few magazines that doesn't give me some kind of complex after I've finished reading it, so there's that.

I was thrilled to be chosen for an Allure-sponsored product trial for Sally Hansen — Salon InstaGel Strips.

I went in with a personal bias. I love the normal Sally Hansen Salon Effects. Seriously, seriously LOVE. If I didn't blog about polish and have tons of colors to try out... I'd probably wear Salon Effects at least half of the time. They're fast, easy, dependable and have a great array of on-trend colors & intricate patterns. I just love them.

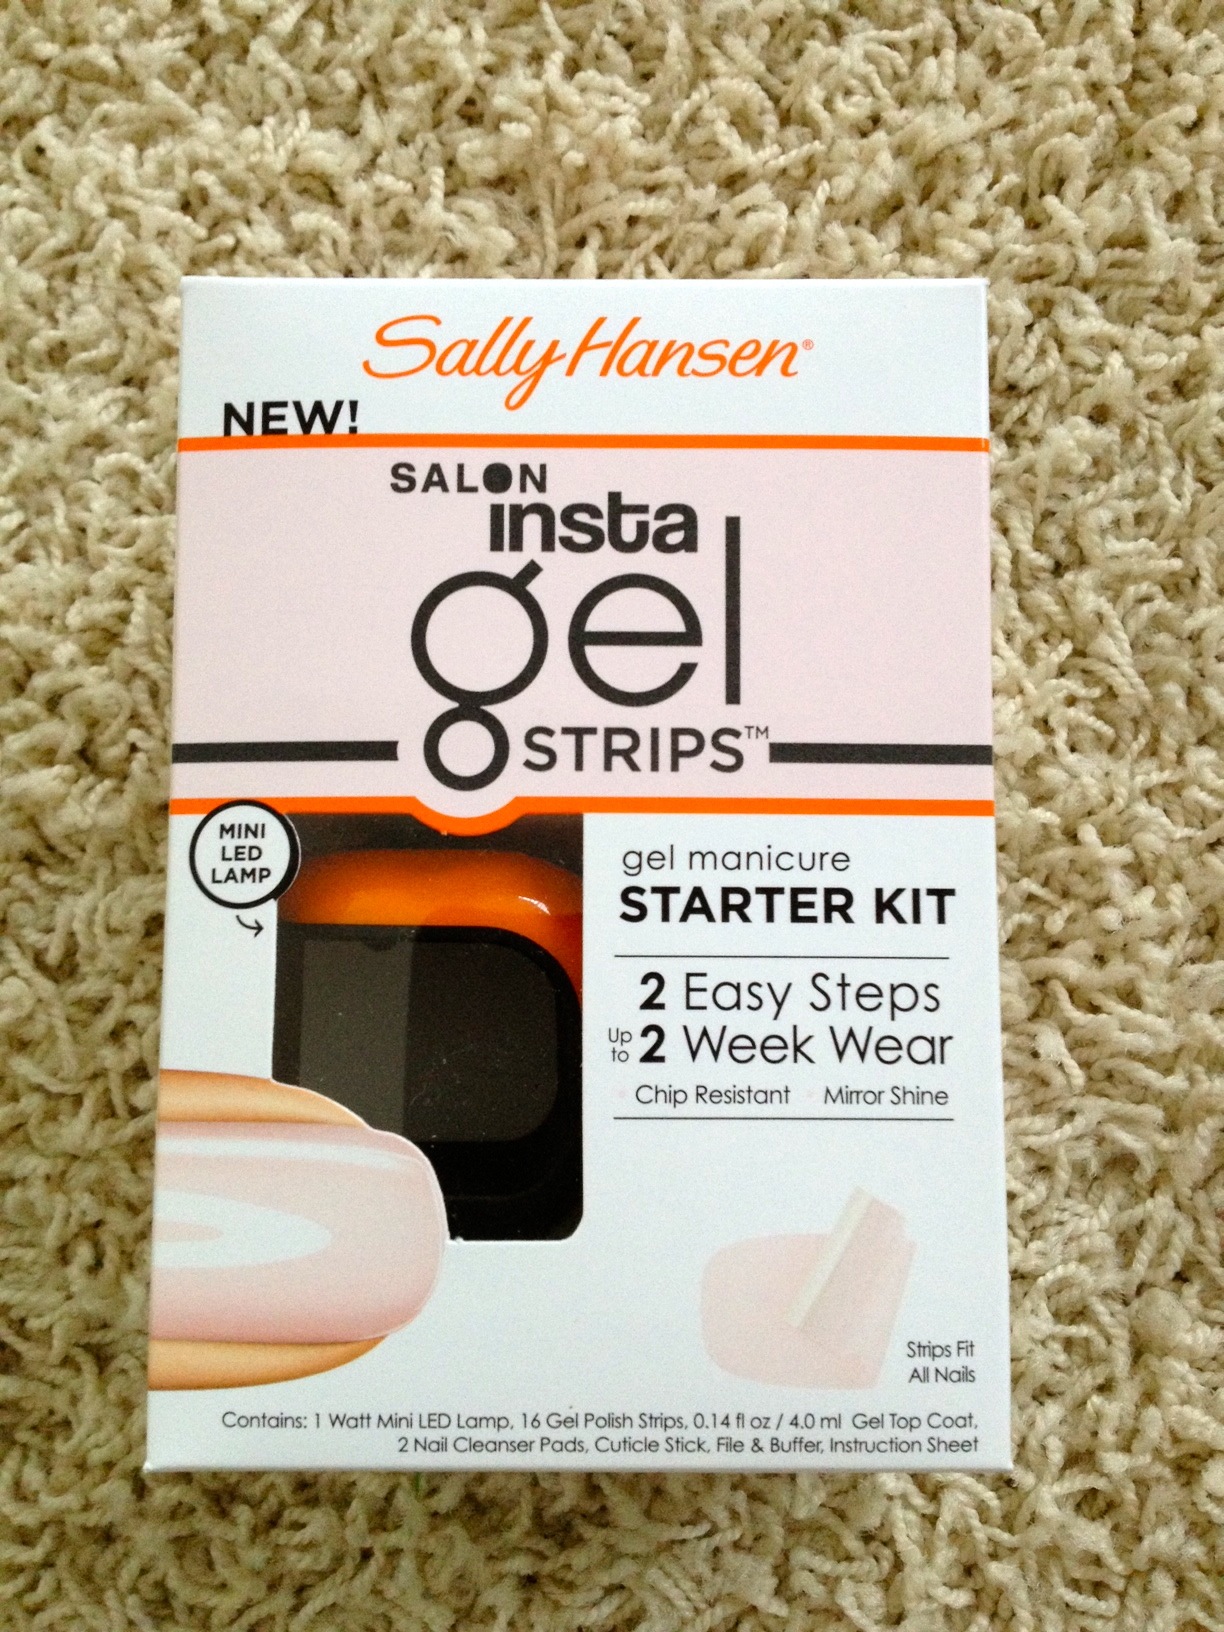
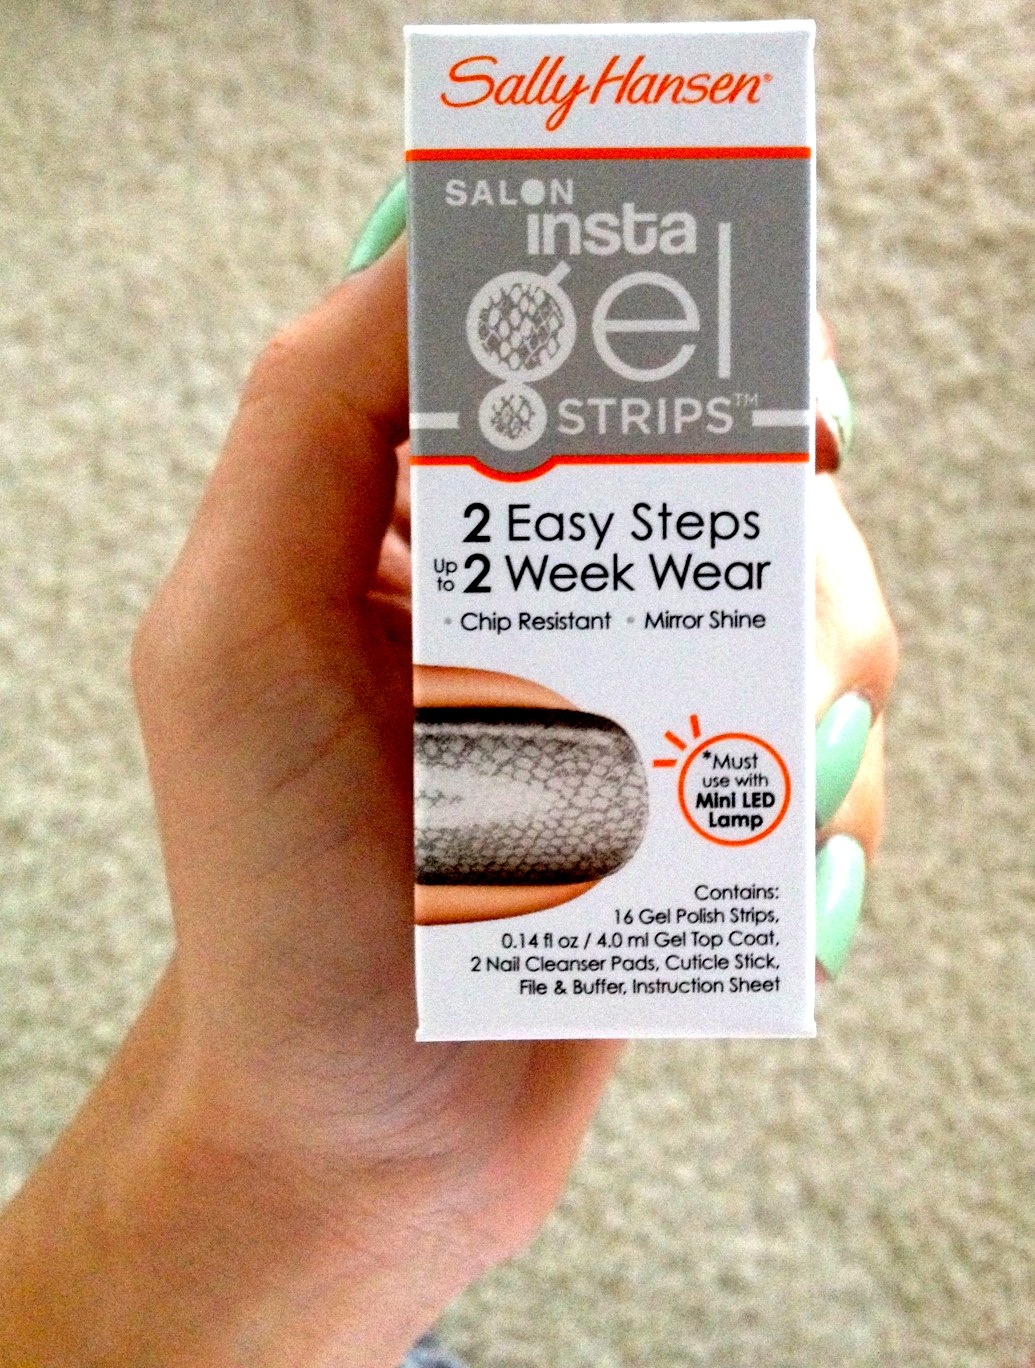
Allure sent the starter kit, which included a very demure shade of pink called Shell We Dance, and a more experimental snakeskin option called SSS-Snake Eyes.

photo 11

photo 13

photo 15

photo 12

APPLICATION

The strips enable you to sport a gel manicure with an intricate design for a much cheaper price than you'd pay for a professional for such artistry. If you already own a traditional gel kit and enjoy solid colors (which Sally Hansen also offers), then I cannot honestly say that this kit will save you an outrageous amount of time. You still need to sort out which applique is the right size for which nails... and it still never seems to work out perfectly, so you'd got to franken-nail things up here and there.

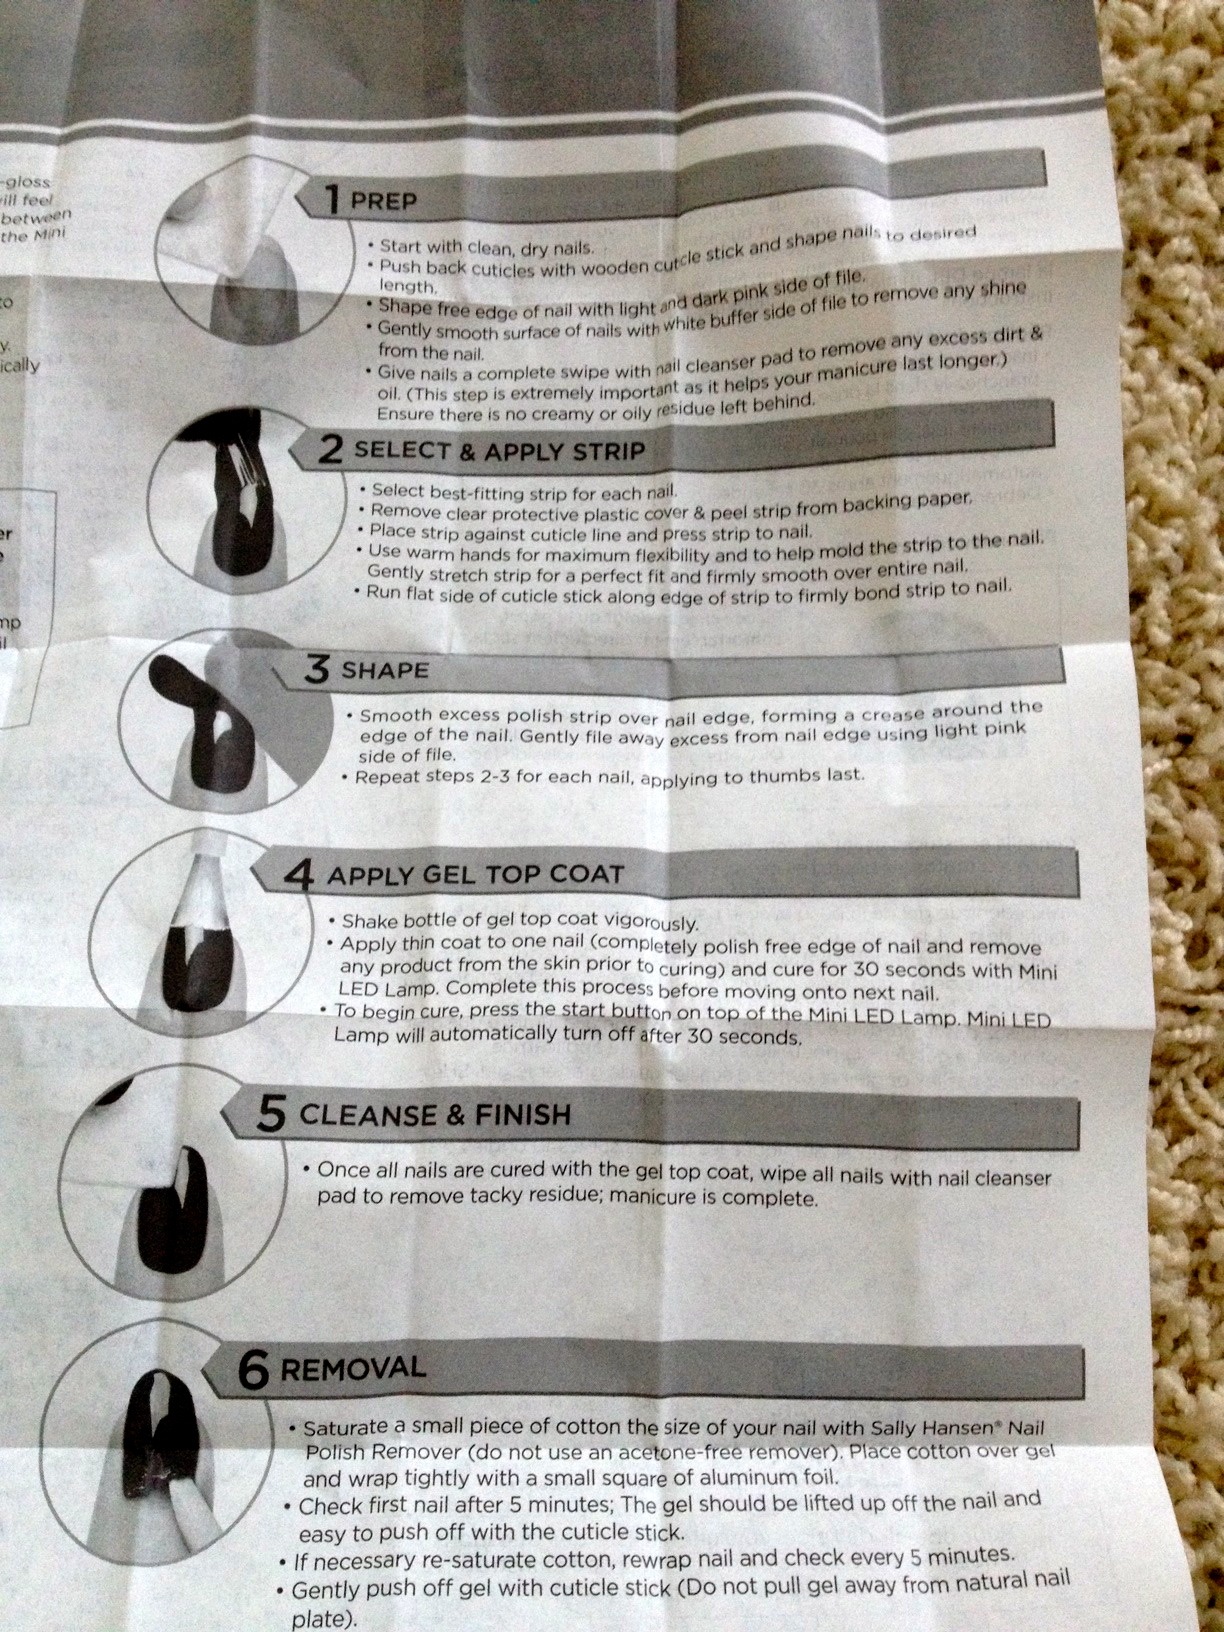
It's essentially a 5-step process. Prep (file, shape, buff, wipe with alcohol pad). Apply strips. Apply gel top coat. Cure with the UV light. Wipe with alcohol pad. Done!

A normal gel manicure means: Prep. Apply base coat. Cure. Apply color coat. Cure. Apply second coat of color. Cure. Apply top coat. Cure. Wipe with alcohol pad. And, finally, done. Depending on what kind of lamp you're using, that can be a bit of a time investment. But I don't think doing your nails is a very speedy process to begin with.

photo 14

photo 1

photo 2

OLD 2

WEAR & TEAR

Fantastic. By the end of my two-week trial, I had maybe three tiny chips, and they were only noticeable upon the very closest of inspections. And the look stayed shiny for all 14 days. Love that.

One bummer was the grow-out. Like the other appliques, these strips have a very defined edge that lies near your cuticle. As your nails grow, that sharp edge becomes exposed and you can get things caught in between the ridge of the applique and your cuticle. And by "things," I mean strands of your own hair. Eugh.

Note the growout. And the cat toy.

REMOVAL

Hmmm. Removal. I mean, if a mani's going to stay pretty indestructible for two weeks, it stands to reason that it's not going to be incredibly easy to remove. That's just like, a law of physics or something, lol.

I gently scuffed up the surface of the gelicure with a nail file to break through the hard shiny shell that the top coat made. Then I used The Foil Method, of course. In the end, there was still a lot of soaking and a bit of scraping off carefully with a cuticle stick, but these were pretty standard gel manicure issues

OVERALL

If you're someone who loves gel manicures but doesn't want to drop that kind of cash twice a month or so, this is a great product to consider.

For those of you that already own a gel manicure kit, I am not sure that you need to replace it with this kit. In fact, I suspect you could probably skip the starter kit and just buy a pack of the gel nail appliques. As long as you already have a gel topcoat and a UV lamp to cure it, you should be good to go.

Don't wear gel manicures often, or only really get them for special occasions / vacations? I might suggest skipping at-home kits entirely and continue going to your favorite salon. If you view a gel mani as a treat, then you'll miss the whole salon experience when you use an at-home kit. They are pretty utilitarian, after all.

xxo, Francesca

The Oh-So-Glam Gold Glitter Gelicure

Ever since my friend Andi treated herself to a Rockstar Manicure at Pampered Hands on Melrose, I've been dreaming of doing the same. Remember this?

Over the holidays, I finally treated myself. I figured I'd be socializing and catching up with my nearest and dearest, so spiffing up my claws was really the least I could do.

Pampered Nails is, hands-down, my favorite salon in Los Angeles. It's my go-to place for a reliable mani/pedi. Great service, affordable pricing, bustling atmosphere, huge selection and free boba smoothies. A dream come true.

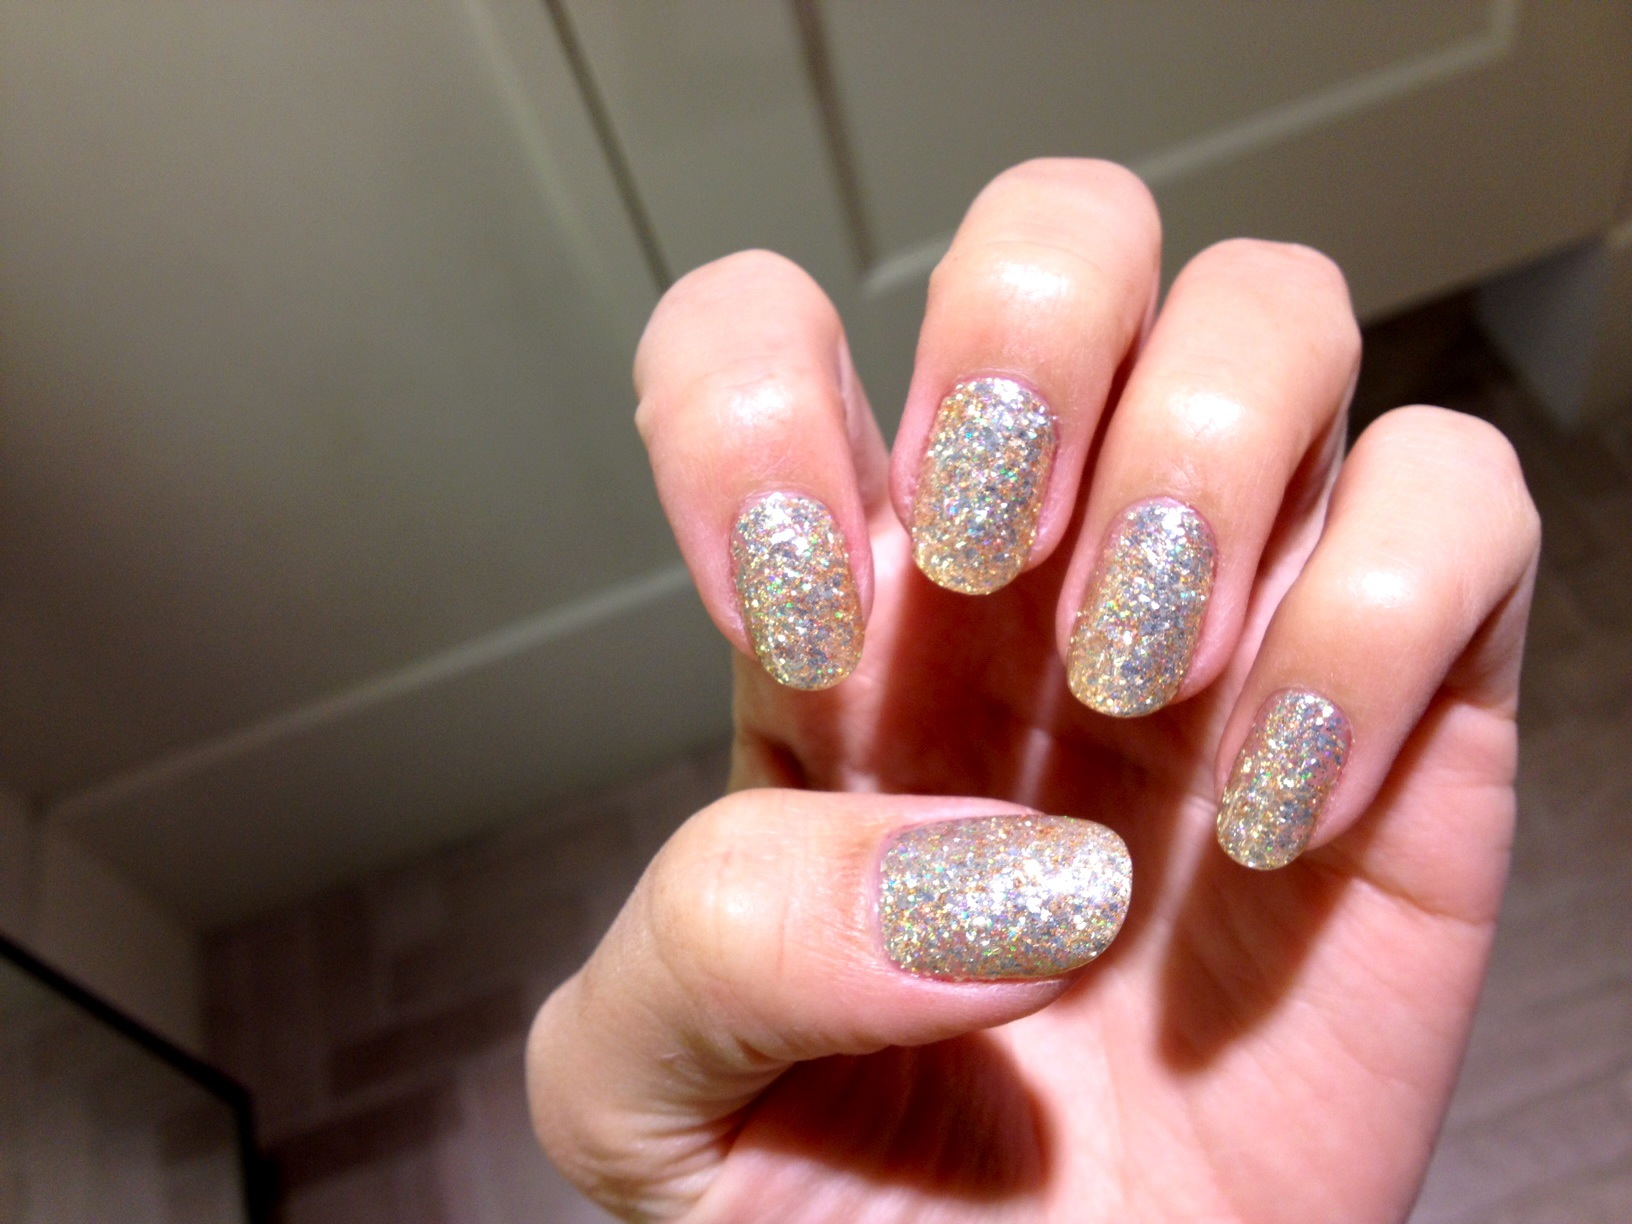
Getting the manicure was just as much fun as sporting it; it felt like a very intense crafting project. First, Gelish brand foundation gel was applied and cured. Next, a second thin layer of Gelish foundation gel was added and then the dipping commenced!

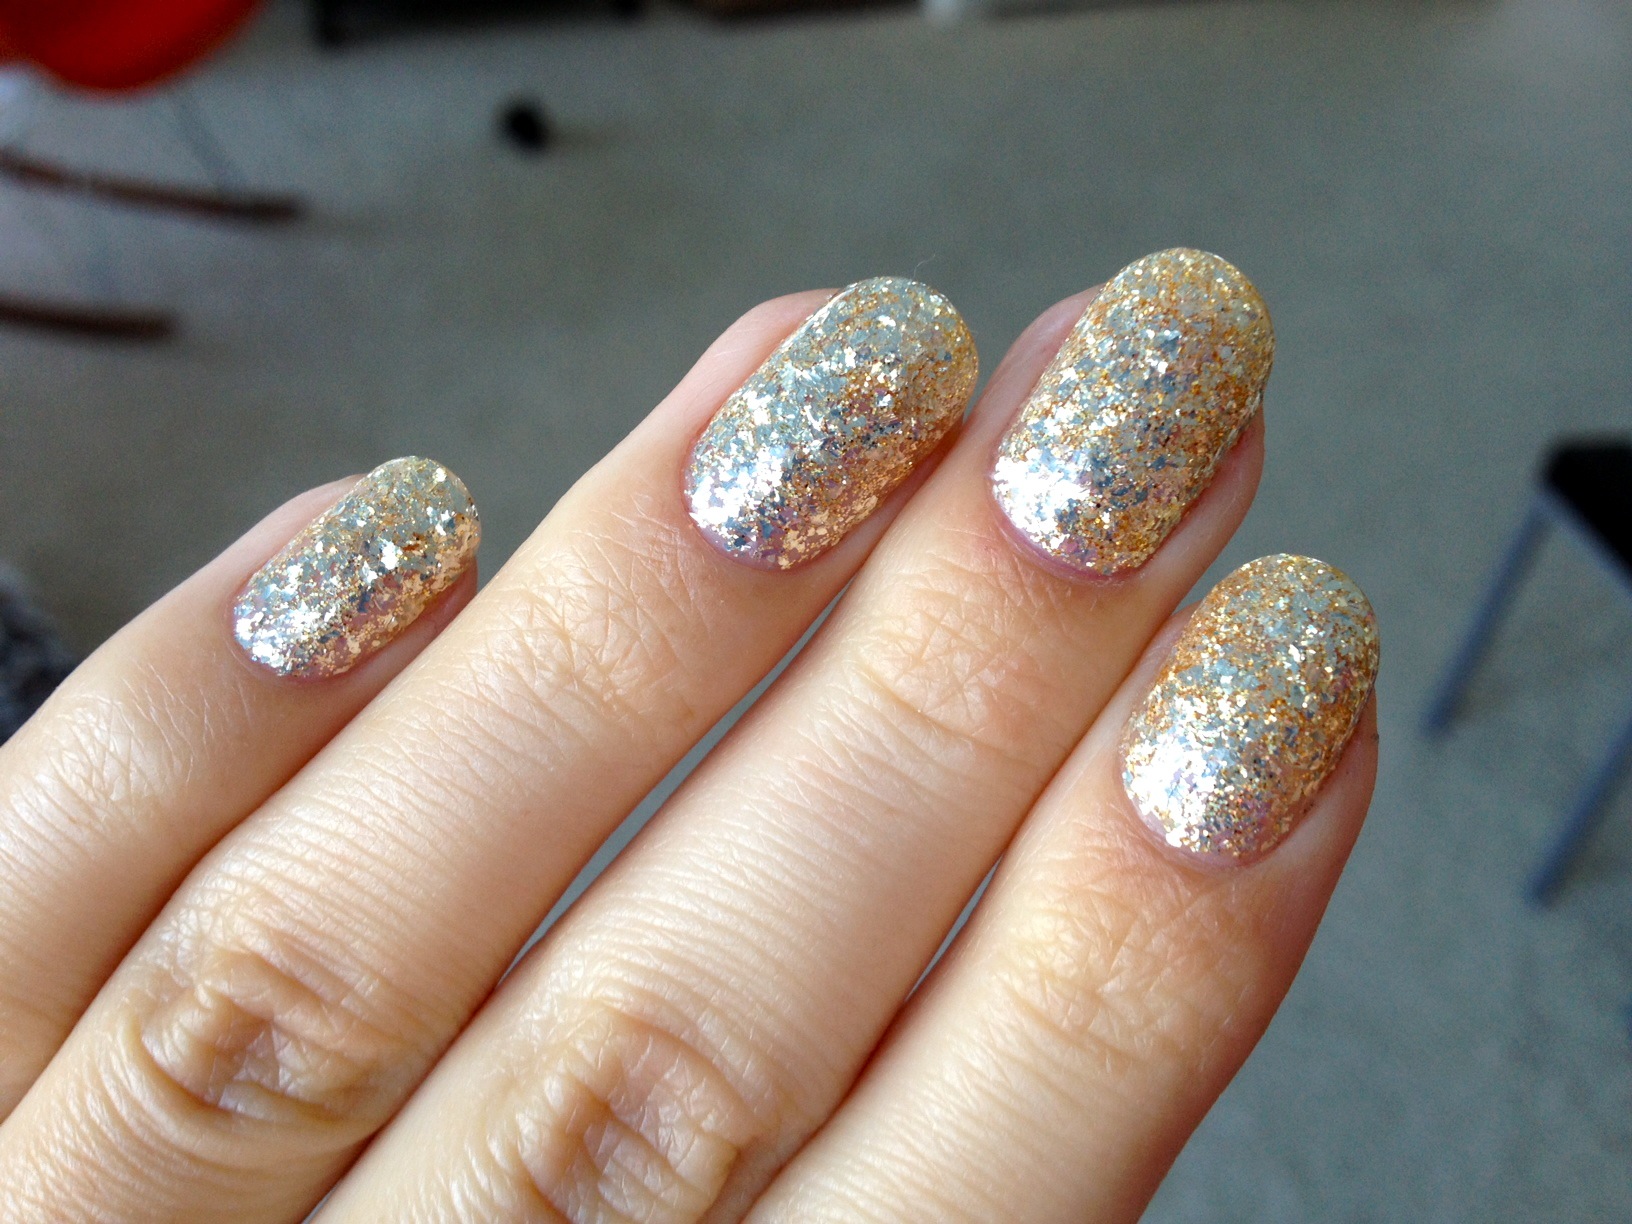
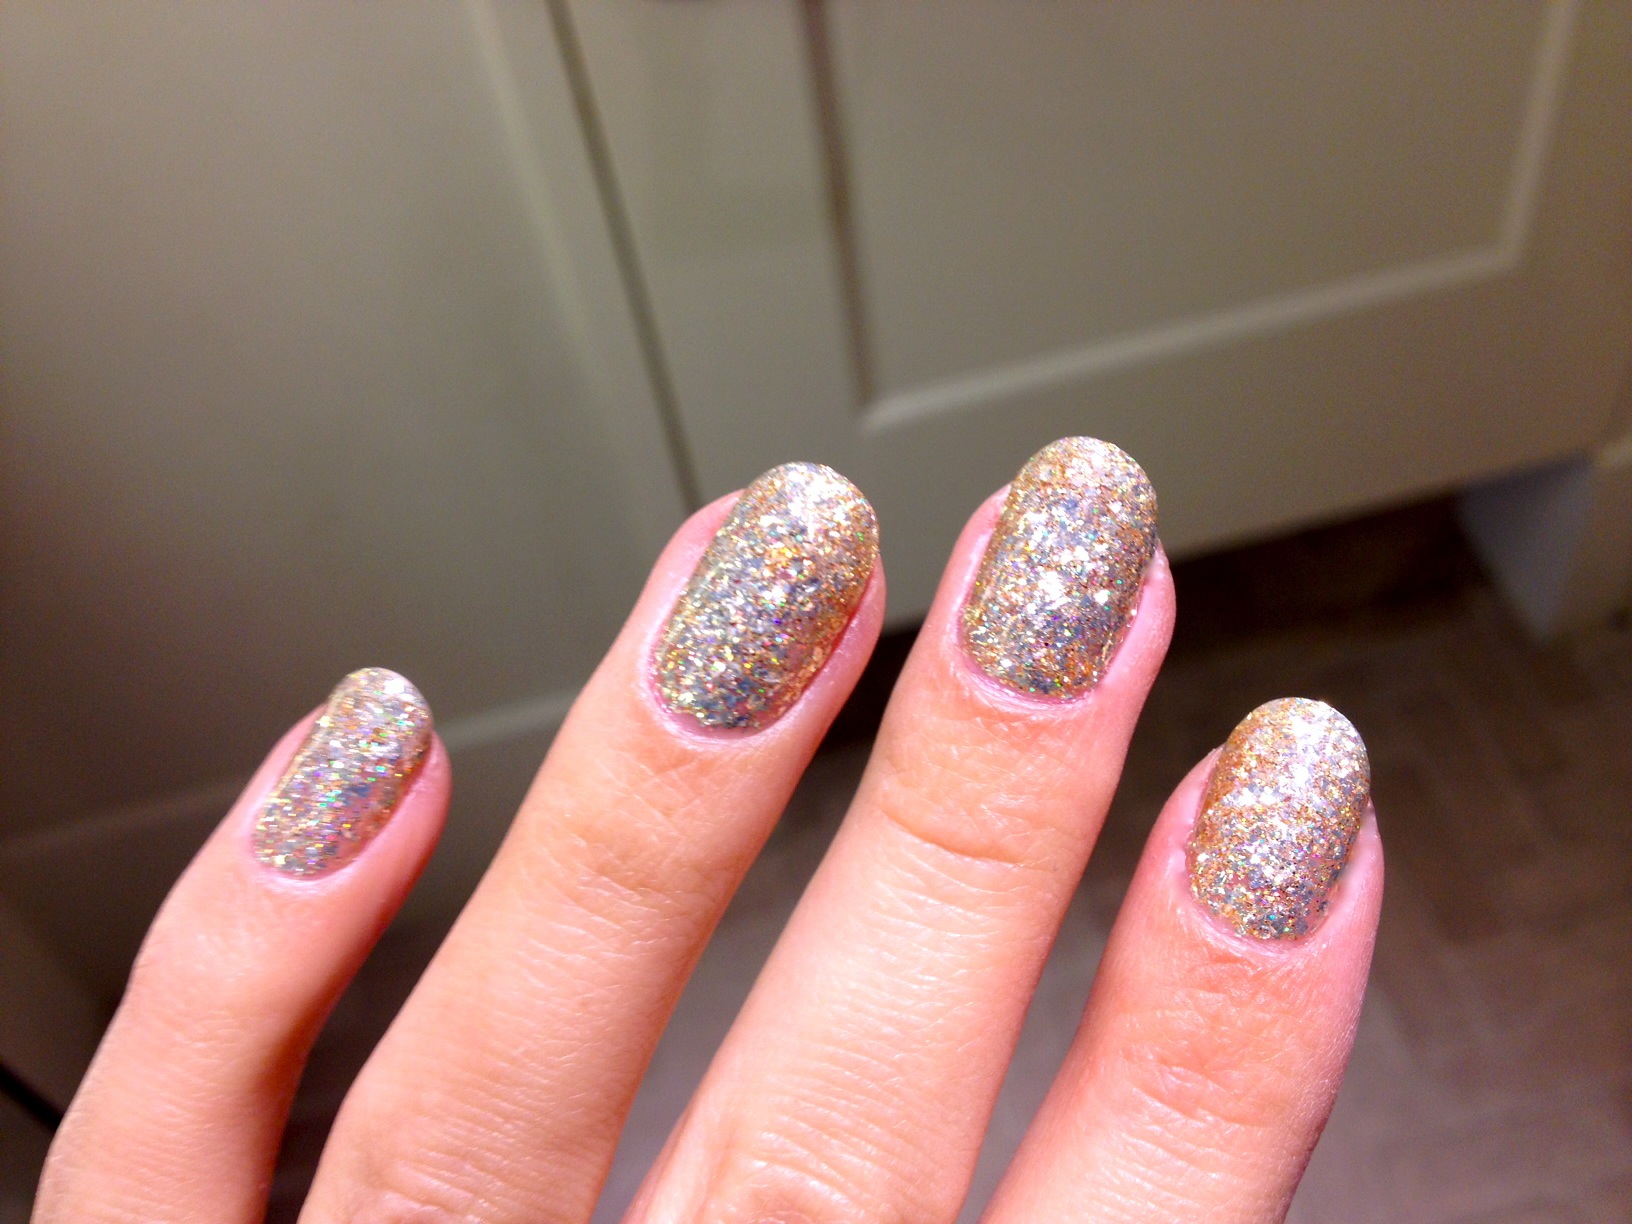
Pampered Hands has at least 250+ glitters to choose from, so the whittling down the selection was pretty tough — so many glorious, glittery choices! I finally decided to go for gold, but even that left me with a ton of contenders. I opted for a glitter that was a cooler, more champagne-y gold rather than yellow gold. I especially liked my choice because this glitter had several sizes and shapes of specks, which I thought would yield a nice layered affect and really give the sparkle some depth, too. If you go, it's called "T-1."

So a large jar of loose glitter in my color of choice, T-1, was brought over. The second thin layer of foundation gel was still wet, and my fingertips were dipped into the jar one by one. When my finger emerged, it was completely covered in glitter. My nail technician gently patted down each nail with her finger to make sure the glitter was adhering to the gel beneath it. She cleared away extra glitter and moved along to the next nail.

After all of my nails were patted and complete, I cured away under the UV light again. Next, the nail technician got out a pot of clear gel polish and painted it on with a separate brush. (I think it's because she was able to wipe the brush off on a towel if needed, rather than contaminate a gel bottle with whatever color glitter she was using.) And then I cured again! Last but not least, a thin layer of clear topcoat was applied and voila, I was done.

Gold Glitter Gelicure_Pampered Hands_2 Gold Glitter Gelicure_Pampered Hands_3 Gold Glitter Gelicure_Pampered Hands_4 Gold Glitter Gelicure_Pampered Hands_6 Gold Glitter Gelicure_Pampered Hands_7

A Rockstar Manicure is more intense and a little more expensive than a normal gel manicure, but it was totally worth it. I couldn't have been happier; I got nonstop compliments for two weeks and had so, so much fun wearing these gorgeous nails. I was sad to see them go!

Cranberry White Chocolate Chip Cookies, with a dash o' glitz.

Nailz & I had a lot of fun at The Getty Villa. Gorgeous day!

Photo's out of focus, I know, but I wanted to show the way these nails just twinkle away.

All in all, I think the Rockstar Manicure was $60; not cheap by a long shot. But for glittering, gorgeous nails that made me feel like the life of the party and stayed flawless through cookie baking, holiday kitchen cleanup and lots of hands-on activity, it was worth the splurge.

staygolden, Francesca

I treated my mom to ocean view cocktails at Shutters on the Beach when she came to visit. A must when you're in town!

Spotted: Mademoiselle Marie — Part Ten

I give the entire rainbow equal opportunity when I select my polish colors... but after a long winter and cold weather I am ready for spring-y pastels!
Check out Mademoiselle Marie's cheerful springtime look.

This manicure really pays attention to detail. The marbling, the color combos, the gems! I love it. It's also reminiscent of a lamp on Etsy that I am so tempted to splurge on...

If you want a manicure like Marie's, you can get it at Marie's Nails on 3rd Street here in Los Angeles. Shigeko Kawaguchi is the artist responsible for Marie's polished look.

http://marienails.com/

Stay Shiny, GLOSS

The New York Times Covers Gel Manicures

Wanna learn more about what a gel manicure is like? Read the informative (and entertaining) article from The New York Times — "Thank Me. Your Nails Will, Too."

My favorite quote:

I left my thumbnails until last. They’d grown long and powerful, practically simian, in a way I found grotesque but fascinating. I didn’t want to give up piercing banana skins with them, or knowing that I could probably use them as can openers if I needed to.

xxo, GLOSS