Christian Louboutin — Rouge Louboutin

Happy New Year! My first mani of the year was definitely one to remember.

I'm back behind the wheel, y'all.

My brother Alex has a history of getting me very thoughtful, very magical gifts. Christmas last year? A real, ceramic ocarina with a songbook from The Legend of Zelda: Ocarina of Time. It’s truly a work of art. Granted, I never even got the hang of a recorder, so it serves as decorative piece to show how cultured and cool I am ;) and less of a true musical instrument. For my birthday? Lucius Malfoy’s walking stick. Pull on the silver cobra head at the top of the staff and — voila— the magic wand is revealed. It is of the utmost quality and is a legit weapon. I keep it near my front door so that a) all guests may admire it and b) it's close at hand to battle potential hot prowlers.

And so, Christmas 2014. What would young Alex surprise me with now?

This.

Christian Louboutin / Rouge Louboutin nail varnish.

Check out that black on black packaging with a saucy wink of red. Ooh la la!

CL_Rouge_CU

From the CL website:

Rouge Louboutin… a timeless, vibrant red suited to any skin tone. A true objet d’art of a dramatic 8-inch height inspired by the tallest heel Christian Louboutin ever created- the Ballerina Ultima.

But wait. There's more...

The iconic Rouge is encased in a faceted, weighted glass bottle with an unique ombré effect. The tall slender cap, inspired by calligraphy, turns the application into a luxurious experience, inviting women to take their time.

A true indulgence at $50 for one bottle. Yowza! The color is richly red. It’s not quite a true red; it veers on the warm side. The application was great, and the brush made for a very different painting experience. It wasn’t necessarily unwieldy, but it definitely felt unusual. They say that in Roman times, patrician women would dip the tips of their fingers in bright red dye. This was called their domestic look. I felt a little like that; the paint job felt ritualistic in some way.

The spiked handle of this polish is sarcastically large. It's 8" (or so it SAYS, hahahah). My friend told me it looks like dark magic; like you have to stab the spike into someone's still-beating heart and the spike sucks the blood out, and then that id what you paint your nails with. This bottle, combined with my Lucius stick, means I am at least 80% real sorceress.

CL_Sangria

Legend has it that Christian painted the soles of a high heel he was designing with red nail polish on a whim. That moment of inspiration helped him make a name for himself in fashion, and now his iconic rouge lacquer serves as the first brick in the beauty product empire that he’s aiming to build. It’s poetic.

Christian Louboutin Rouge will sit in a place of honor, on top of my Stash; partly because it can’t fit with the rest of my bottles, but also because it is a goddess among mortals.

Sincerely, Francesca

Color Club — Harp On It

If you want to sport an attention-grabbing nail but don’t have the time (or skillz) to deal with complicated nail art, there are few better ways to get ooohs and aaahs than a holo.

There are a bunch of holographic shades on the market, but my favorite brand is Color Club. They’ve got a full range of linear holo colors, but I like to go for the tried-and-true silver holo. As I always say, why gild the lily? A classic silver that sparkles like a prism is just perfect.

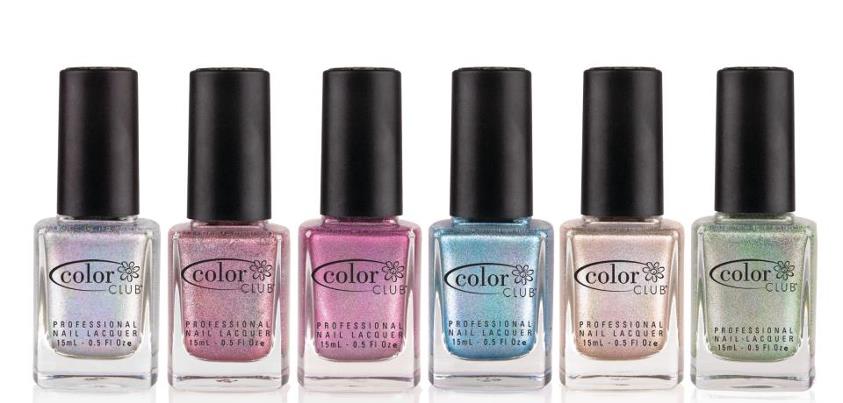
Here's the full lineup of Color Club holos, 2013.

Scrangie's got THE best swatches of the entire collection. Click the pic to check out her post.

If you’re going to have but one holo in your Stash, my professional recommendation is Color Club Harp On It. The coverage is INSANE, the formula’s smooth as silk and the rainbow effect is oh, so pretty.

Think about it. This is *indoor* lighting and it gleams like this.

Holo nails make you feel like your nails are from The Future. A streamlined, metallic future where everyone dresses only in American Apparel lamé outfits.

But wait! Step it up a notch and do an accent nail inspired by the always clever NailedIt.

Nailed It created a beautiful holo 2D diamond; looks great with that powder blue. Click the pic to get the tutorial.

shineon, Francesca

P.S. Color Club Beyond is a great dupe for all of y’all out there who are still on the hunt for an OPI My Private Jet dupe. Just sayin’. :)

Manicure Mania, Pt. V: Neon Ombré

Sometimes you save the best for last.

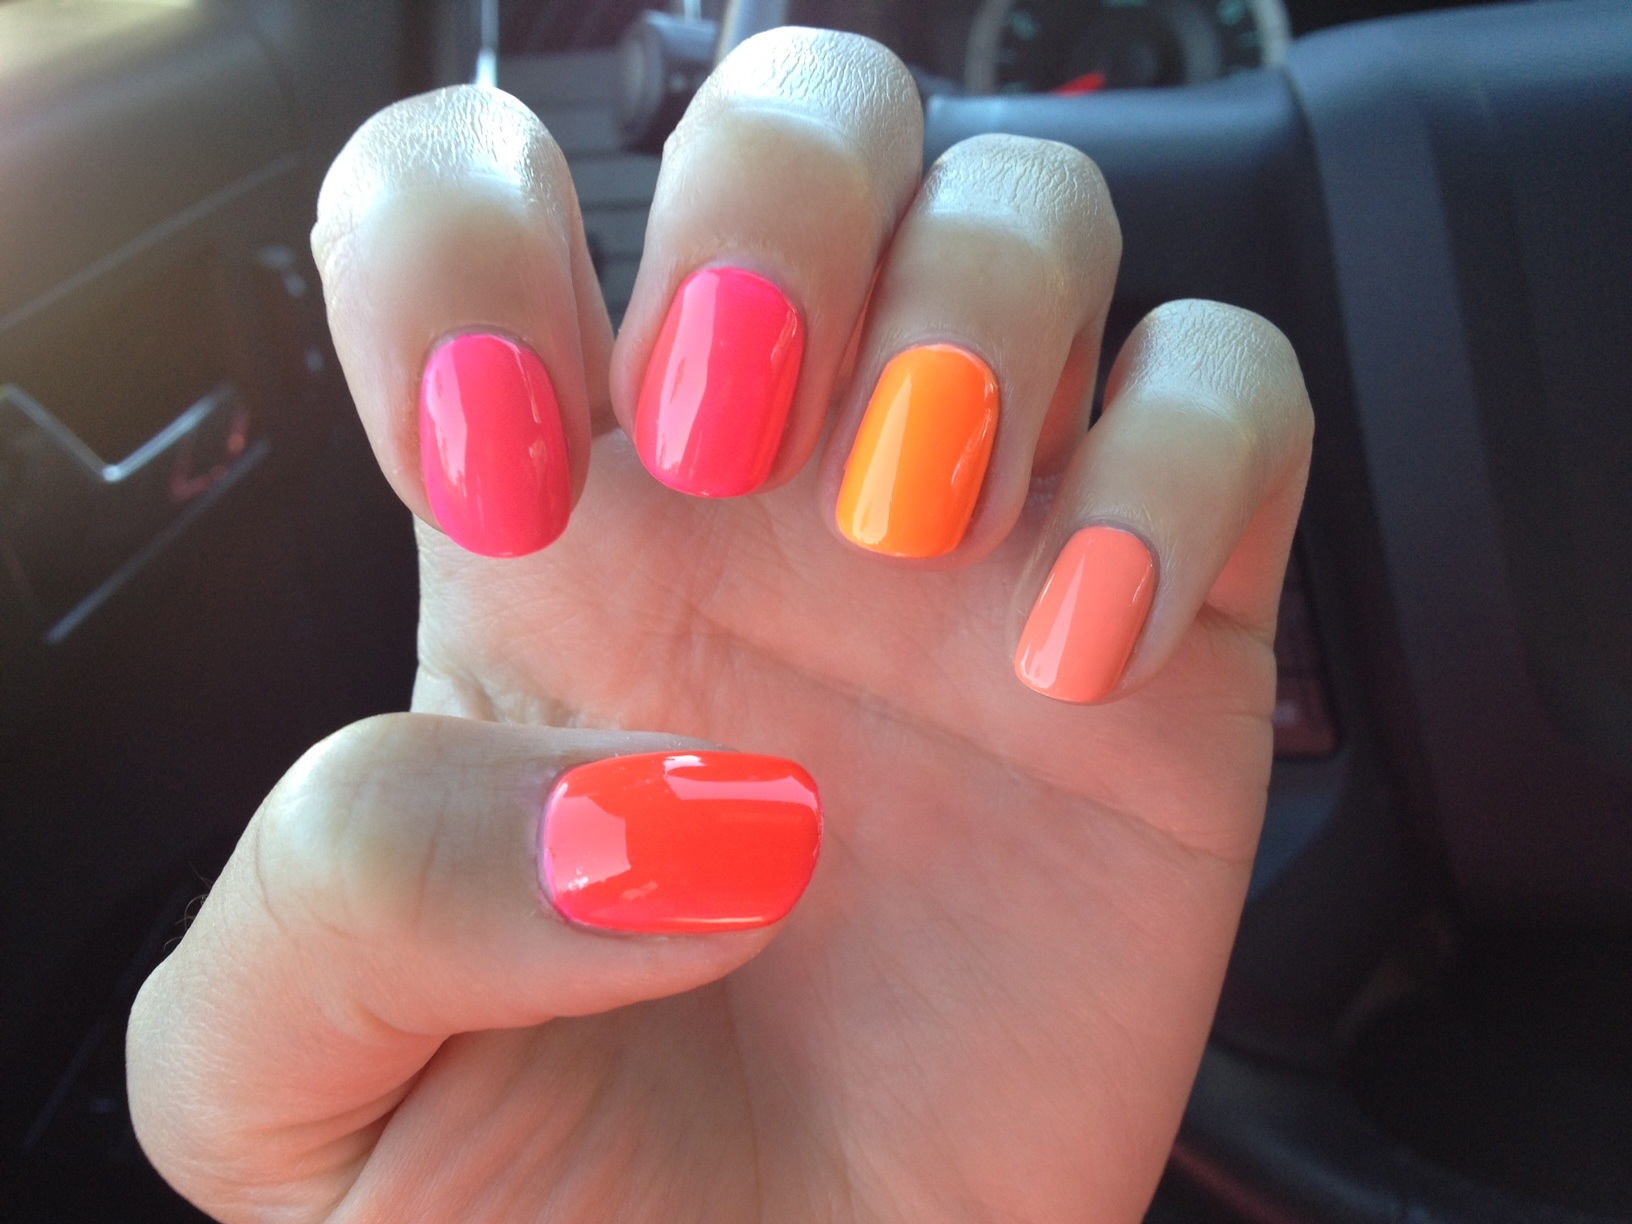
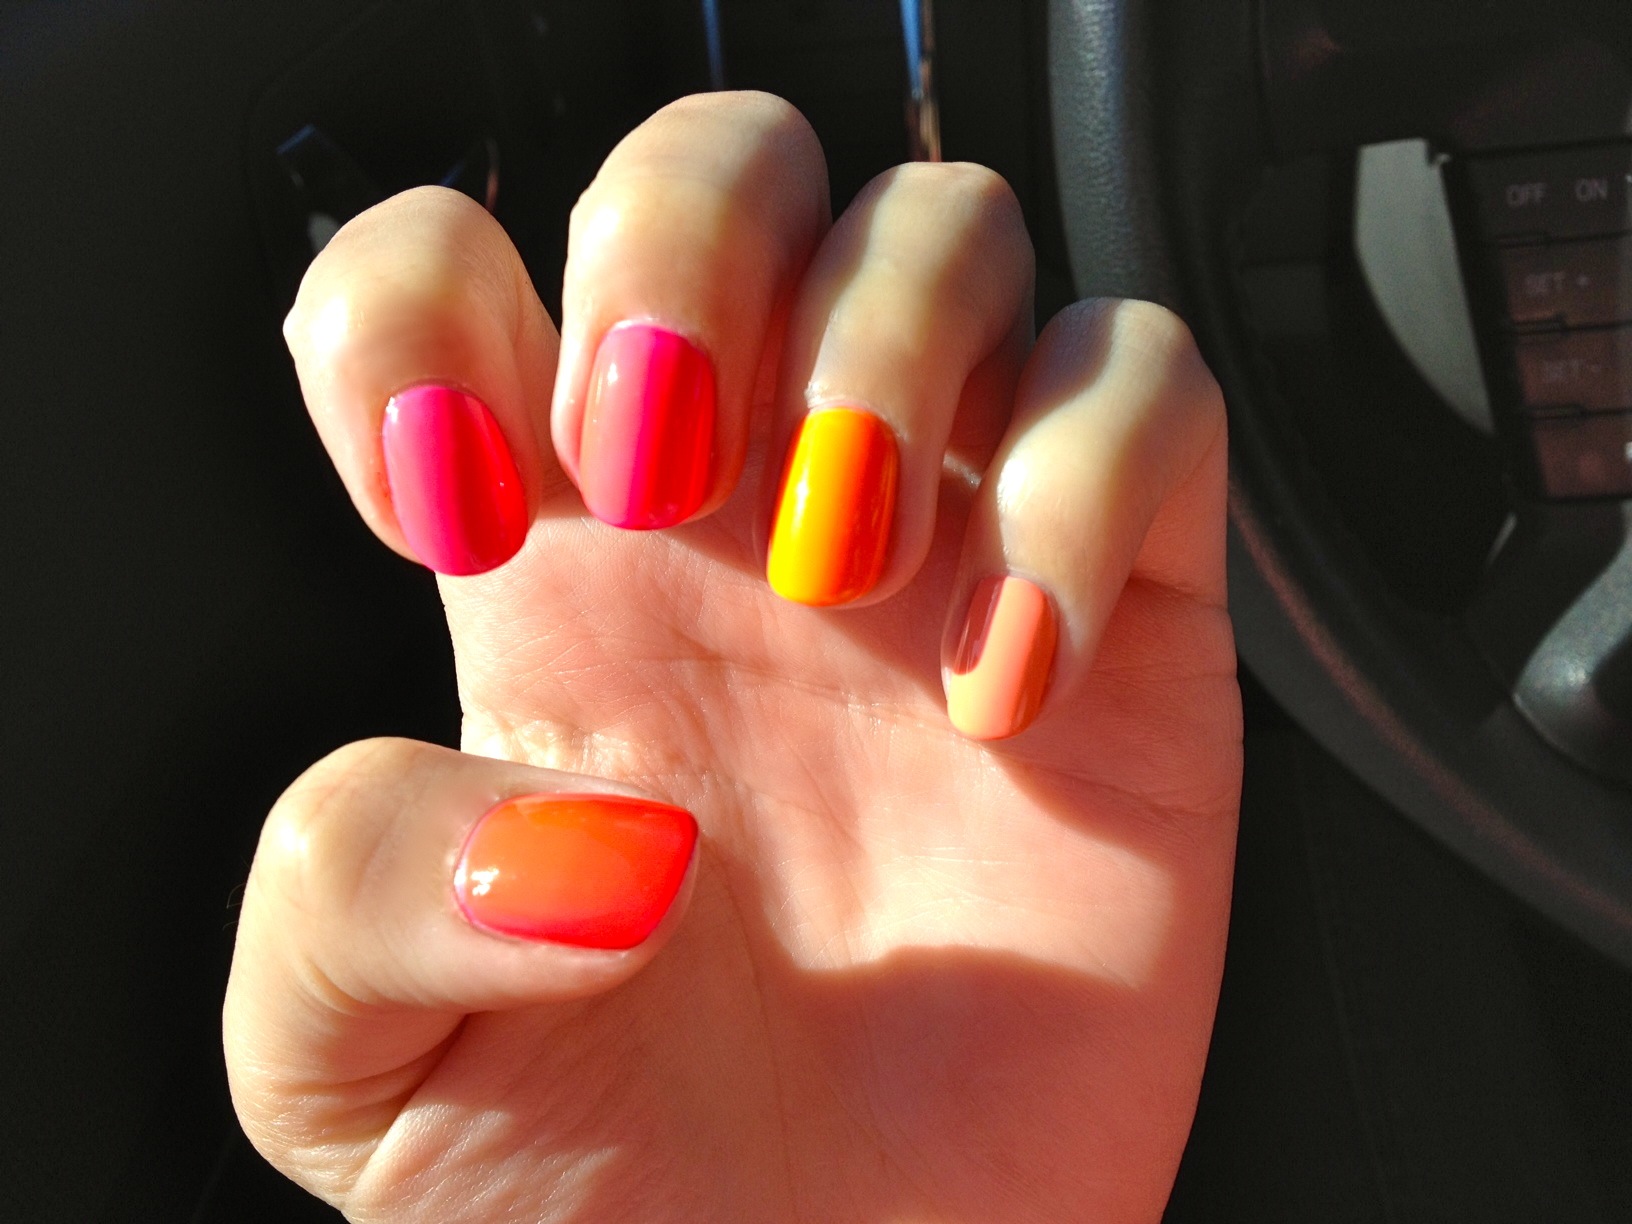
We love ombré. We love neon. So why not put them together? Like two A-list celebrities who pair up to become an A+ couple, neon and ombre's powers combine to become exponentially more awesome!

My idea came from this ubiquitous Pinterest pin; I'm sure you have seen it.

I wanted to roll with the idea but clean it up a bit; make a more definitive neon spectrum. I tested my neons on a discarded piece of snail mail and developed the perfect order.

I knew I wanted my manicure to be as jaw-droppingly neon as possible, so I painted two coats of OPI Alpine Snow as a base. Then, I painted like so:

Then, I got over eager and was anxious to start my clean-up. And in doing so, I hit my right index finger on the edge of the counter and made a huge scrape. I stared at my nail in horror — what to do, what to do! Start that nail all over again? Or... disguise this boo boo?

I remembered I had some small holographic golden stars lying around in my Stash somewhere. If I arranged them in a charming way, it might work.

I think my mini-constellation added some character!

haveablindinglybrightweekend, Francesca
P.S. Special shout out (and sincere thank you) to Weston for designing my Mani Mania headers this whole week. xx

[youtube=http://www.youtube.com/watch?v=5EdmHSTwmWY]

Manicure Mania, Pt. IV: French Tip, Blown to Bits

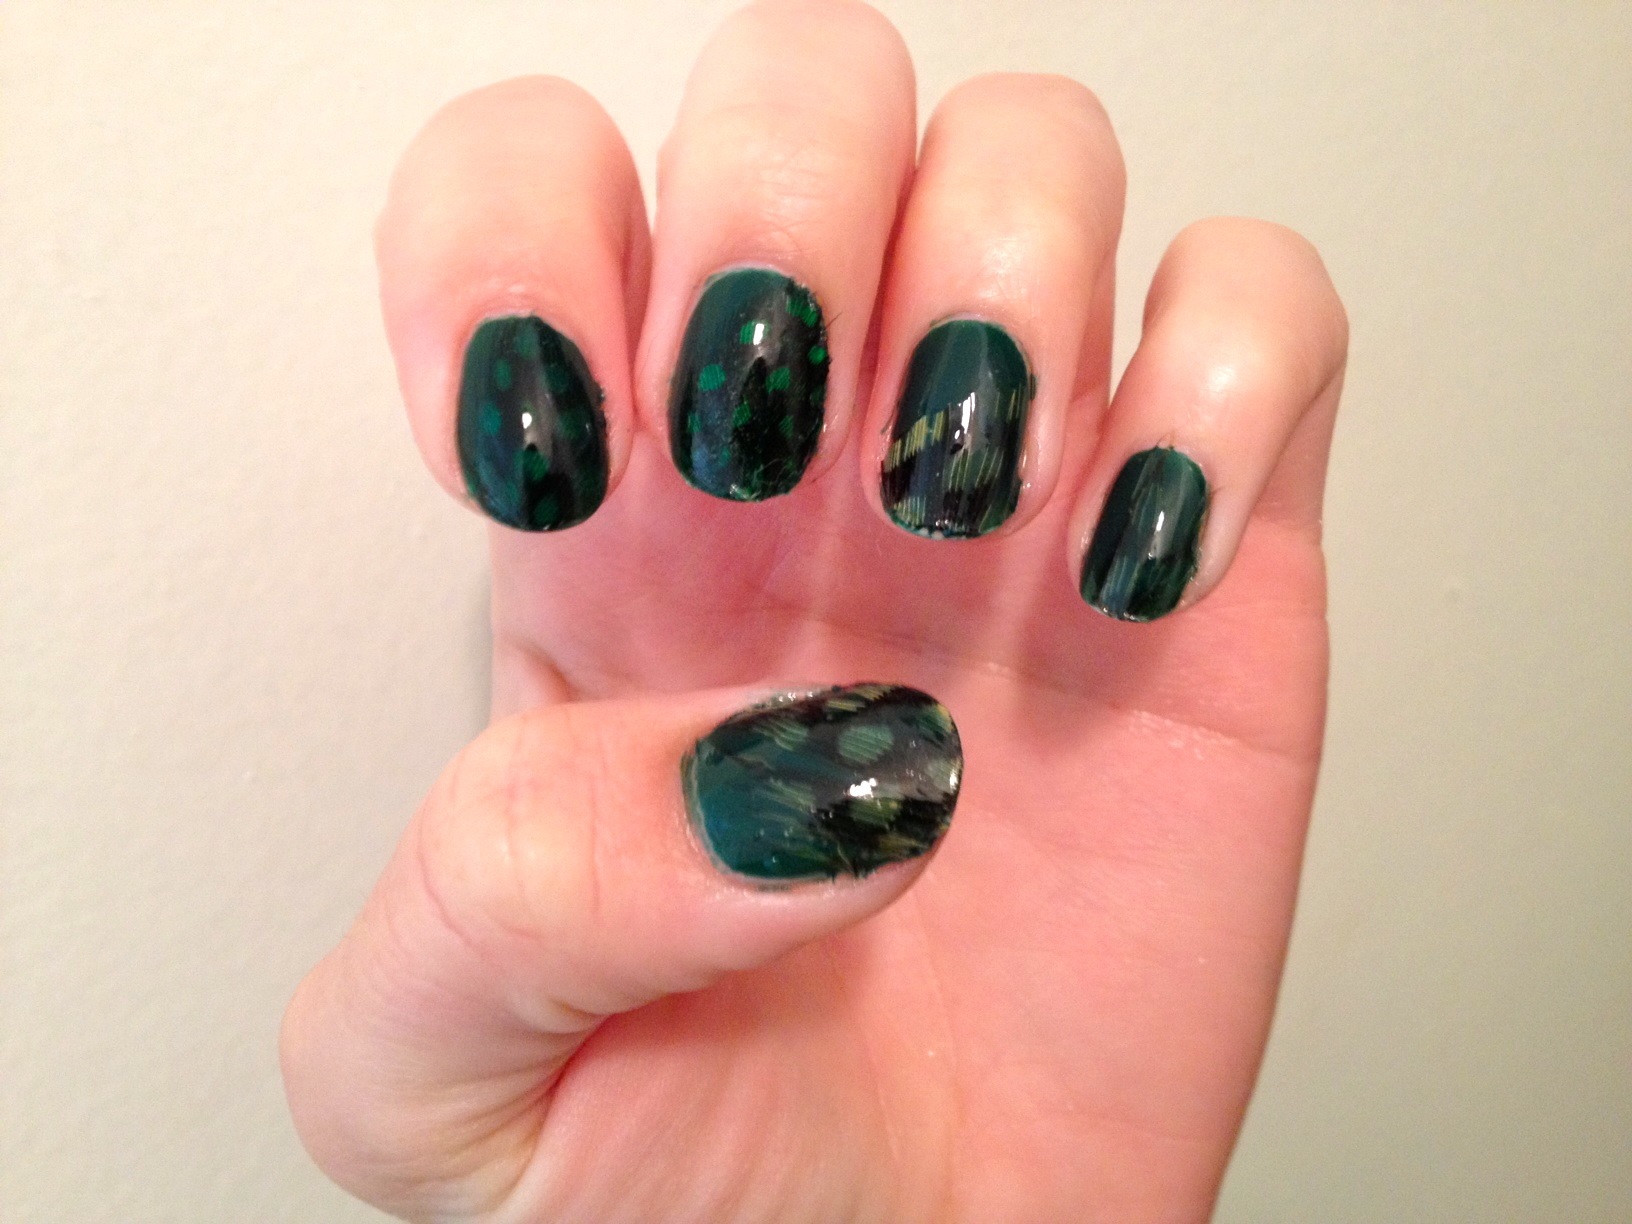
The reality of DIY nail art is that sometimes... sometimes... things don't work out. I've attempted works of art that seemed like a genius idea in theory — only to find that, in practice, good ideas don't always equal great nails. For example, I thought this gorgeous Illamasqua nail polish that my friend Alison gave me, Kink, would look awesome with feathers on it.

Feather FAIL.

When I heard that MAC was offering new & improved, on-trend press-on nails (!) I raced to my compy to see what they'd dreamed up. And I saw this:

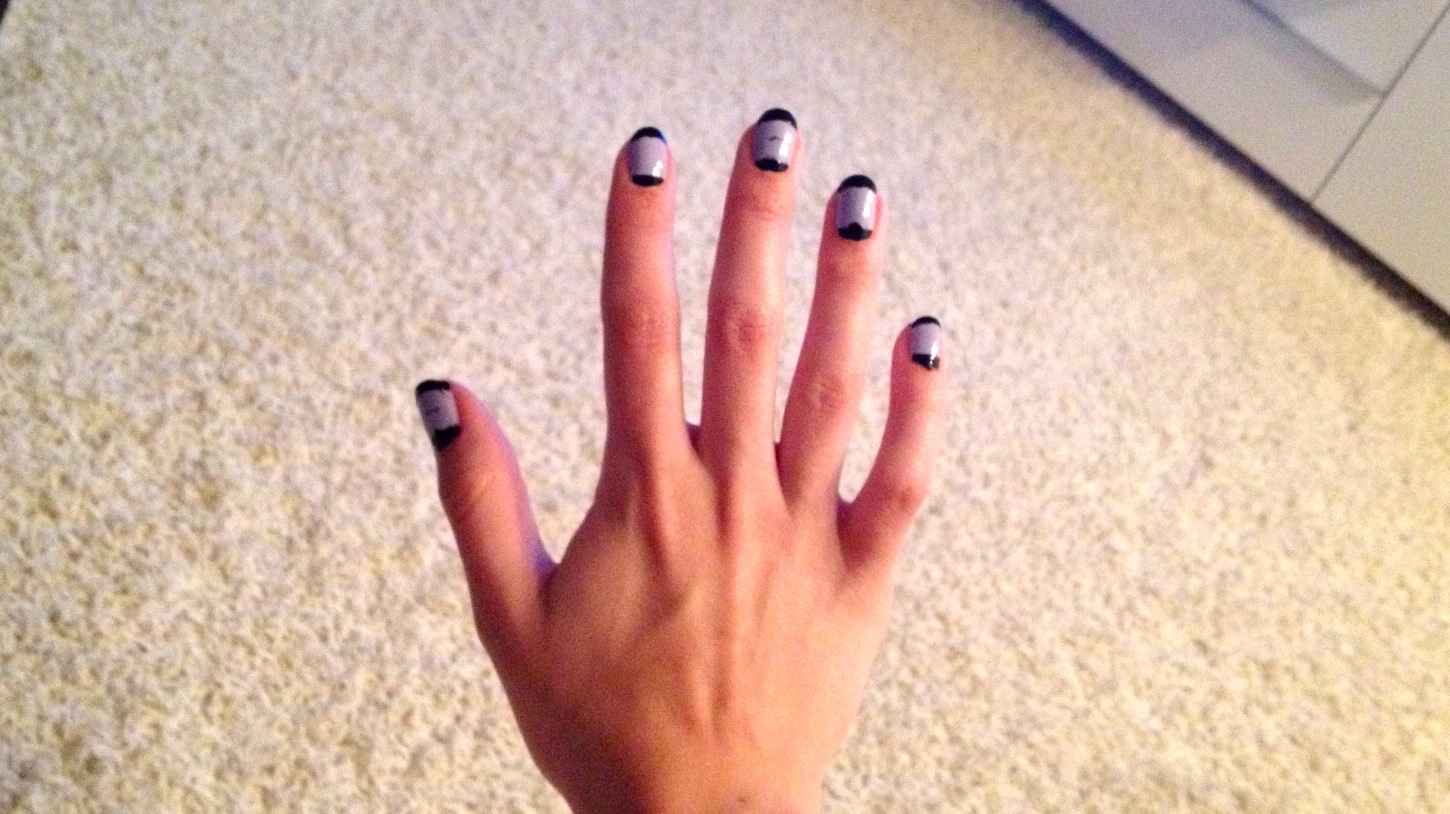
What beauty! I loved it! So crisp and clean! I thought a pale lavender would suit my wardrobe better, so I grabbed Revlon's Lily and my ol' faithful, Sally Hansen Black Heart, then I set to work.

First, two coats of Revlon Lily. Next, I used french tip tape and gave myself black tips. Easy enough. Then I used ring enforcers to create a black half moon at the cuticle. And here's where I went wrong. Partly an issue of impatience, and partly due to the fact that I was really sick with a sinus infection and in a stage of delirium, the half moons were a mess.

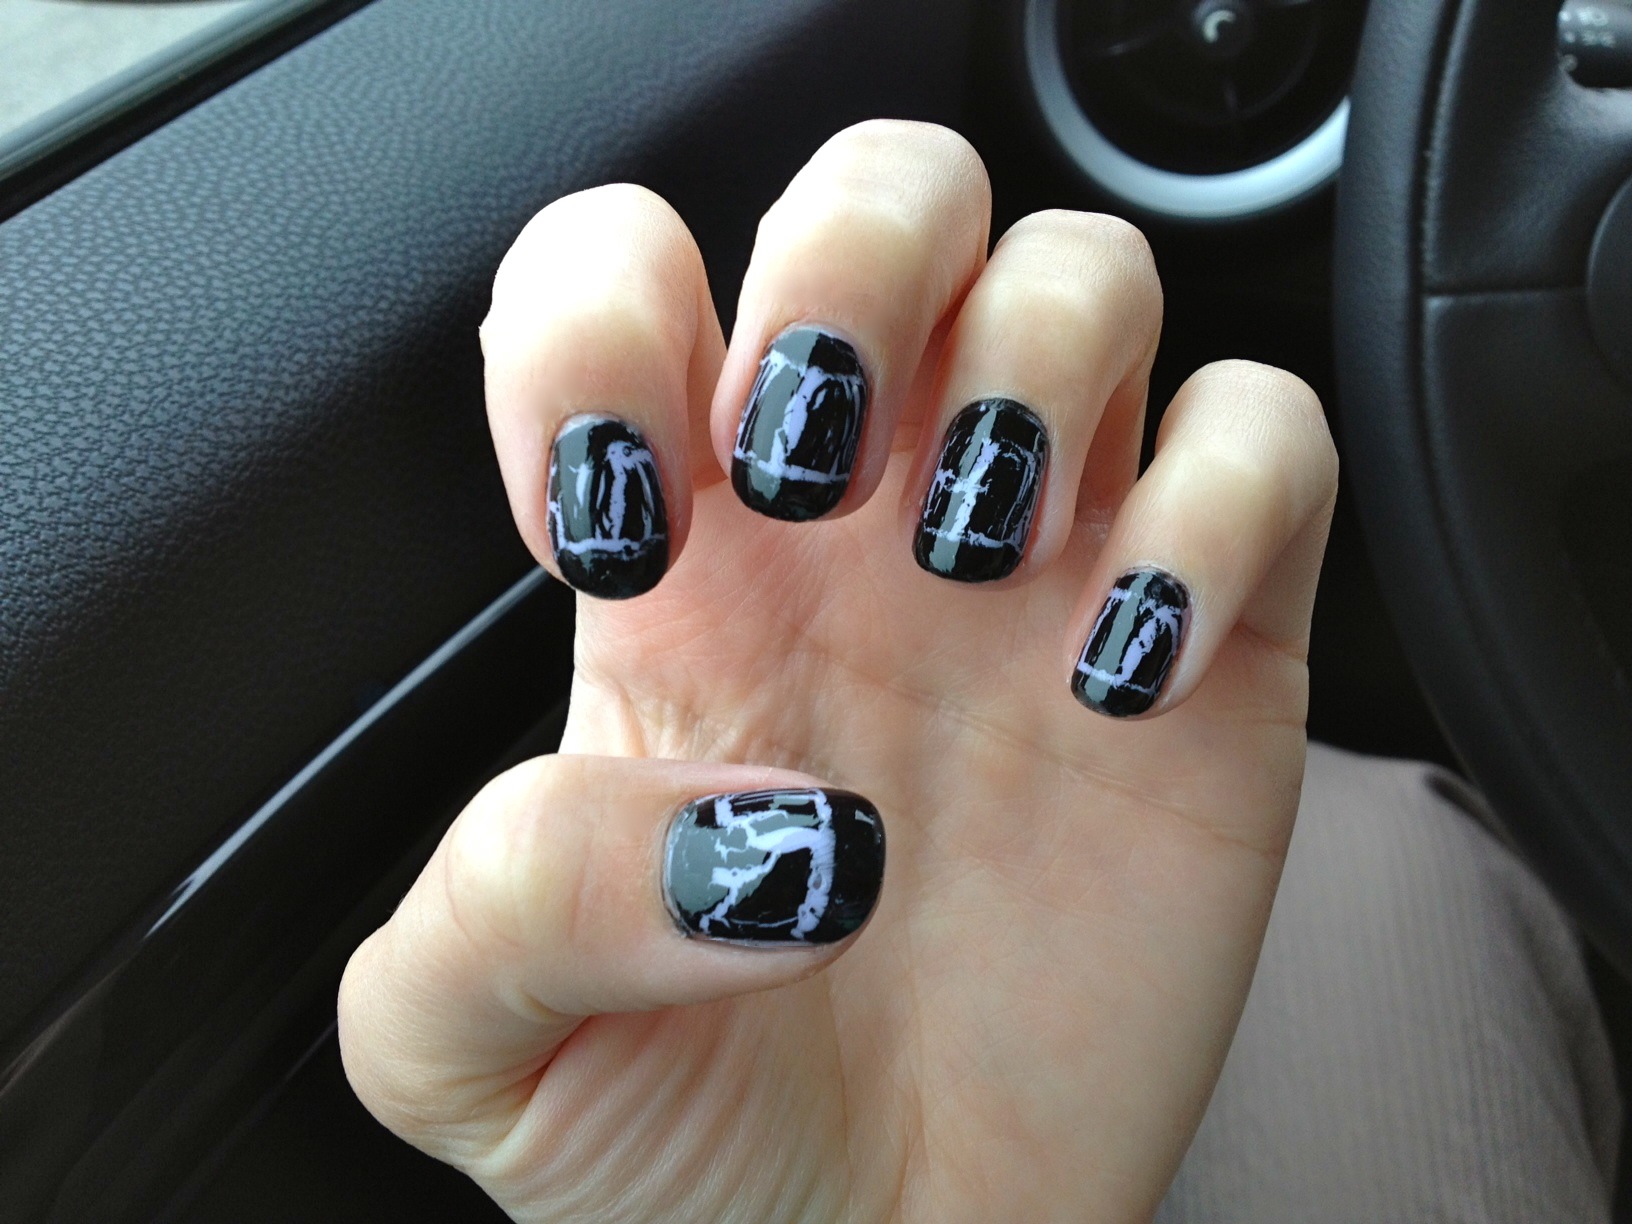
I felt too ill to start again and, so help me GAH, I was not going to let my nails go naked. There was only one product I could turn to; only one polish that could cover oh, so many sins: SHATTER.

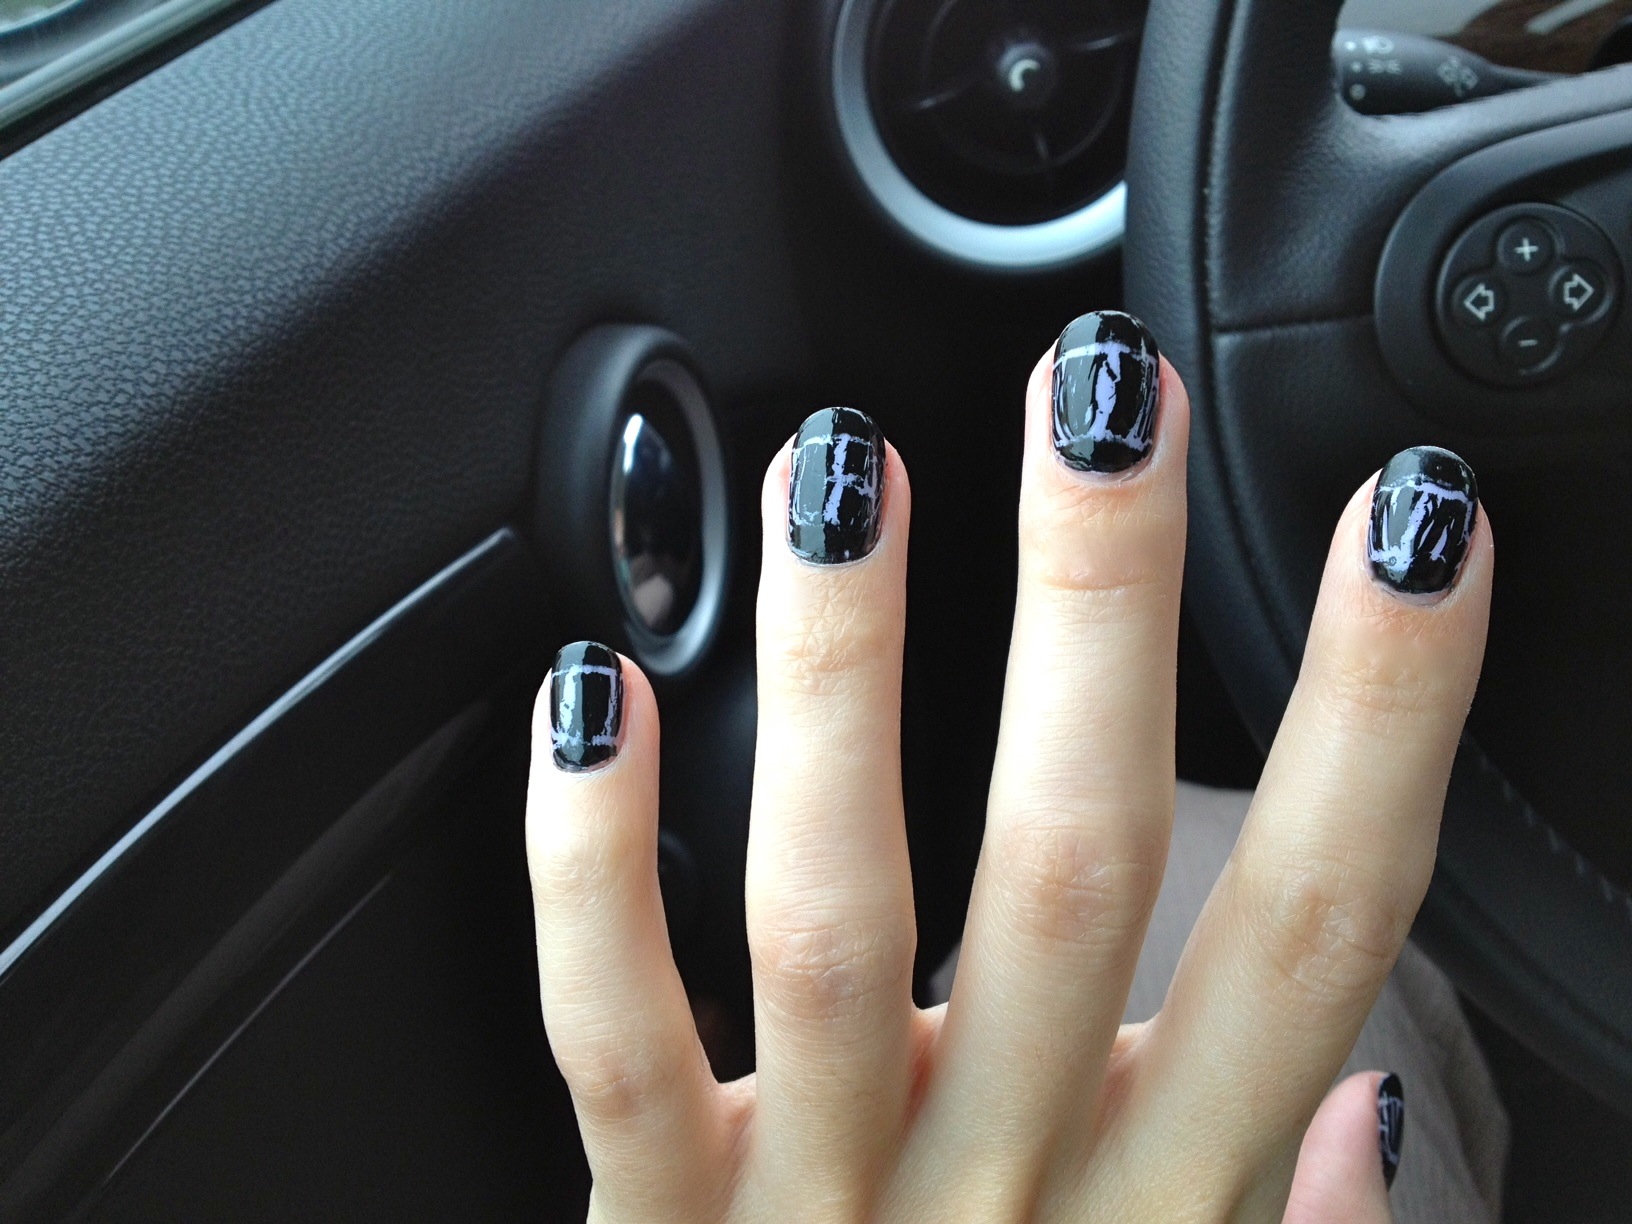
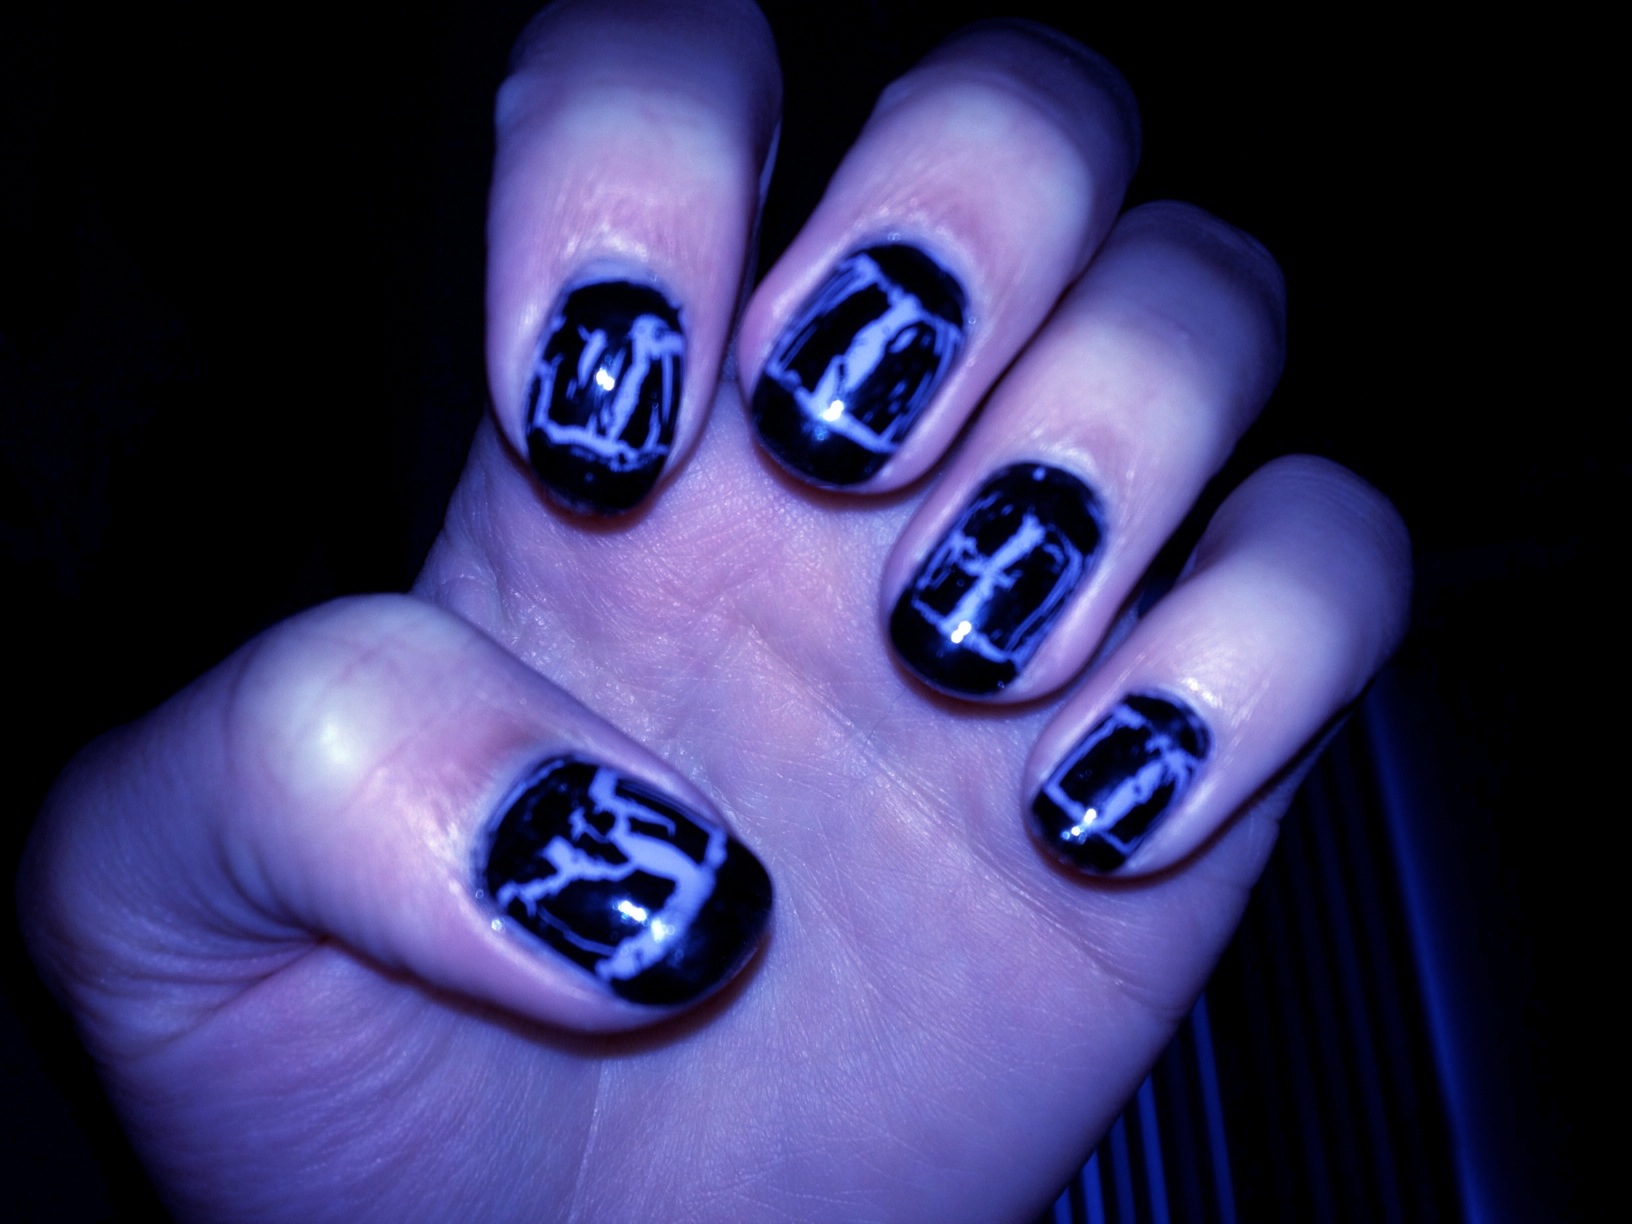
My favorite crackle polish is by OPI, who calls it "shatter." If you apply a thin coat, you get tiny little cracks. Apply a thick coat for great, big dramatic fissures.

I thought this mani was dead for sure but, like a phoenix, it rose triumphantly from the ashes of carelessness to emerge as the shiny, eye-catching mani I knew it could be.

shattercracklepop, Francesca

Manicure Mania, Pt. III: Glitter Gradient

And so we continue with the mayhem that is Mani MANIA! Next up is a look that's incredibly easy to do and guaranteed to get the nod of approval (or even the ole eyebrow-raise of astonishment) from all of your pals: The Glitter Gradient.

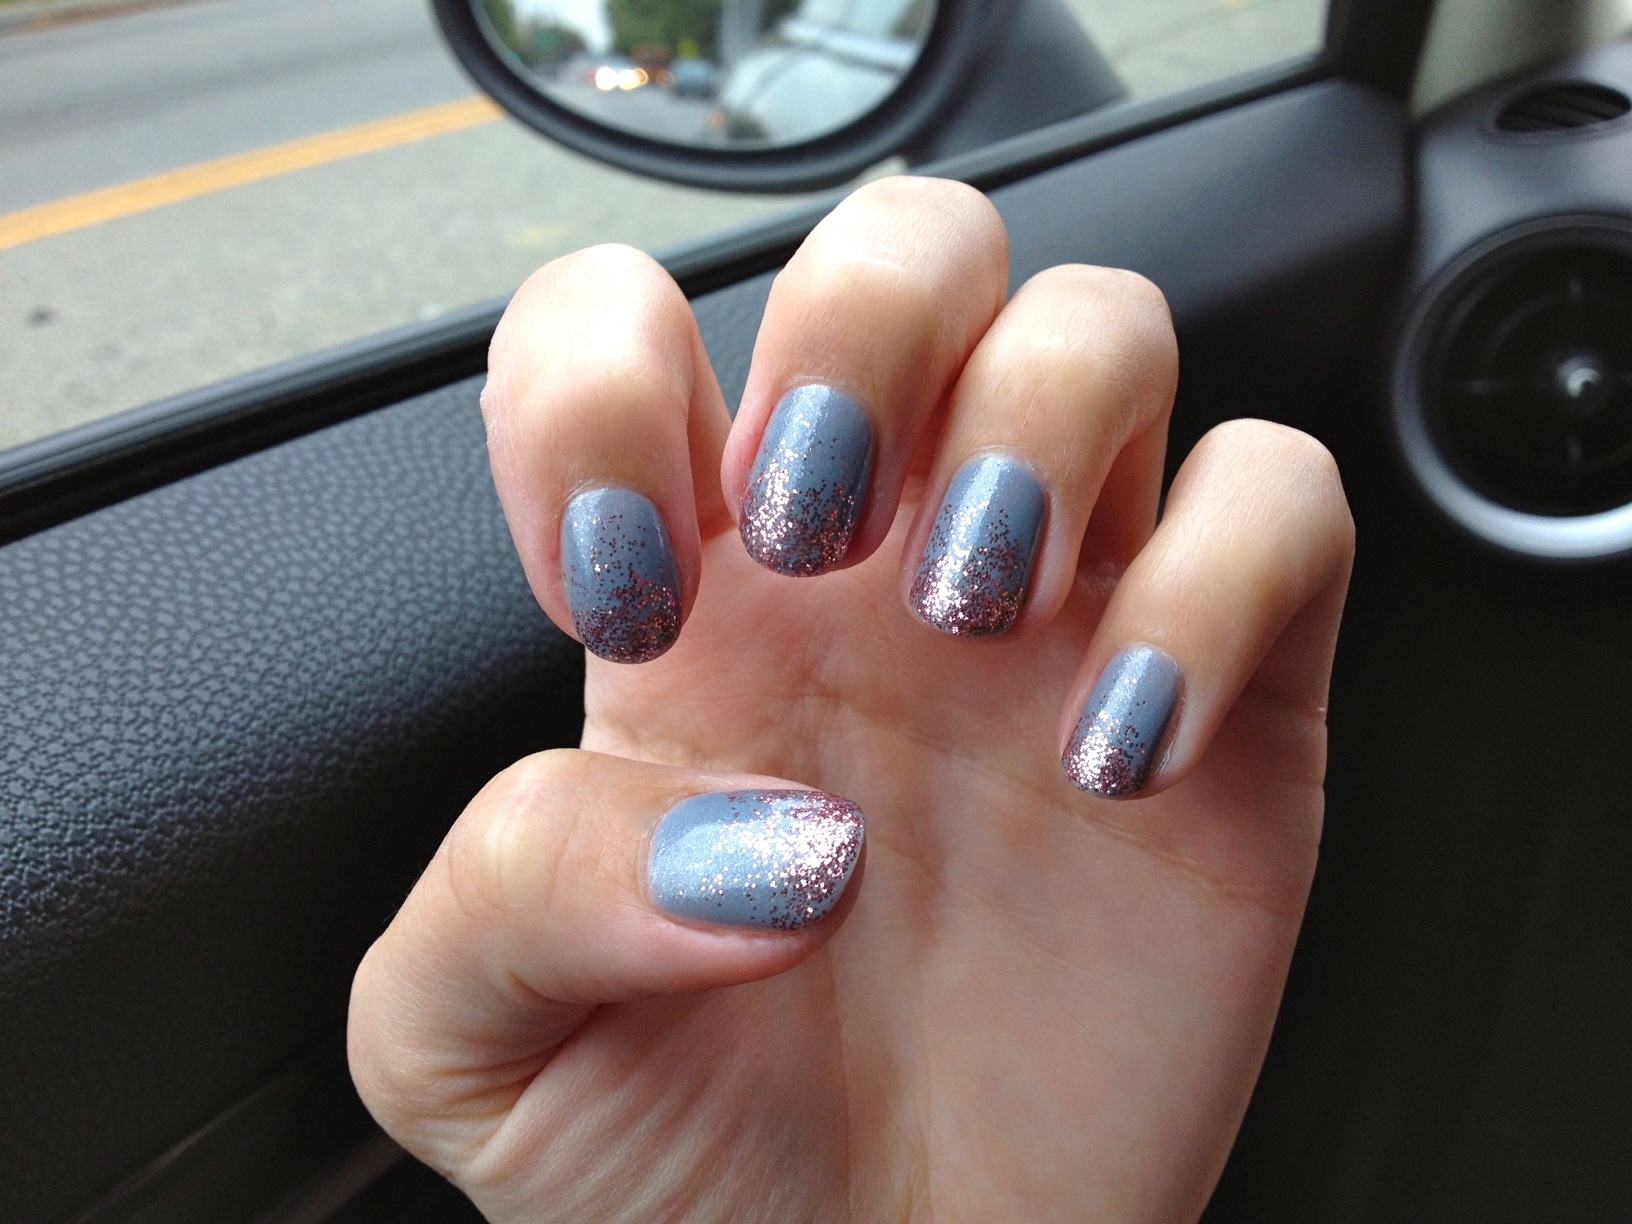
First, pictures:

And now, here's how to do your own Glitter Gradient.

  • I first had to comb through my Stash for some good glitter / base color combos. You'll need to do the same. What we're trying to achieve is a pairing that is pleasing to the eye — but it can't be too matchy-matchy or else the glitter fade will be difficult to detect. Nor can it be too contrasty; too distracting. Eventually, I settled on two polishes that looked great together: ORLY Pixie Dust, a lavender-gray hybrid with teensy specks of silver microglitter, and Nubar Pink Glitter, a pretty shade of pink that's more sparkling rosé than bubblegum.
  • Next, I did my usual Essie base coat, followed by two coats of ORLY Pixie Dust. I let the polish dry down a little and watched a scintillating half hour of Pawn Stars. (That show gets me every time!!)
  • And now, the fun part. GLITTAH. Do not shake the bottle. With a lot of glitters, you'll notice that the glitter sinks ever-so-slightly, leaving the bottom of the bottle very dense with glitter and the upper part of the bottle with fewer glitter particles. Carefully remove the brush from the bottle. We want to dip into the very top of the polish, the part that is mostly clear polish with only some bits of glitter here and there.
  • Then, paint about 75% of your nail with this diluted glitter formula. Don't go straight across; kind of move your brush like a zizag at the top, to avoid a clear line of demarcation between glitter and no-glitter on your nail.
  • Okay, now give that bottle a decent shake (like how you'd shake a bottle of milk). This will stir up the glitter and give you a more concentrated glitter mixture to paint with. Now paint 50% of your nails with this shaken-not-stirred polish. Use the same zigzag strategy.
  • One more step! Shake, shake, SHAKE. I mean really shake it (like when you were in second grade, and you brought in small glass baby food jars and added cream and then shook it the entire day to make butter). Get the glitter as mixed up as you can! This will give you GLITTERO MAXIMO. Paint just the tips of your nails, say the bottom 25%.
  • Top it off with your favorite top coat and BAM! Sparkle fingers FTW!

sparkleandshine, Francesca