Sloppy Ombre
 The tutorial was inspired by another tutorial from Refinery29.com
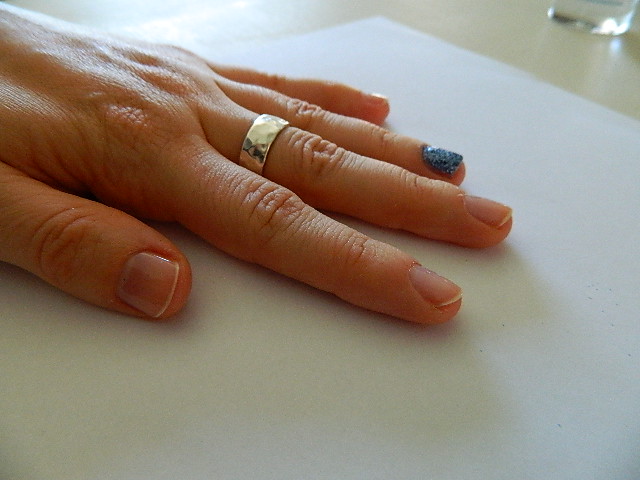
 , I created a sloppy ombre nail with an accent glitter ring finger (seen above)! In the original tutorial from Refinery29, they mix the colors so that there is a gradual change from black to blue. However, in my tutorial, rather than blending and mixing, I use a sponge to create a kind of sloppy change from black to blue. Try either of these ideas, for some fun with your nails!
Here are the steps to create the Sloppy Ombre:
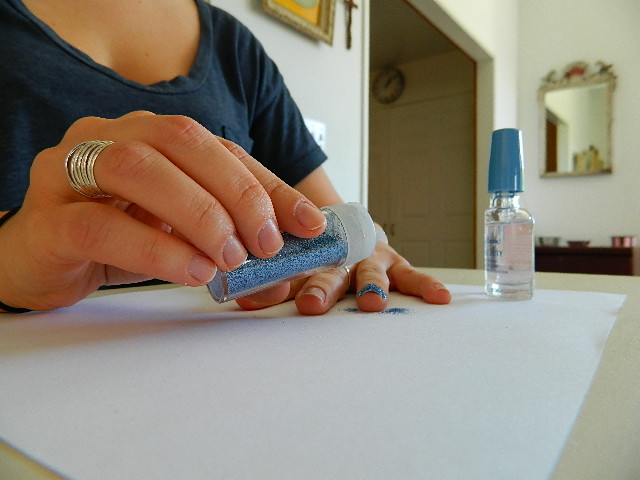
The items that you need include, a base coat and top coat, fine blue glitter, black nail polish, bright blue nail polish, and a sponge. Also, I recommend working on one hand at a time, as the polish can be quite thick and may drip some until it dries.  1. Place one hand over a piece of paper (to catch any loose glitter). Coat your ring finger of this hand with a base coat. Then quickly cover this with blue glitter, while the base coat is still wet. Let dry completely and then cover all of your nails, including the glitter one, in a base coat. This will seal in the glitter, as well as prep your other nails.


 2. While you let the base coat dry, clean up any loose glitter from your hands and the paper beneath your hand, to make sure that you do not get any on the polish. You can use a flat make-up brush and some nail polish remover to clean up any glitter that may be sticking your your fingers
 3. Then prep your black and blue nail polish by opening each bottle and having them ready to use and close by. You will use both colors on one nail before moving onto the next.
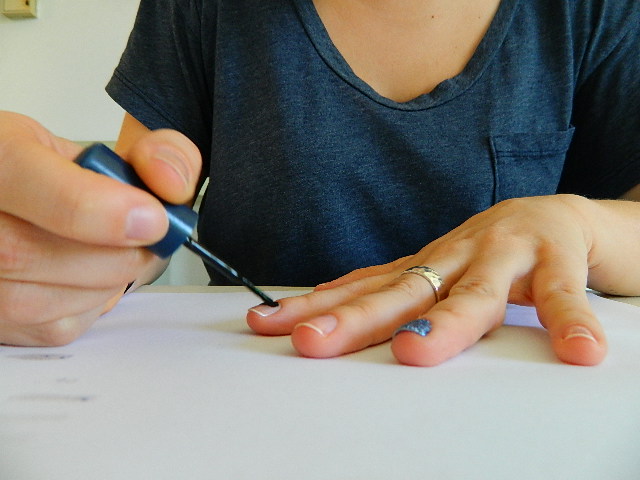
4. One finger at a time, cover the upper portion of your nails with black. I used Wet n' Wild's Black Creme.
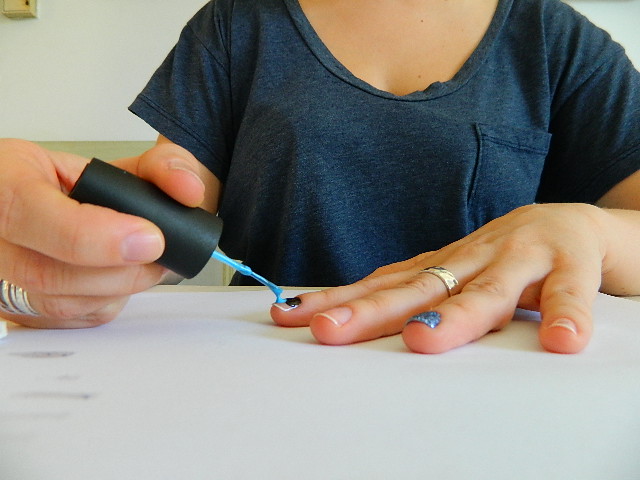
 5. Then, on the same finger, and while the black polish is still wet, cover the lower portion of your nails in blue. I used OPI's No Room For the Blues.
 6. Take a sponge and dab the two colors together. Remember that this is called the "Sloppy Ombre," so it does not have to be perfect. Just have fun with it!
 7. Repeat step 4-6 on the remaining fingers. Let dry completely.
8. Cover all nails with a thick top coat.

