

Revlon Nail Art — Moon Candy (Cosmic 3D Effects)

Let’s chat drugstore brands.
I strongly prefer L’Oreal; the packaging’s better and the colors are little higher-end. CoverGirl’s longtime partnership with ANTM leaves me feeling a special fondness, but the brand still reminds me of high school. Maybelline’s got Great(Lash) mascara but that’s about it.
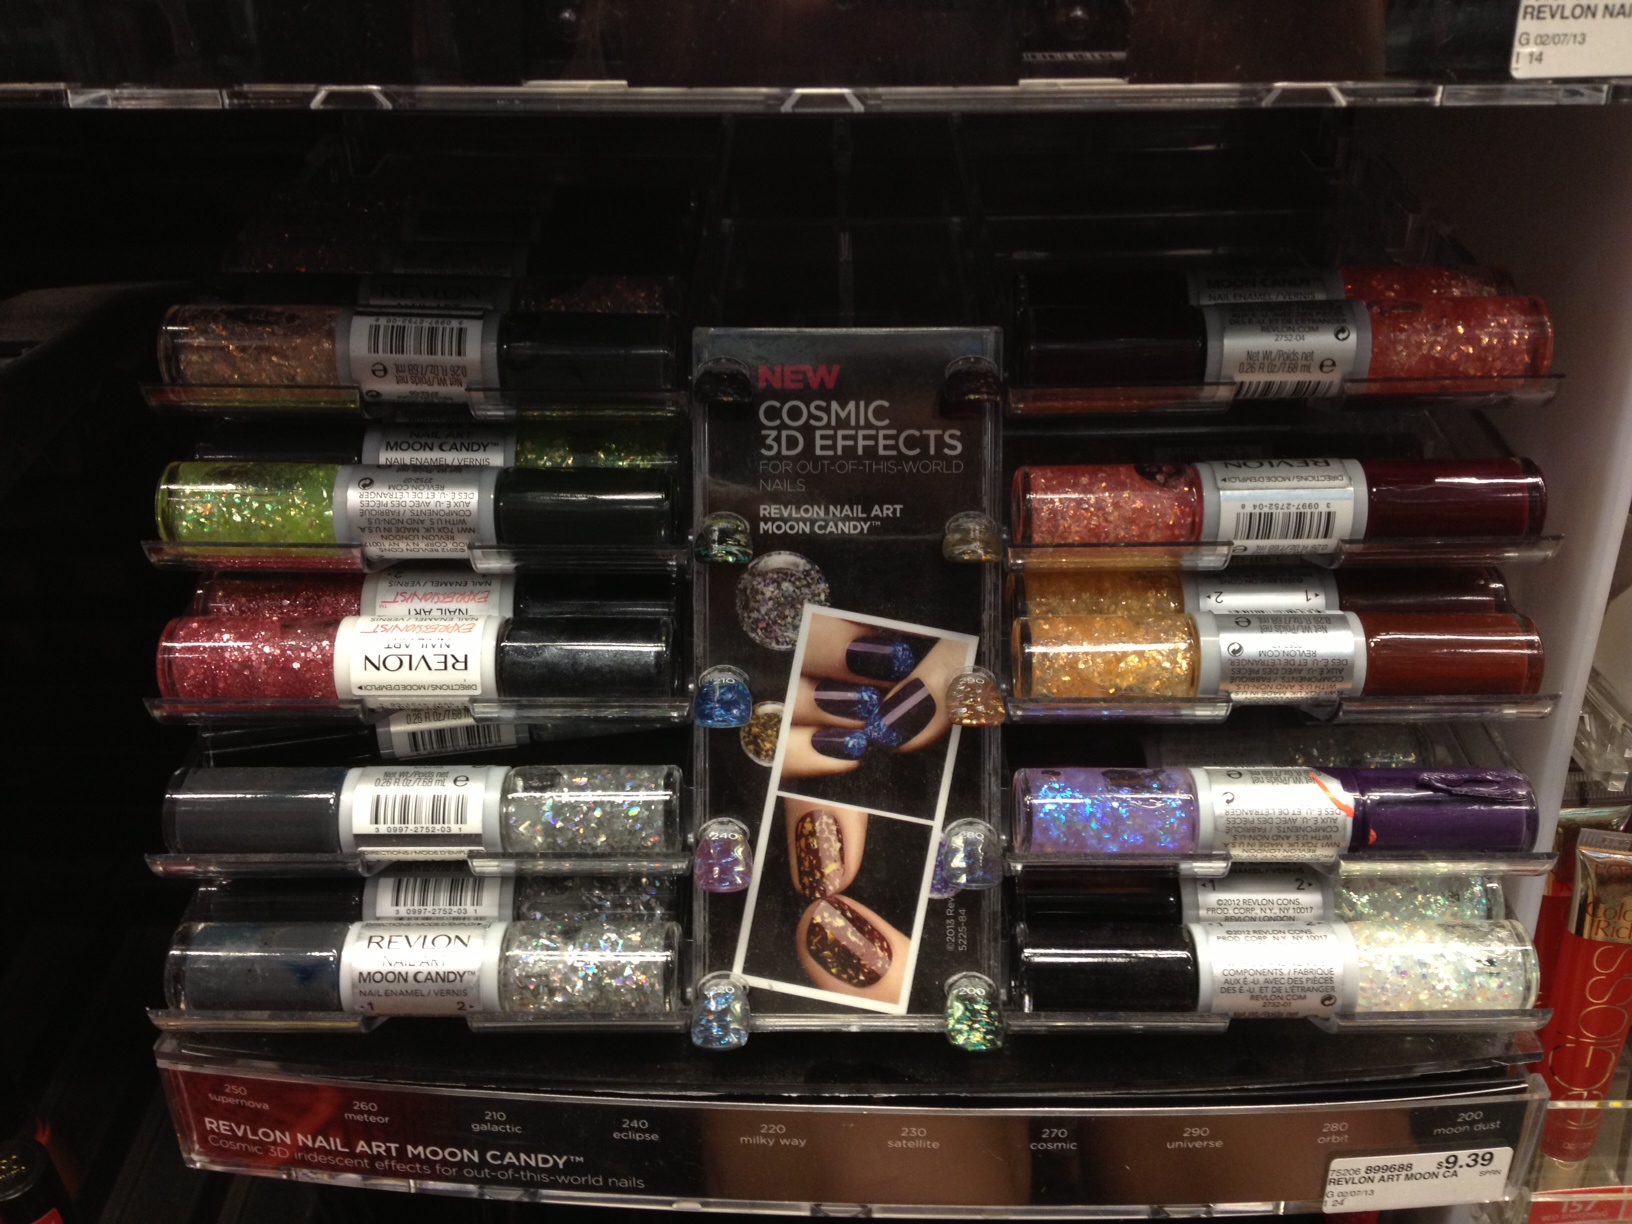
And then there’s Revlon. Not the most exciting of the drugstore brands to me. And yet… check this out. I spied these in my fave CVS recently.
[Warning: Longest product name in the history of the planet. Revlon Nail Art Moon Candy Cosmic 3D Effects.]
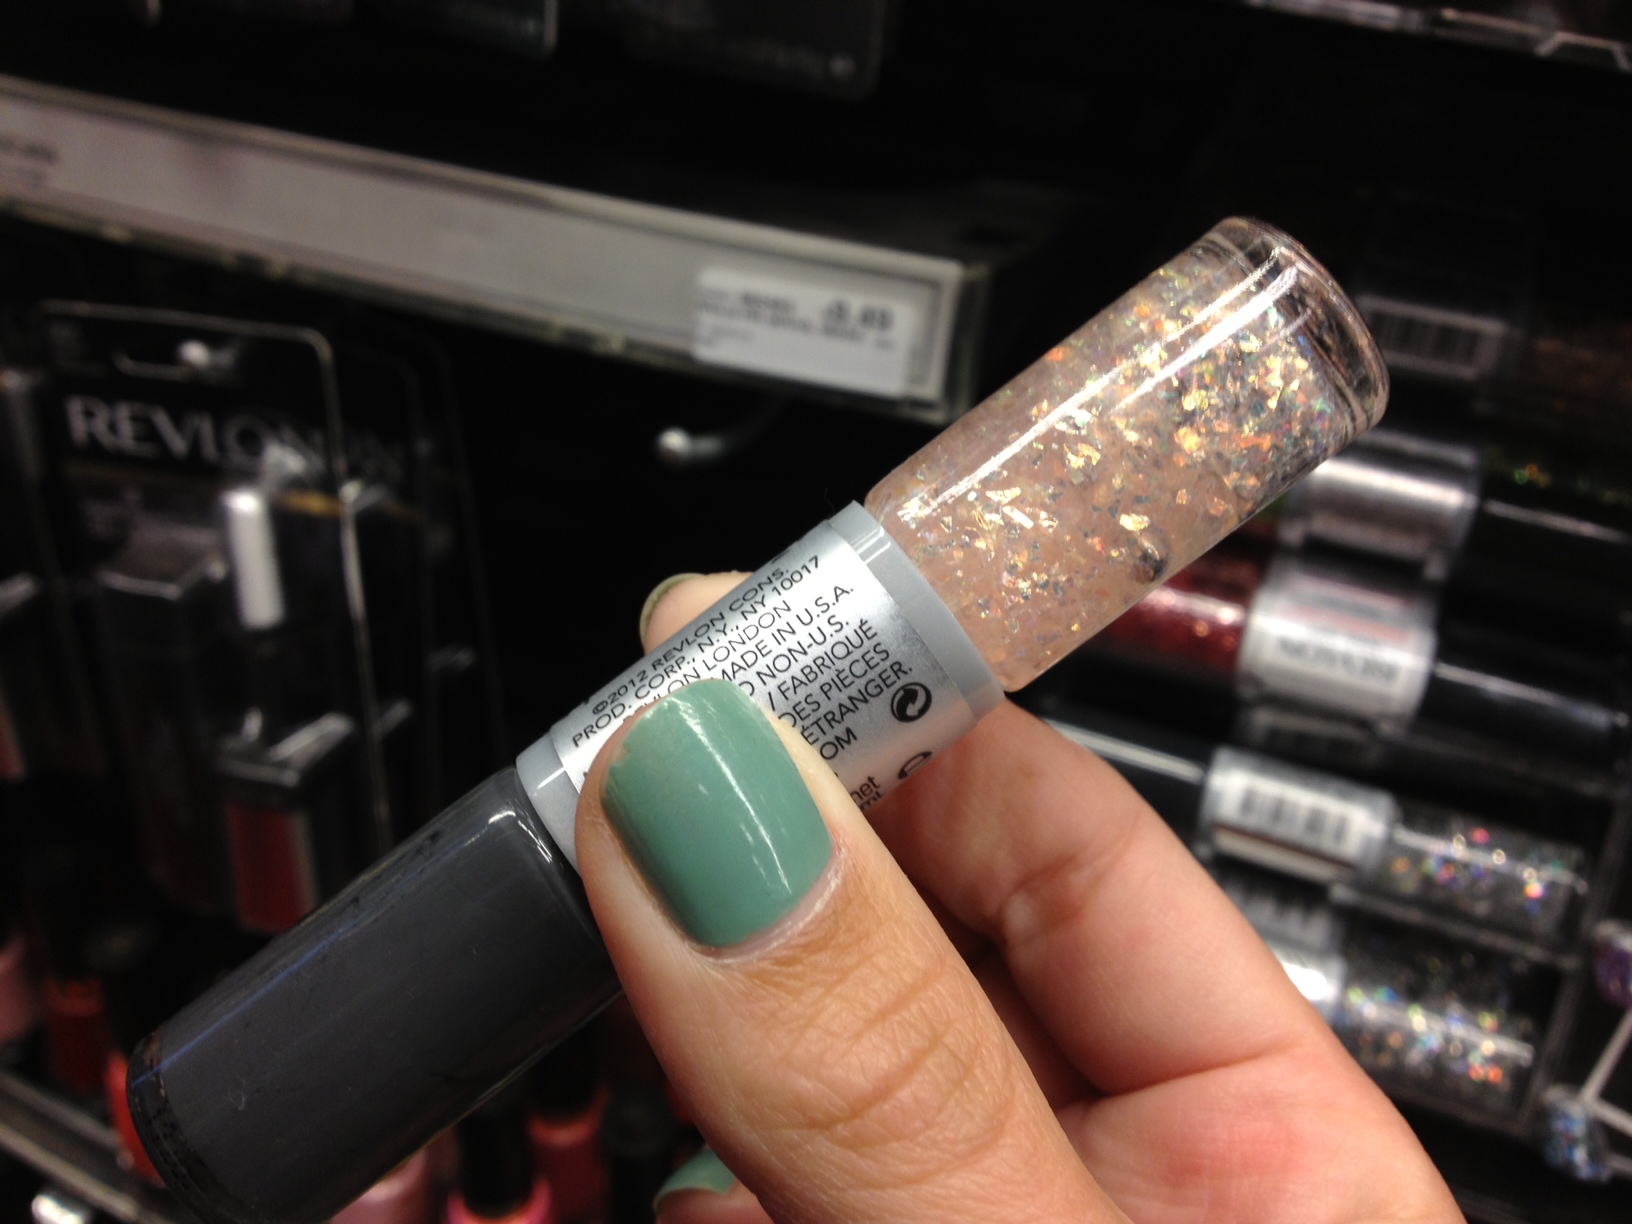
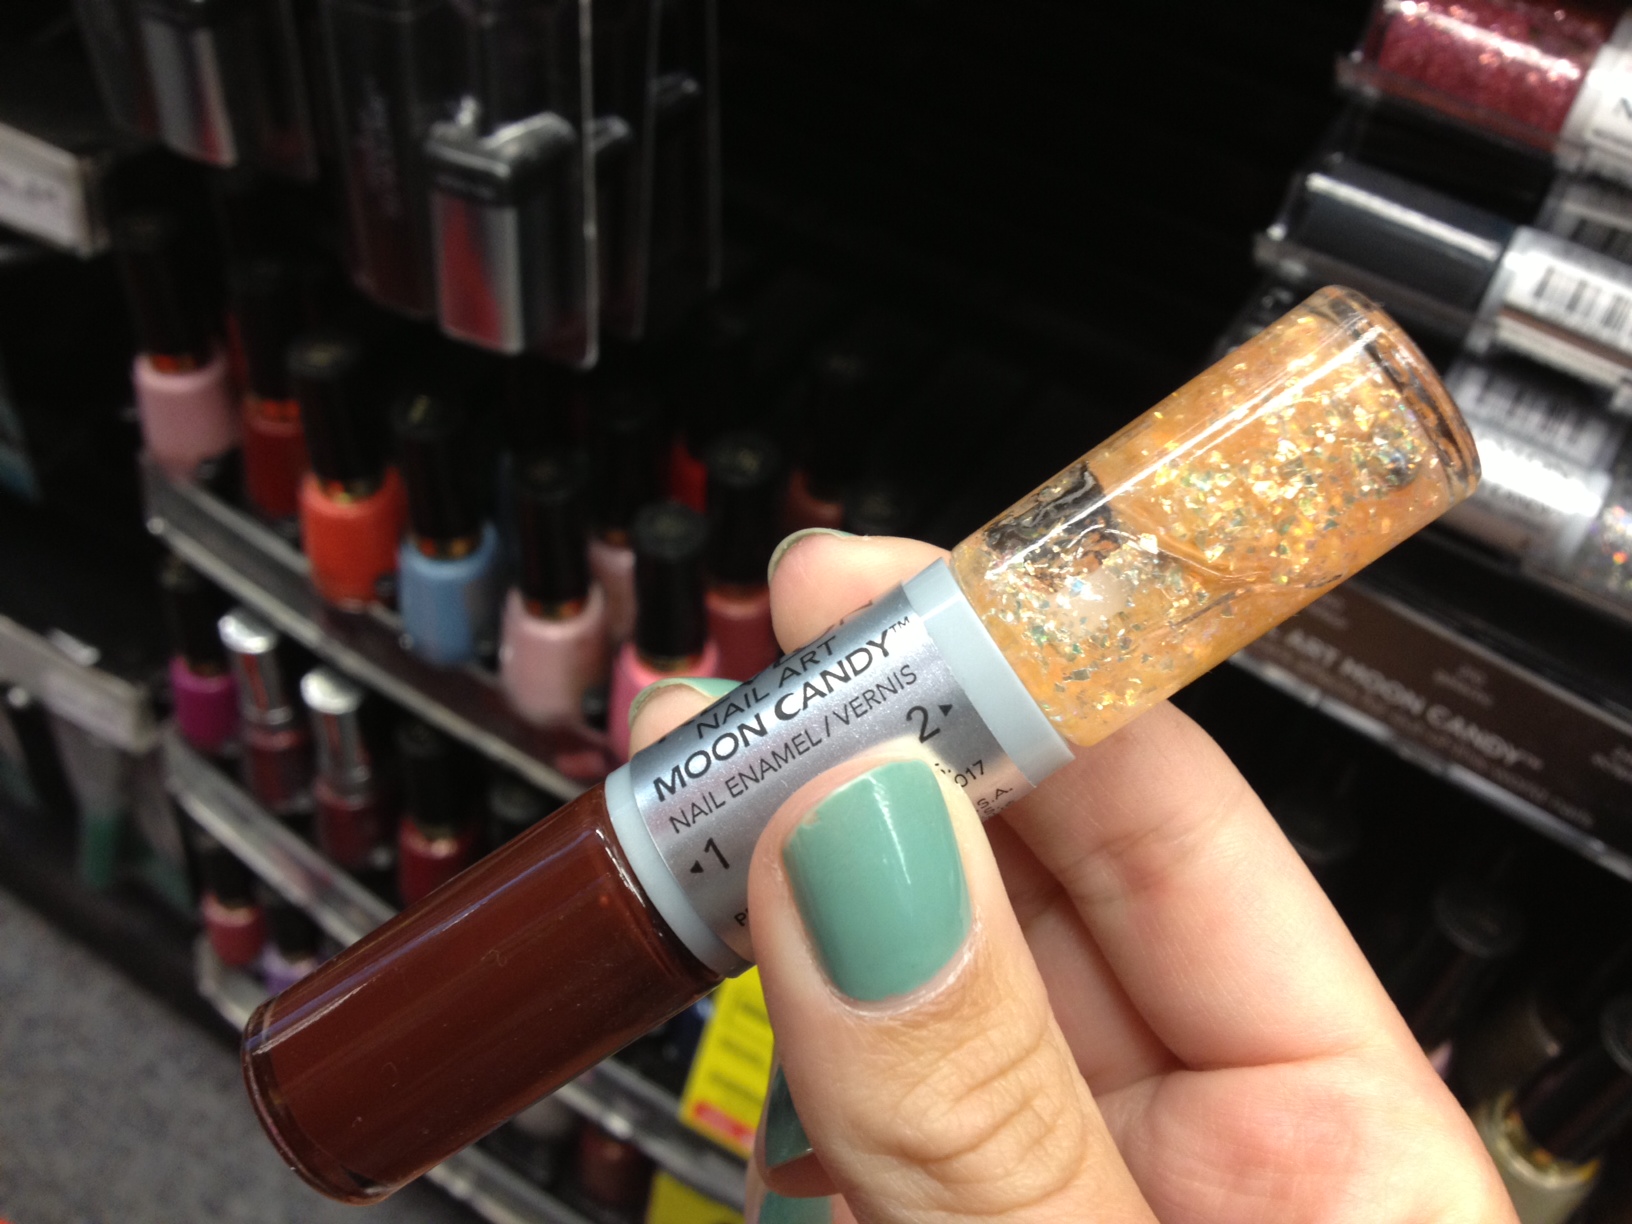
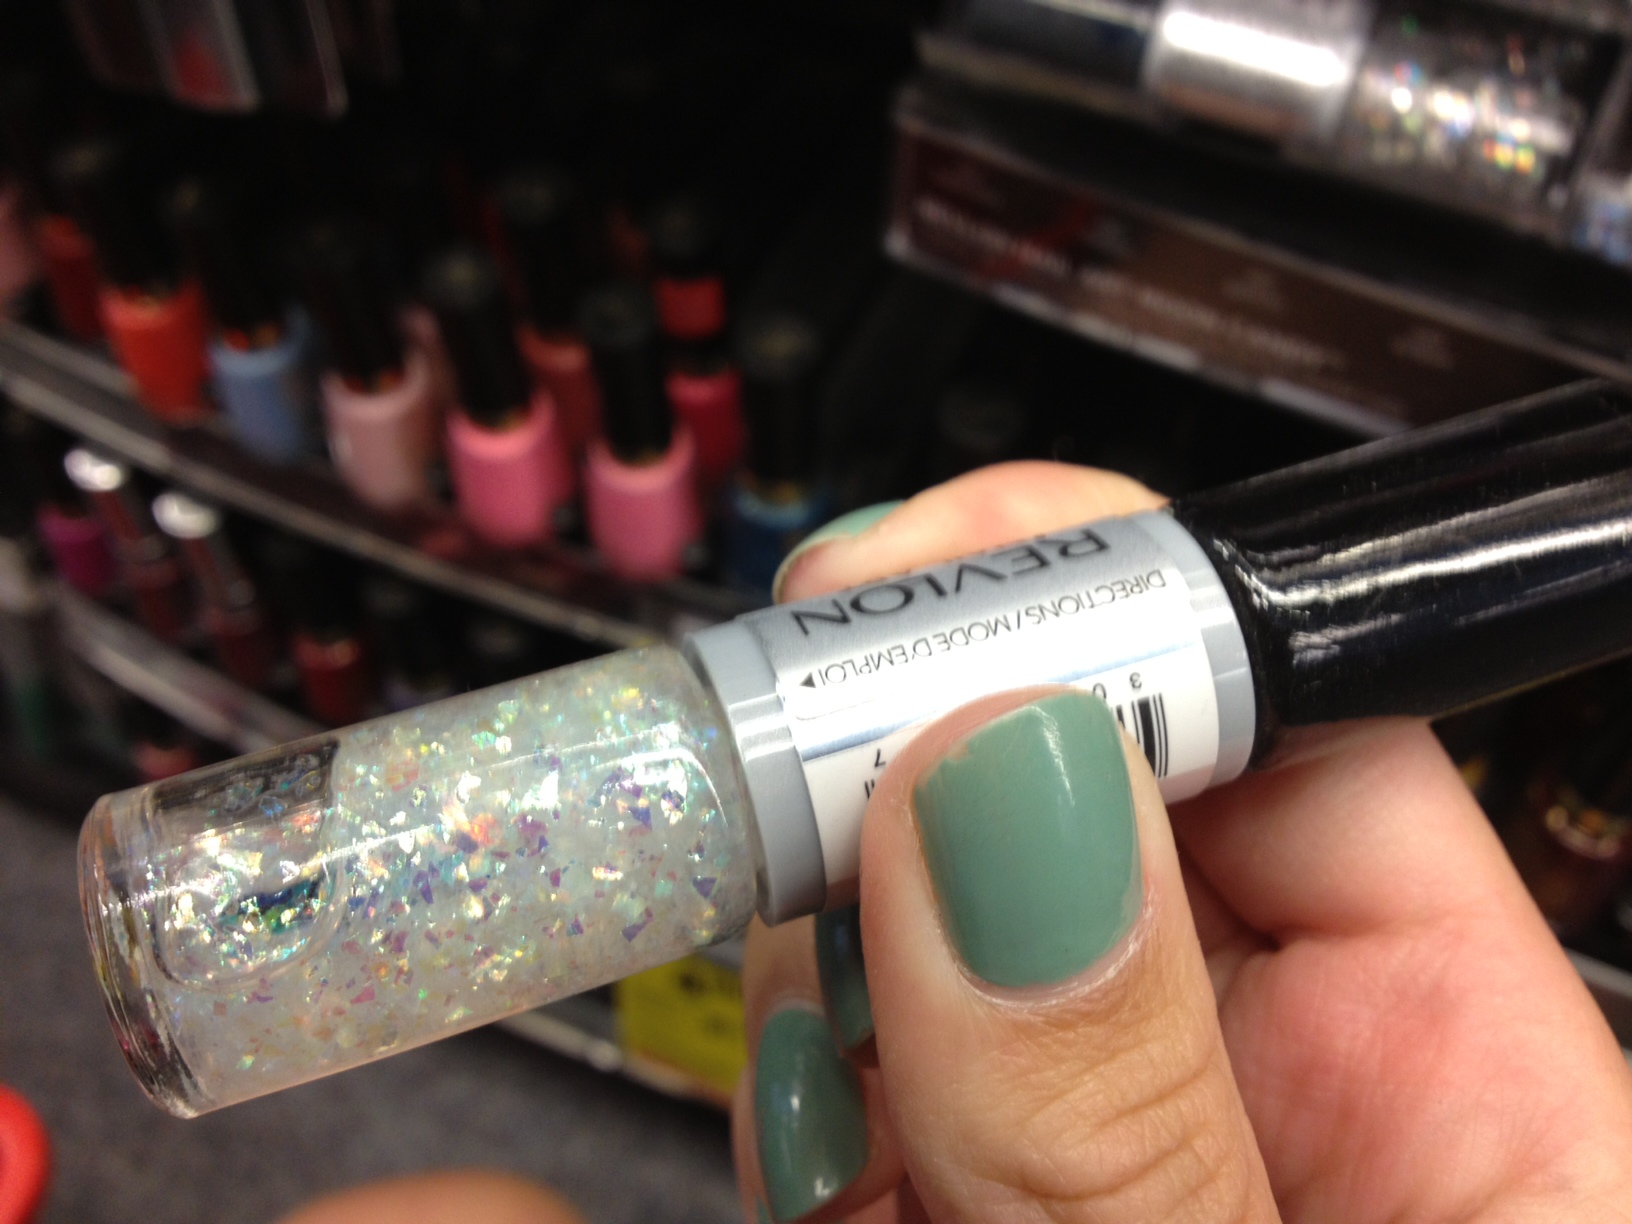

I have a bunch of flakies in my Stash, and Revlon’s color pairings gave me some new ideas for layering. To that point, if I hadn’t already invested in a slew of flakies, I probably would have bought one or two of these magic wands.
Have any of you guys tried these out? I’m intrigued…
rev-lontimenosee, Chess
P.S. I'm wearing OPI's Mermaid Tears here. I never swatched it, so get a good look! :)


 I waited too long to post this back when Valentine's happened eons ago. I should have shown this to you the week before so that you could have had time to pick out supplies if this inspired you. But I couldn't get my act together — sorry! So now I'm posting one month after... which, to my crazy mind, seemed better than a day or two late. :D


")
")
")
")
")
")
")
")
")