Manicure Mania, Pt. V: Neon Ombré

Sometimes you save the best for last.

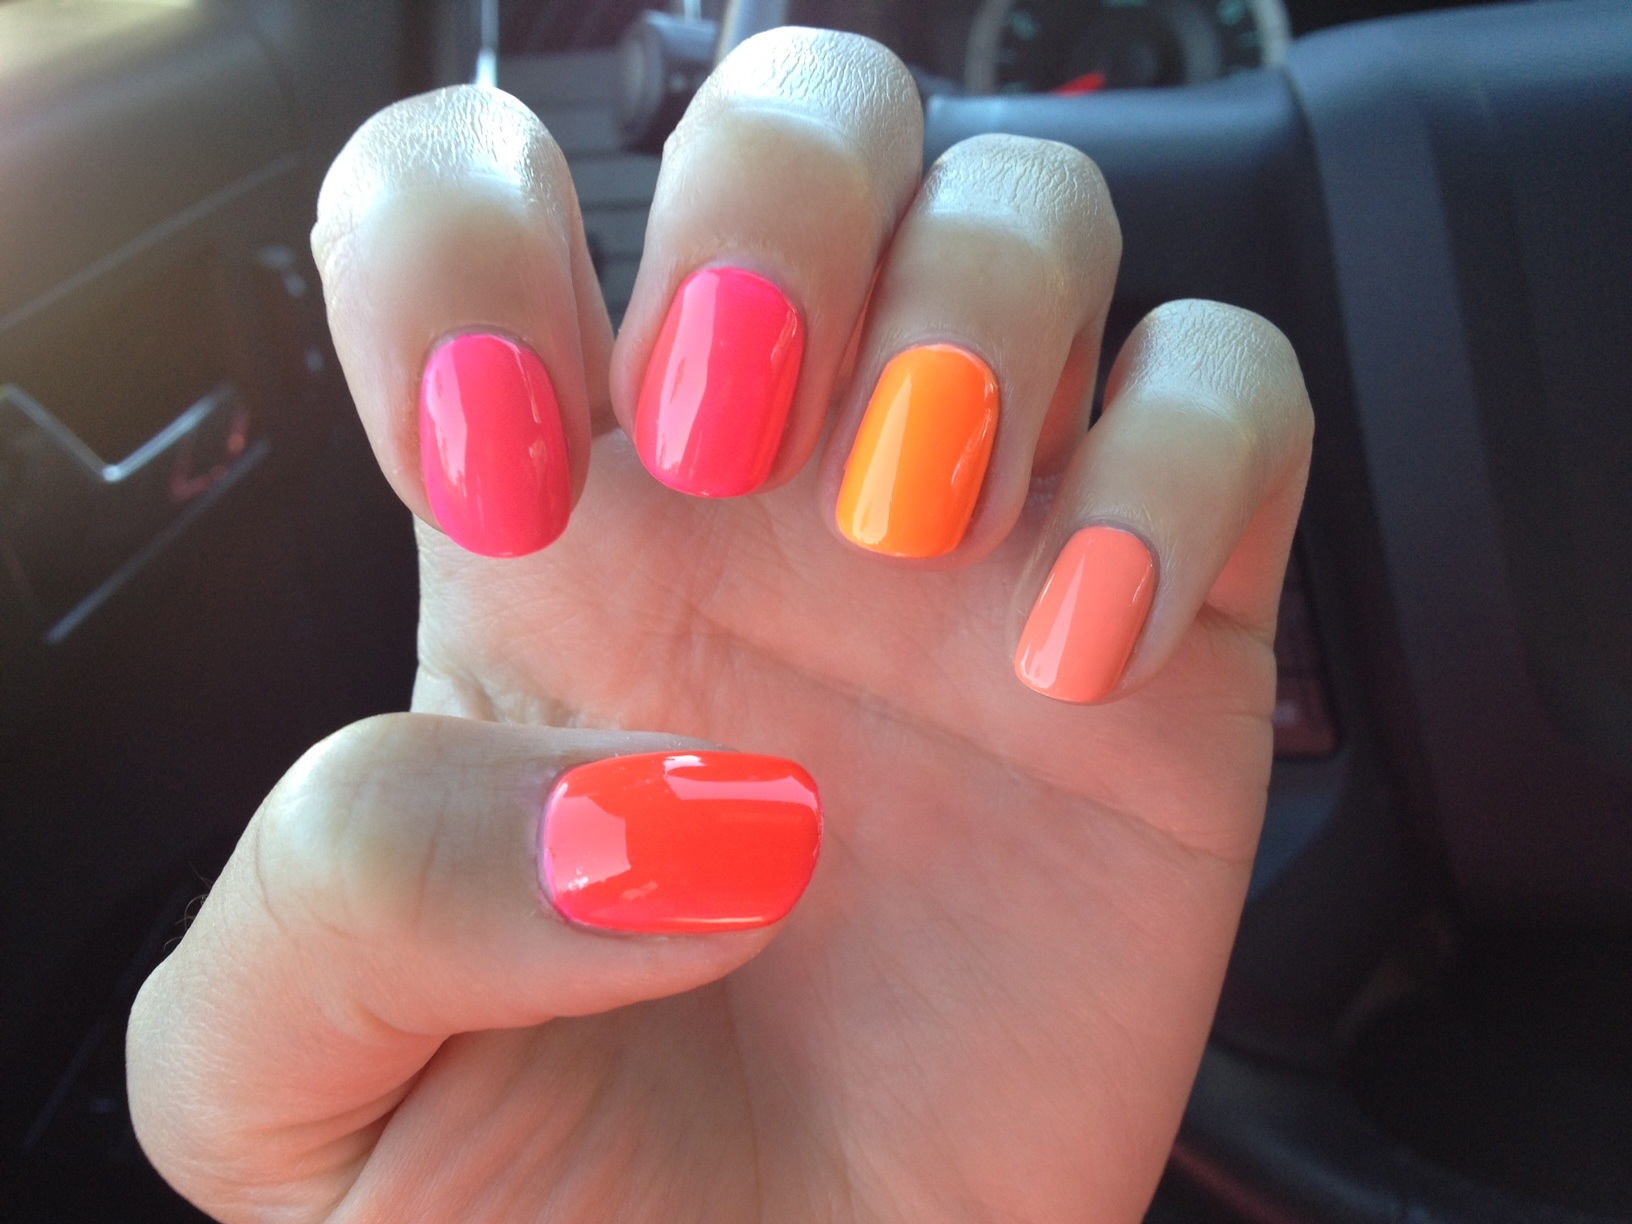
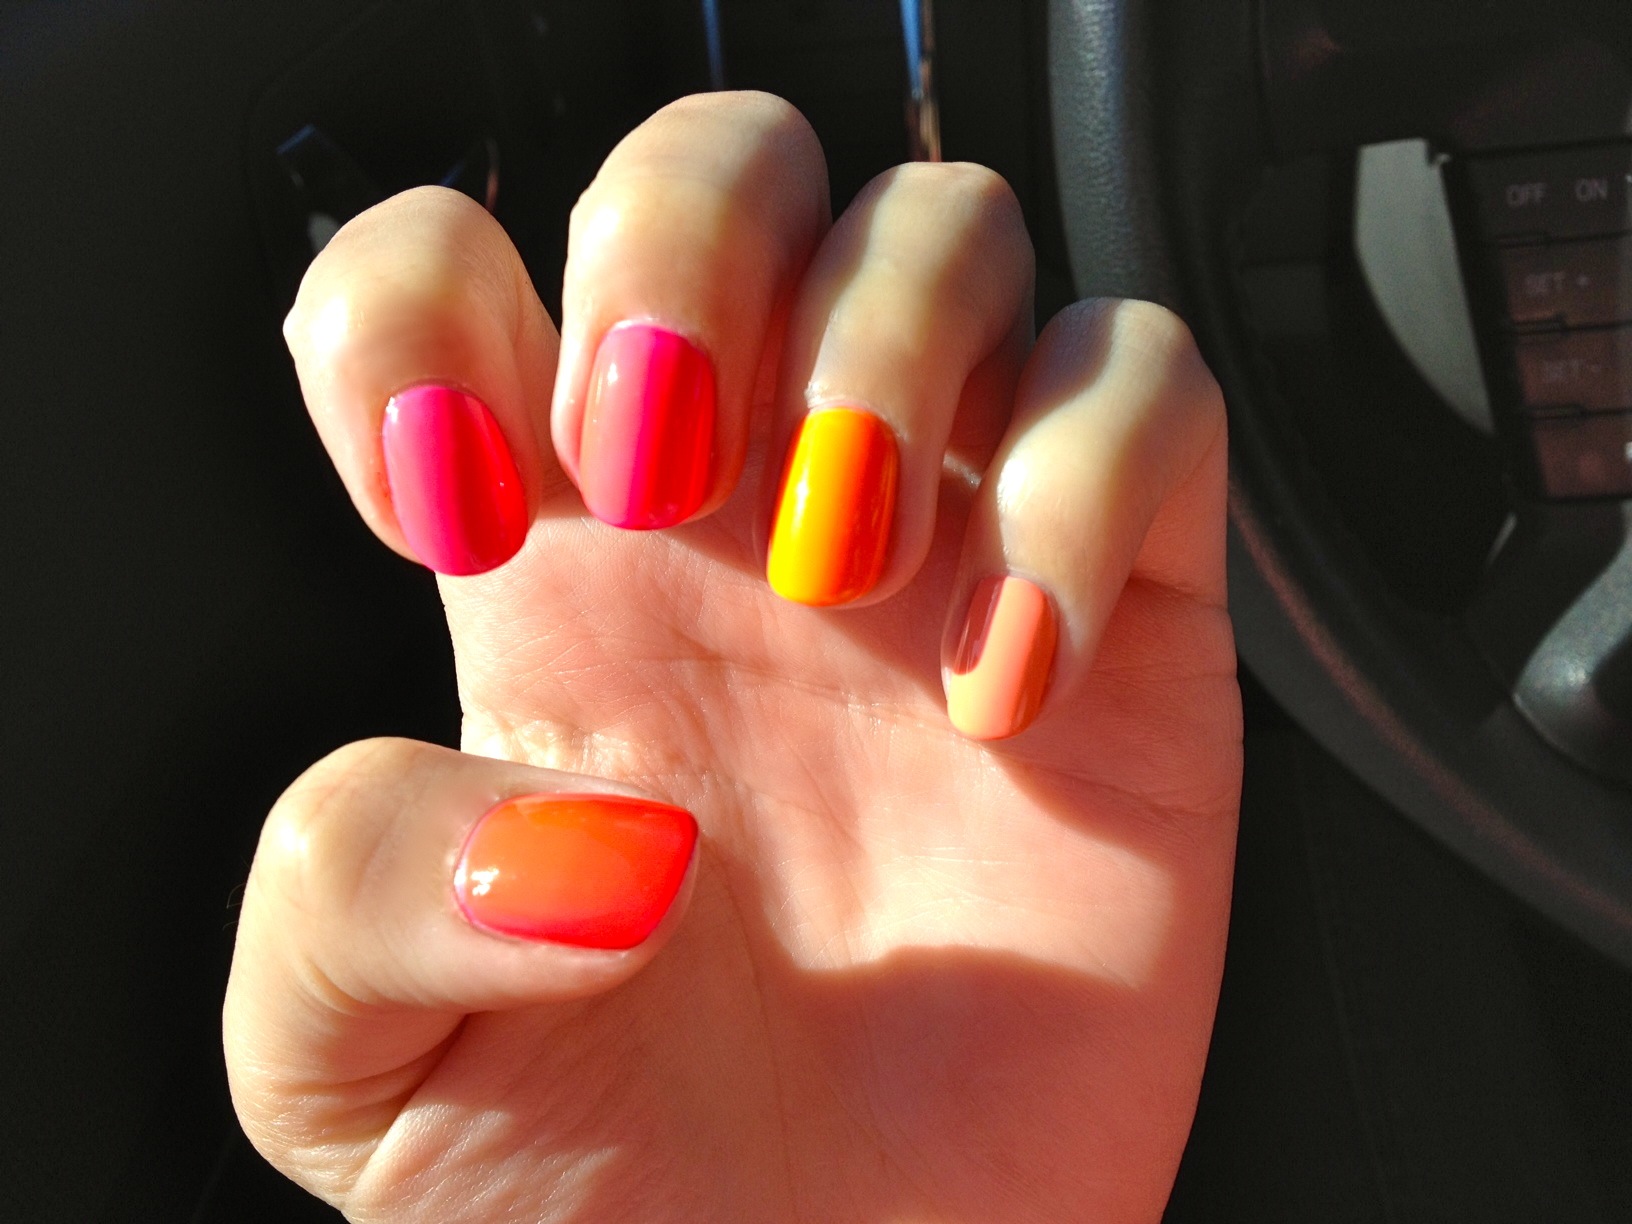
We love ombré. We love neon. So why not put them together? Like two A-list celebrities who pair up to become an A+ couple, neon and ombre's powers combine to become exponentially more awesome!

My idea came from this ubiquitous Pinterest pin; I'm sure you have seen it.

I wanted to roll with the idea but clean it up a bit; make a more definitive neon spectrum. I tested my neons on a discarded piece of snail mail and developed the perfect order.

I knew I wanted my manicure to be as jaw-droppingly neon as possible, so I painted two coats of OPI Alpine Snow as a base. Then, I painted like so:

Then, I got over eager and was anxious to start my clean-up. And in doing so, I hit my right index finger on the edge of the counter and made a huge scrape. I stared at my nail in horror — what to do, what to do! Start that nail all over again? Or... disguise this boo boo?

I remembered I had some small holographic golden stars lying around in my Stash somewhere. If I arranged them in a charming way, it might work.

I think my mini-constellation added some character!

haveablindinglybrightweekend, Francesca

P.S. Special shout out (and sincere thank you) to Weston for designing my Mani Mania headers this whole week. xx

[youtube=http://www.youtube.com/watch?v=5EdmHSTwmWY]

Ombré Made Easy

Who doesn't love an ombre manicure? It's fresh, on-trend, and a great conversation starter. It's creative... but not crazy. It's got the DIY cool without the usual DIY complications.

The hardest part is gathering the perfect spectrum — or shall I say "was" because THE NEW BLACK is taking all the guesswork out of locking down that perfect gradation.

Click the pic if you're tempted to trot over to Nordstrom's site to learn more about THE NEW BLACK's ombrés in a box.

At $22 bucks a pop, a cute five-color set sounds like a smart bet.

I'm not usually one to repeat manicures, but even I would make an exception here. I'd try going from dark to light one week, then flip the ombré when I wanted to try a new look. And if you buy a set that blends well with your Stash, you could add even more shades to the ombré!

I enjoy the quest for the perfect ombre colors, but you know I get a little excited about nail projects. That said, I'd never judge a pal who didn't have the time (or patience) to sleuth about for the perfect shades and opted for one of these kits instead.

A genius idea, THE NEW BLACK. Well played...

howdoyoulikeyourombré, Francesca

The Paige Pastel Manicure (& Happy Easter!)

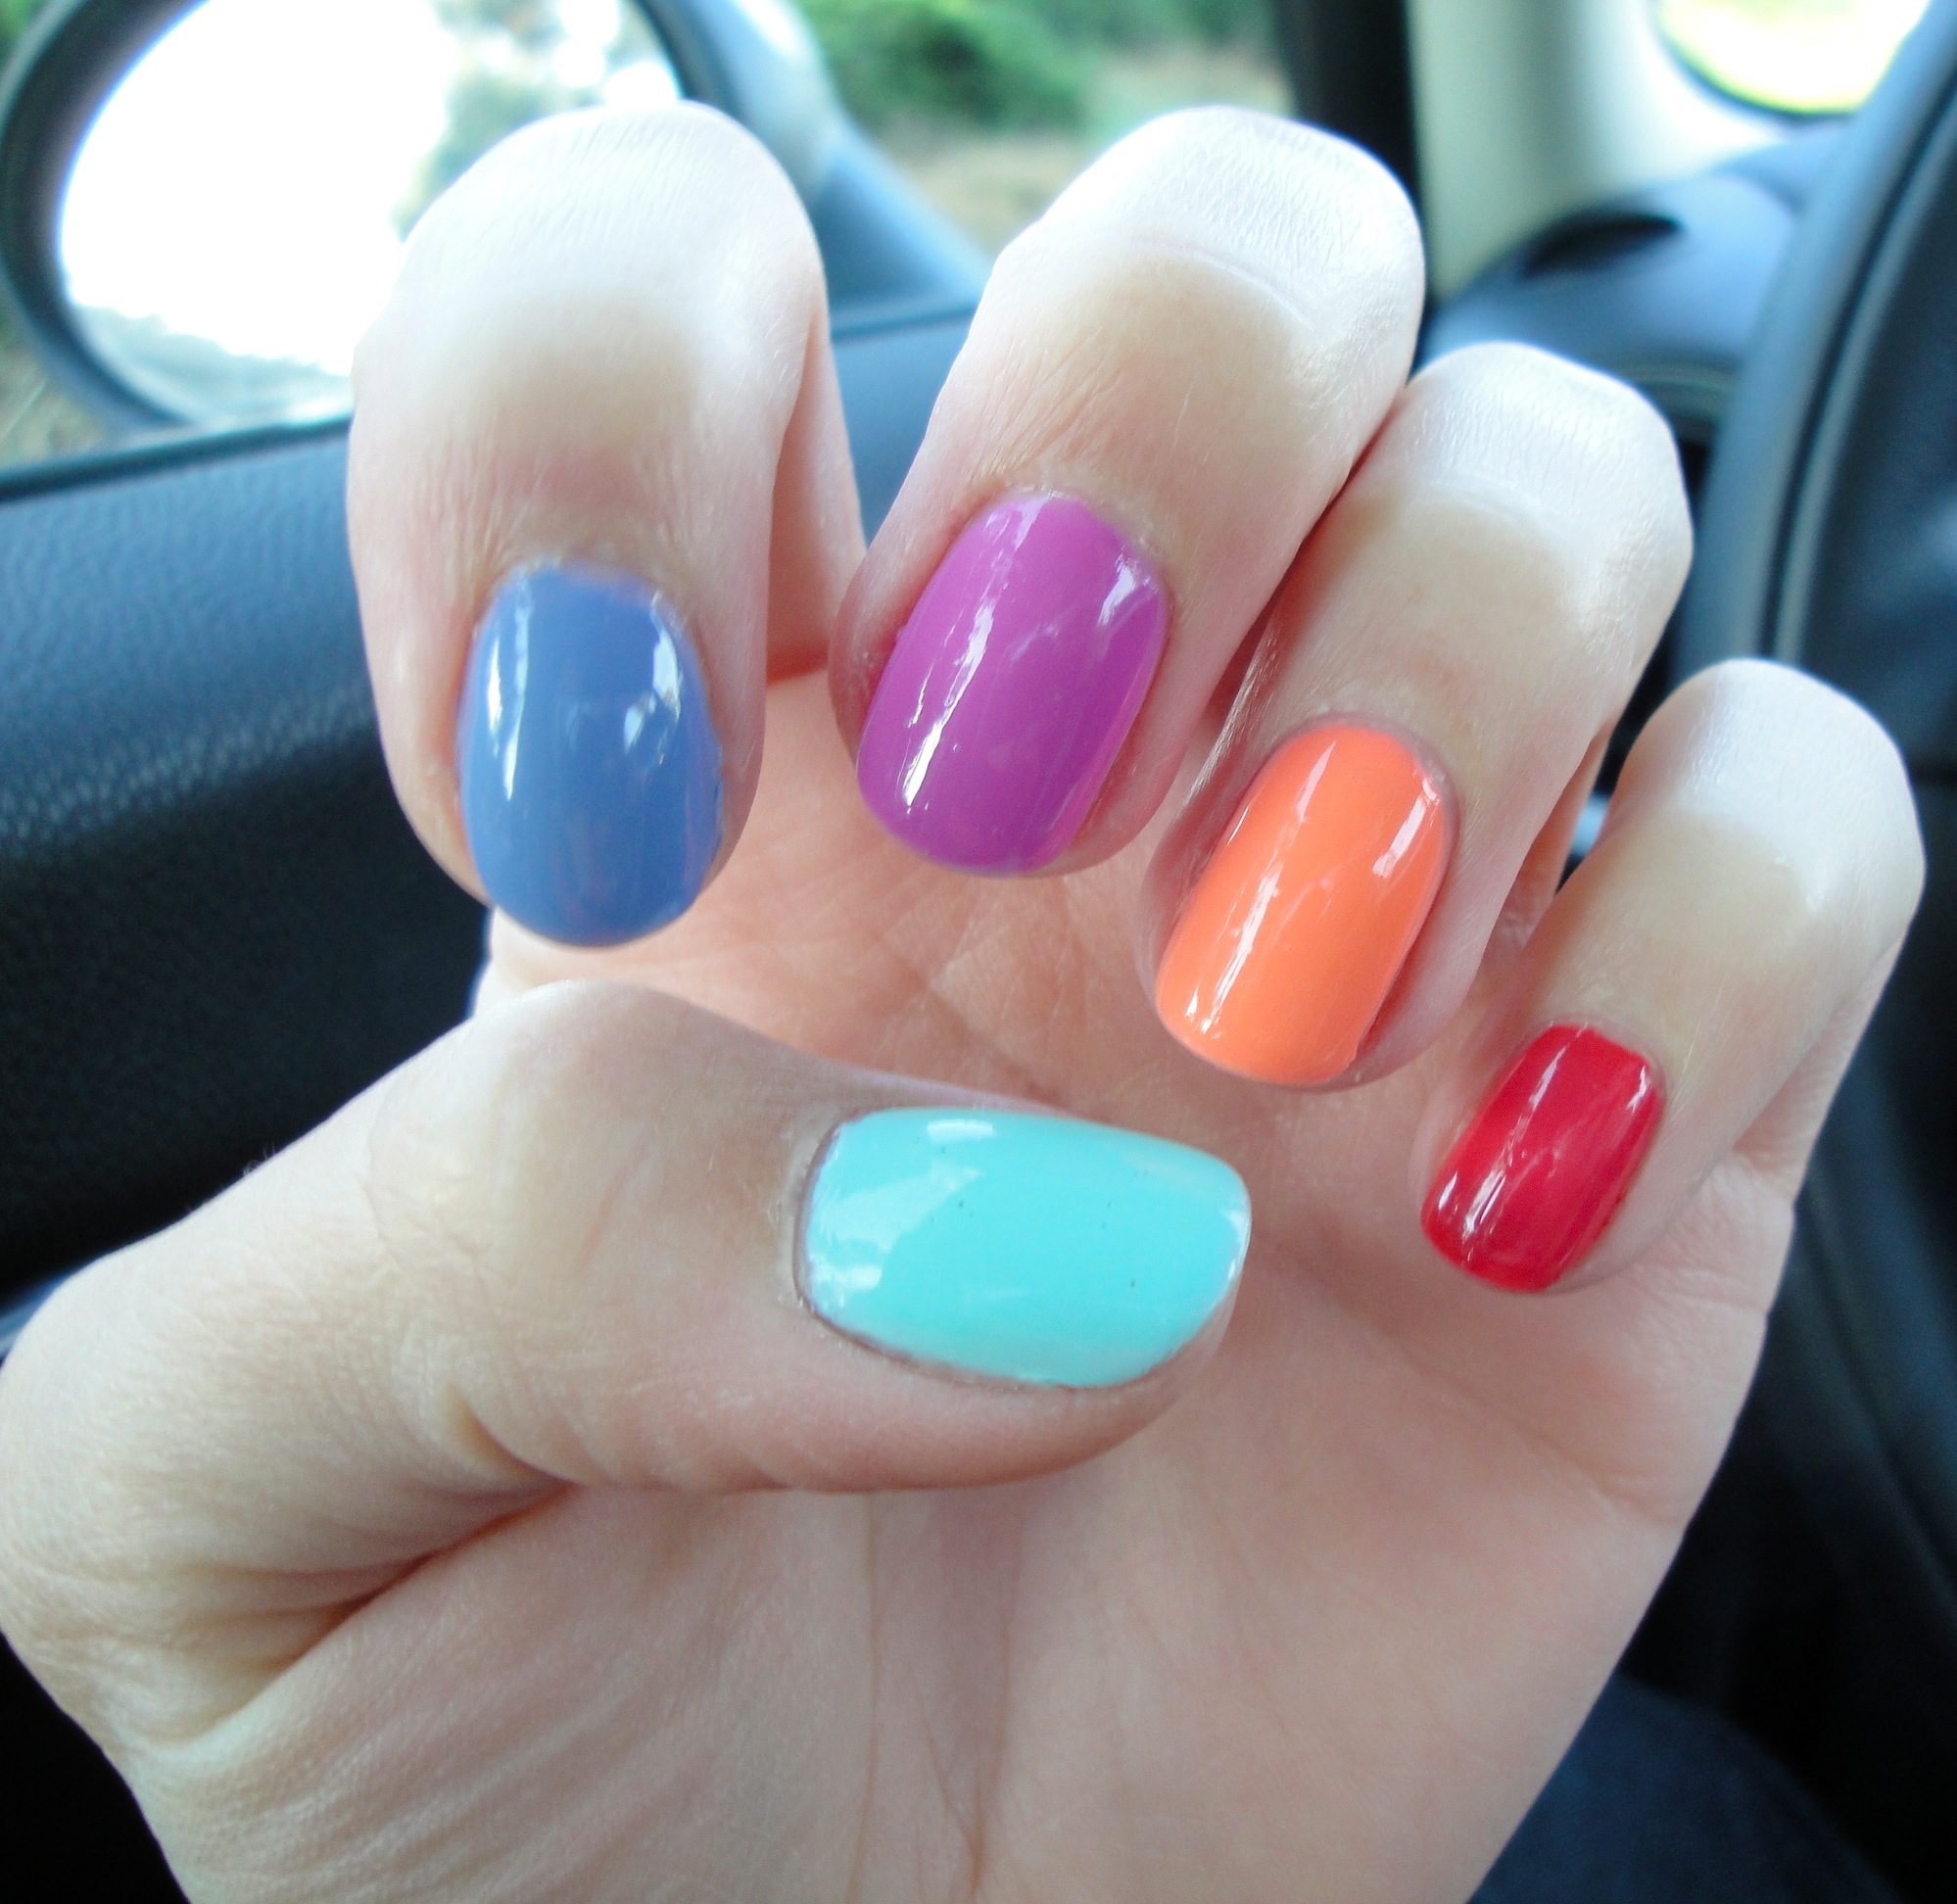
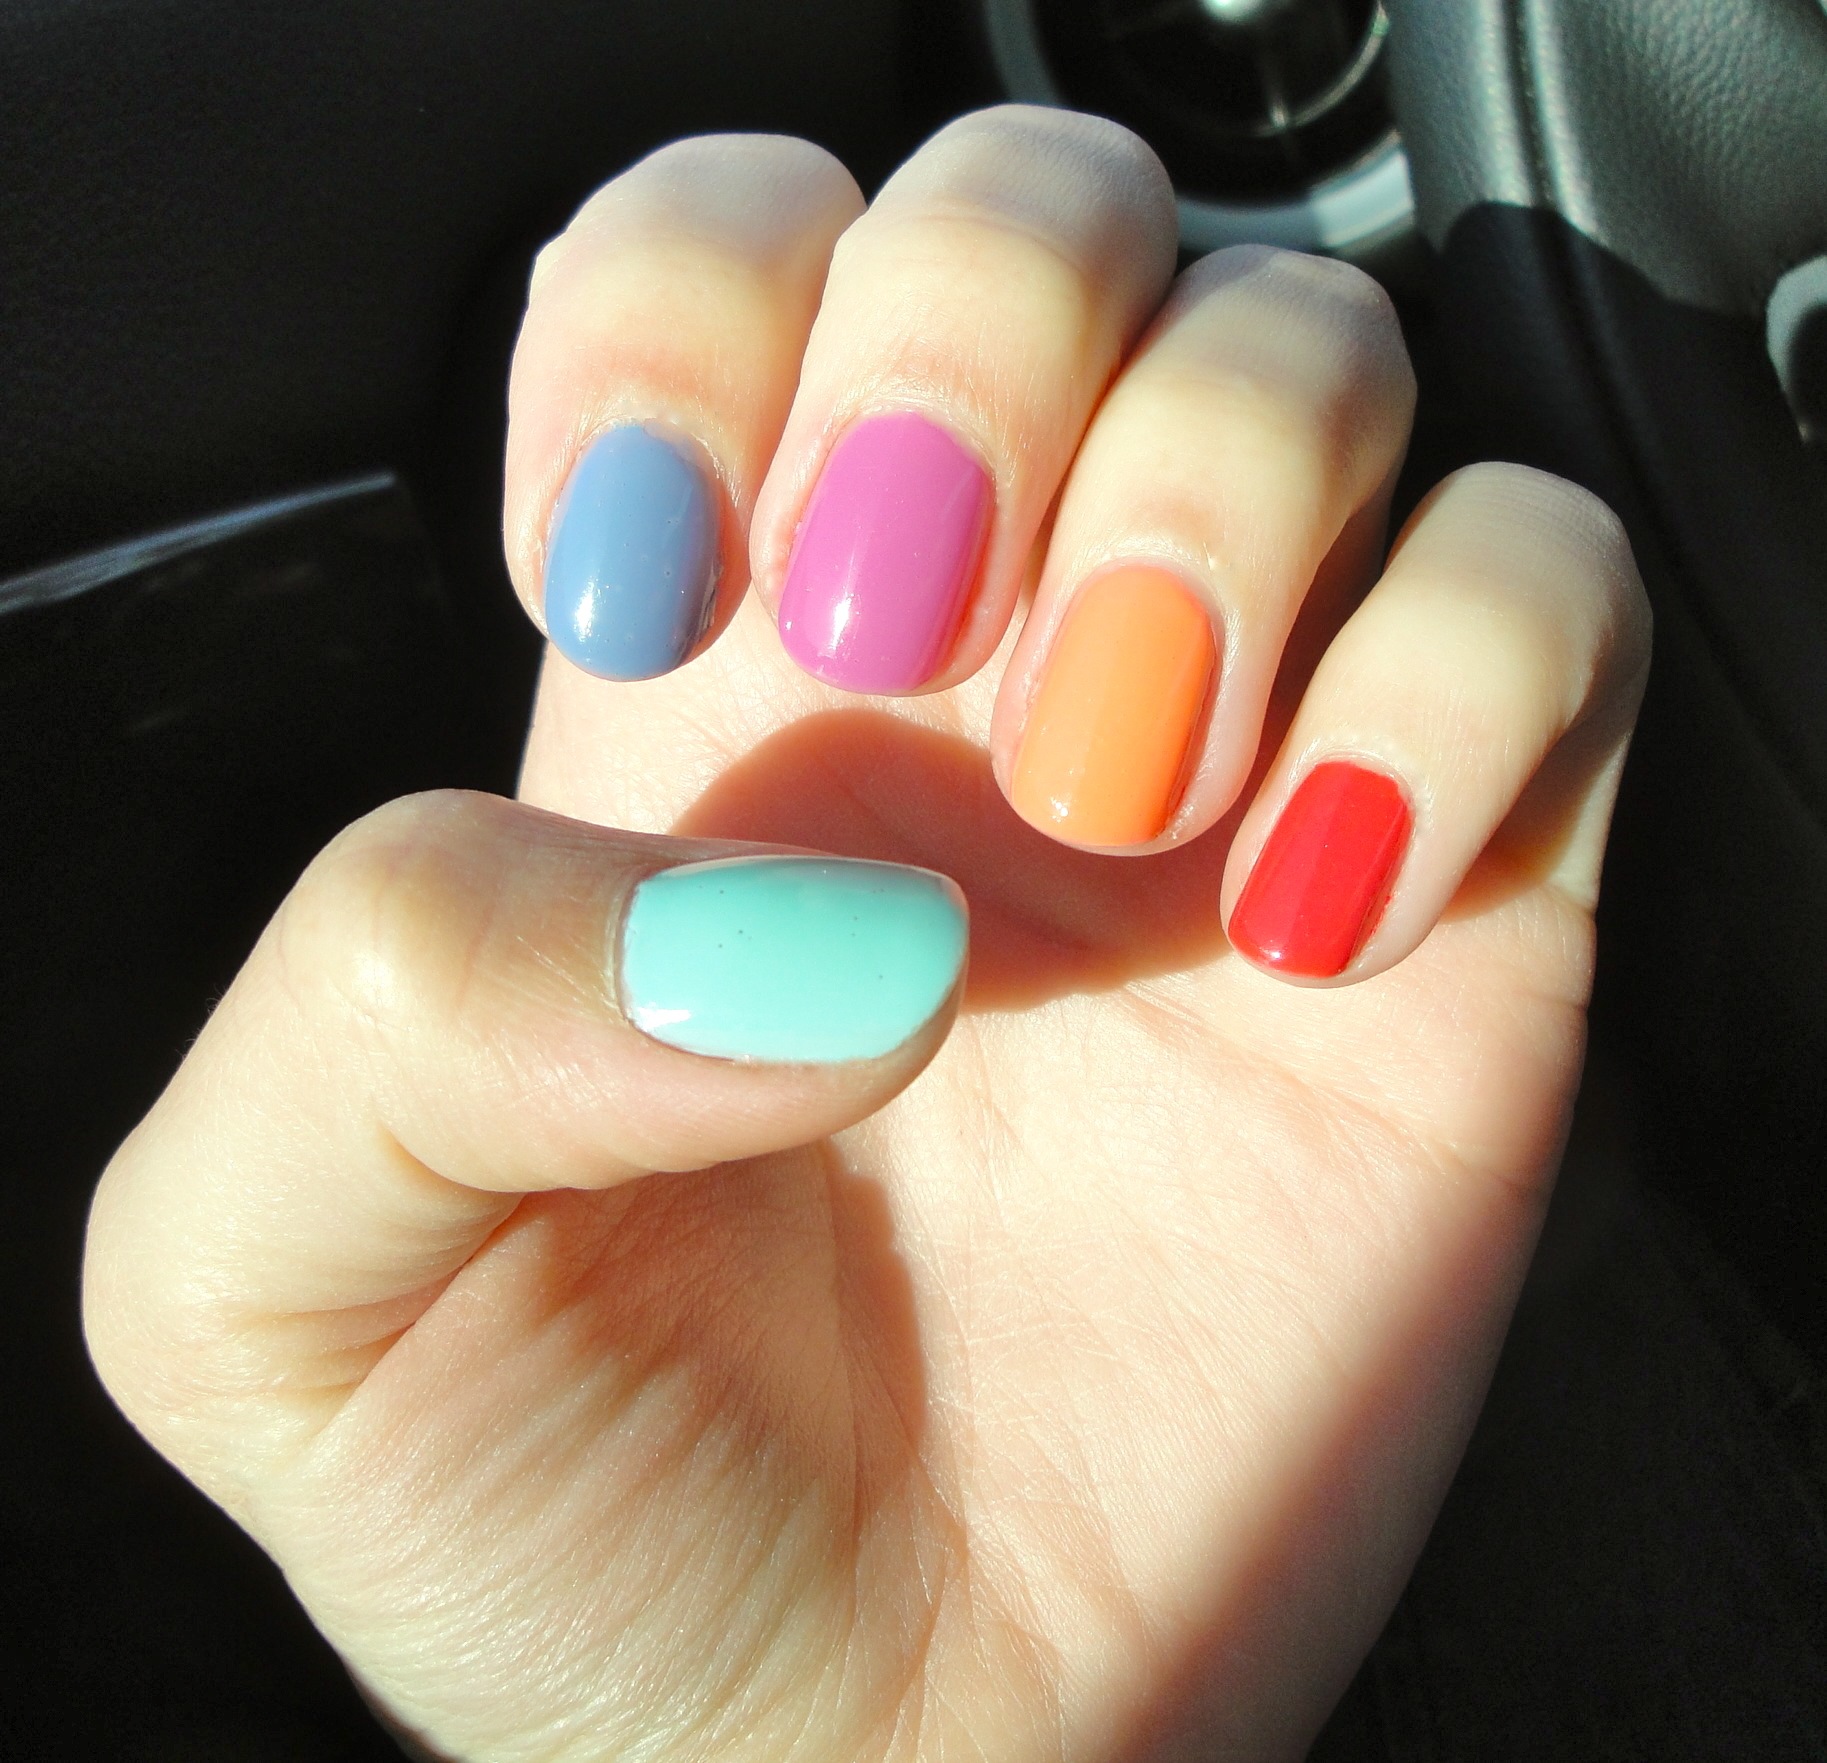
Spring is here, and with it: a rainbow of color. In addition to ubiquitous (but welcome!) pastels, we're seeing neon accents popping up in unexpected places — nails! jewelry! totes! t-shirts! — and color being infused into what are typically uninspired wardrobe staples... like your favorite jeans.

Forget the simple spectrum of pale boyfriend jeans to crisp, dark denim. Now you're faced with mint green... or kelly green? Nantucket red, or candy apple red? Decisions, decisions!

When I saw this email from Paige Denim in my inbox, it wasn't just the jeans that caught my eye. It was, simply put, a beautiful array of color. So inspiring, in fact, that I made it my manicure.

This manicure was as simple as can be; the hardest part was rounding up the colors! It was well-received by my pals at the office, and even has a bit of holiday flair. If you're looking for a cheerful way to usher in spring, or a subtle nod to Easter without drawing actual eggs on your nails, then maybe you'll give this a whirl.

xxoGLOSS

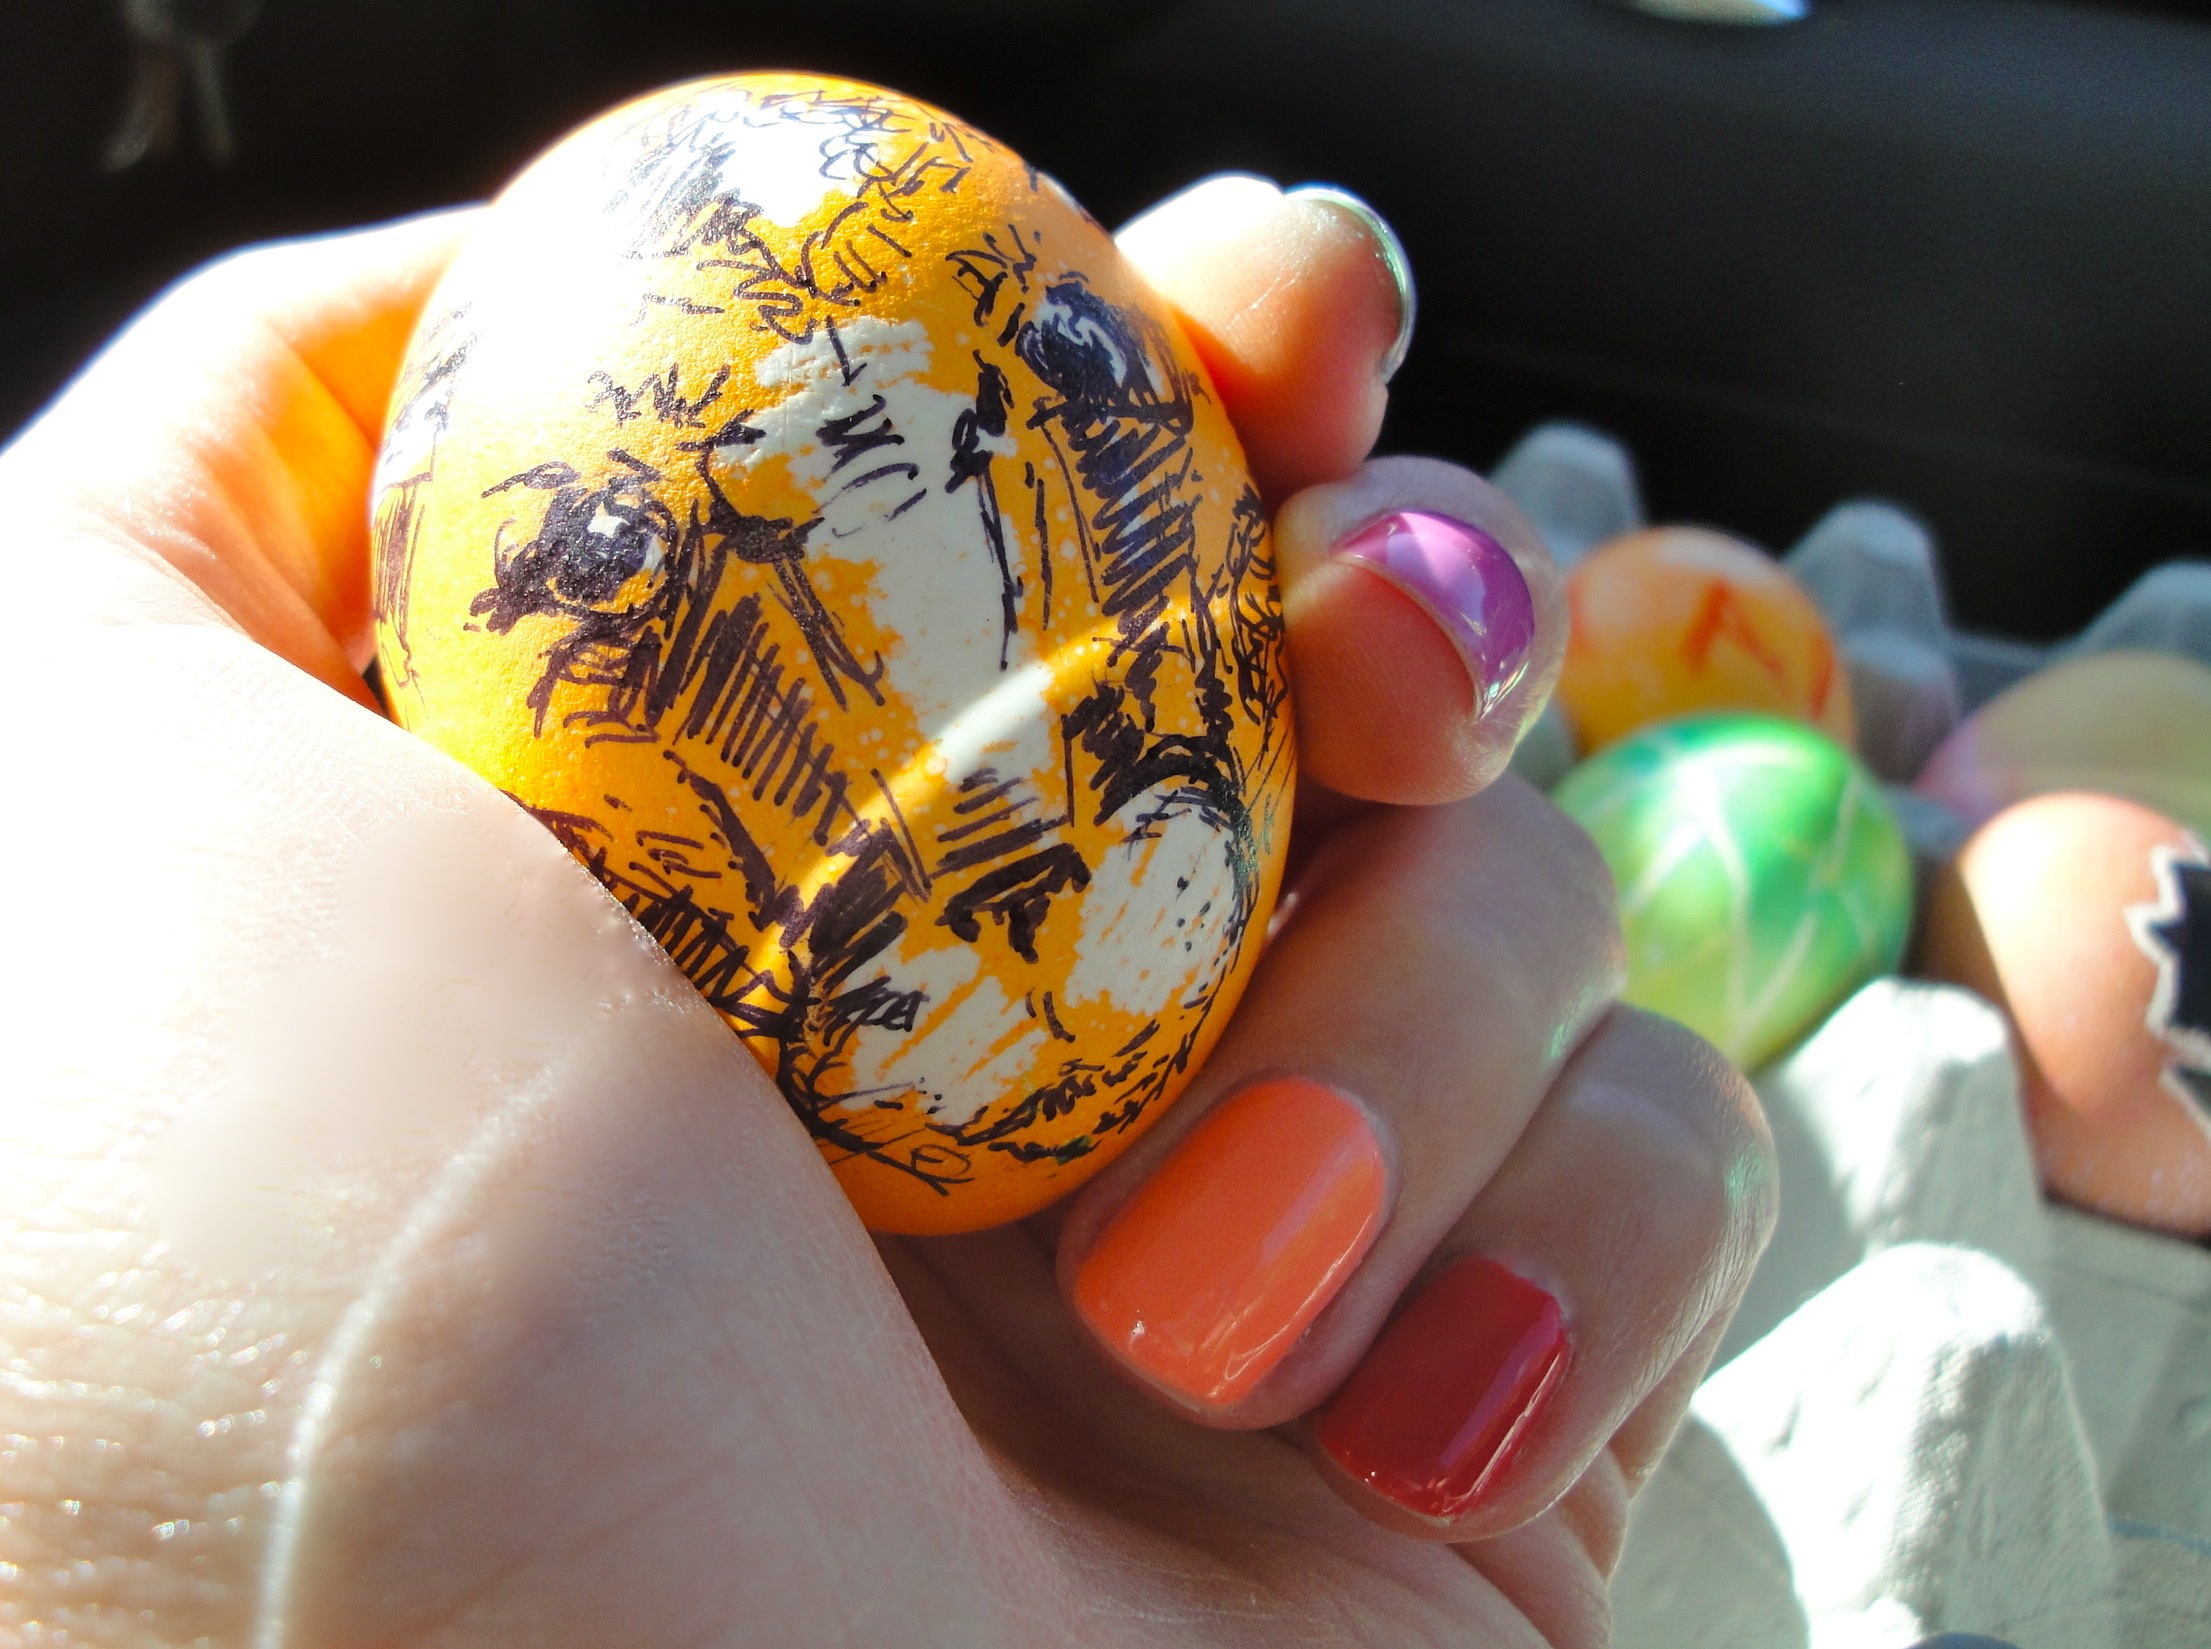
[And here are some pictures of a few Easter eggs to get y'all in the mood!]

Blue Period — Ombre

Yep, you guessed it!...another Ombre post. Knowing how much I adore ombre nails, it's really no surprise.

AND, what would this "Blue Period" be without a blue ombre??!!!

Honestly, this is my favorite ombre yet!

Check out some of our previous ombre posts:

Ombre Unas- A Gray Gradient
L'Ombre Rouge
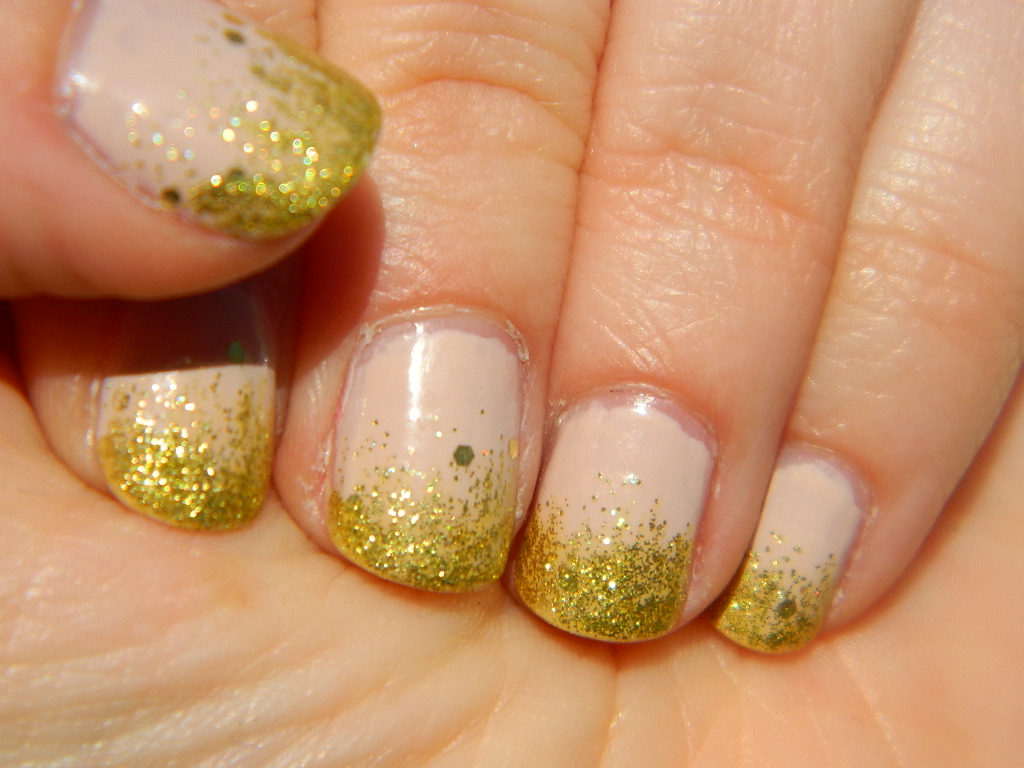
Glitter Gradient
 

First, some ombre inspiration:

(I'm not one to post manicures done by professionals, but this one from Thefreshmani is soooo awesome!)

(Oh, Conrad and her ombre's!....she gets me every time!!!!)

Ok.  Are you good and prepped now?

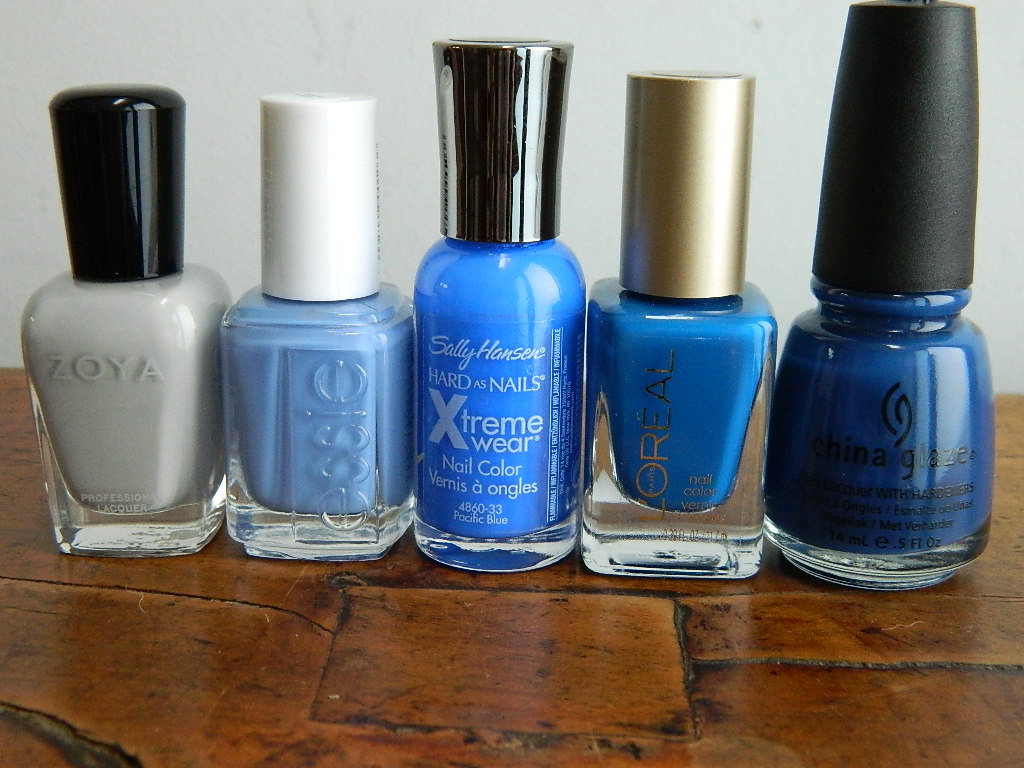
Here are the colors I used:

(From left to right: Zoya's Dove, Essie's Lapiz of Luxury, Sally Hansen's Pacific Blue, Loreal's Jet Set To Paris, China Glaze's First Mate)

(Reverse the order listed above from right to left)

* Side Note: I am really digging Loreal's new polishes (seen on index finger in above pic)!  The have some lovely colors and they go on nicely...so far..... 

This manicure was a hit and I received many compliments for the gorgeous blues!  Super fun and super easy!

Obsessedwithblue, Varnish

Glitter Gradient

The new trend is gradient. We have seen in here with Gloss' Ombre Unas- A Gray Gradient.  And here with my Ombre Rouge.  And here with my Sloppy Ombre.

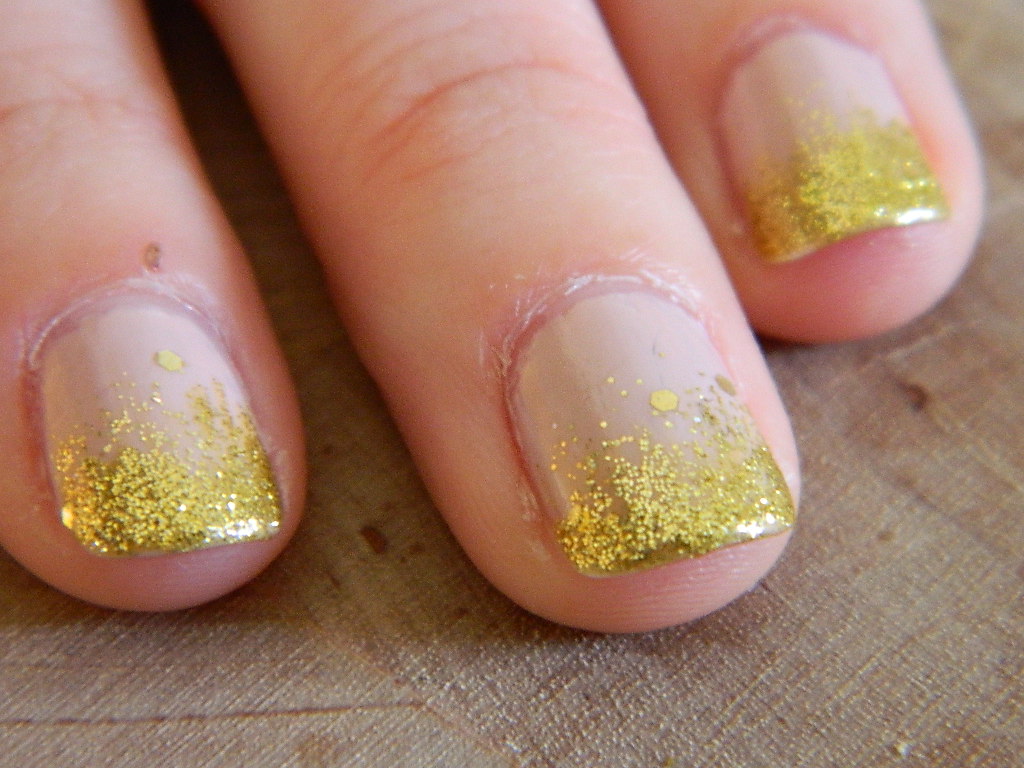
This time, a gradient in glitter.

What is with this glitter crazy lately, you ask?  Well, I will answer that question with another question.  A scale question, no less.

On a scale of 1 to sparkles, how much do you love it when you nails glisten in the sunlight?

If you answered 1 to dull: please refer to the following trailer to begin your training in all things Glitter:

[youtube http://www.youtube.com/watch?v=QaKxGrajnzY&w=420&h=315]

If you answered dull to shimmer: please refer to the following video for further education:

[youtube http://www.youtube.com/watch?v=Rls1t25902g&w=420&h=315]

If you answered shimmer to blinding: Girl, you're a diva!  So watch this last video to graduate to Glamourdom and then continue to the following tutorial:

[youtube http://www.youtube.com/watch?v=QGJuMBdaqIw&w=560&h=315]


To start you will need Essie's Barefoot and Topless, Love & Beauty in Golden Girl, and Milani Nail Art in Art of Gold.

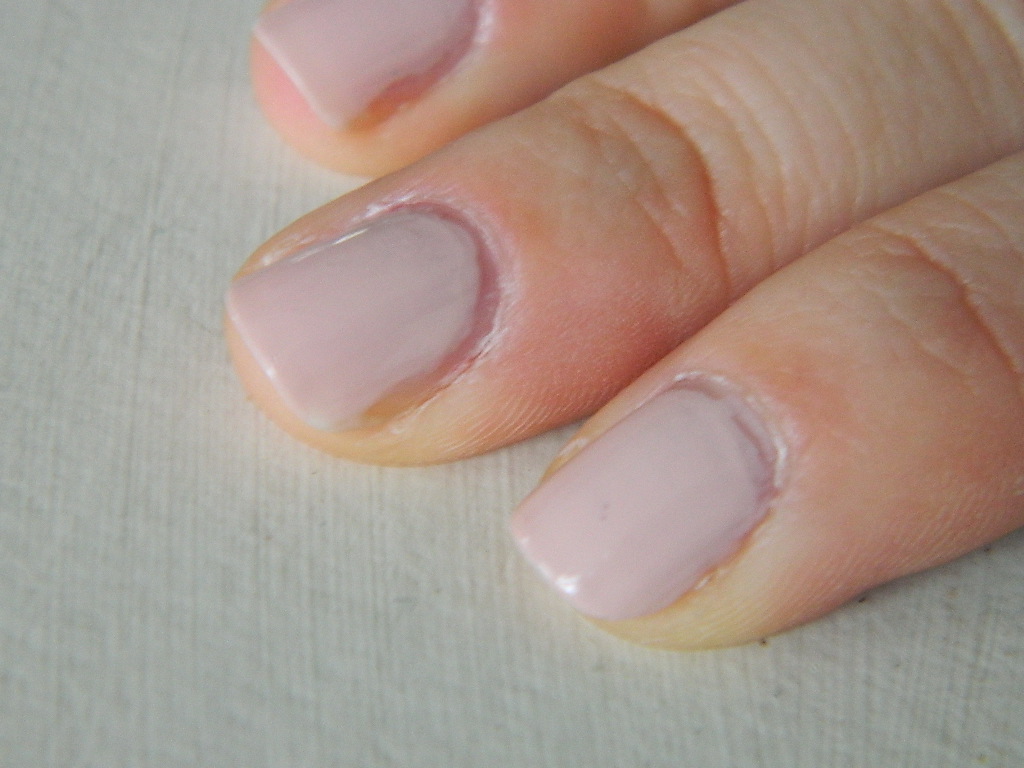
Cover nails in base coat.  Then two coats of Essie's Barefoot and Topless.  Let dry completely.

Then cover 3/4's of nail in one coat Love & Beauty in Golden Girl.  Let dry.

Then cover 1/4 of nail in gradient of Milani Nail Art in Art of Gold, applying it heaviest at tips.  Let dry.

Cover with top coat and marvel in the shimmer!

(On a cloudy morning and with a funky filer) 

(Full sunlight)

-Varnish