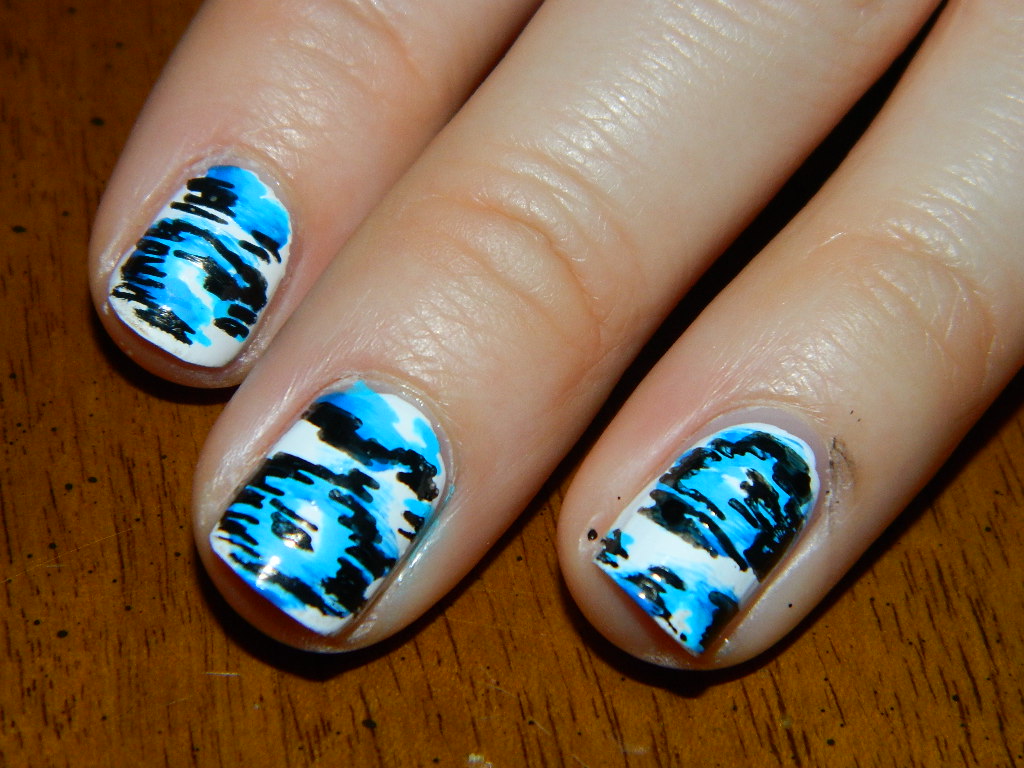
Blue Period — Ikat
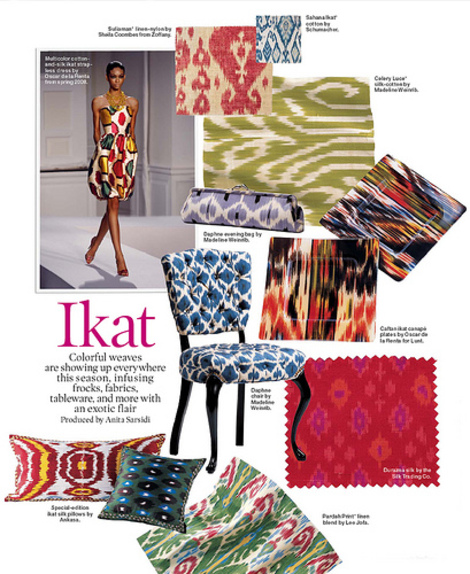
According to WikIpedia, Ikat is a dyeing technique used to pattern textiles that employs a resist dyeing process similar to tie-dye on either the warp or weft fibres. This is a very popular print in textiles and upholstery:
But, if you are anything like me, you probably are more familiar with the ikat fabrics that have been gracing the runway:
I did some research on ikat nails, as all good homemade manicurists do, and I was able to find these super fun ikat nails made by other homemade manicurists:
(by chaoticwithin)
(From refinery29)
(by Mr. Candiipants. You can watch a video for them here.)
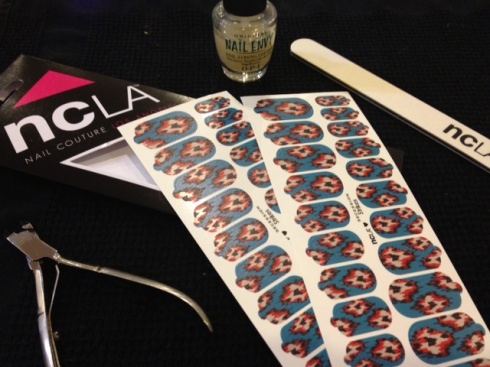
Or if you prefer, try this ikat print nail sticker by ncLA:
My inspiration for this next blue manicure, is this amazing ikat dress work by Heidi Klum:
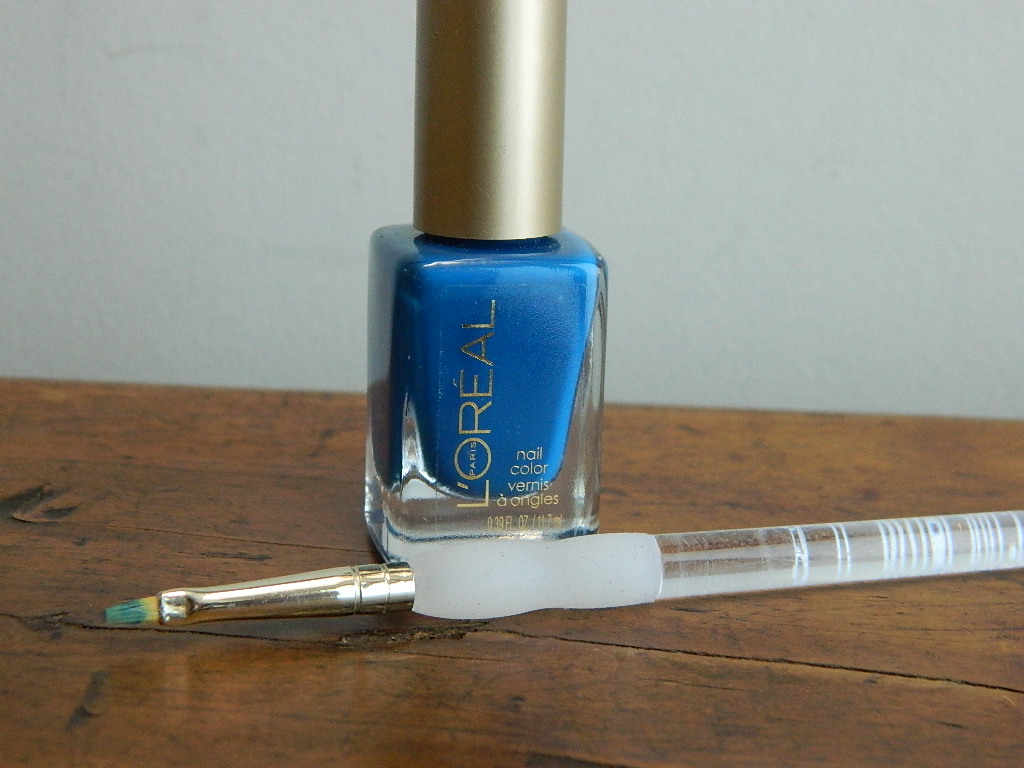
First, here are the tools you will need to complete your ikat nail:
Cover nails in base coats and let dry. Then cover nails in two coats of Sinful Colors' Snow Me White and let dry completely:
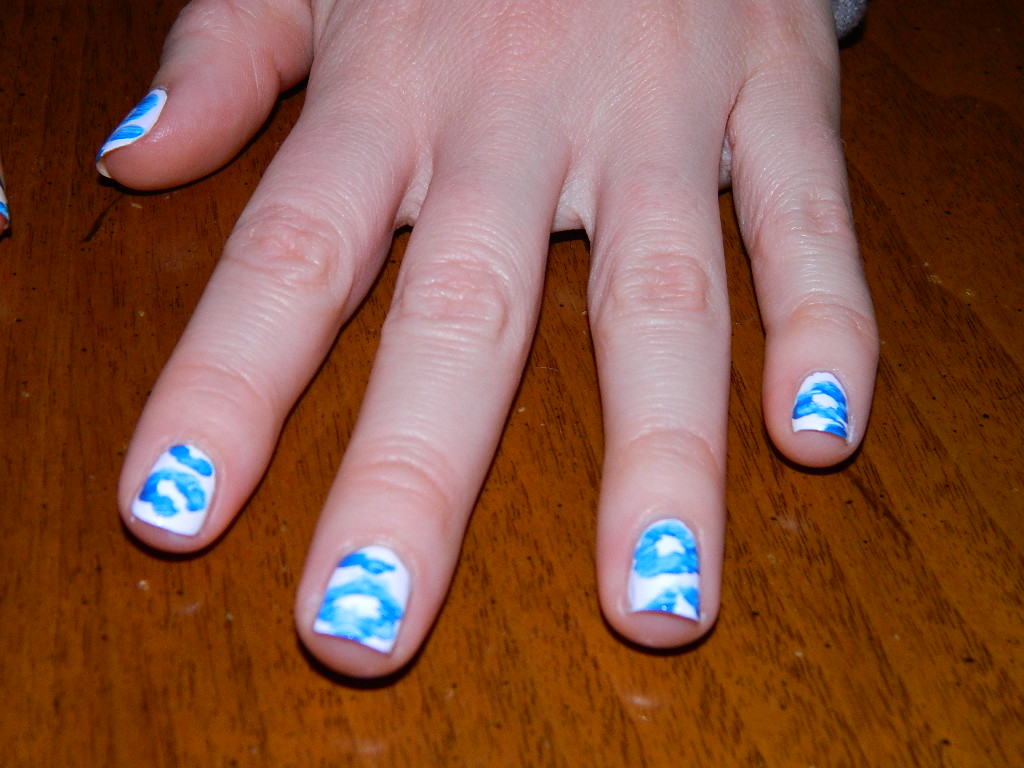
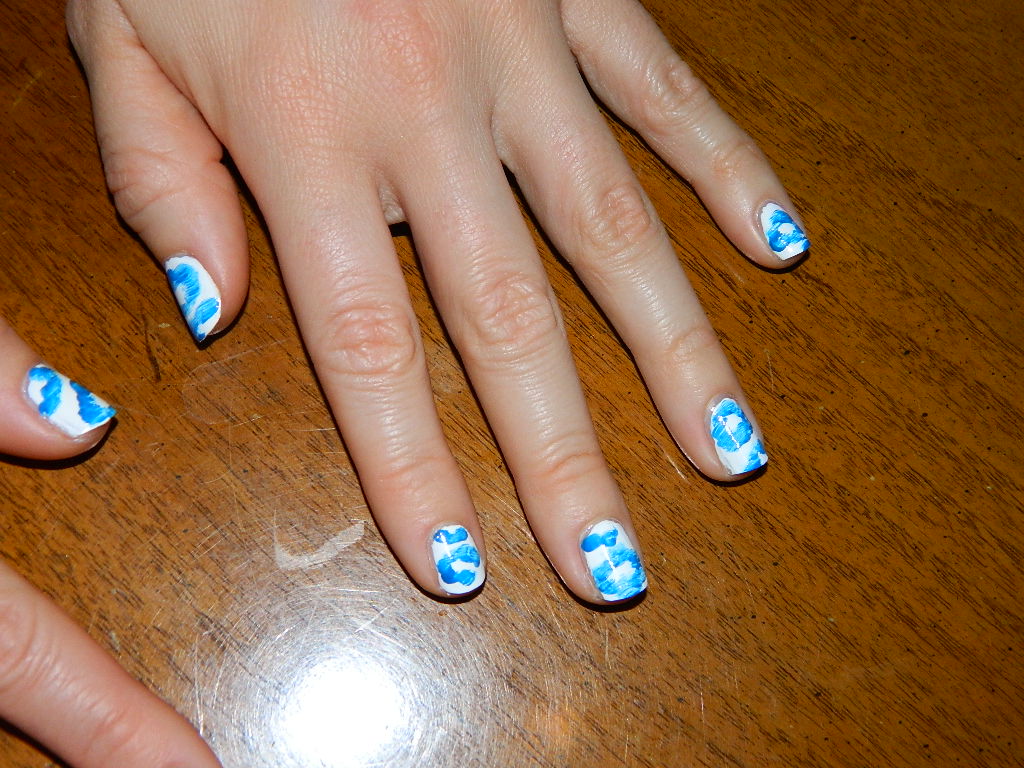
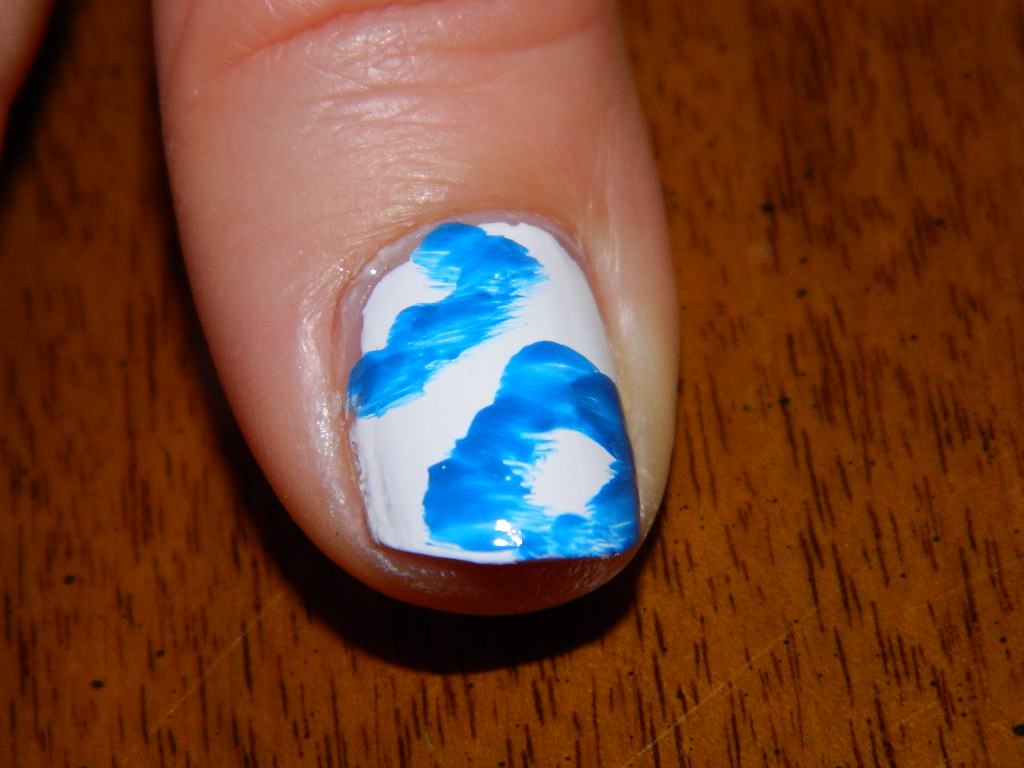
Then using a fine tip paint brush and Loreal's Jet Set To Paris, carefully and creatively paint on some fun blue shapes:
I can't really describe the shapes here, so just follow these photos for inspiration:
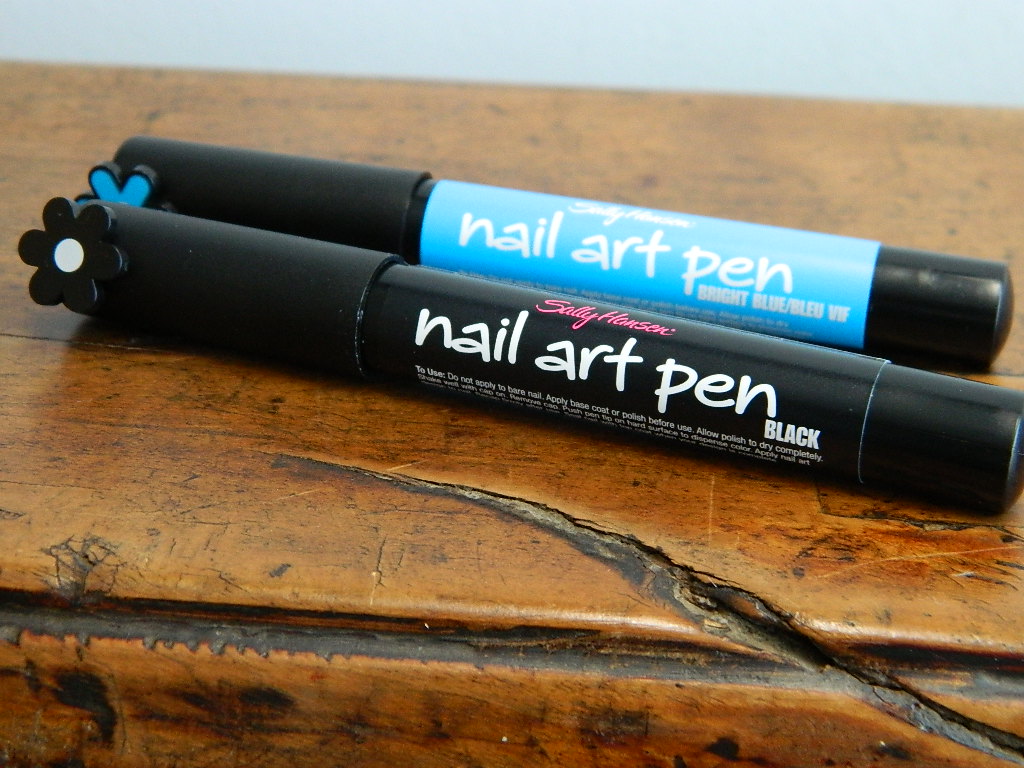
Make sure these are dry before moving onto the next step, which requires Sally Hansen's Nail Art Pen in Bright Blue and Black:
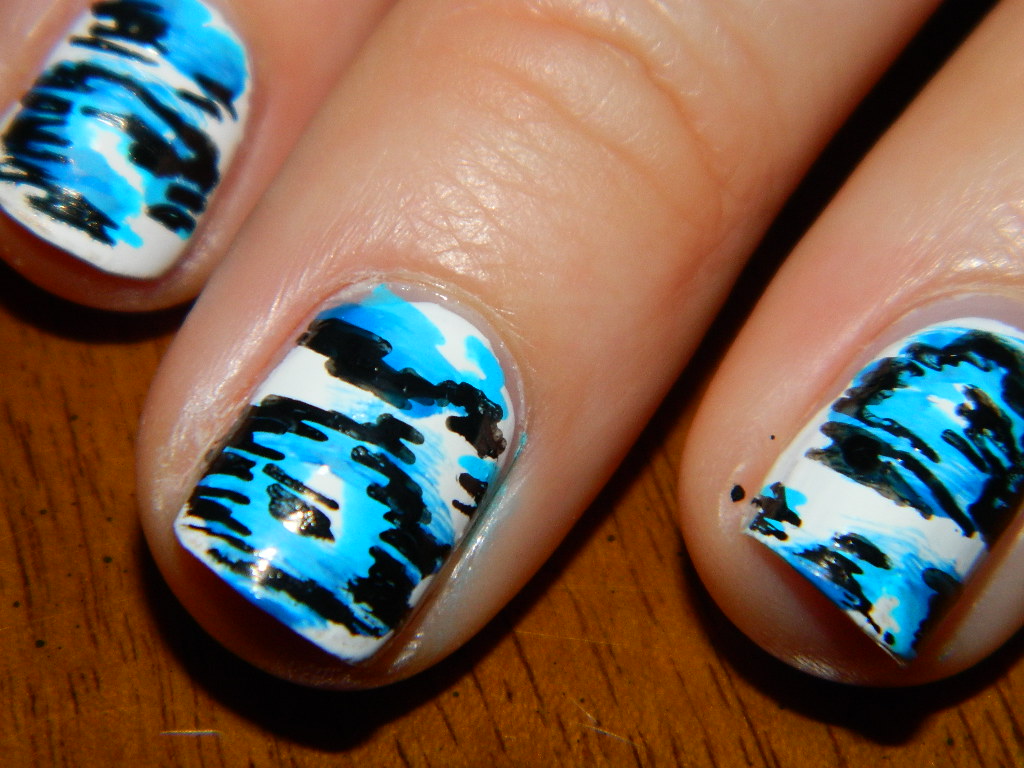
Using the Bright Blue pen first, following with the Black pen, make short and small dashes around the larger blue shapes you just painted. Again, I can't really describe this, so just check out the pics. You really cannot mess this us, so just have fun!
 Let dry completely, and I mean COMPLETELY, before putting on your top coat. These pens are tricky and they will bleed hours later when applying the top coat. I suggesting going to bed and then applying your top coat in the morning.
Honestly, these are my new favorite nails. I cannot get enough of them!
Special thanks to my hand model, Jana! Meow!
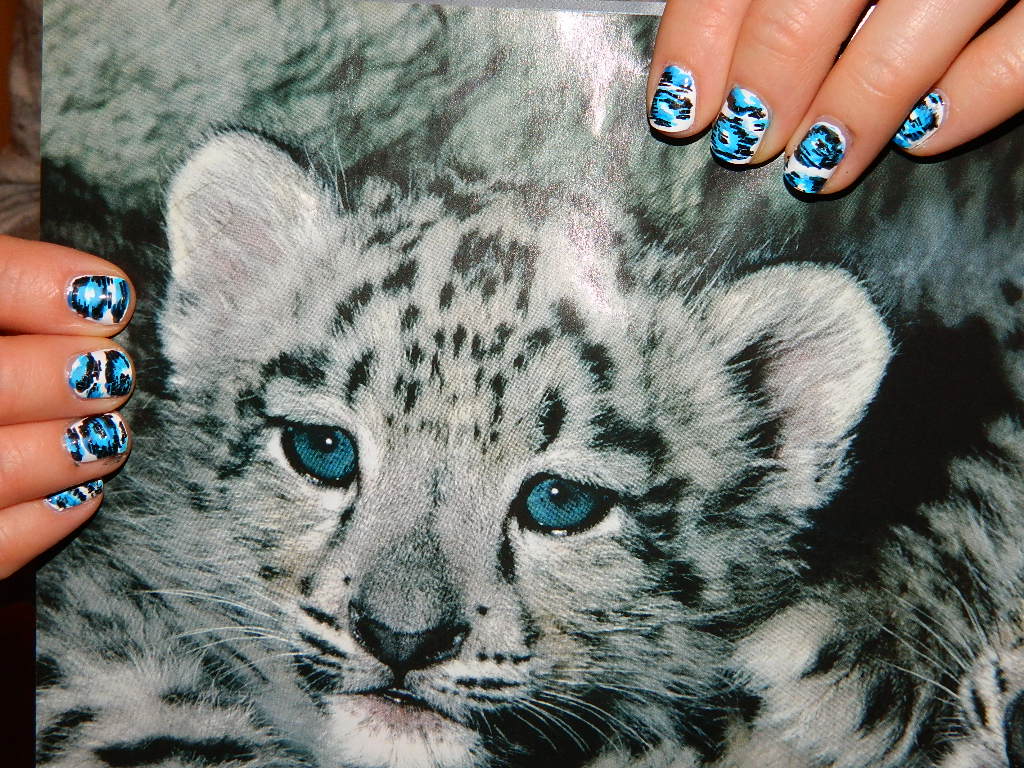 (Proper placement of ikat and baby snow leopard....for effect, of course!)
XOXO- Varnish

