Crossposting — Wind Suits & Leotards

As you read these words, just know that it's incredibly difficult for me to write this message to you because I am laughing so much... Ahhh. I keep losing my train of thought. The 2012 Olympics are on FIYAH and my friends Alison and Kathryn (AliKat; it was meant to be...) have started up an Olympics-focused blog, Wind Suits & Leotards, that is... well, a picture's worth a thousand words. Check this out.

Polishment is a "nail polish-only blog," but I know you guys are interested in more than just polish, right? Right. So I really hope you get a kick out of Ali and Kat!

agetwentysomethingvirgo, Francesca

Blue Period — Ikat

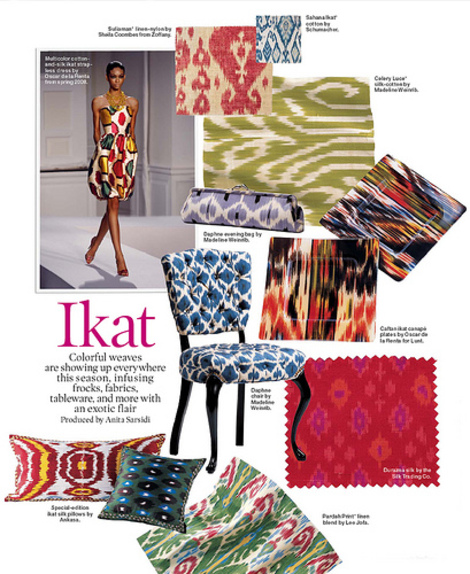
According to WikIpedia, Ikat is a dyeing technique used to pattern textiles that employs a resist dyeing process similar to tie-dye on either the warp or weft fibres. This is a very popular print in textiles and upholstery:

But, if you are anything like me, you probably are more familiar with the ikat fabrics that have been gracing the runway:

I did some research on ikat nails, as all good homemade manicurists do, and I was able to find these super fun ikat nails made by other homemade manicurists:

(by concreteandnailpolish)

(by chaoticwithin)

(From refinery29)

(by Mr. Candiipants.  You can watch a video for them here.)

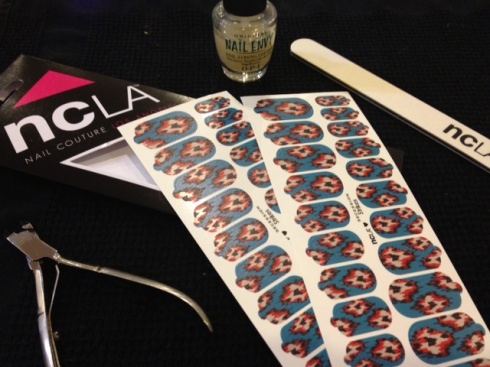
Or if you prefer, try this ikat print nail sticker by ncLA:

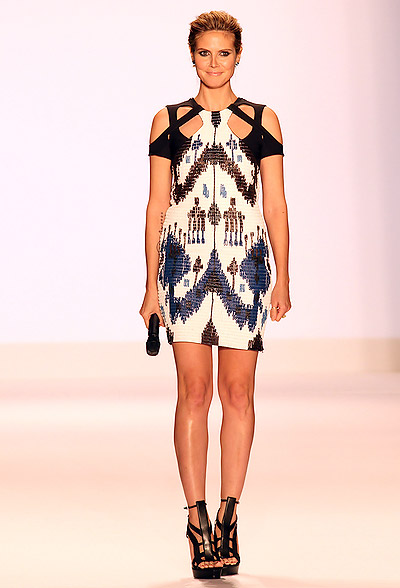
My inspiration for this next blue manicure, is this amazing ikat dress work by Heidi Klum:

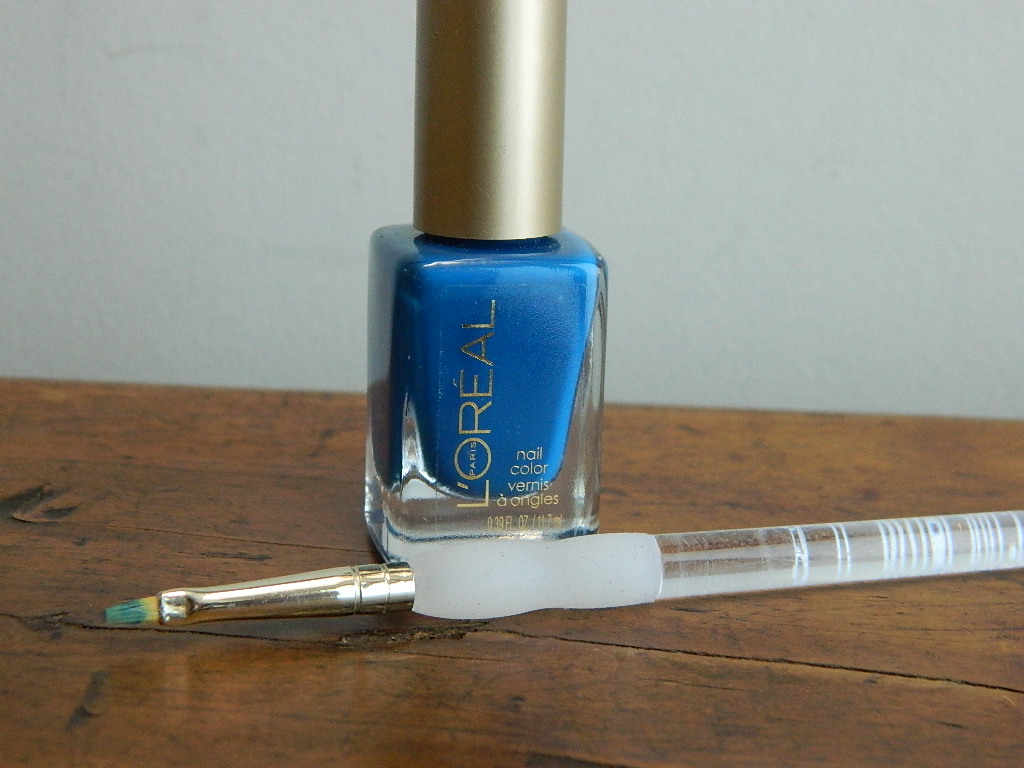
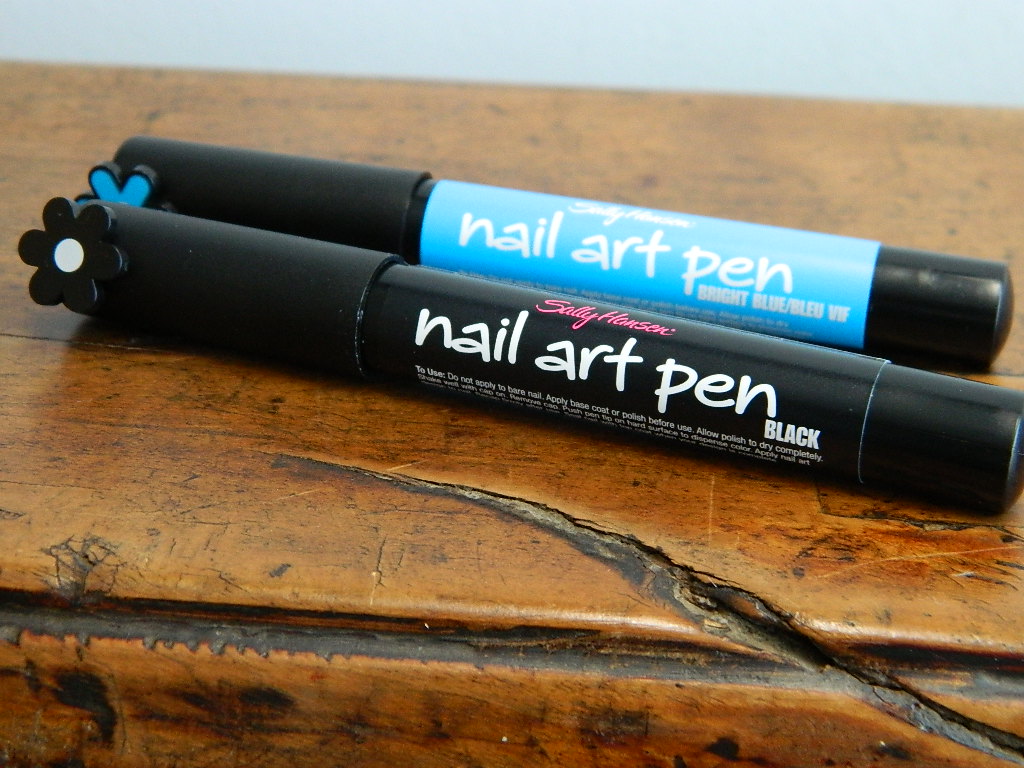
First, here are the tools you will need to complete your ikat nail:

Cover nails in base coats and let dry.  Then cover nails in two coats of Sinful Colors' Snow Me White and let dry completely:

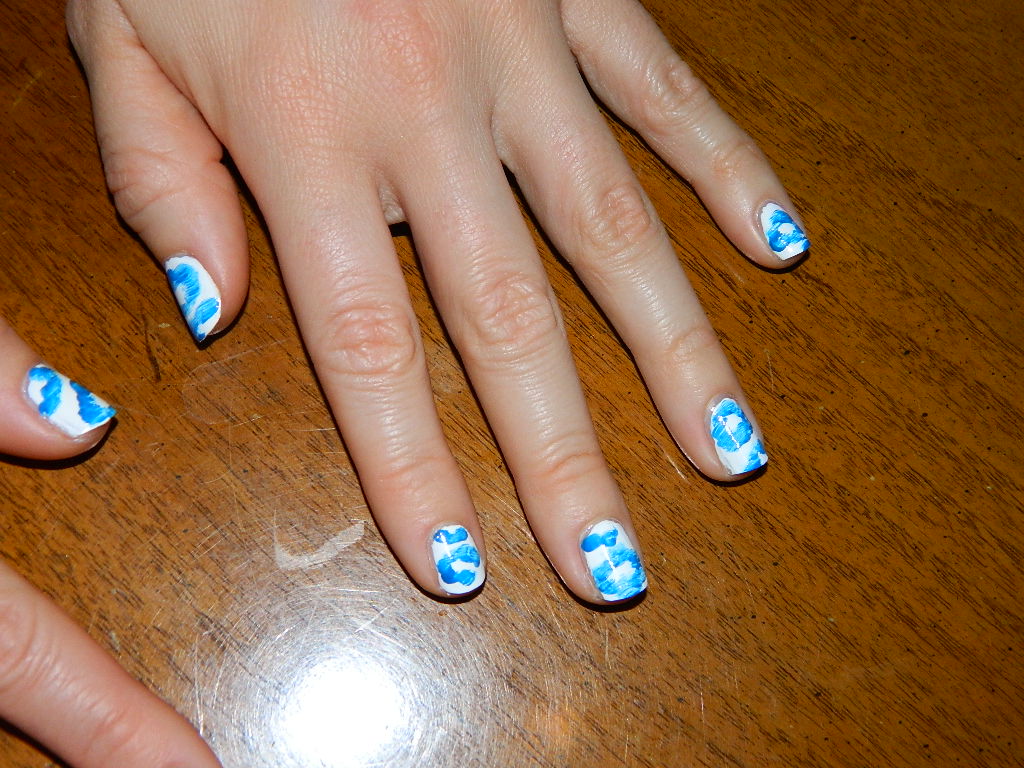
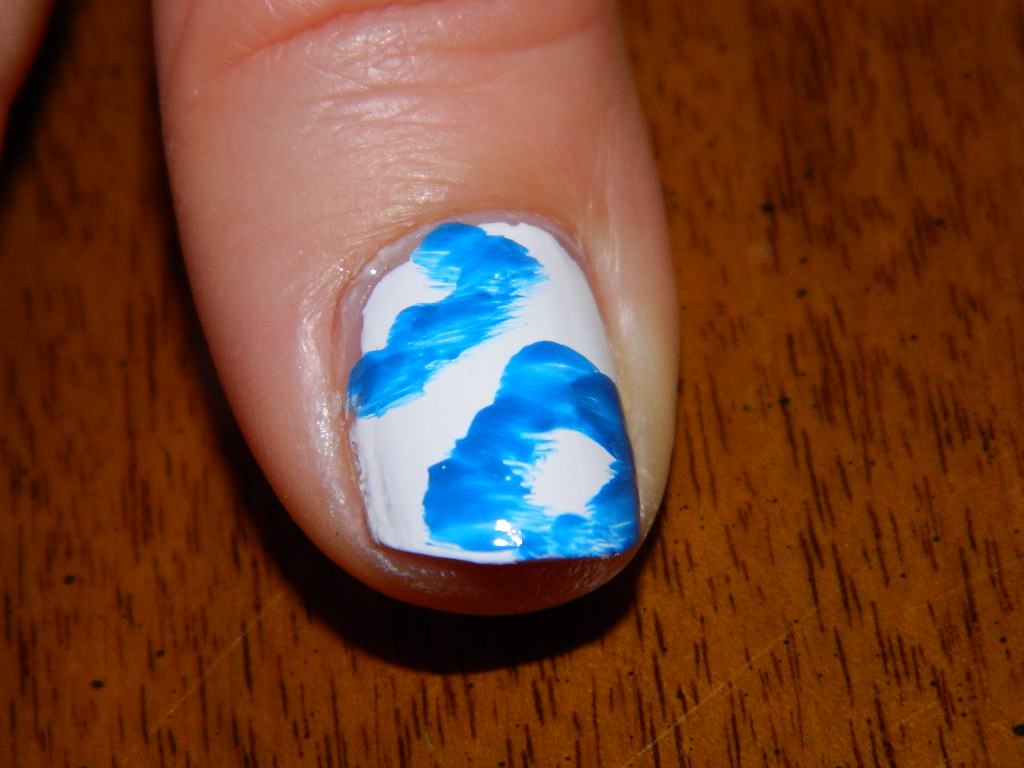
Then using a fine tip paint brush and Loreal's Jet Set To Paris, carefully and creatively paint on some fun blue shapes:

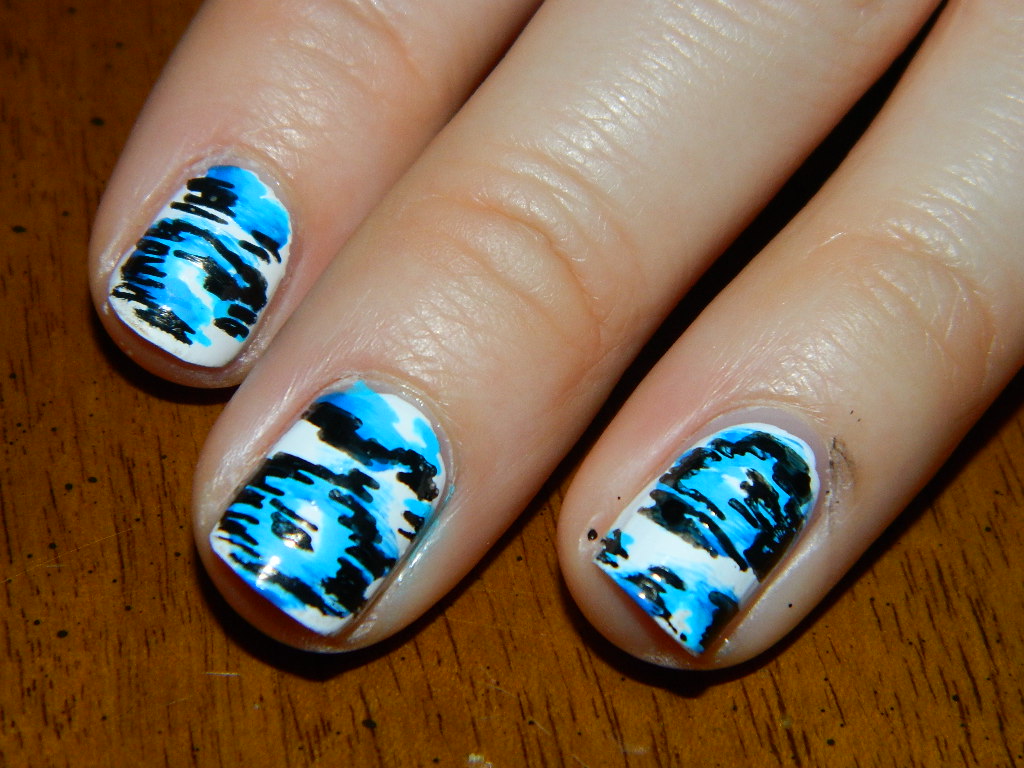
I can't really describe the shapes here, so just follow these photos for inspiration:

Make sure these are dry before moving onto the next step, which requires Sally Hansen's Nail Art Pen in Bright Blue and Black:

Using the Bright Blue pen first, following with the Black pen, make short and small dashes around the larger blue shapes you just painted.  Again, I can't really describe this, so just check out the pics.  You really cannot mess this us, so just have fun!

Let dry completely, and I mean COMPLETELY, before putting on your top coat.  These pens are tricky and they will bleed hours later when applying the top coat.  I suggesting going to bed and then applying your top coat in the morning.

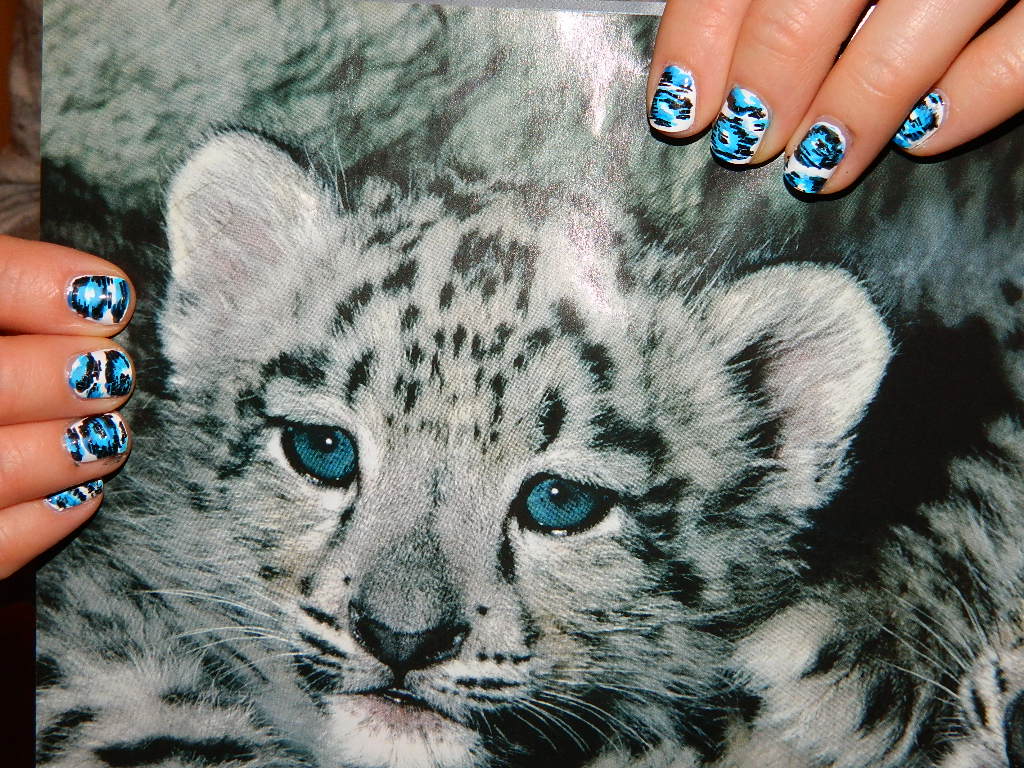
Honestly, these are my new favorite nails.  I cannot get enough of them!

Special thanks to my hand model, Jana!  Meow!

(Proper placement of ikat and baby snow leopard....for effect, of course!) 

XOXO- Varnish

Blue Period — Ombre

Yep, you guessed it!...another Ombre post. Knowing how much I adore ombre nails, it's really no surprise.

AND, what would this "Blue Period" be without a blue ombre??!!!

Honestly, this is my favorite ombre yet!

Check out some of our previous ombre posts:

Ombre Unas- A Gray Gradient
L'Ombre Rouge
Glitter Gradient
 

First, some ombre inspiration:

(I'm not one to post manicures done by professionals, but this one from Thefreshmani is soooo awesome!)

(Oh, Conrad and her ombre's!....she gets me every time!!!!)

Ok.  Are you good and prepped now?

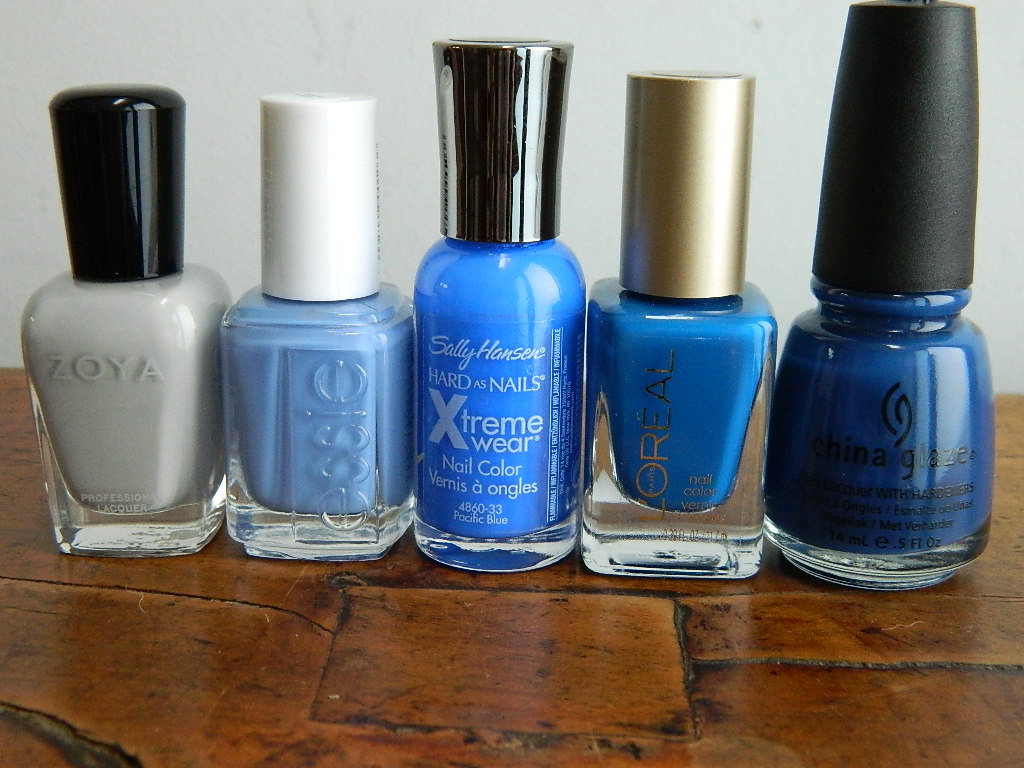
Here are the colors I used:

(From left to right: Zoya's Dove, Essie's Lapiz of Luxury, Sally Hansen's Pacific Blue, Loreal's Jet Set To Paris, China Glaze's First Mate)

(Reverse the order listed above from right to left)

* Side Note: I am really digging Loreal's new polishes (seen on index finger in above pic)!  The have some lovely colors and they go on nicely...so far..... 

This manicure was a hit and I received many compliments for the gorgeous blues!  Super fun and super easy!

Obsessedwithblue, Varnish

Christina Rinaldi — Nail Art Expert

As far as I can tell, Christina Rinaldi is an expert in nail art and design. I stumbled upon her amazing slideshow on BellaSugar here.  Also, her tumblr feed is incredible, detailed with her inspiration, supplies, and all sorts of goodies!  Here is a sneak peek:
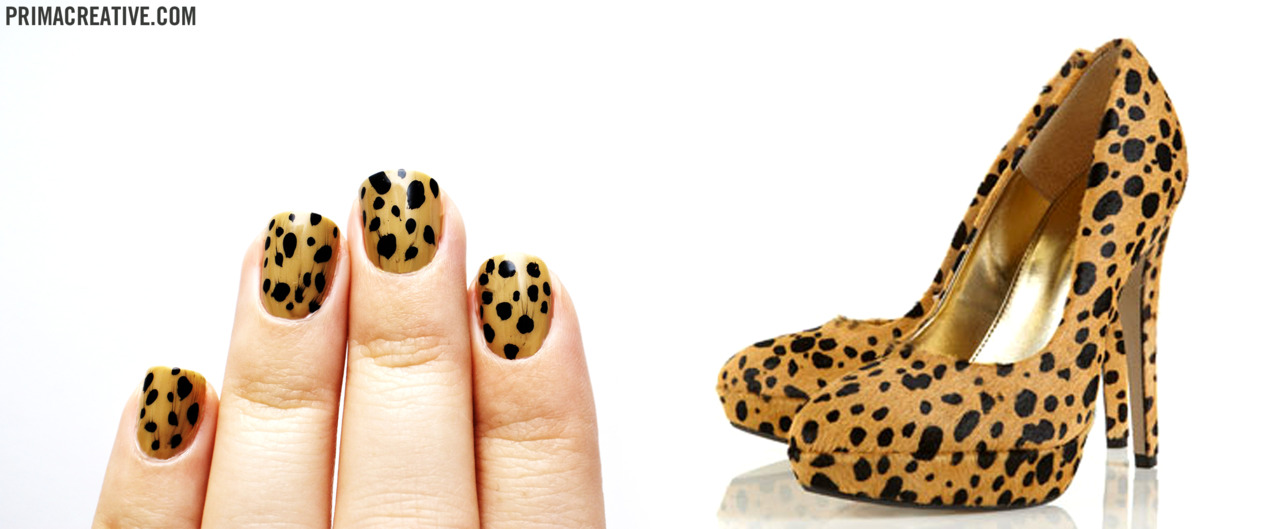
All I have to say is, "stunning," not to mention, incredibly creative.

So, I thought, why not give one of these a go?  Not on myself, of course, as my left hand is decidedly useless.

Fortunately, I had an extra pair of naked hands lying around (thank you, Alica)!

My inspiration, you ask?  Well, it's this lovely mix of mod triangles and polka dots:

To start, chose a nude/clear color nail polish, a color for the side triangle, and a black art pen.  I used NYC's Love letters, Urban Outfitters Barstool, and Sally Hansen Nail Art Pen in Black.
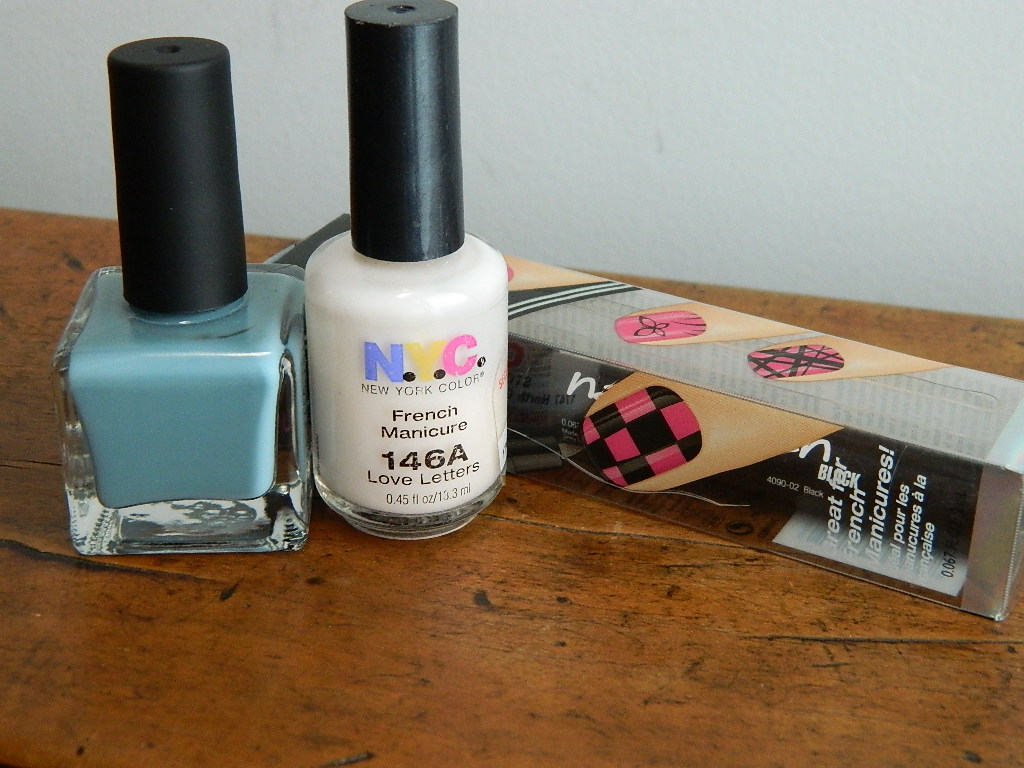
First, cover nails in base coat and let dry.  Then cover nails in one thick coat of NYC's Love Letters.
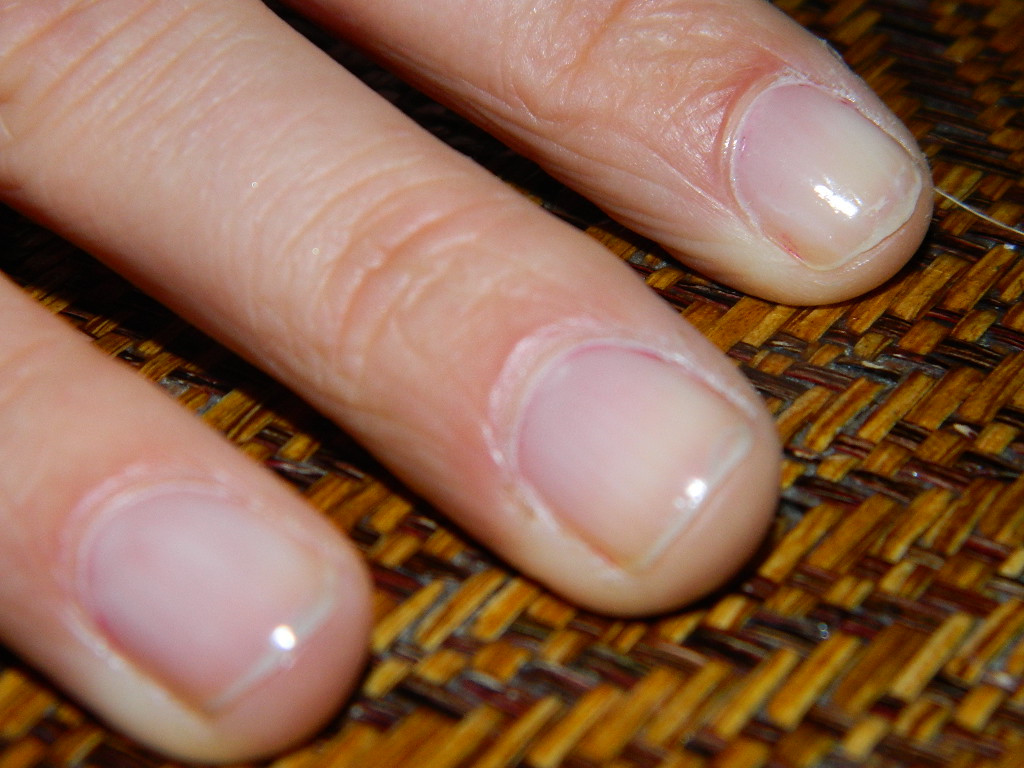
Then, using scotch tape, cover portion of nails that you would like not to paint, creating a uncovered triangle on the outer corner of the nail.
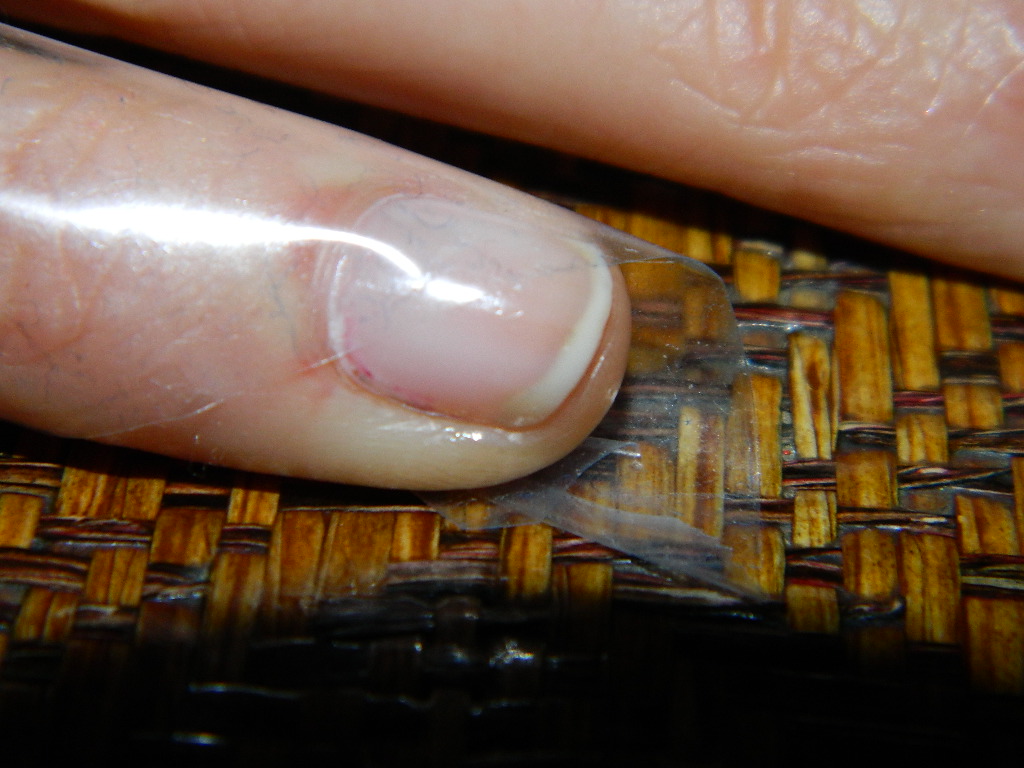
Paint this remaining portion of the nail in Urban Outfitters Barstool (or the color of your choice).  Do this with each nail and let dry completely.
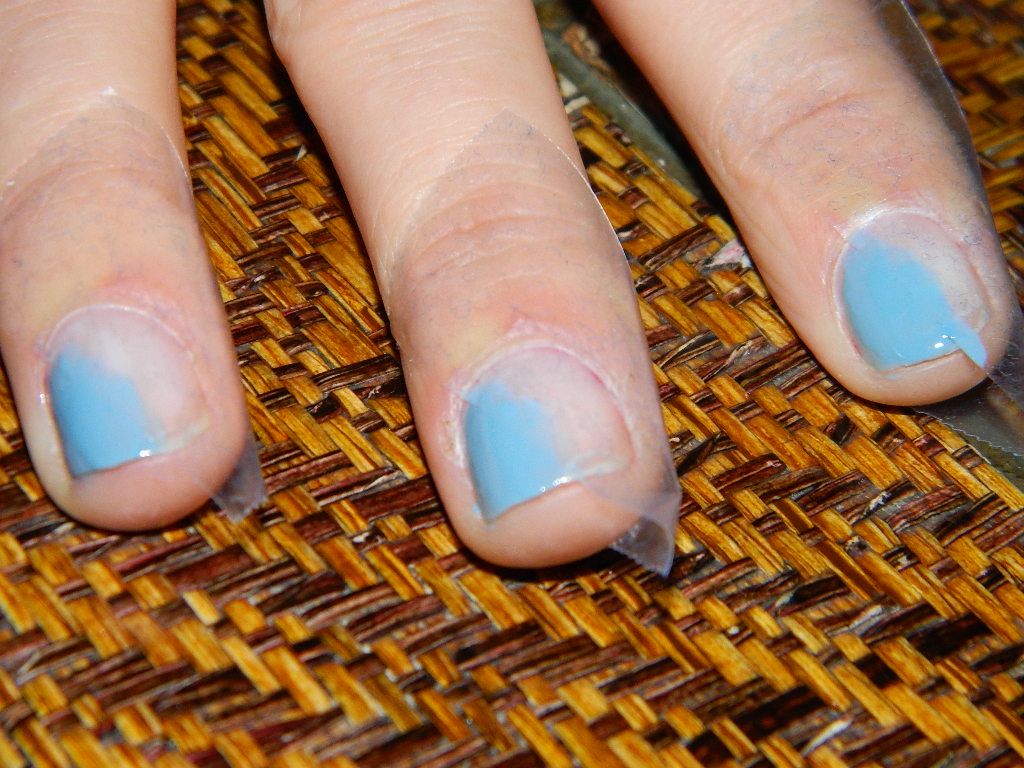
Once completely dry, slowly and carefully pull tape off of nails.

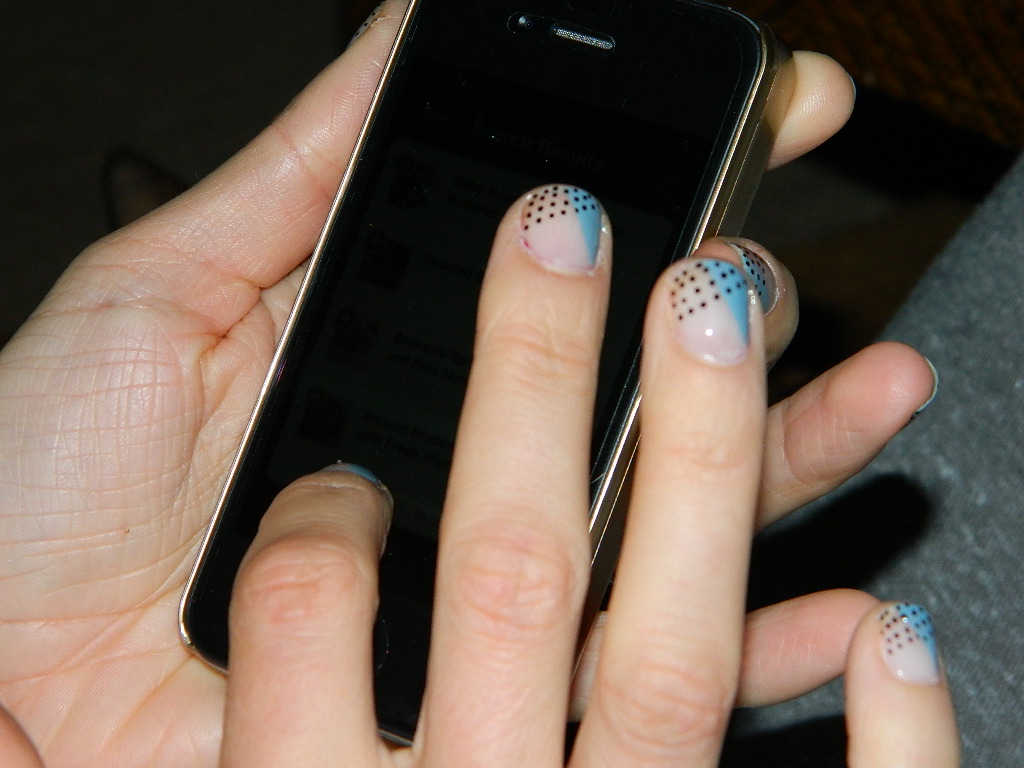
Next comes the fun part!  Pull out your Sally Hansen Nail Art Pen and practice some small dots on a scratch piece of paper.  When you feel comfortable with your tiny dots, get to work on your nails.  In the original manicure by Christina Rinaldi, she arranged her dots in the same way as her color triangle.  However, I tried to do it a bit differently by making the dots slightly asymmetrical, in that they begin lower on the nail and are less horizontally inclined (if that makes sense).  Get creative with it and do what you like best.
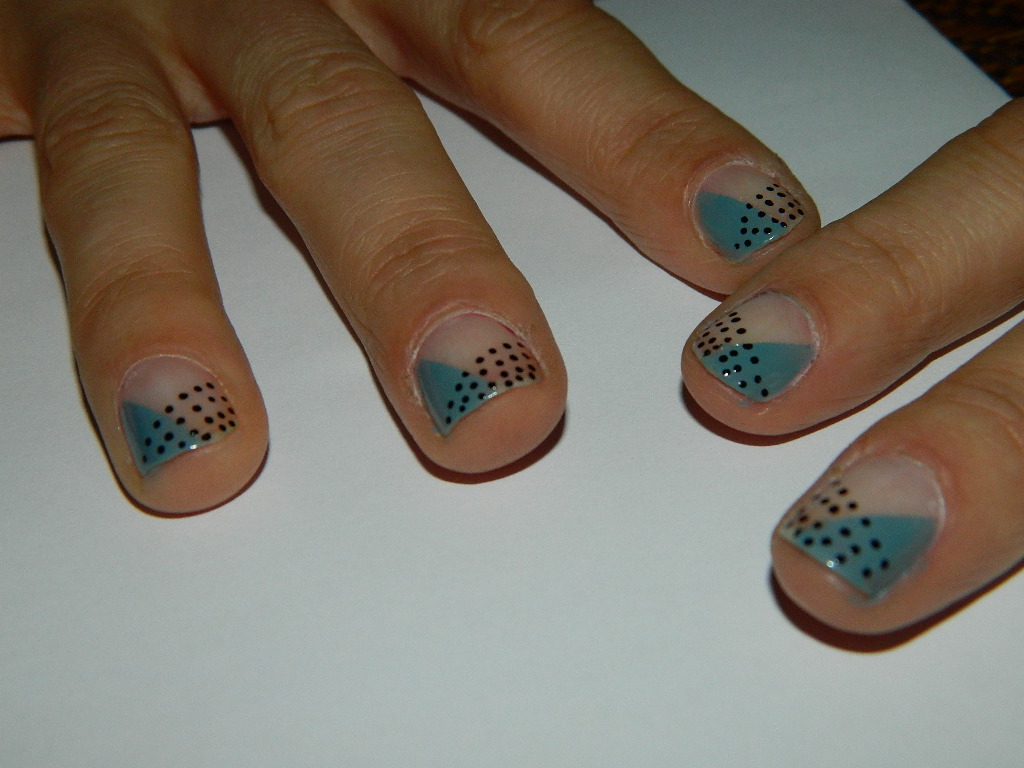
When the last dot is painted on your nails, let dry completely.  Then cover all with a top coat.

Here is the final product.  Love.

Besos, Varnish

MAC — Holiday Nails

It's the day after christmas and we all still have full bellies and pieces of wrapping paper all over the floor!

I must be the very best sister in the world, because this year I bought each of my four sisters a beautiful MAC nail color.

Not to mention, that each of my sisters must have been on santa's "Nice" list, because they REALLY made out this year!

1. MAC's Immortal Gold for Anna.

(An antique gold color.  Gorgeous.)

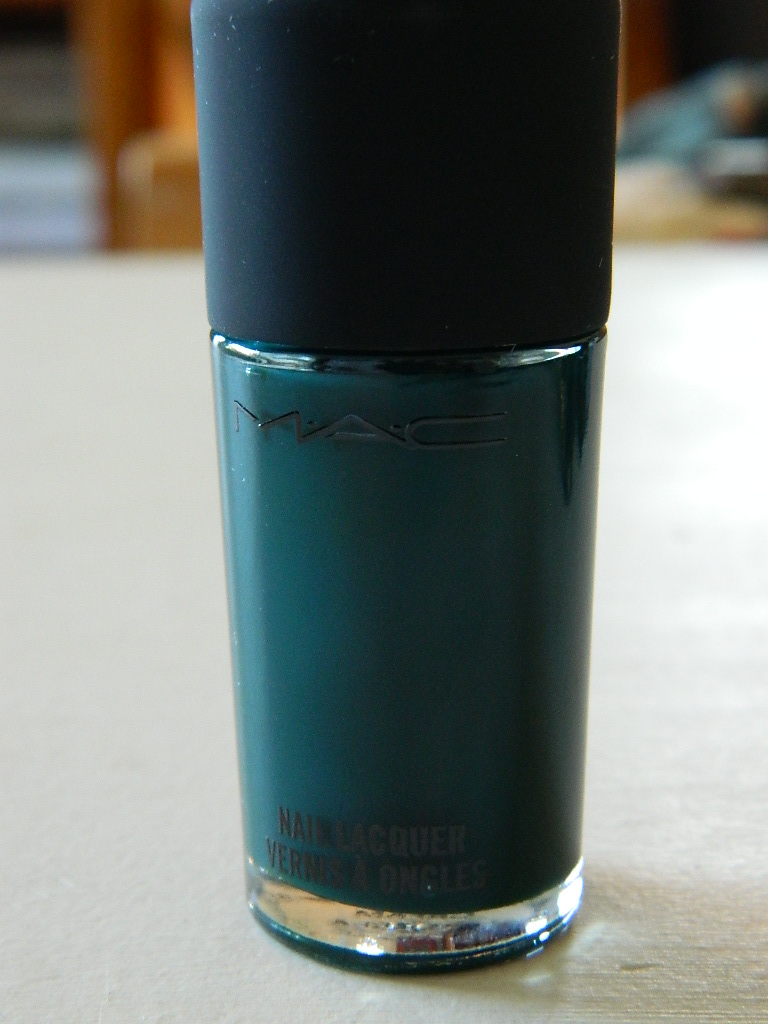
2. MAC's Deep Sea for Bryanna.

(A deep teal.) 

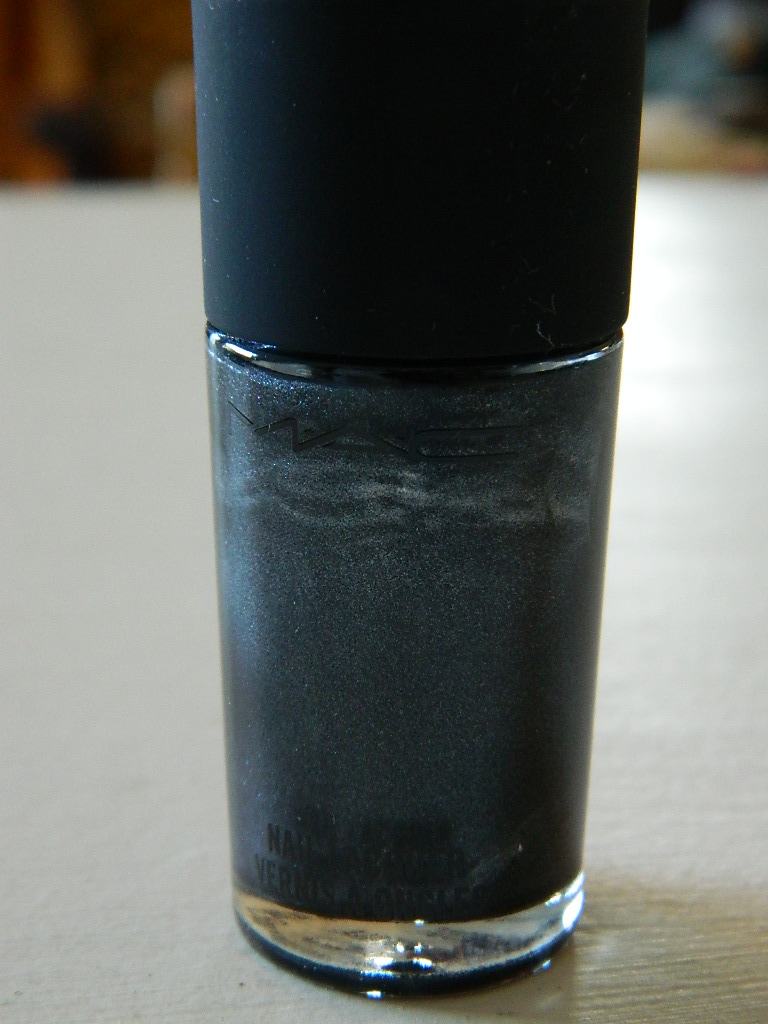
3. MAC's Nightfall for Lauren.

(A really nice metallic, silvery with hints of black)

4. MAC's Rain of Flowers for Nicole.

(A deep blue with flecks of blue and purple sparkles.)

I am sorry to admit, I didn't even buy one for myself :(  What was I thinking?!?!  Definitely going back for a MAC polish of my own.

Stay tuned for a haul/swatch of these MAC colors, as I am sure I will be doing each of my sisters nails while I am home for the holidays!