Sally Hansen — Salon InstaGel Strips

insta insta gel

You gals (and guuuuuys) know that I am a long-time reader of Allure magazine. I love Allure because they cover a great spectrum of beauty brands, from drugstore staples to department store indulgences. It's also one of the few magazines that doesn't give me some kind of complex after I've finished reading it, so there's that.

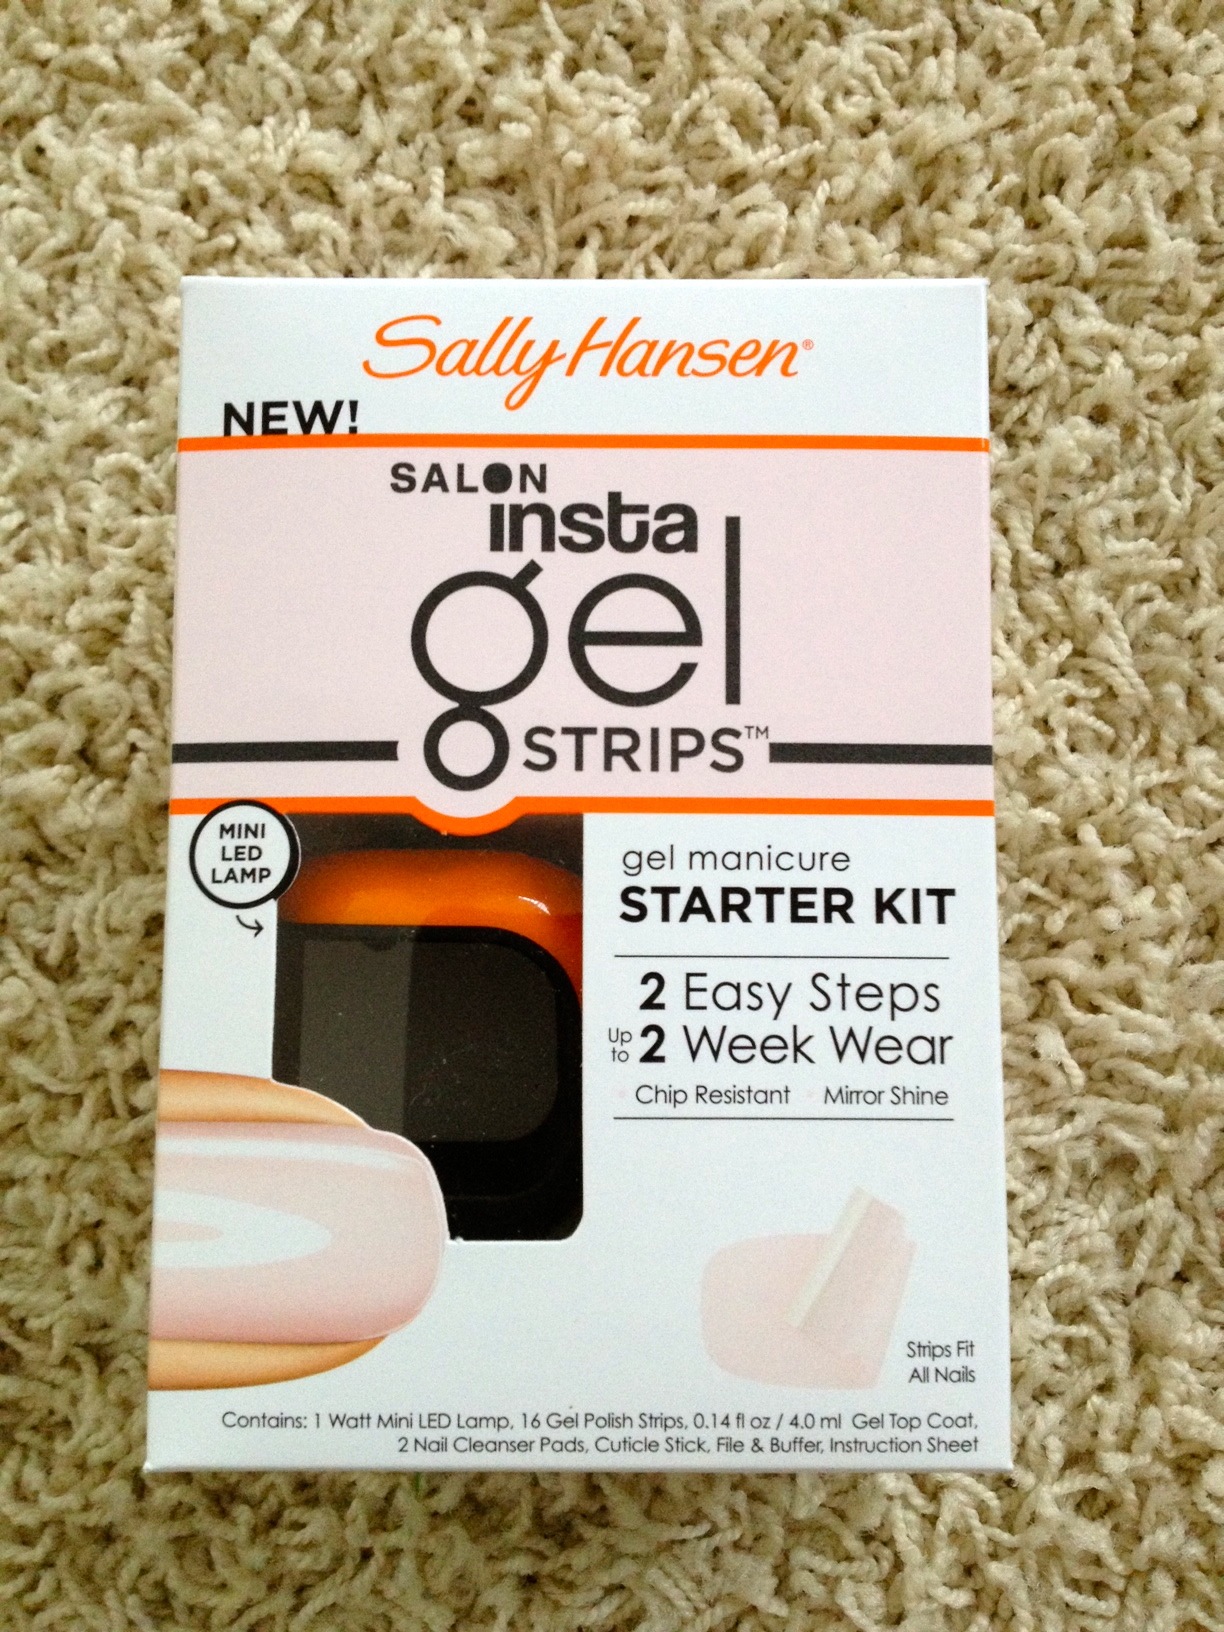
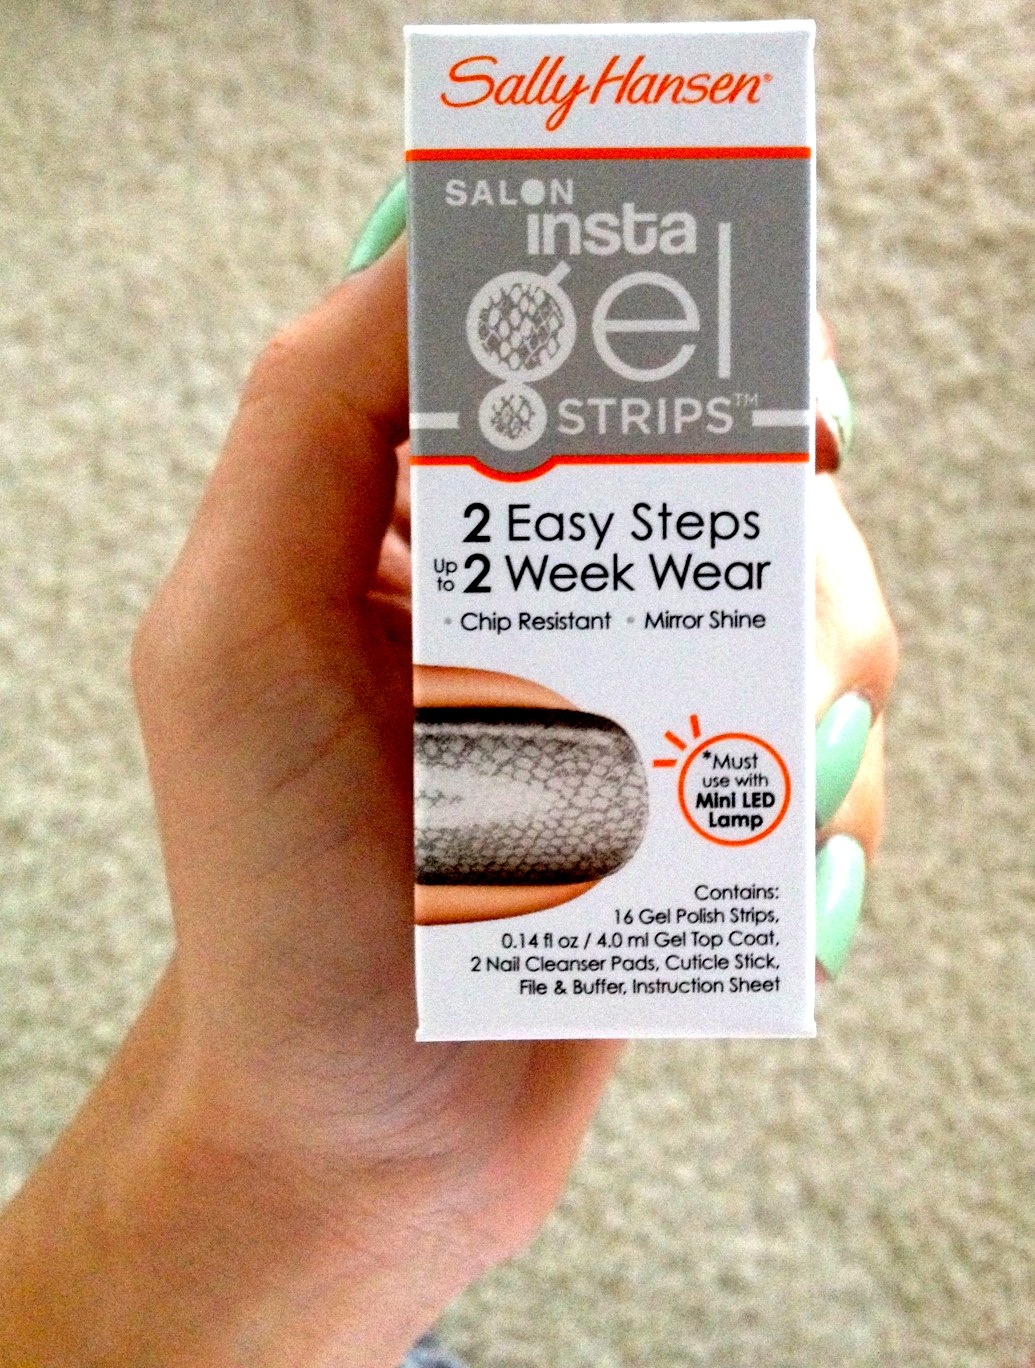
I was thrilled to be chosen for an Allure-sponsored product trial for Sally Hansen — Salon InstaGel Strips.

I went in with a personal bias. I love the normal Sally Hansen Salon Effects. Seriously, seriously LOVE. If I didn't blog about polish and have tons of colors to try out... I'd probably wear Salon Effects at least half of the time. They're fast, easy, dependable and have a great array of on-trend colors & intricate patterns. I just love them.

Allure sent the starter kit, which included a very demure shade of pink called Shell We Dance, and a more experimental snakeskin option called SSS-Snake Eyes.

photo 11

photo 13

photo 15

photo 12

APPLICATION

The strips enable you to sport a gel manicure with an intricate design for a much cheaper price than you'd pay for a professional for such artistry. If you already own a traditional gel kit and enjoy solid colors (which Sally Hansen also offers), then I cannot honestly say that this kit will save you an outrageous amount of time. You still need to sort out which applique is the right size for which nails... and it still never seems to work out perfectly, so you'd got to franken-nail things up here and there.

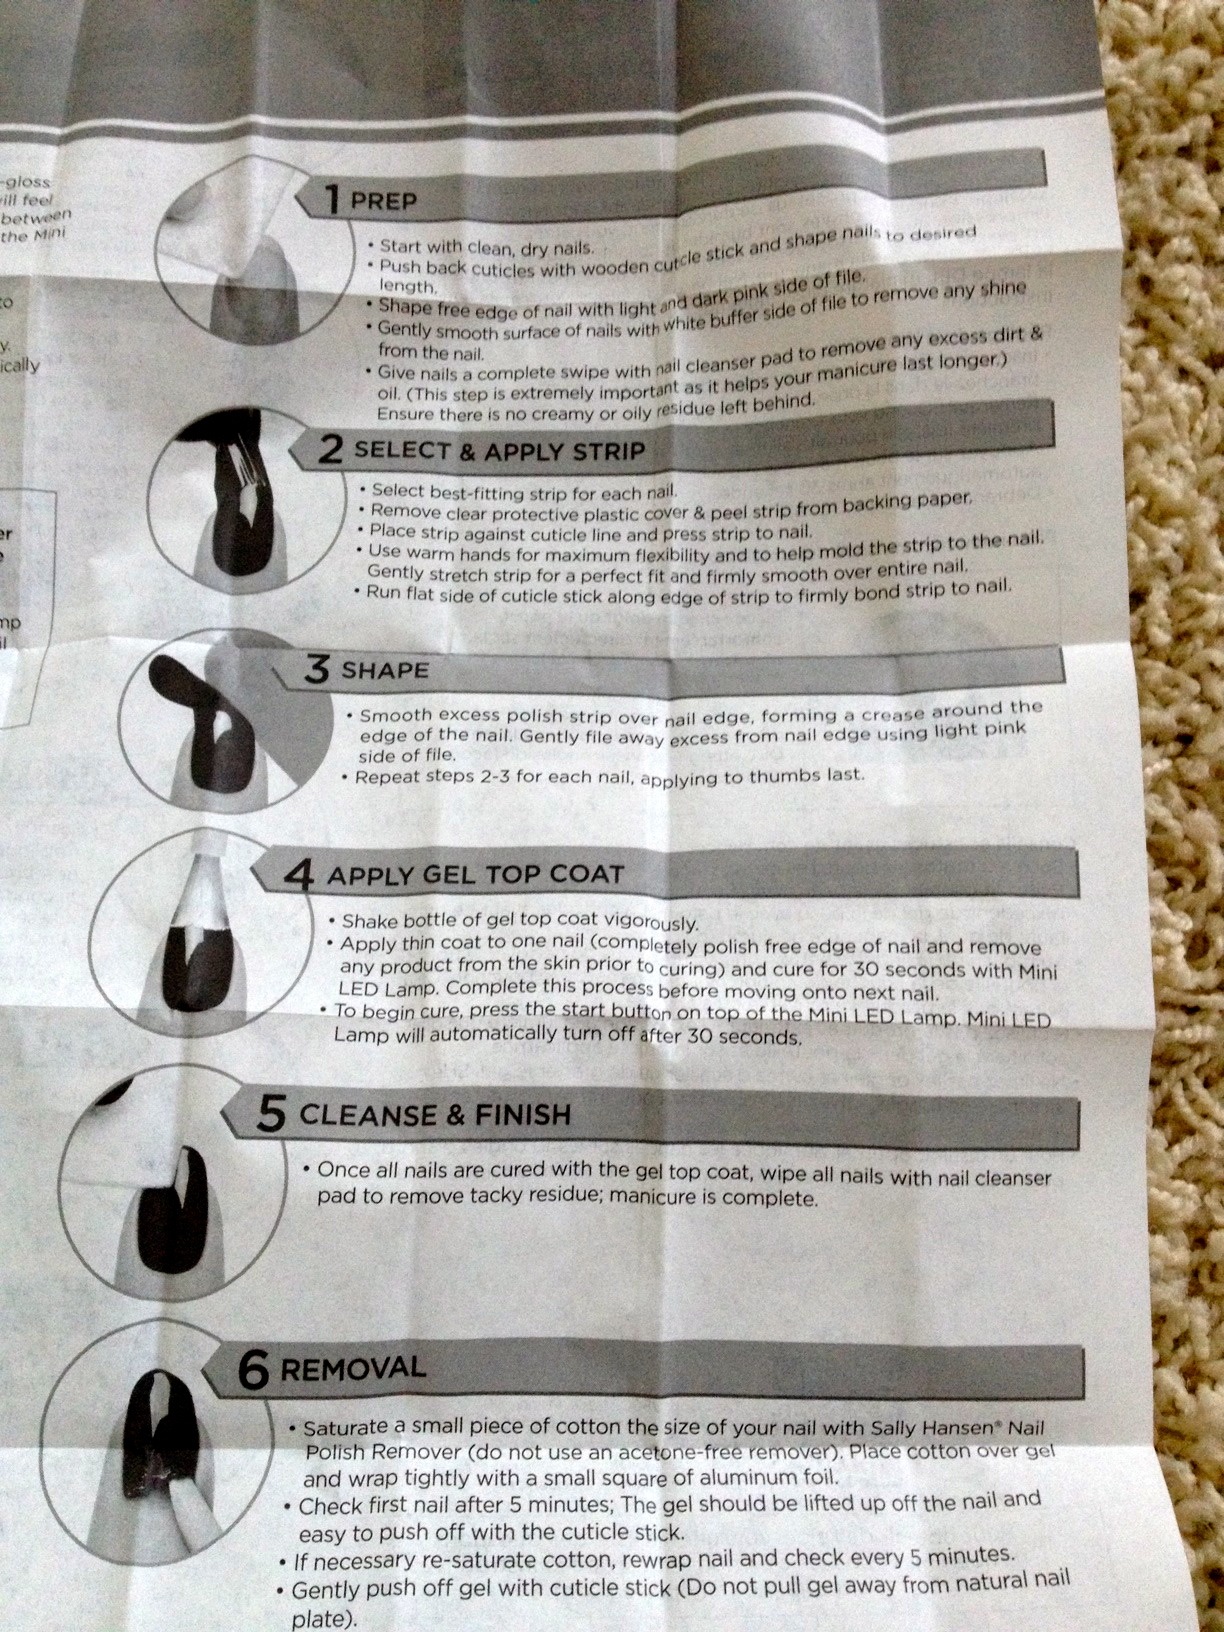
It's essentially a 5-step process. Prep (file, shape, buff, wipe with alcohol pad). Apply strips. Apply gel top coat. Cure with the UV light. Wipe with alcohol pad. Done!

A normal gel manicure means: Prep. Apply base coat. Cure. Apply color coat. Cure. Apply second coat of color. Cure. Apply top coat. Cure. Wipe with alcohol pad. And, finally, done. Depending on what kind of lamp you're using, that can be a bit of a time investment. But I don't think doing your nails is a very speedy process to begin with.

photo 14

photo 1

photo 2

OLD 2

WEAR & TEAR

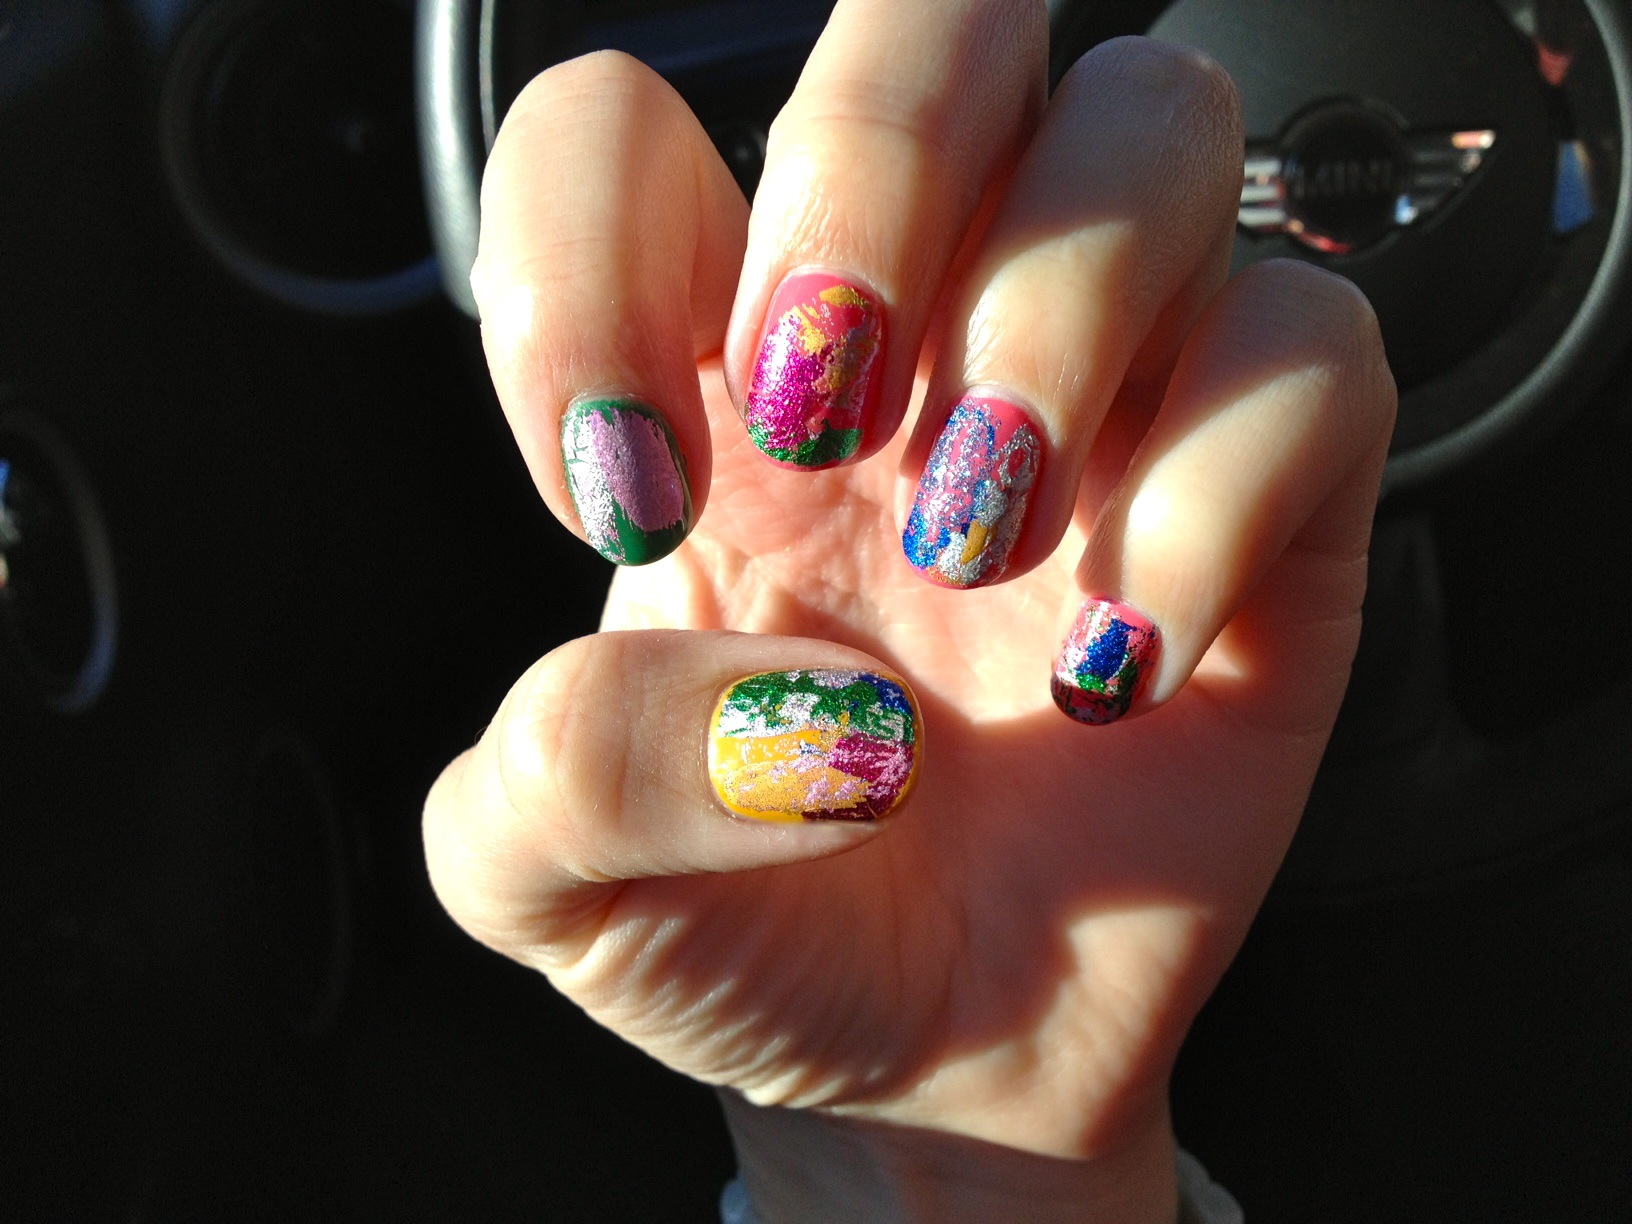
Fantastic. By the end of my two-week trial, I had maybe three tiny chips, and they were only noticeable upon the very closest of inspections. And the look stayed shiny for all 14 days. Love that.

One bummer was the grow-out. Like the other appliques, these strips have a very defined edge that lies near your cuticle. As your nails grow, that sharp edge becomes exposed and you can get things caught in between the ridge of the applique and your cuticle. And by "things," I mean strands of your own hair. Eugh.

Note the growout. And the cat toy.

REMOVAL

Hmmm. Removal. I mean, if a mani's going to stay pretty indestructible for two weeks, it stands to reason that it's not going to be incredibly easy to remove. That's just like, a law of physics or something, lol.

I gently scuffed up the surface of the gelicure with a nail file to break through the hard shiny shell that the top coat made. Then I used The Foil Method, of course. In the end, there was still a lot of soaking and a bit of scraping off carefully with a cuticle stick, but these were pretty standard gel manicure issues

OVERALL

If you're someone who loves gel manicures but doesn't want to drop that kind of cash twice a month or so, this is a great product to consider.

For those of you that already own a gel manicure kit, I am not sure that you need to replace it with this kit. In fact, I suspect you could probably skip the starter kit and just buy a pack of the gel nail appliques. As long as you already have a gel topcoat and a UV lamp to cure it, you should be good to go.

Don't wear gel manicures often, or only really get them for special occasions / vacations? I might suggest skipping at-home kits entirely and continue going to your favorite salon. If you view a gel mani as a treat, then you'll miss the whole salon experience when you use an at-home kit. They are pretty utilitarian, after all.

xxo, Francesca

Swatch 'n' Learn! Ciaté — Very Colourfoil Manicure™

colorfoil_example Back in January, I stumbled upon the Ciaté "Very Colourfoil Manicure™" kit on Sephora.com. And I was fascinated At the time, nobody had swatched them, so I was left to my own musings. Until now.

What can I say... I splurged! May I present the photo evidence of my first foray into foil manicures. Allison, this one's for you!

Very ColorFoil_Box

Very ColorFoil_Unpacked

I still have no idea why this was included, lol

A new full-size Ciaté is always welcome!

This is a little bottle of "Foil Fix." It reminded me a lot of watered-down Elmer's Glue.

The instructions were a little intimidating, but the process was actually very simple. You paint the Foil Fix where you want the foil to stick; the entire nail, just a section, just a dot, etc. Let the Foil Fix dry for 60 seconds or so... Press the foil down on the nail, shiny side up... Rip off and VOILA.

Speaking of foil... look at these awesome colors! The sheets of foil were incredibly thin. Even thinner than a Listerine Strip. (Anyone remember those??)

The foils came in this cute little envelope. It comes in handy because you'll find you have a ton of foil left! I only used one sheet of each color for my look. I could do at least 6-7 more foil manicures with the materials included in the kit.

Since there was no legitimate reason to only use the color of polish that came with the kit, I decided to add two colors to the mix; OPI "The IT Color" and Essie "Pretty Edgy."

Very ColorFoil_Foil

I had a lot of fun looking at this mani. I did mine a little crazy, but you could do a much more subtle look, limiting yourself to a base color and then using just one or two colors of foil for a simpler look.

A few days later, my foils really started to fade.

If you compare this photo to earlier shots, you can really see the disappearing foil.

Although the kit was an indulgence at $19, I've decided it's actually a great deal. You get a full bottle of Ciaté "Paint Pots" polish, which retails for $15. You get the bottle of Foil Fix. And then you get tons of foils. Again, I have to stress how generous this kit is with the foil.

Overall, I loved the Ciaté Very Colourfoil Manicure™ Kit, but I'll admit it's a bit of a mixed bag. The DIY feel of the kit was awesome — doing my nails totally felt like an art project! I really enjoyed getting a feel for working with the foil. It's an imperfect exercise, so there's that element of the unexpected when you rip the foil off. You hope for the best and just try again if you didn't get what you wanted the first time.

The downside is that the foil doesn't last very long. You can count on this looking for for about 2 days, and after that the foil just begins to wear away. Another issue I encountered was an area of Foil Fix that never had foil properly adhere to it. The nature of Foil Fix is that a top coat won't really stick to it. Meaning, if you've got a patch of Foil Fix on your nail that doesn't get covered with foil, it will stay gummy. Gross.

Any questions on the Very Colourfoil™ Mani? Hit me up in the comments! And if you've liked what you've seen, then may I suggest you act soon? I've only seen the kit at Sephora and the website days it's limited edition!

foiledagain, Francesca

Polishment Polish Party — The Sequel

With summer in full swing and a cool pool at my disposal, the decision to have a small polish get-together practically made itself. The first one was such a blast!

I invited a few gals over for an afternoon of sunbathing, cocktail sipping and, of course, fingernail painting.

A you can see, my little fete was filled with fun. Can't wait for the next one!

kittenkisses, Francesca

P.S. To the chagrin of a few at the party but to the delight of MANY, I shook things up with my new cocktail: Kitten Kiss.

A Kitten Kiss is made of the following ingredients:

To make your engine really purr, add 1/4 teaspoon instant espresso powder (may I recommend Medaglia d'Oro). Mix well. I added the espresso directly to the vodka, stirred aggressively with a small spoon and then, when the espresso and vodka were completely blended, I added the chocolate milk. I sprinkled a light dusting of espresso powder on top and speared some fresh chocolate-dipped raspberries for a garnish.

Saucers of milk are for cats, but milk plus some sauce is the cat's MEOW.

butter LONDON — Teddy Girl & More

'Ello there! May I introduce one of my new favorites: butter LONDON's Teddy Girl*. I've been hoarding this color since spring; I was waiting until I had a whisper of a tan so that I could really show her off. And oh, some things are truly worth waiting for. I LOVE this color.

At first glance, Teddy Girl looks very similar to Essie Fiji. I know, I know — I was thinking that, too. My issue with Essie Fiji is that it is very streaky. You must have a light hand, and even then, the consistency tends to be a bit thick, so the only manicures with Essie Fiji that I've been satisfied with are when I glopped on three coats. And I really hate to do that.

I brought my brand new butter LONDON Teddy Girl to my nail appointment at Bellacures recently. I warned the nail technician — with colors like this, they tend not to go on evenly, so three coats might be a necessity. He admitted that this sometimes happens.

Together, we watched with anticipation as he worked on my right hand. The first coat was done... time to inspect. I raised my eyebrows in disbelief as I turned my hand this way and that.

It looked like I had two coats on already! Incredible! I hmmmmed with pleasant surprise. He nodded in agreement. This was fine polish. Nail polish of The Quality. Smooth, highly pigmented and such a great color for anyone's stash. [Side note, it's not a dupe for Fiji, don't let your eyes deceive you. Teddy Girl is a cooler, brighter, whiter pink. Fiji is softer and warmer; somewhat more subtle.]

I love this shade so much that I even got a pedicure with it, too! For the first time in eons, all 20 of my nails matched. I felt like such a lady.

Two days passed. I was staring at the pale pink canvases that were my ladylike nails and I thought, well I suppose I could spice it up, just a little bit... and BAM! Leopard nailz.

Leopard spots are a piece of cake. I used a dotting tool to make small, irregular gray dots using ORLY Mirror Mirror. Then I used my bottle of ORLY Instant Artist in black to outline the dots I'd made. The outline doesn't need to be perfect (in fact, if it's a little sloppy...or we can be kind and say "organic," all the better). I was inspired by some of my pins on Polishment: THE BOARD!

Have you guys tried any DIY leopard spots? I was thinking it might look cool if I added some smaller dots next time, like this:

dotdotdot, Francesca

*product provided for honest review

Oh. My. MEOW.

I have been admiring Mimi @ Makeup Withdrawal's handiwork for weeks now. She's got a great eye for color, a fantastic stash and a wonderful writing style.

Just when I thought I couldn't enjoy her blog more... she shared a meow-nicure this morning.

I was already a fan — but now that I know she is feline-inclined... this takes my lurve to a whole new level.

Yes! It's true! I am a Cat Lady. A fur-covered, meow-speaking, cat-crazy woman. Astute readers may have noticed cats in the background from time to time, or a rogue orange tabby hair stuck to a nail. A bad foster kitten made a cameo once, if I recall.

I leave you with a treasured photo of my two cats. Because if there's one thing crazy cat ladies love to do, it's make strangers look at pictures of their cats, lol. (Return the favor and comment with your cat names or photos!)

Meowmeowmeow, Francesca