Blue Period — Leopard Print
I have been dying to do a free hand leopard print nail for weeks now and put together a little tutorial for you guys! Finally, we wait no longer! Yes, everyone can have a leopard print nail without the high cost of a salon manicure, artistic ability, stickers, or a Konad stamp!
Of course, because I am in my "Blue Period," this leopard print has a twist and will be in shades of blue. However, you can recreate this in any colors you choose!
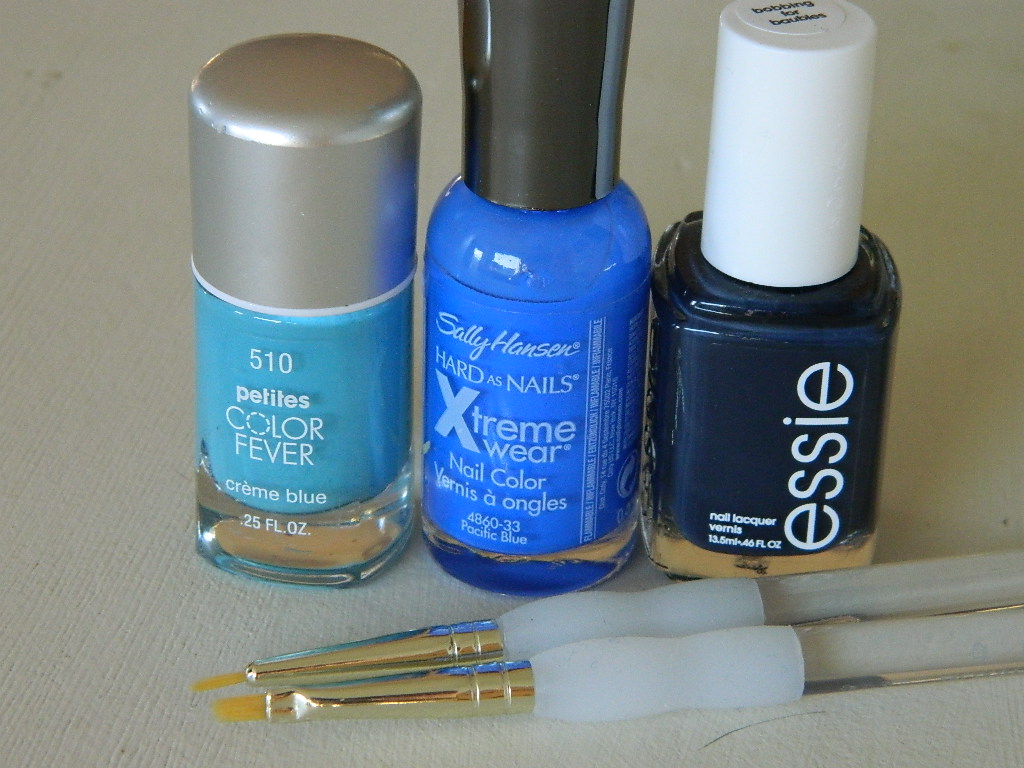
What you will need: • Base coat and top coat • Two fine tip paint brushes • Three colors of nail polish in the same colorway. The base color should be the lightest shade, the large dots a medium share, and the squiggles (that's a technical term) the deepest shade of the colorway you choose. The shades of blue I used are as follows: • Petites Color Fever in Creme Blue (light) • Sally Hansen's Hard as Nails Extreme wear in Pacific Blue (medium) • Essie's Bobbing for Baubles (dark)
First, cover nails in base coat and let dry completely.
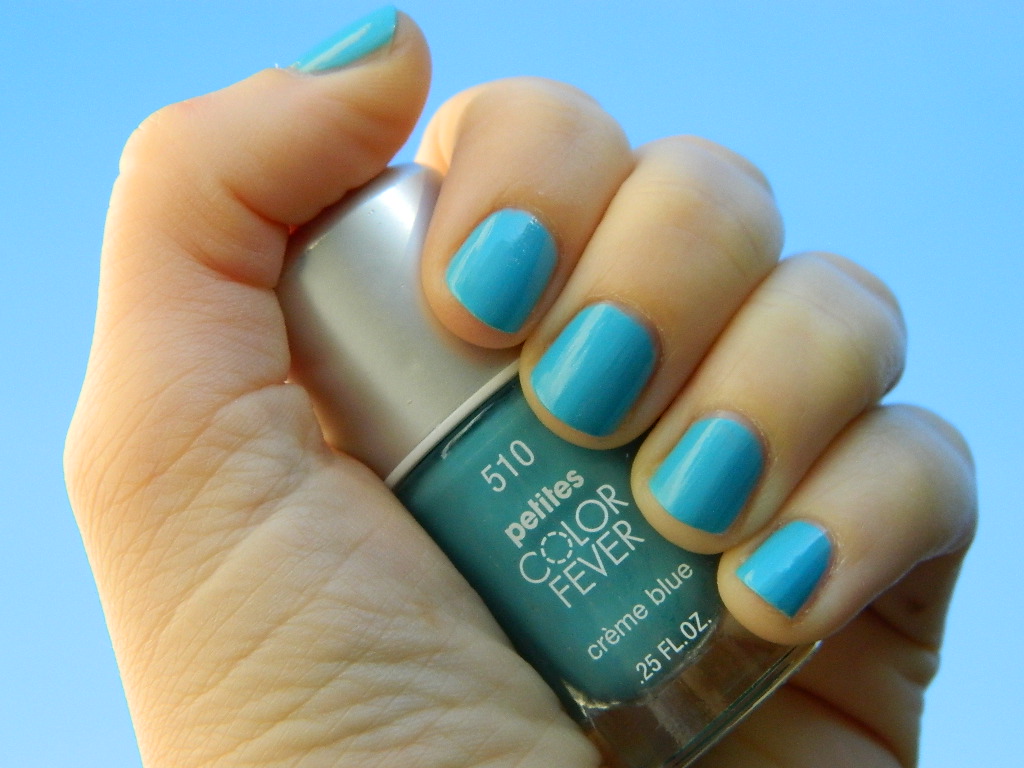
Then cover nails in Petites Color Fever in Creme Blue (lightest color from colorway) in two coats of polish.
 (ok, this is a super cheap bottle of polish I got many years ago at the drug store. I have never seen this brand again. However, this is one of the easiest nail application ever! It goes on opaque; you could settle with one coat if you are in a rush. And it goes on smoothly, not too thick, not too thin. Great color too! I just love it this little cheap polish!)
Make sure to let dry completely. You may want to wait until the next day to continue to the next step, in order to ensure complete dryness.
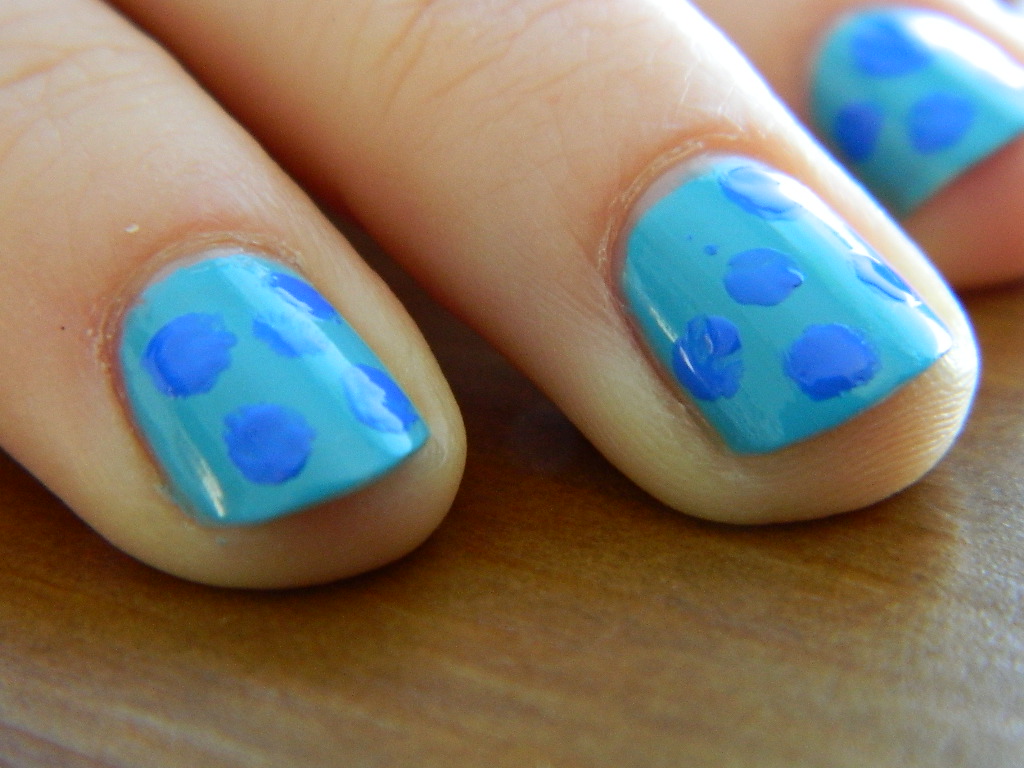
Next, using one of your fine tip paintbrushes and Sally Hansen's Pacific Blue (medium color from colorway), begin to paint random dots on each of your fingertips. Make sure the dots are NOT perfect....you want them so be slightly jagged and asymmetrical.
 (I applied these dots by dipping the end of the paintbrush into the end of the nail polish brush. This way I ensured I would not waste any polish by pouring it out into a cup for dipping.)
Make sure to let these dots dry for some time (a couple hours minimum).
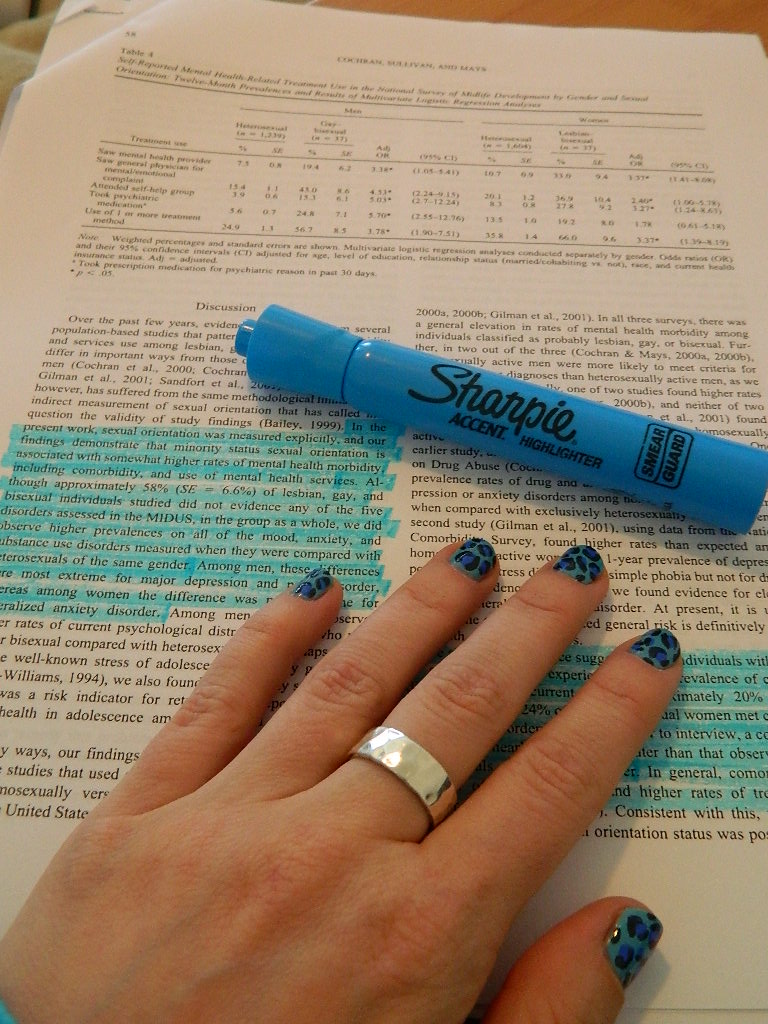
Next, using one of your fine tip paintbrushes and Essie's Bobbing for Baubles (darkest color from colorway), begin to paint squiggles 2/3 around the dots. This is hard to explain in detail, so I suggest just copying the pic, but again, this is not perfect. Best when sloppy.
Make sure to let the squiggles dry for some time (many many hours) before applying top coat. *IF YOU DO NOT WAIT LONG ENOUGH, THE TOP COAT WILL SMUDGE YOUR LEOPARD PRINT*
Then, cover nails in top coat and marvel at your handiwork! Rawr!
(I waited about six hours to put my top coat on.....as you can see it still wasn't quite long enough, especially on that pesky middle finger)
XOXO, Varnish Varnish


