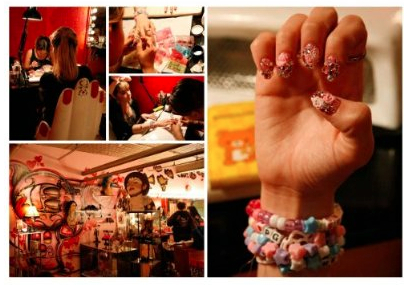
As far as I can tell, Christina Rinaldi is an expert in nail art and design.
I stumbled upon her amazing slideshow on BellaSugar here. Also, her tumblr feed is incredible, detailed with her inspiration, supplies, and all sorts of goodies! Here is a sneak peek:
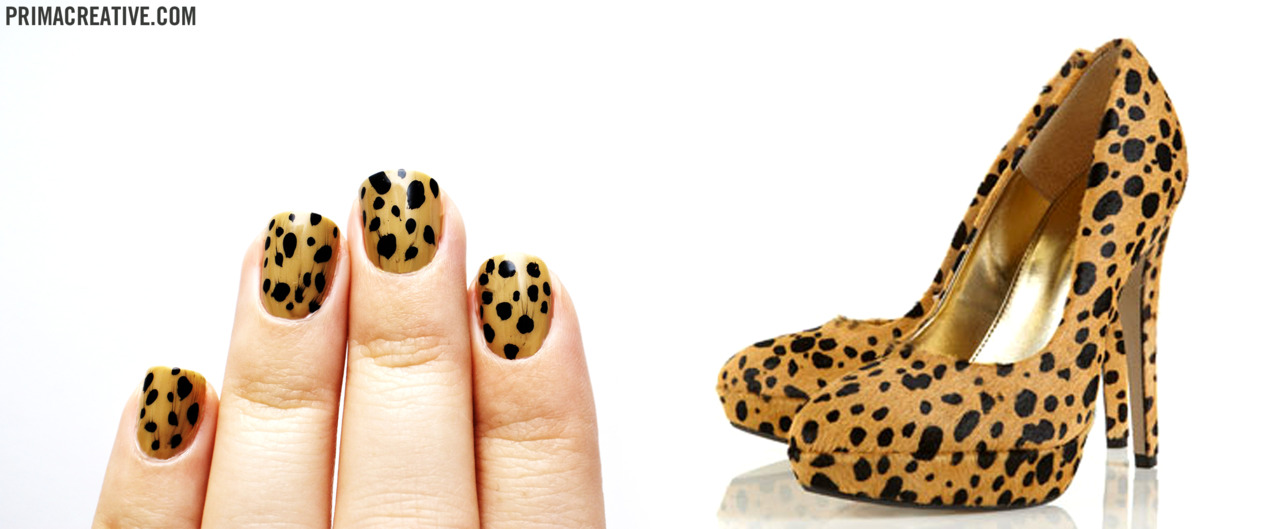

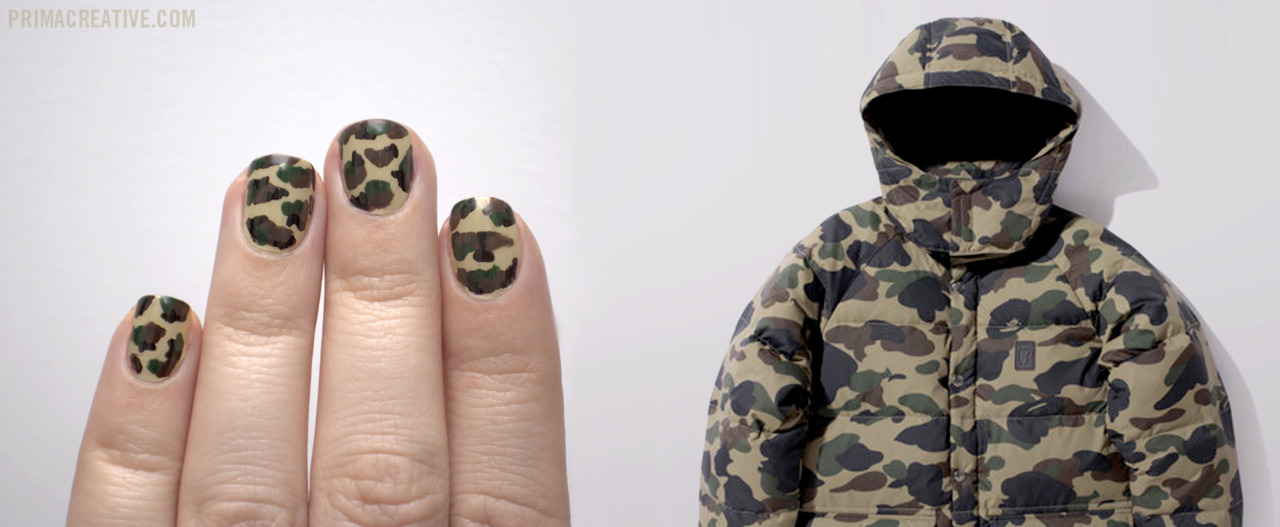


All I have to say is, "stunning," not to mention, incredibly creative.
So, I thought, why not give one of these a go? Not on myself, of course, as my left hand is decidedly useless.
Fortunately, I had an extra pair of naked hands lying around (thank you, Alica)!
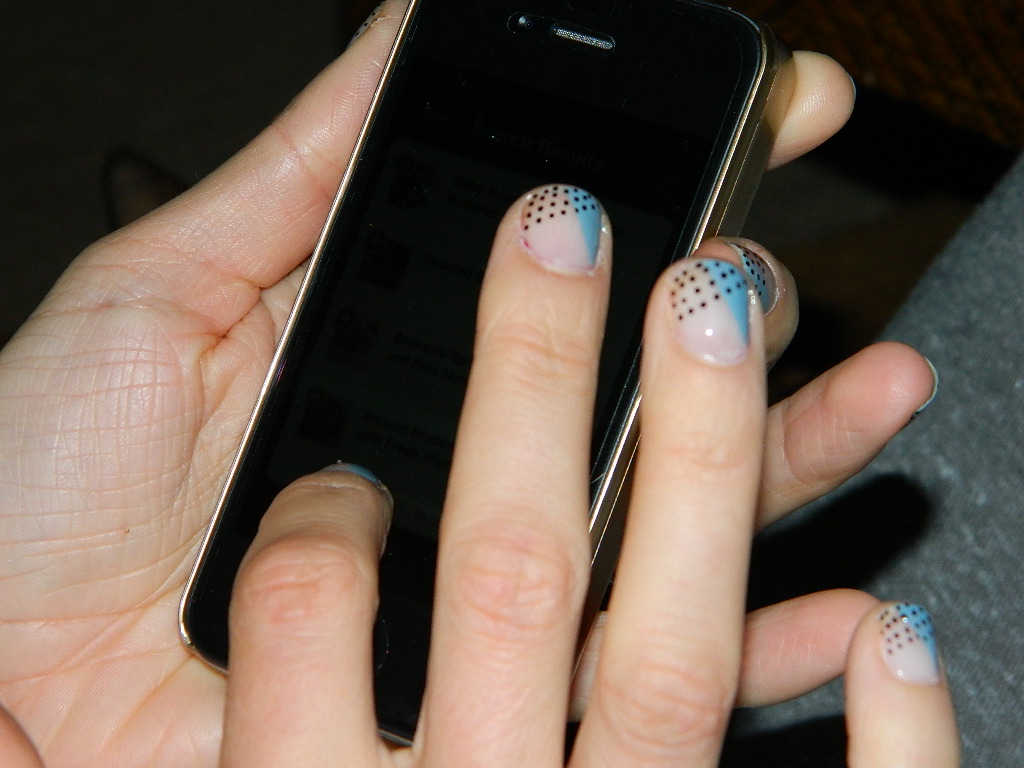
My inspiration, you ask? Well, it's this lovely mix of mod triangles and polka dots:
 To start, chose a nude/clear color nail polish, a color for the side triangle, and a black art pen. I used NYC's Love letters, Urban Outfitters Barstool, and Sally Hansen Nail Art Pen in Black.
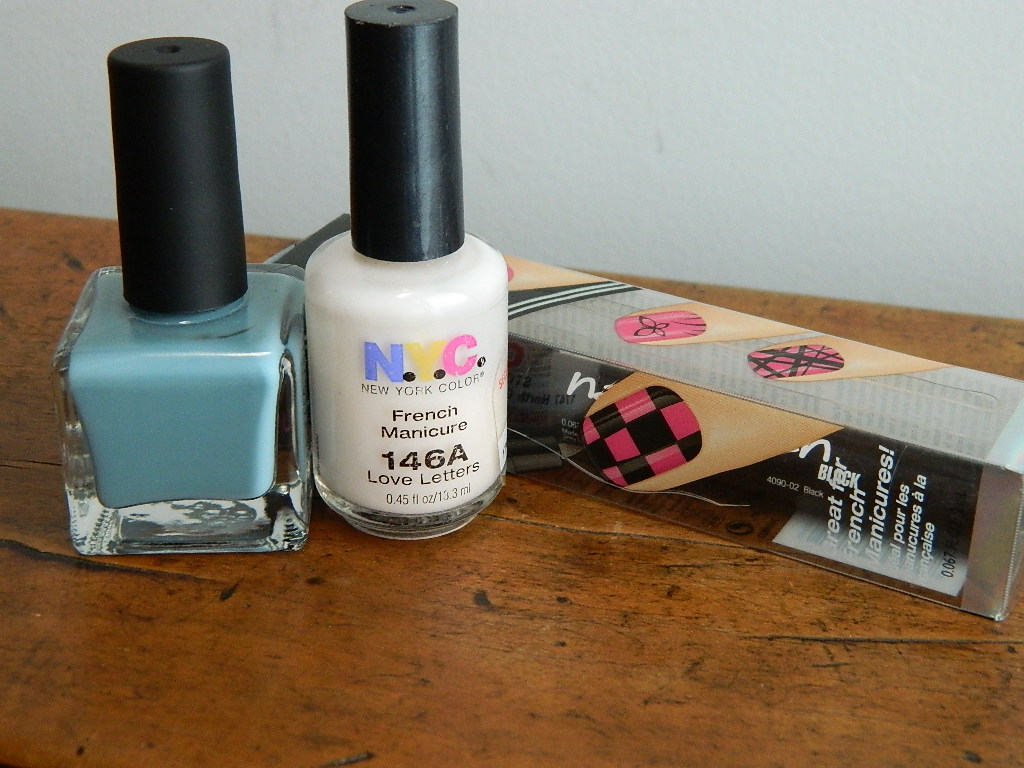 First, cover nails in base coat and let dry. Then cover nails in one thick coat of NYC's Love Letters.
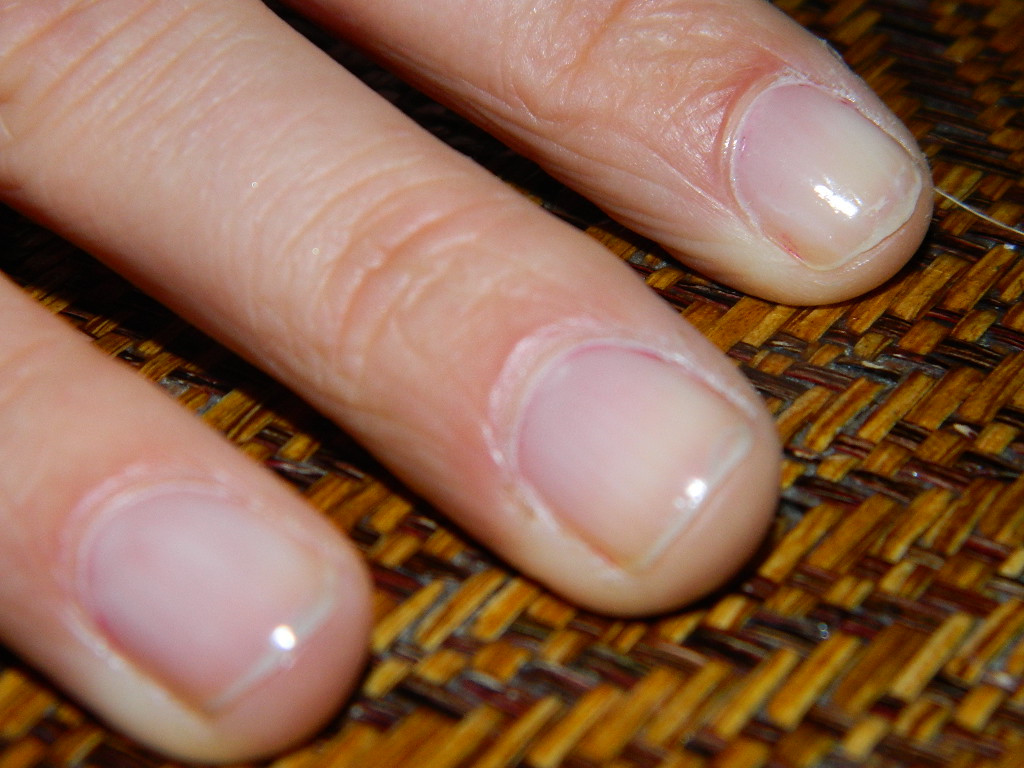 Then, using scotch tape, cover portion of nails that you would like not to paint, creating a uncovered triangle on the outer corner of the nail.
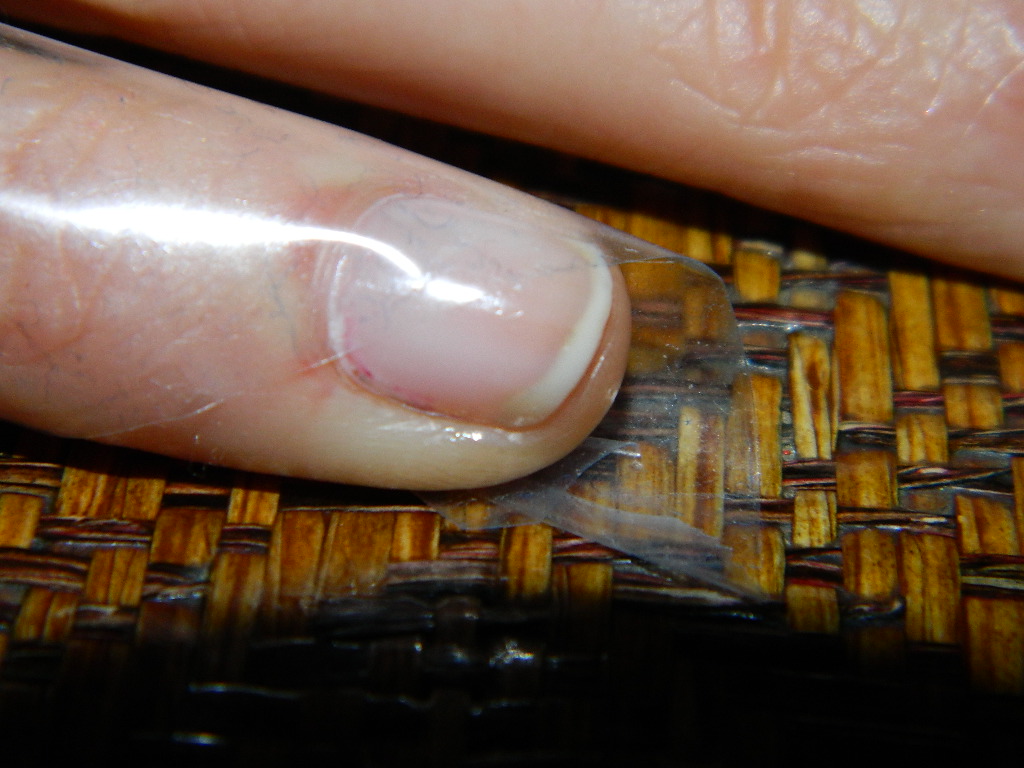 Paint this remaining portion of the nail in Urban Outfitters Barstool (or the color of your choice). Do this with each nail and let dry completely.
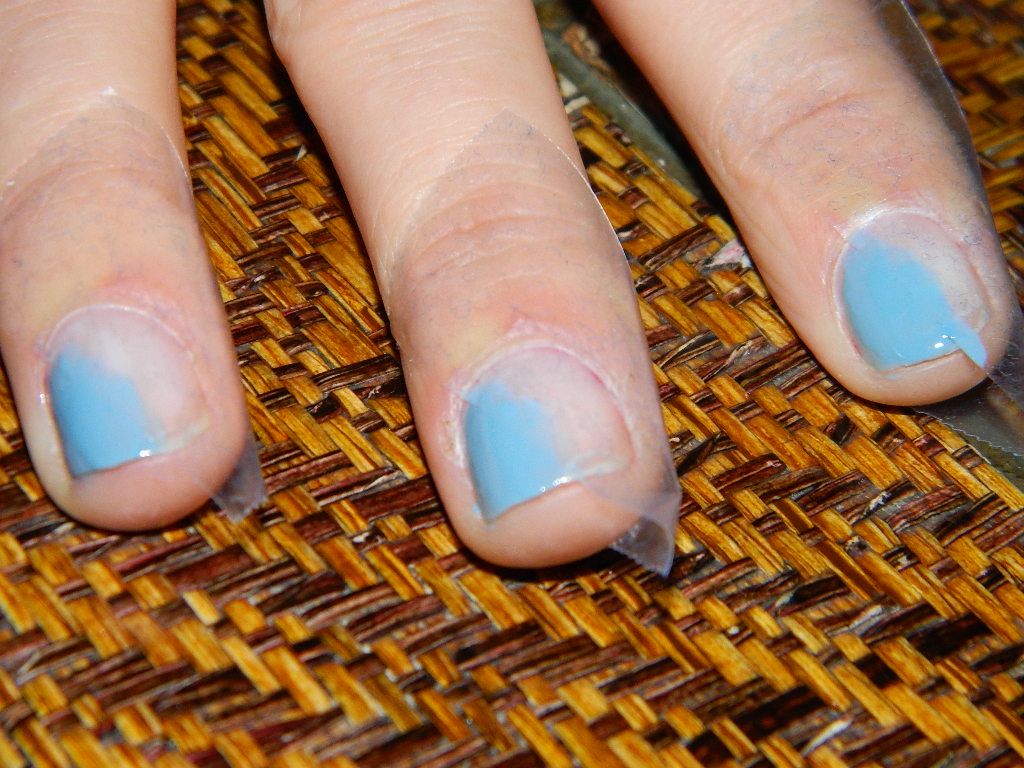 Once completely dry, slowly and carefully pull tape off of nails.
 Next comes the fun part! Pull out your Sally Hansen Nail Art Pen and practice some small dots on a scratch piece of paper. When you feel comfortable with your tiny dots, get to work on your nails. In the original manicure by Christina Rinaldi, she arranged her dots in the same way as her color triangle. However, I tried to do it a bit differently by making the dots slightly asymmetrical, in that they begin lower on the nail and are less horizontally inclined (if that makes sense). Get creative with it and do what you like best.
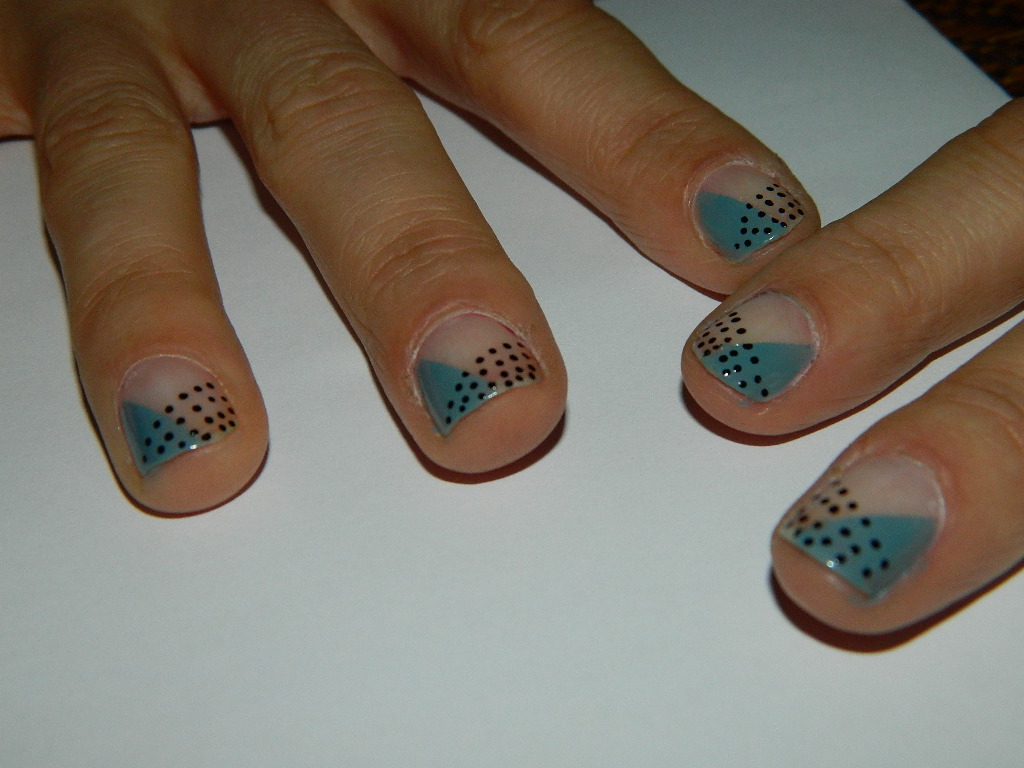 When the last dot is painted on your nails, let dry completely. Then cover all with a top coat.
Here is the final product. Love.

Besos, Varnish
 I've been looking for a good coffee table book to let my guests know right off the bat that nails are my thing. (As if they wouldn't already know! Pshaw.)
