My Top Ten \ Number Four: Sally Hansen — Frock Star

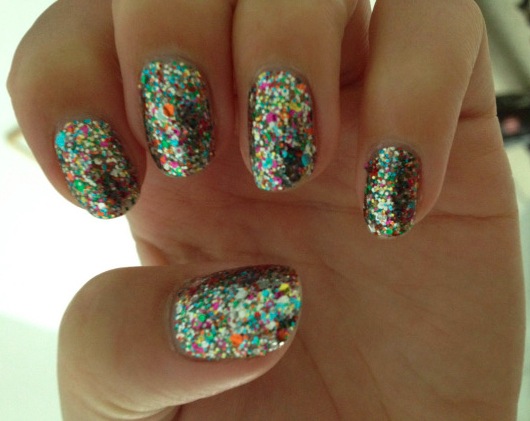
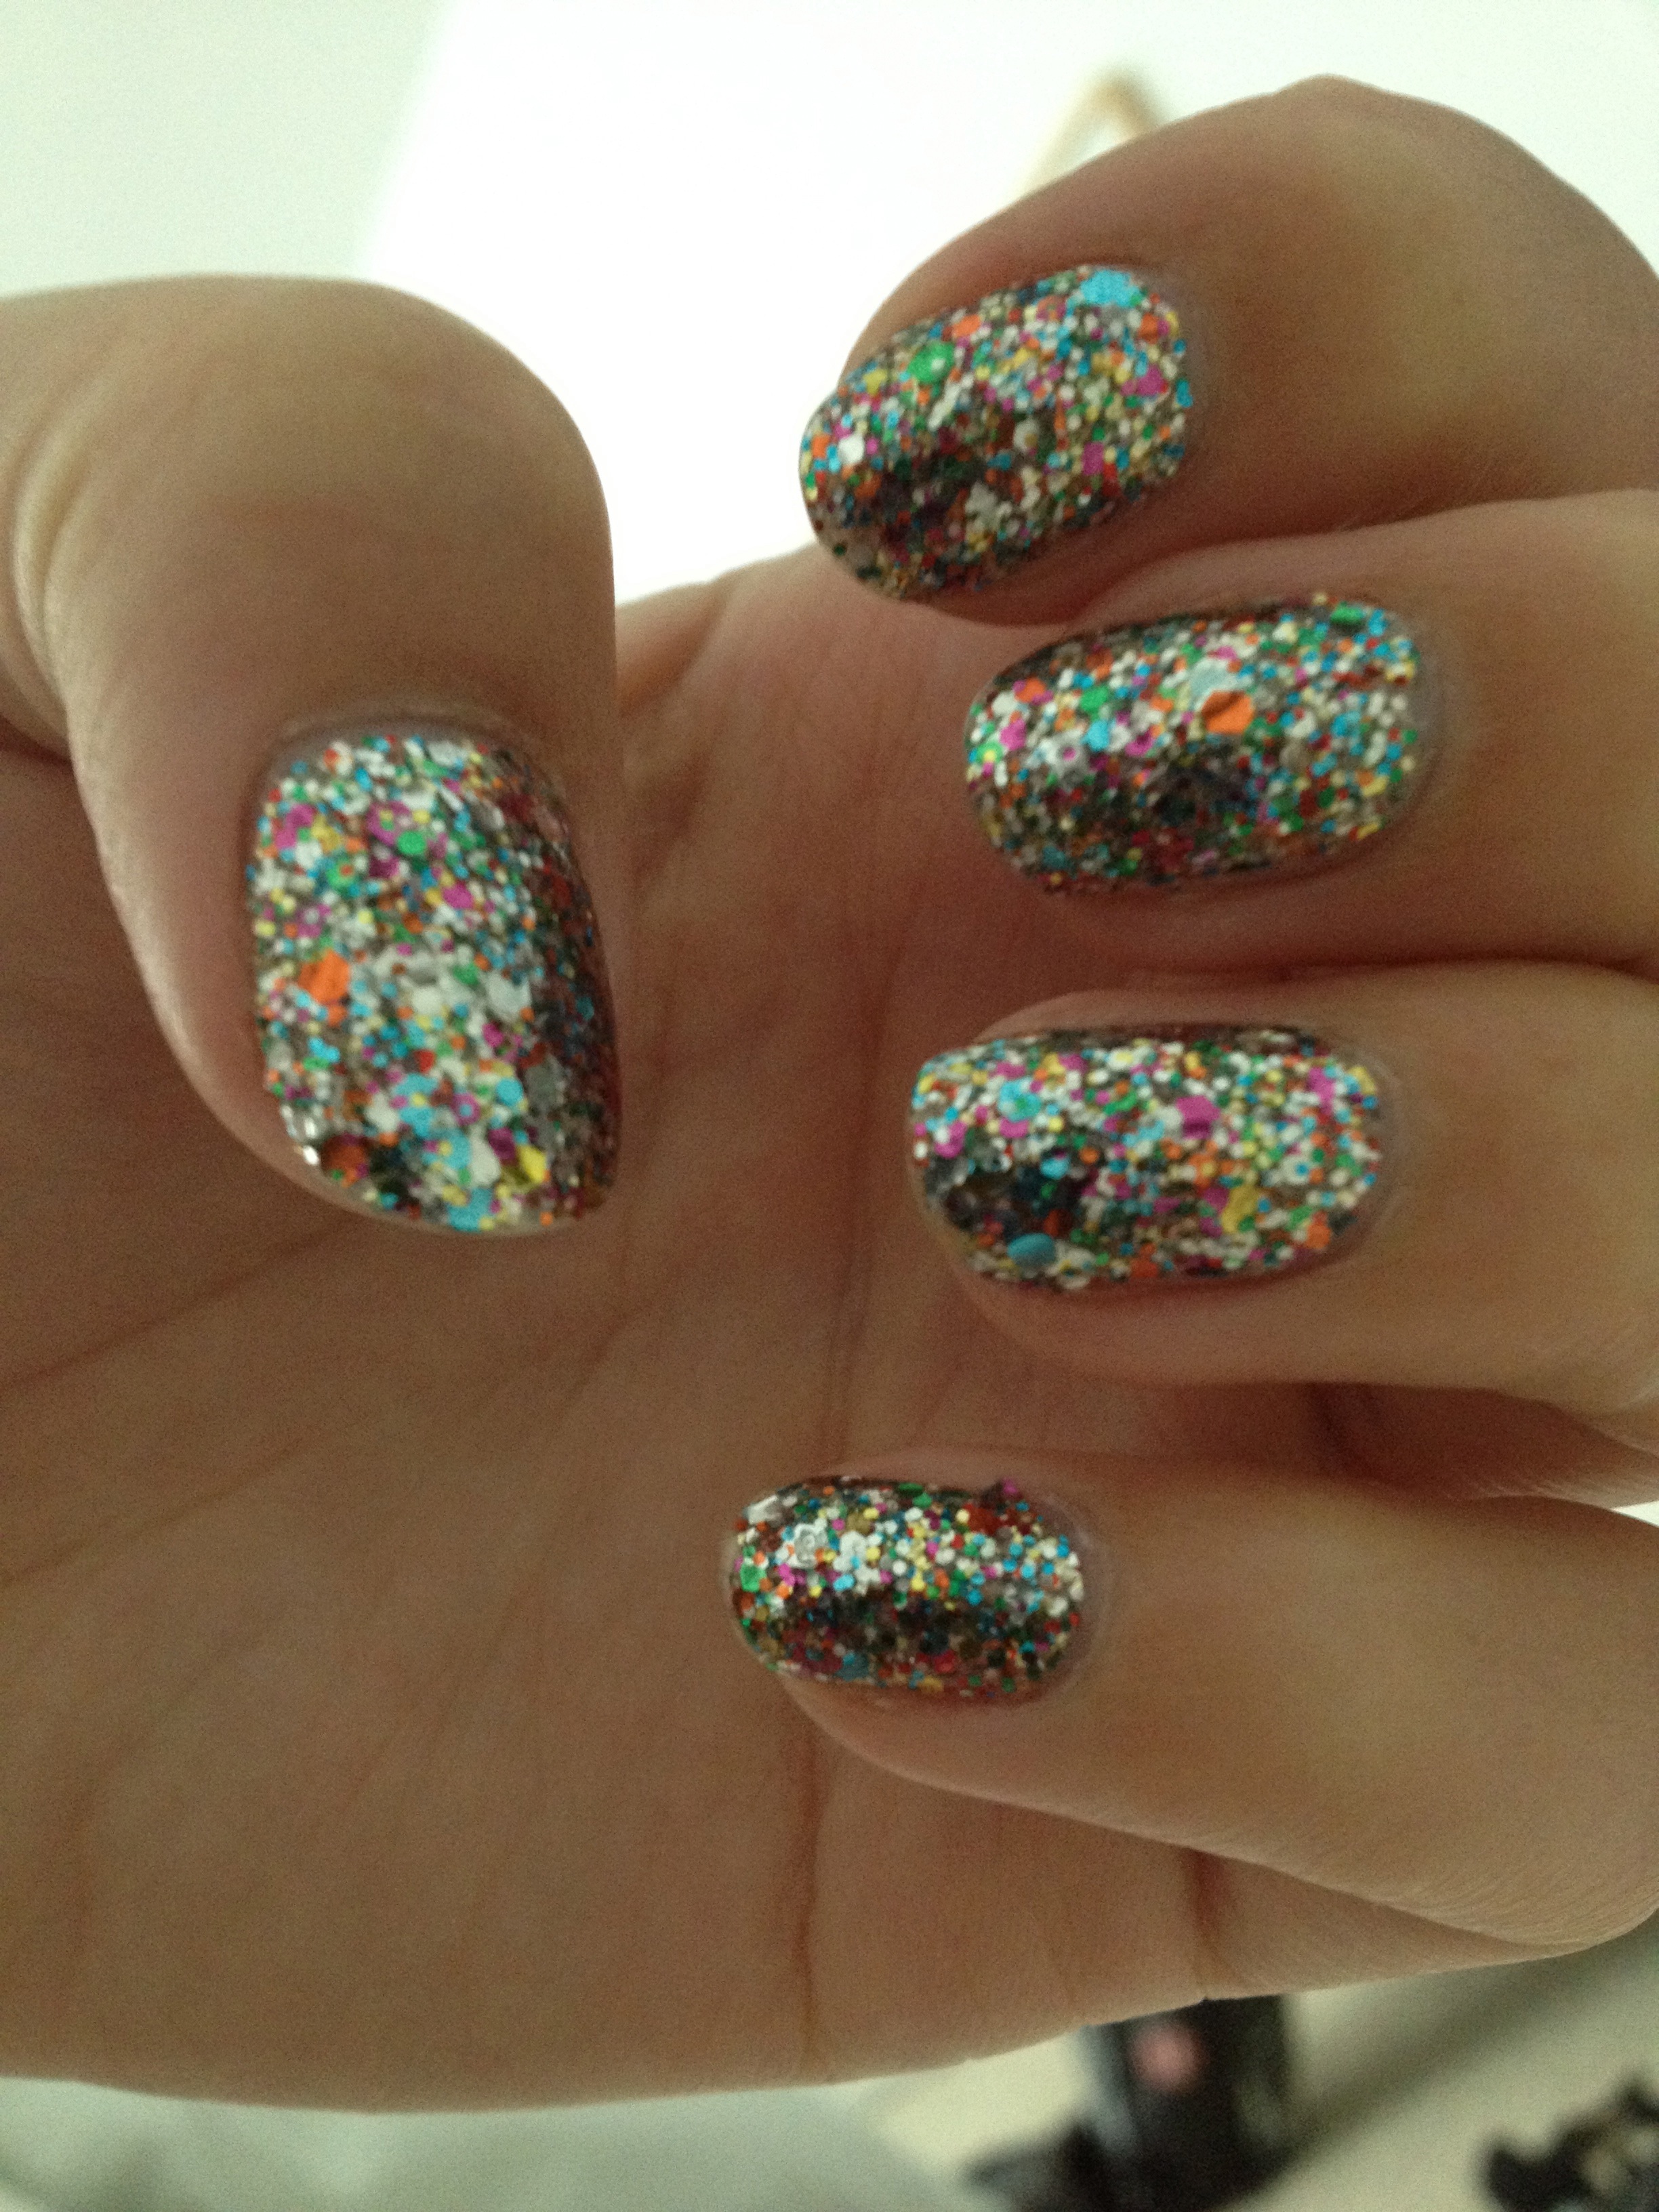
My next favorite color isn't technically in my Stash because it's a one-time-use product; Sally Hansen Salon Effects. Color of choice? Frock Star.

I love glitter. And I mean LOVE.

I had tried a few other Sally Hansen designs and really liked the application. So simple! I had been thinking of trying out a new shade when a happy accident occurred.

I was in the bathroom at work, and I happened to check out the shoes of the girl who was in the stall over. Awkward, I know. Her flip-flops were cute, but it was her pedicure that really caught my eye. Even in the hideous ladies room lighting, her toes looked amazing. So sparkly! So much glittah!!

We emerged at the same time and, to my pleasant surprise, it was actually a girl I knew — yes! So, I craftily pretended to notice her toes when we were side by side at the sinks. I figured that was less invasive than mentioning I'd seen them... before. And that's how I learned that she'd used the Sally Hansen Frock Star strips on her toenails! Clever girl.

You'll understand how much I love Frock Star when I tell you that I wore it to my birthday party last year. That's a big event, and you don't just slap on any old thing. If there's one polish in my Stash that screams "partay," it's Frock Star. You can't help but feel happy when your nails glitter so glamorously.

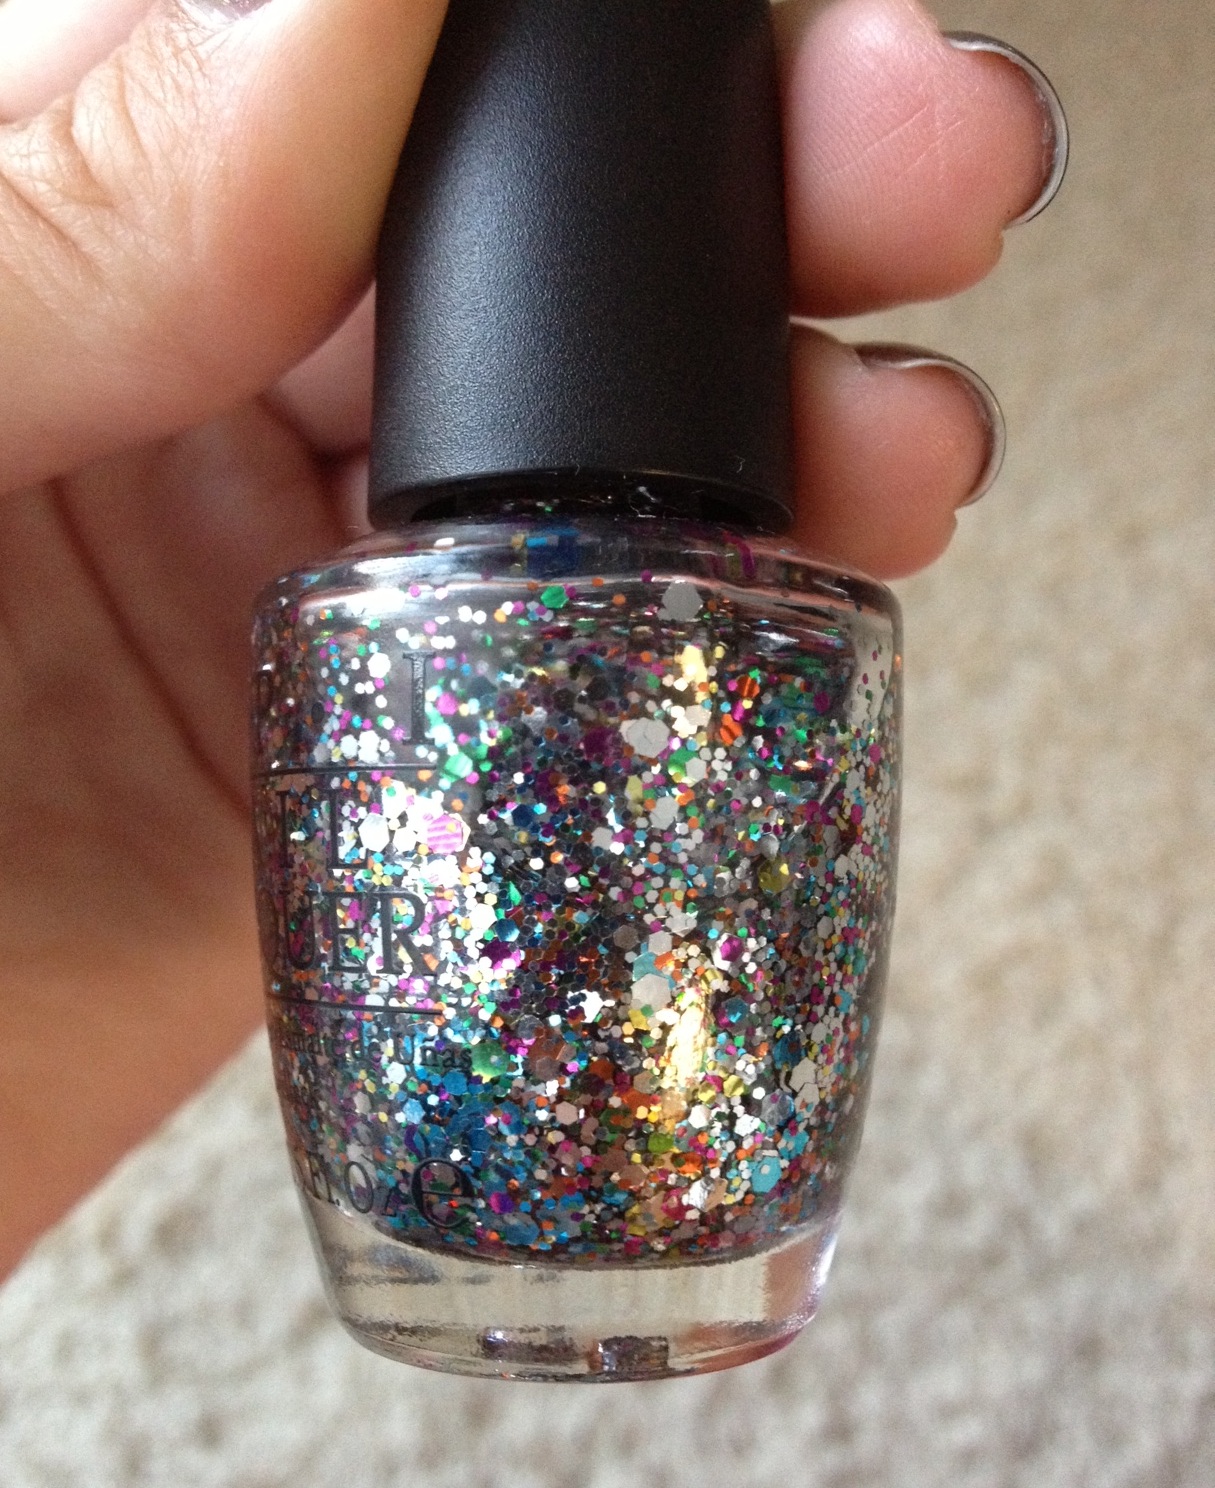
I  have also invested in OPI Rainbow Connection; it's very similar to Frock Star. In fact, the last time I wore Frock Star, I amped it up by putting on a couple coats of Rainbow Connection, too. Regardless of whether you want to pump Frock Star up or leave as is, I really recommend adding a layer of top coat or two, so that you get a smooth surface and catch the light even more.


glitterismygoto, Francesca

P.S. Missed the first few?

Manicure Mania, Pt. I : Sally Hansen Salon Effects — Mod About You

Remember when I was moving at the end of May, and my posts were few and far between? Packing was a nightmare, and although unpacking is a lot more fun, it's still a whole lot of work! It was hard to keep up with my posts... but that doesn't mean I wasn't painting my nails. I owe you guys pics. And here's how I'll make it up to you. May I present:

That's right! This week is Manicure Mania! I'll post a new long-lost manicure every day.

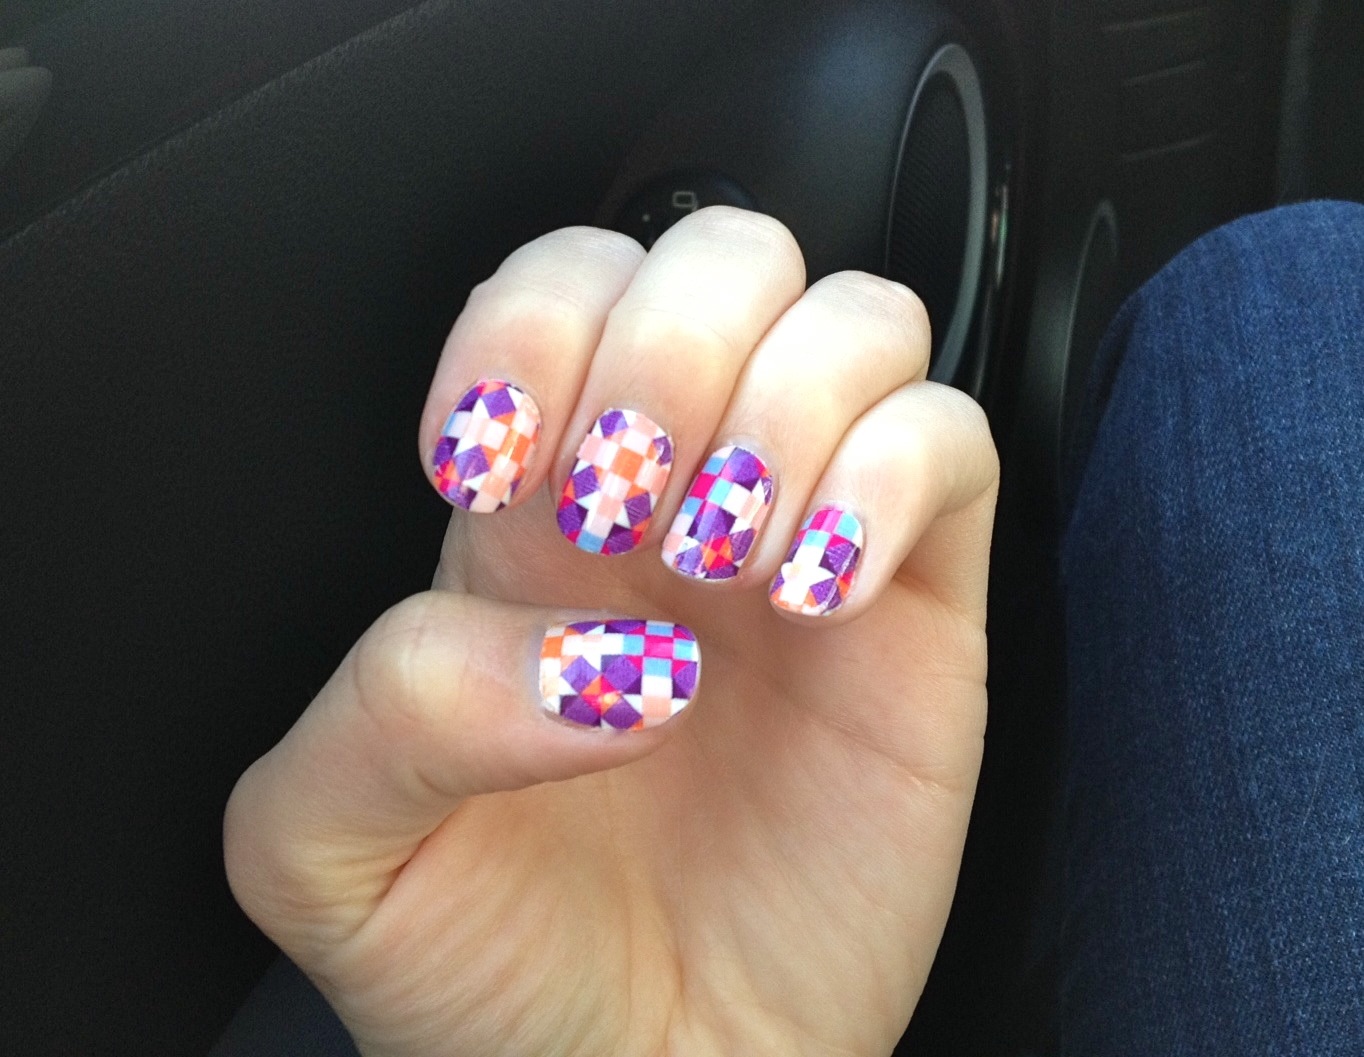
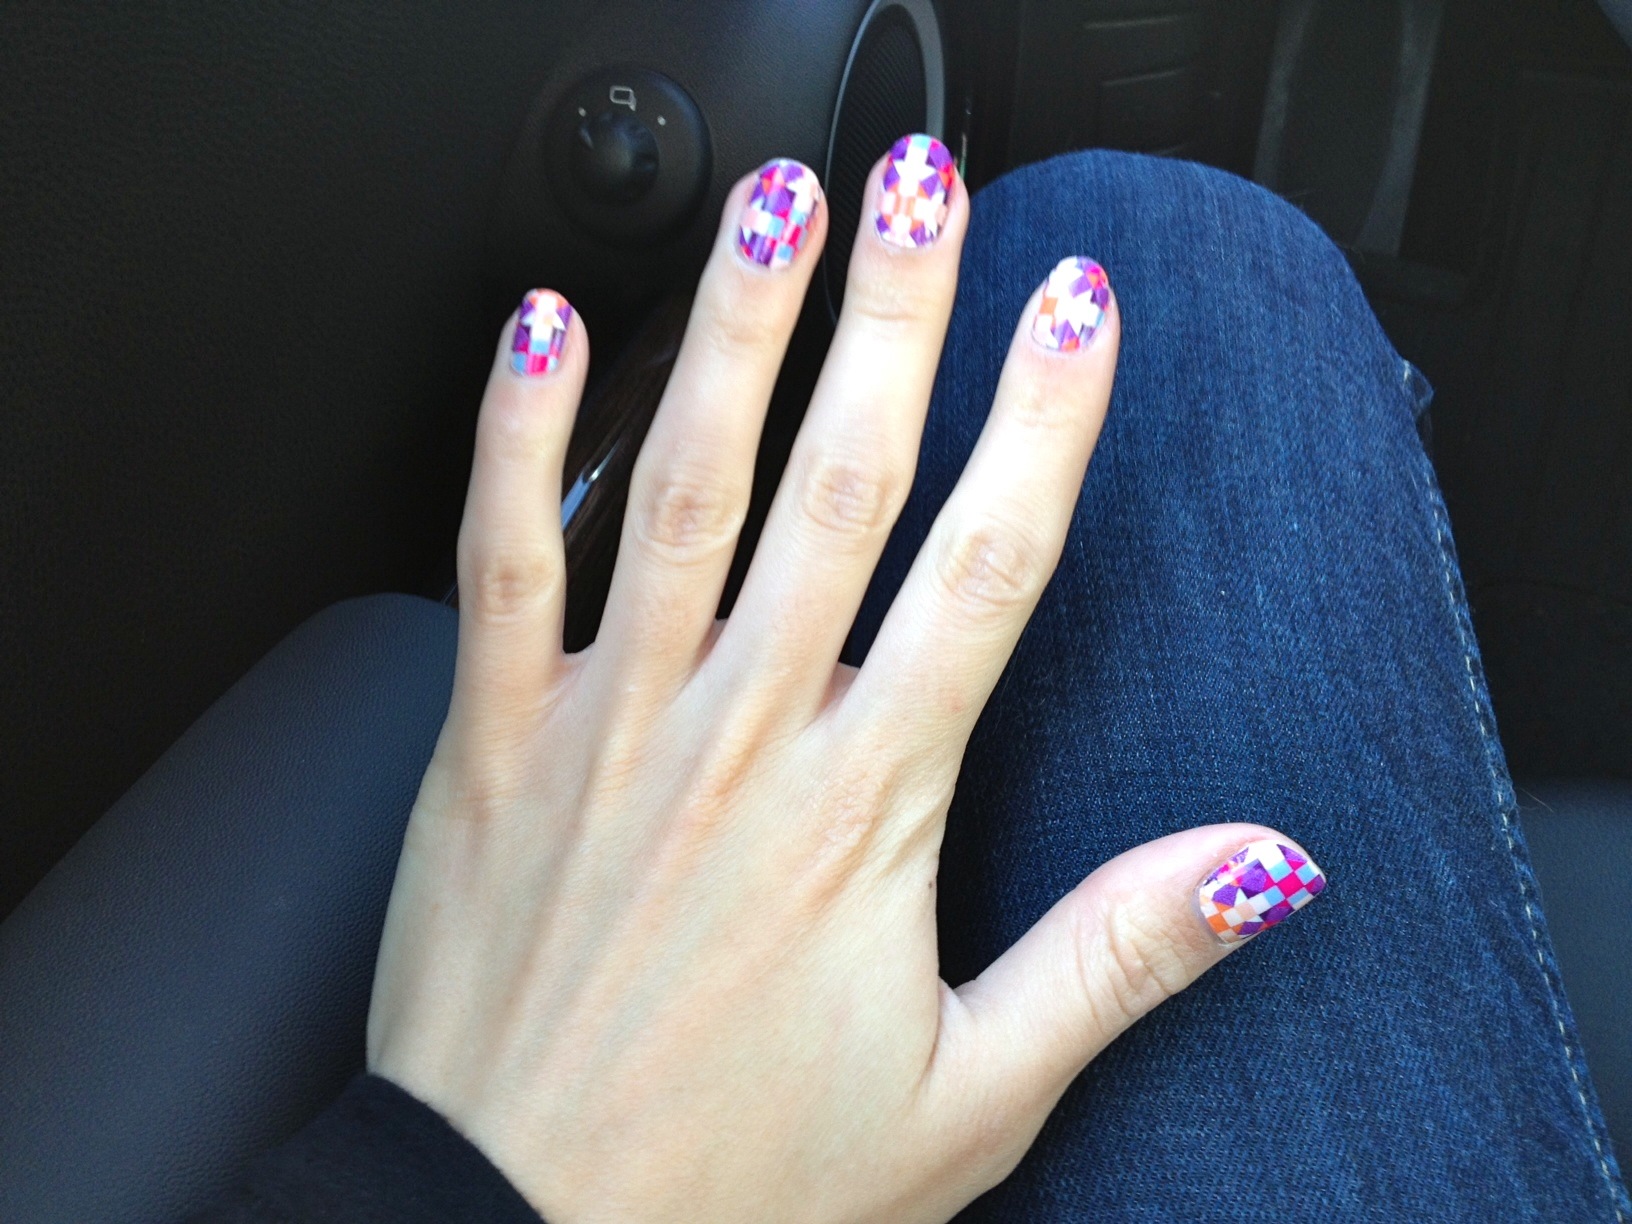
First up: Sally Hansen Salon Effects in "Mod About You." I love this product. Application is a breeze and the product stays put for days & days. (Unless you're my pal Montague, in which case your nails repel all things polish in 24 hours or less. I think she digs for potatoes or moonlights as a nocturnal lumberjack because her ability to chip polish is the stuff of legend.)

I was drawn to the pattern because I love SHAPES. Squares and circles are my favorite, and this had a little bit of both! The colors were great, too. Perfect for late spring / early summer, which is when I was wearing this, *cough cough.* But I'm going to go out on a limb here and say that I think this pattern and color palette is evergreen. I can see it working with any season.

arewesquare, Francesca

Bonus!

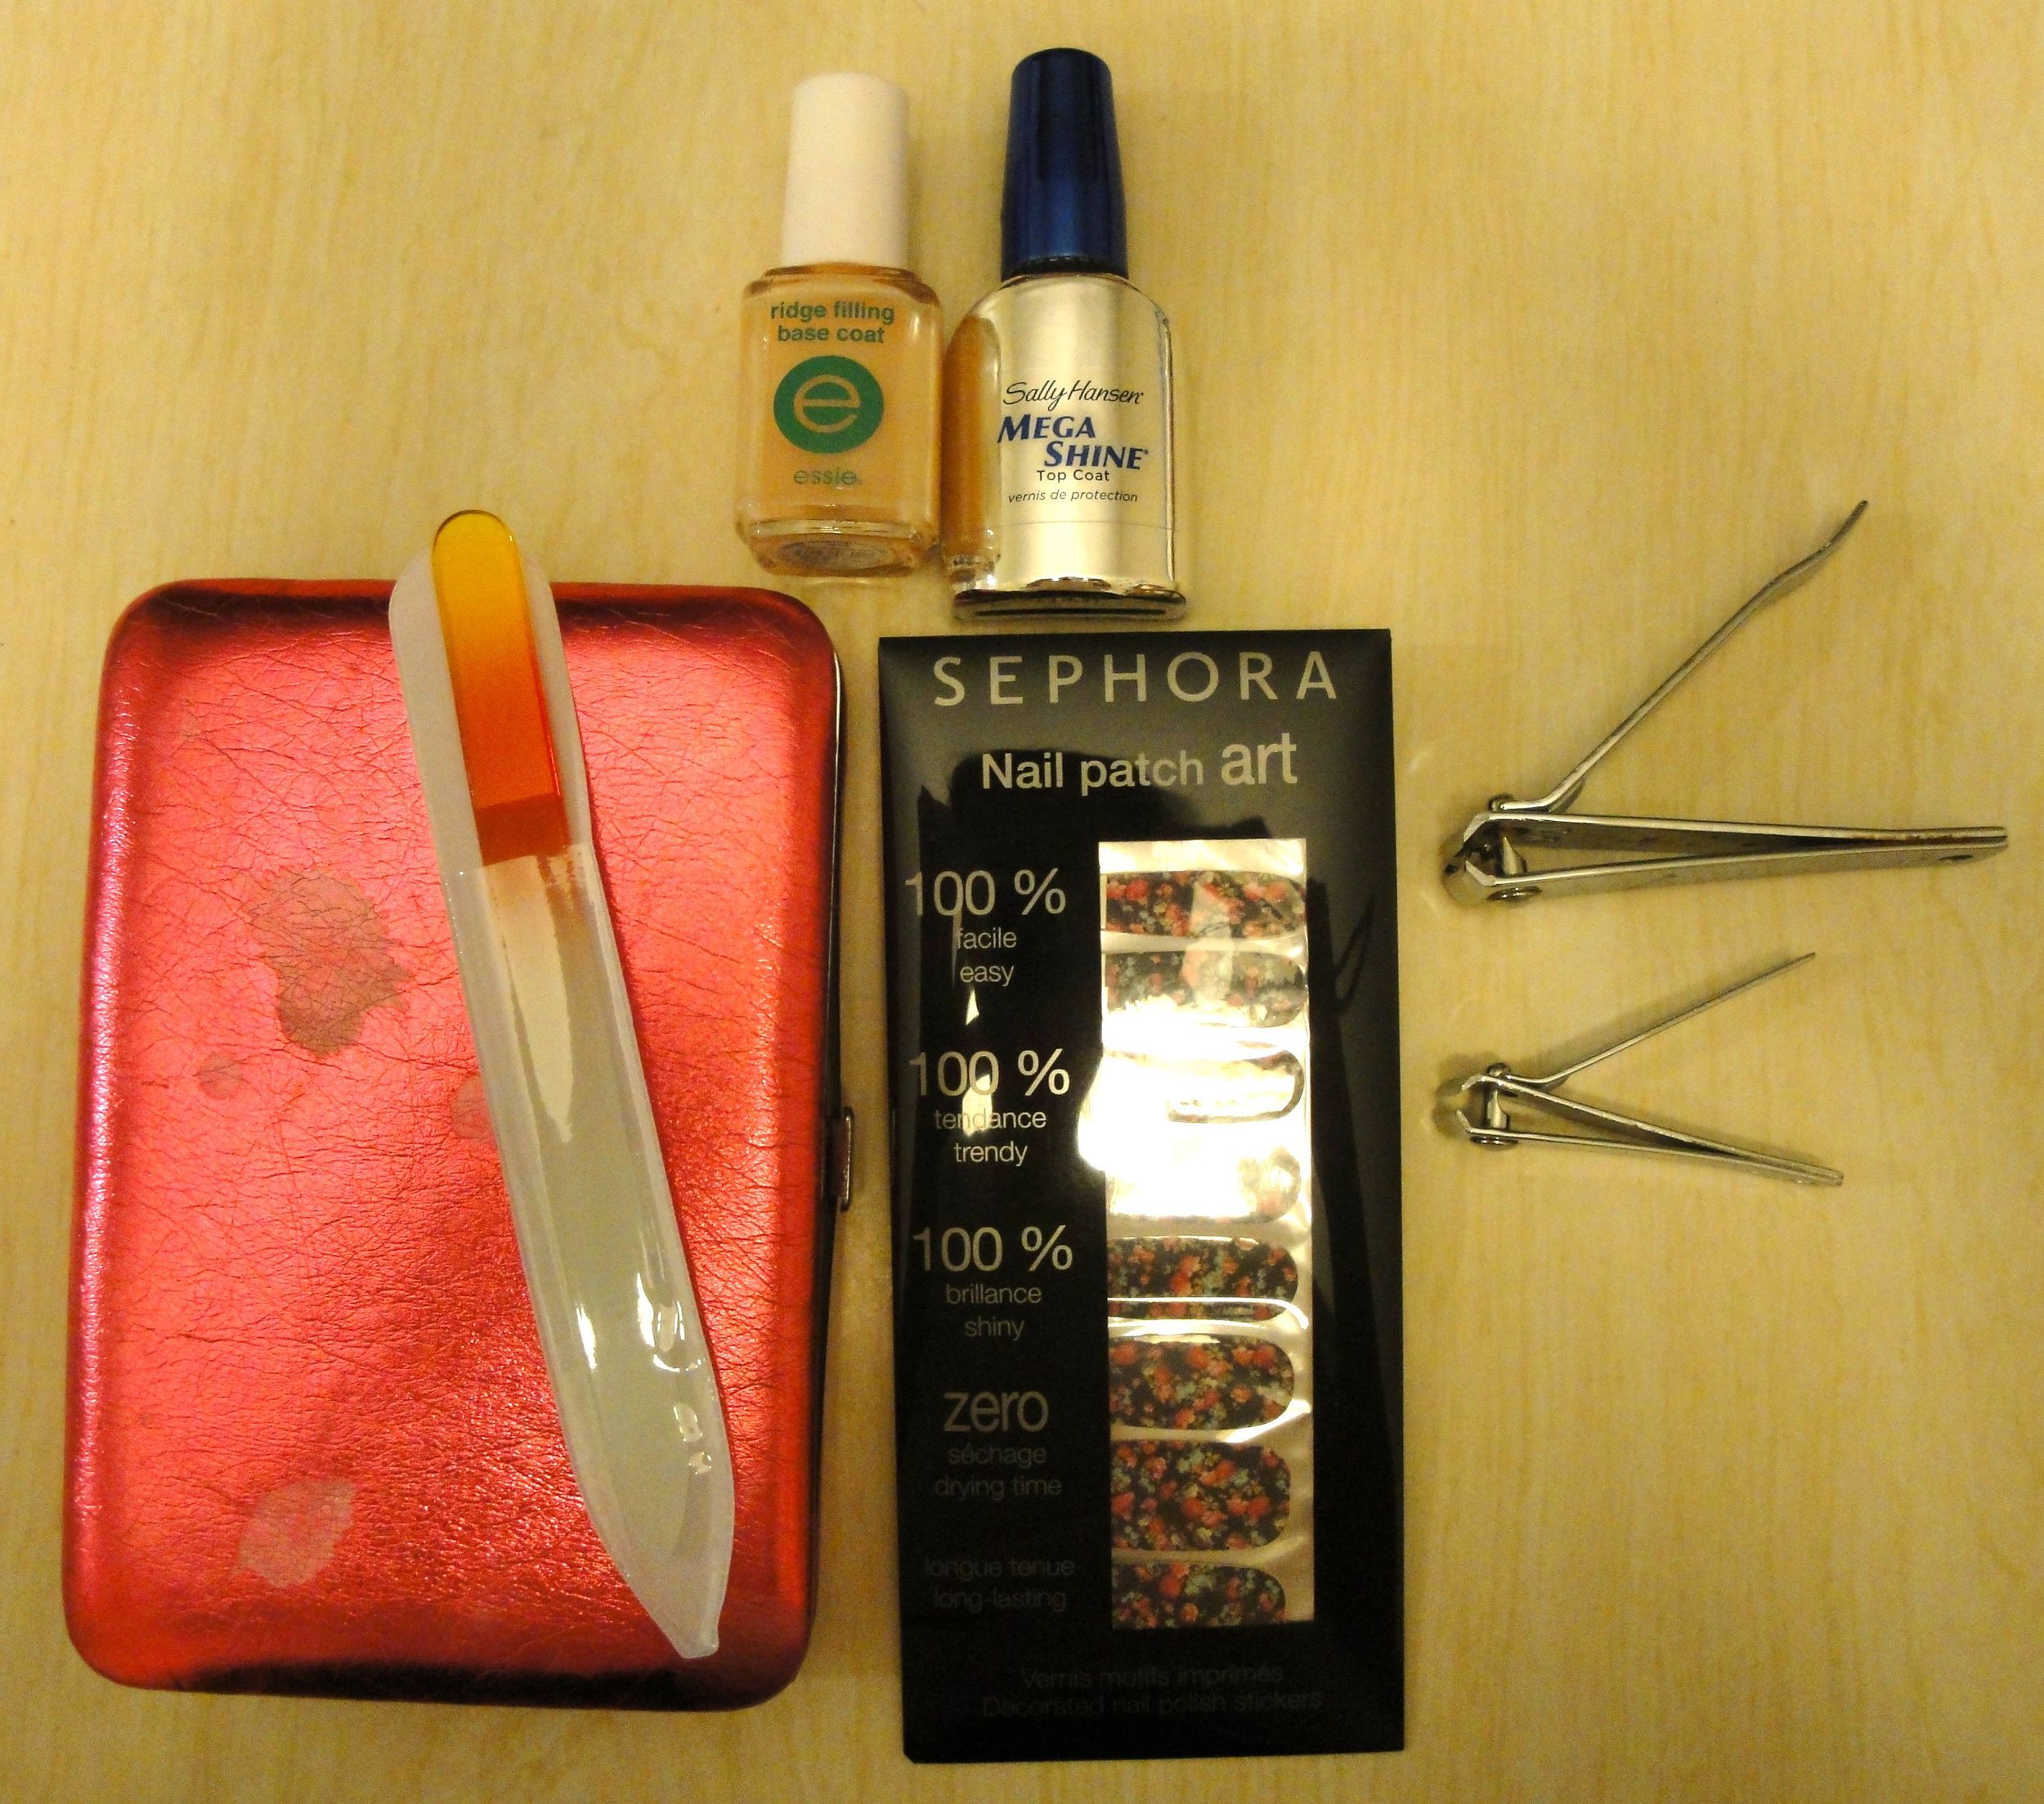
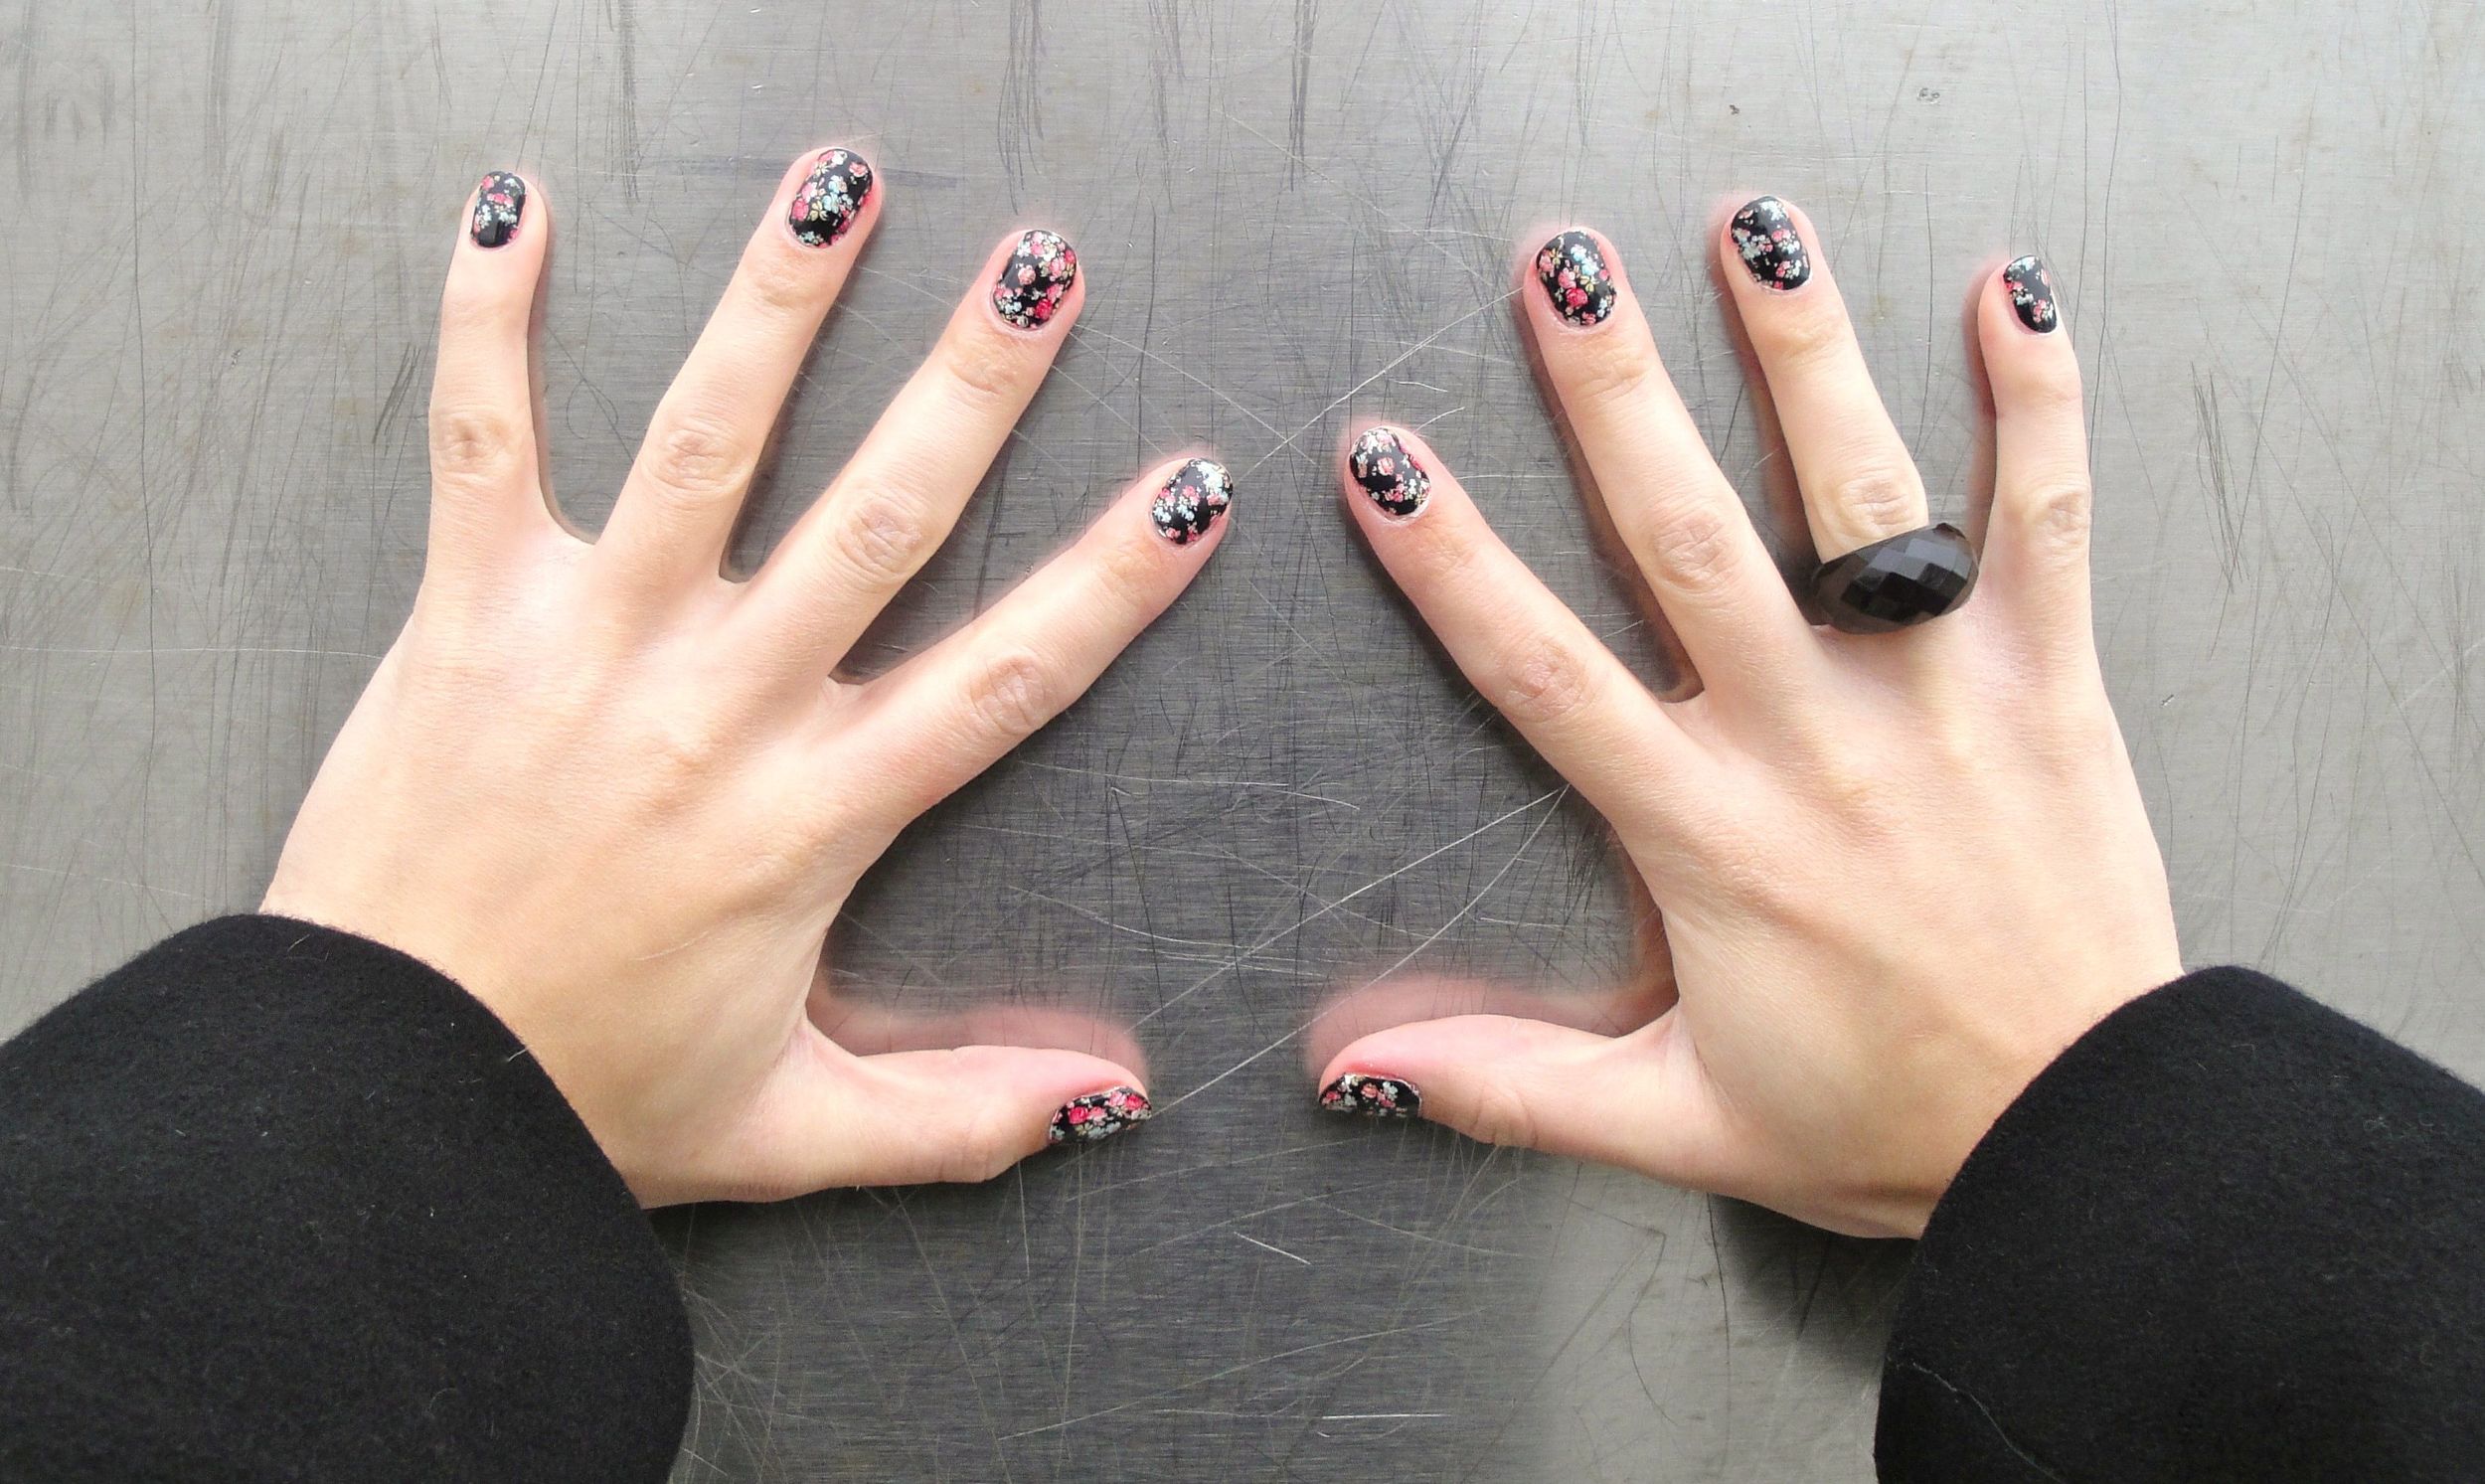
Sephora Collection Nail Patch Art — Chinese Blossom

Fact: Not all nail sticker / nail patch / nail applique products are created equal. Just check out my previous post on Chic Prints by OPI to see what I mean.

I've tried the Sally Hansen Salon Effects nail polish strips before and really, really loved them. That's why, when I was doing my annual self-indulgent birthday shopping spree at Sephora back in September, I had to try Sephora's version. What I immediately noticed was that the patterns were more fashion-forward than what Sally Hansen was offering. Oh, and also the price. Quite a bit more expen$ive. In the name of research, I succumbed.

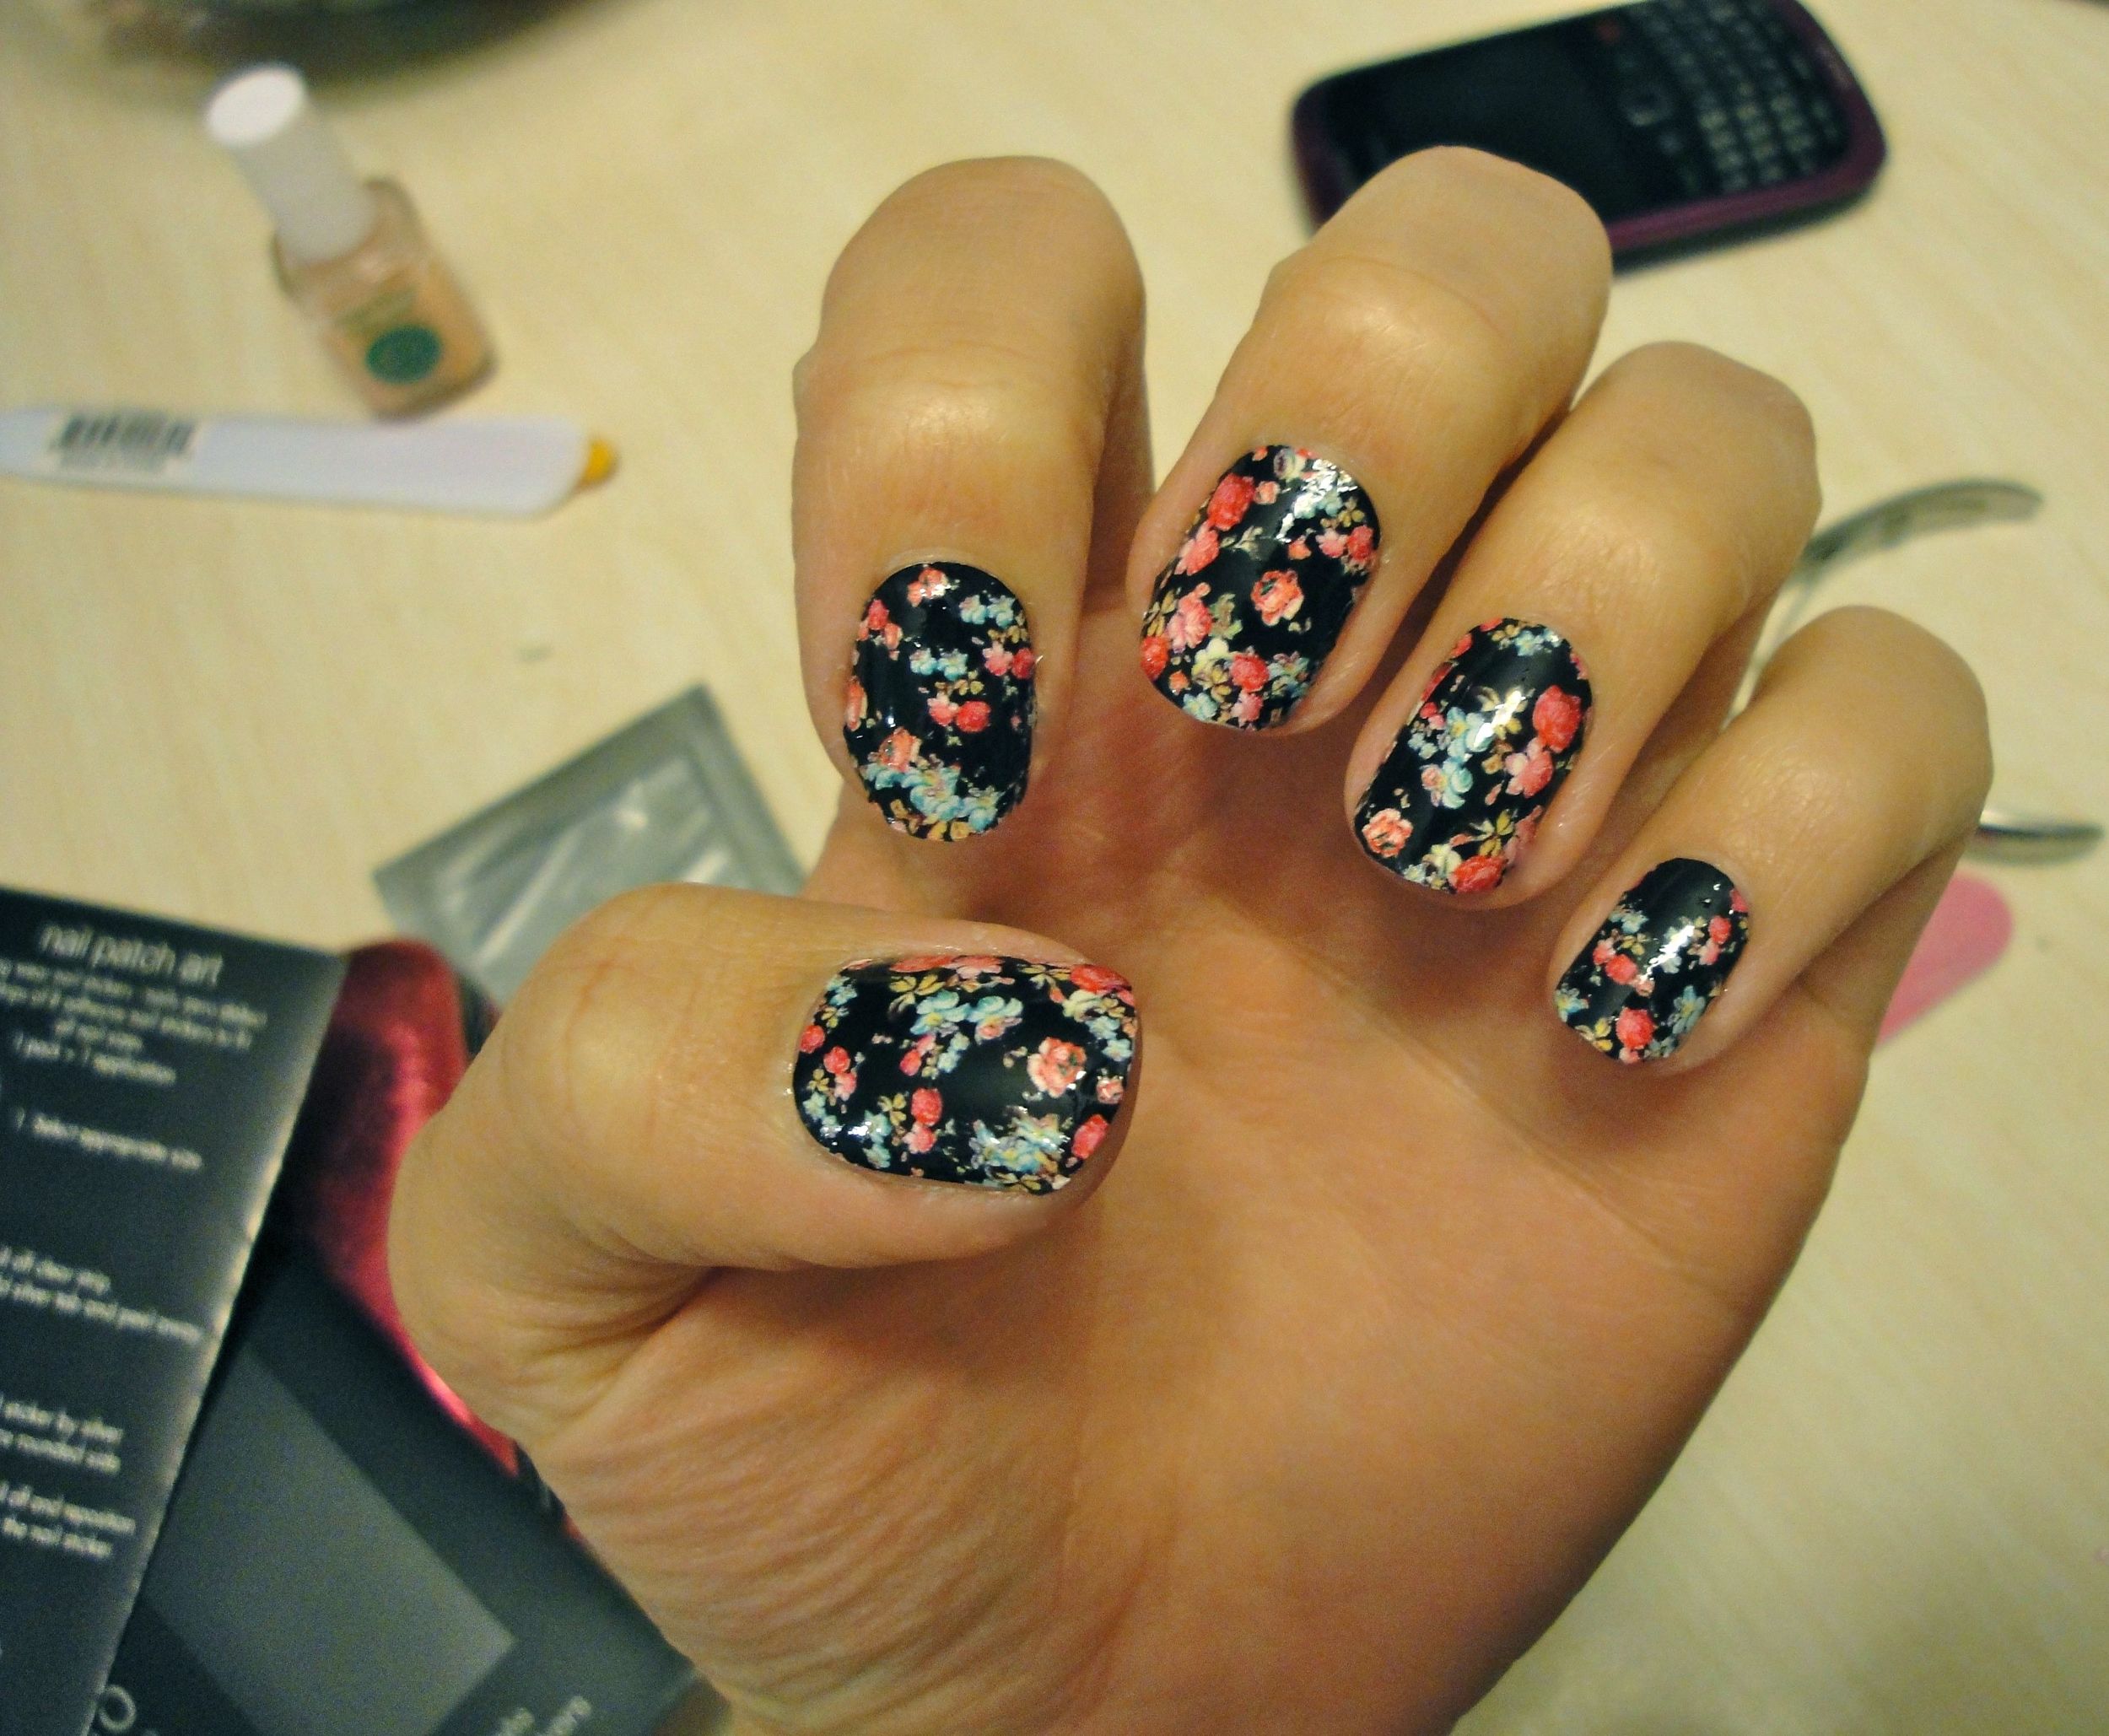
First of all, the pattern in real life is awesome. It's not pixilated at all; it looks like a work of art on your nails. Some called the print "wallpaper-like" but I think they meant that in the very best way possible. Ahem. I did get tons of compliments, for what it's worth!

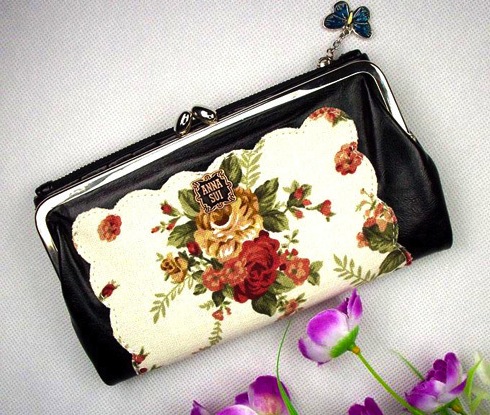
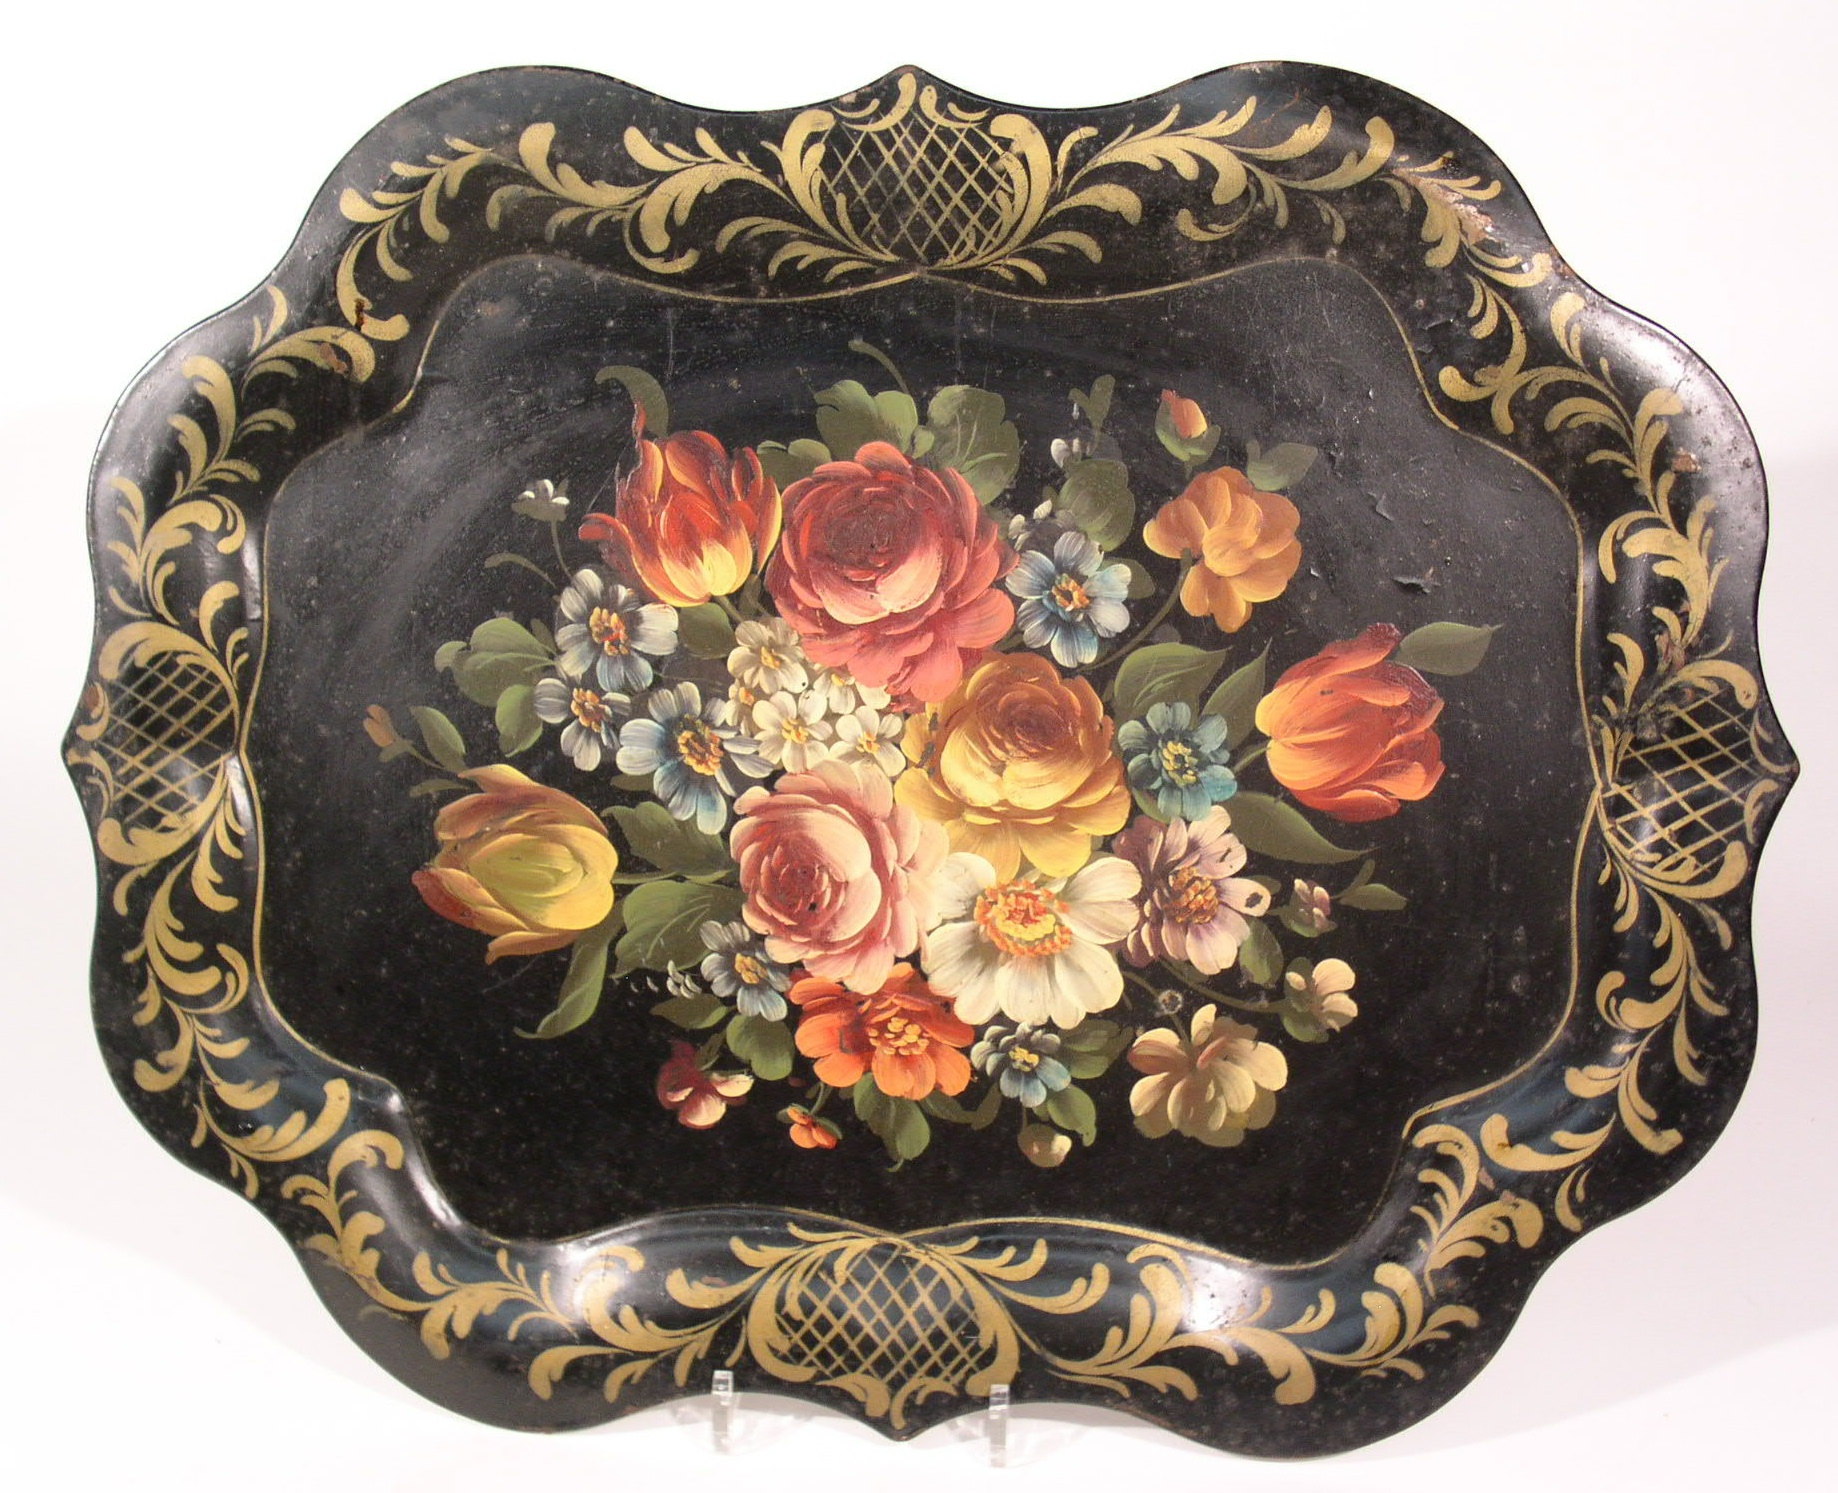
Despite the name "Chinese Blossom," the pattern did not strike me as overtly Asian. When I hear "chinese blossom," I think "cherry blossom," which are very distinctive flowers. Sephora's Chinese Blossom Nail Patch Art looks more Victorian to me. You be the judge!

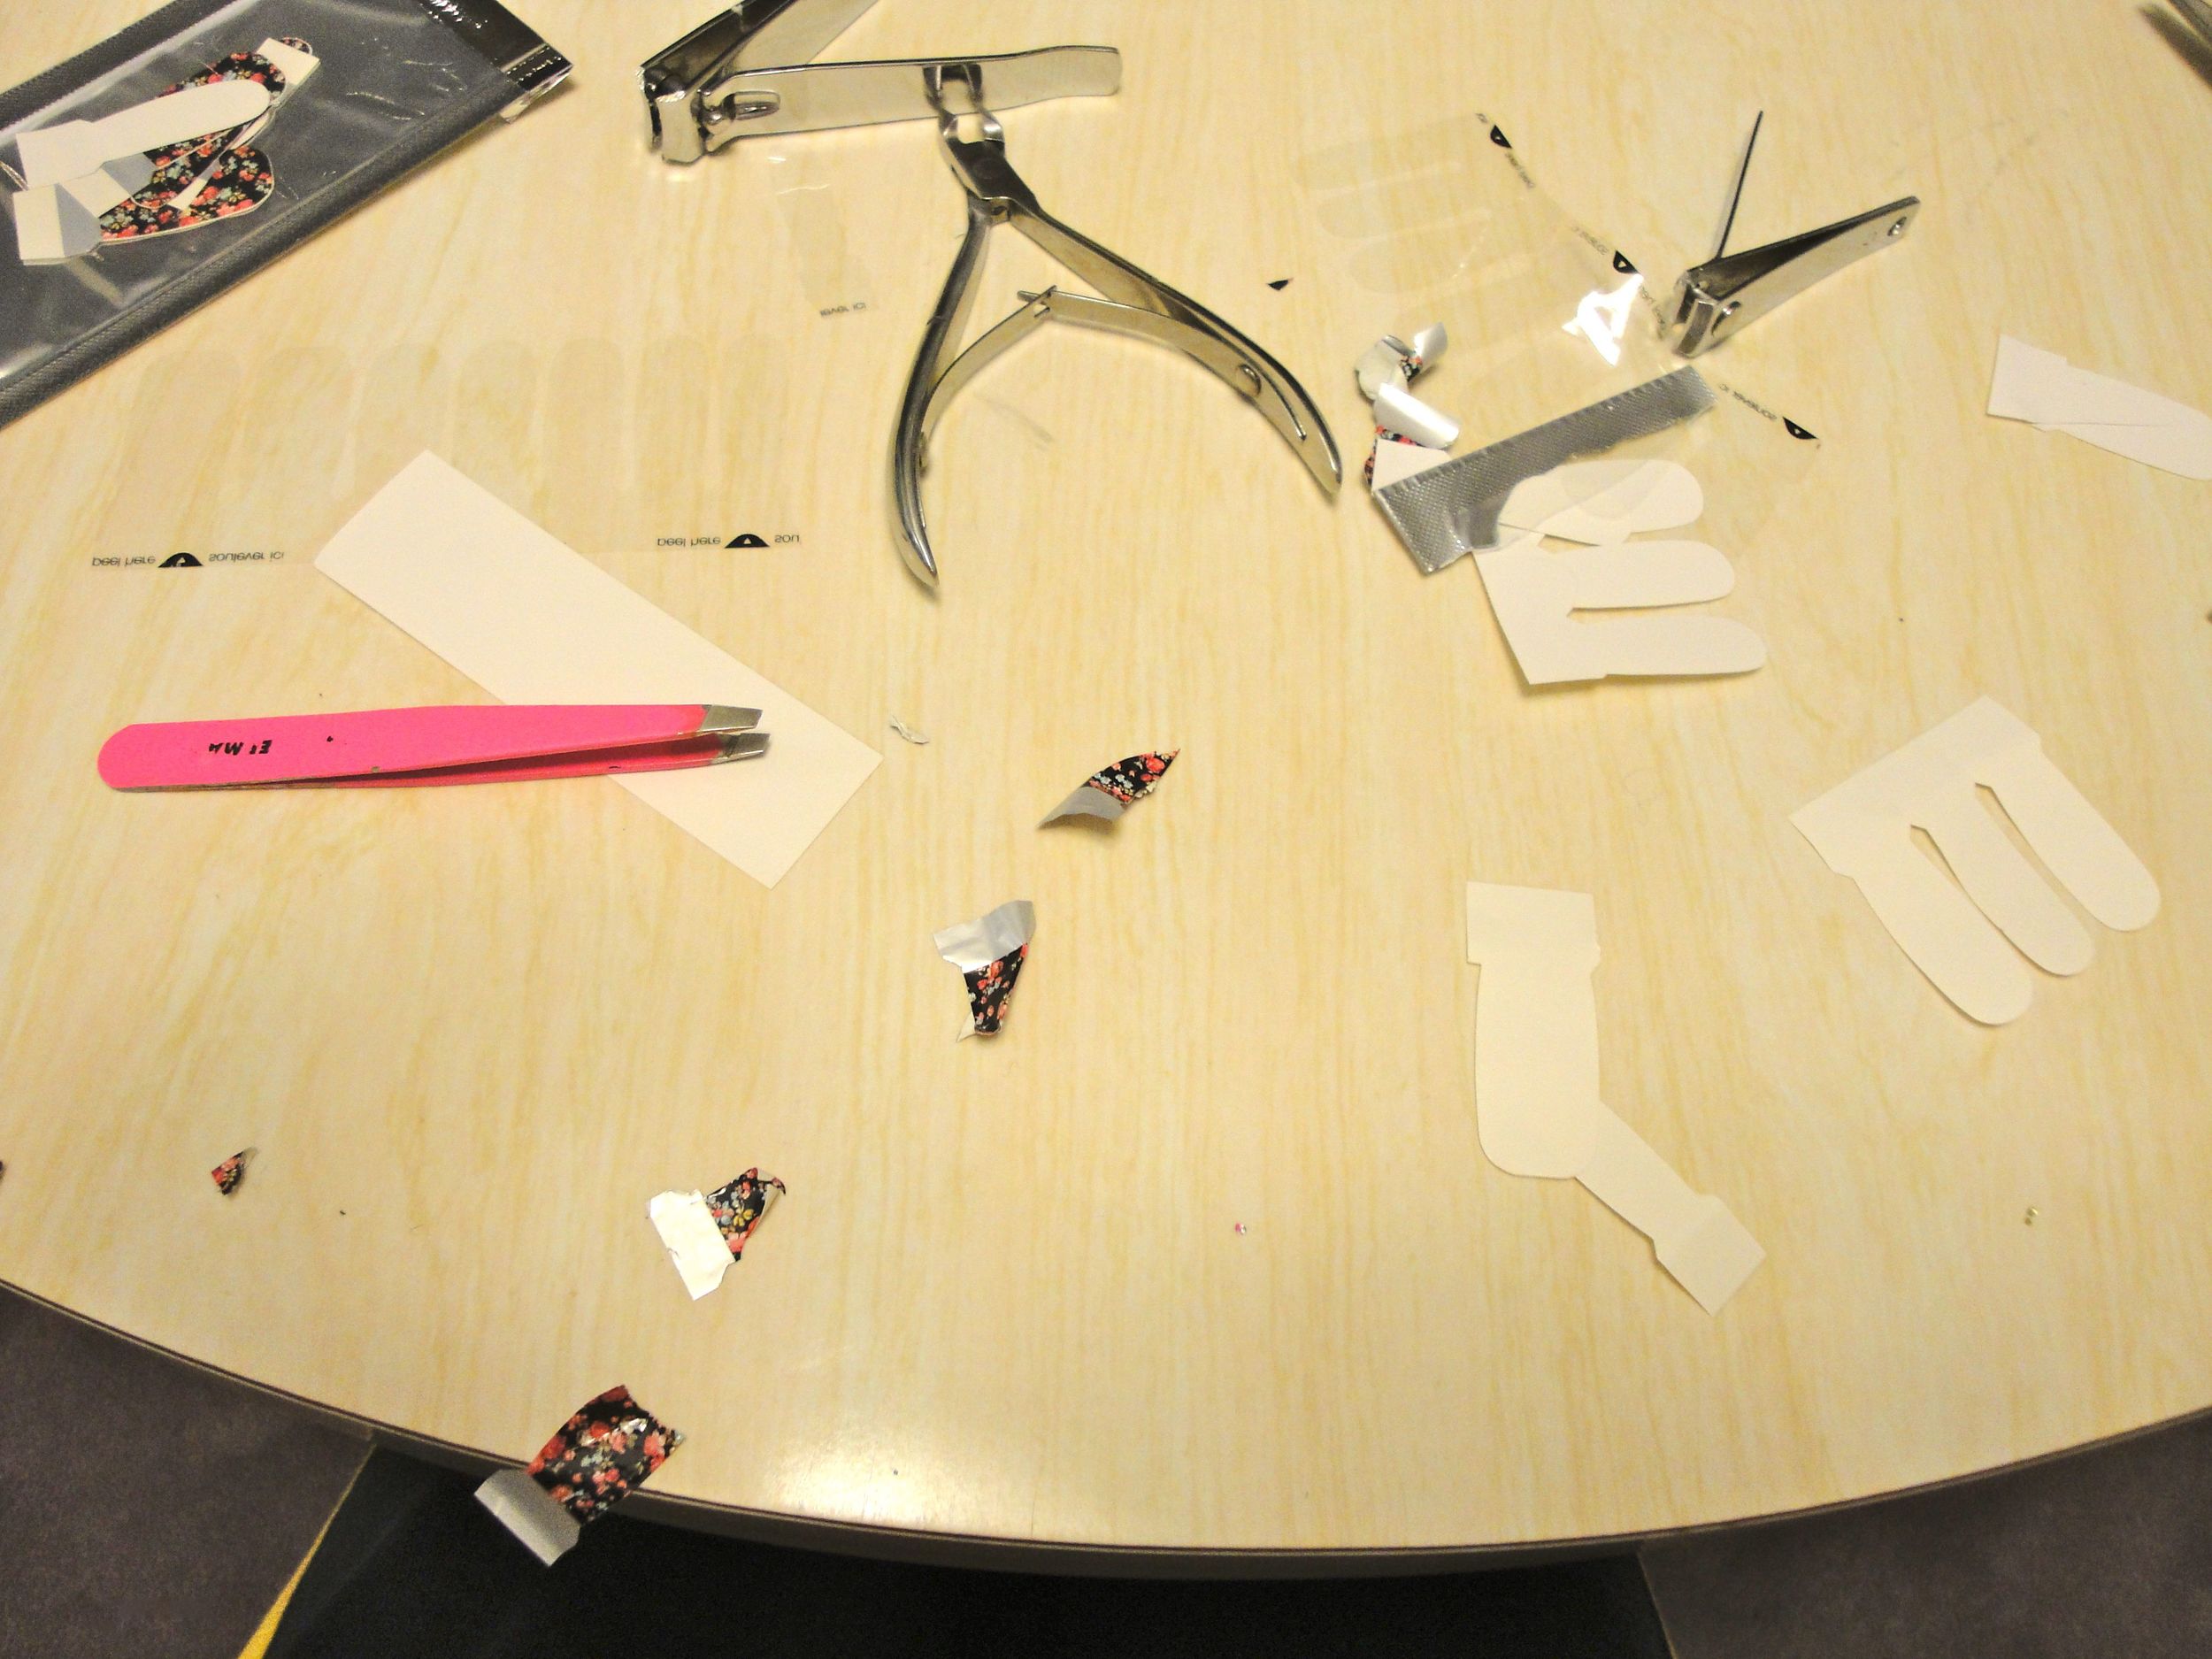
And now, some pictures of my experience.

And now onto the nitty gritty.

  • Application — Relatively easy.
      • These seemed slightly thicker than the Sally Hansen Salon Effects, so they weren't as flexible and easy to stretch. A friend of mine recommended blasting each strip with a hair dryer for a few seconds to warm it up, and then it'll be more pliable. (Thanks for the tip, Kelsey!)
  • Shapes & Shaping — Not too good, not that bad.
      • The sizing seemed a little off on these. I think Sally Hansen offers a better array of pre-cut sizes. I found myself making Franken-nails by creating thin strips out of the excess of the patches I'd already applied, so that I could literally "fill the gap" on the sides of a few nails. With a busy pattern like this, it wasn't too noticeable. Still a bit of a hassle, though.
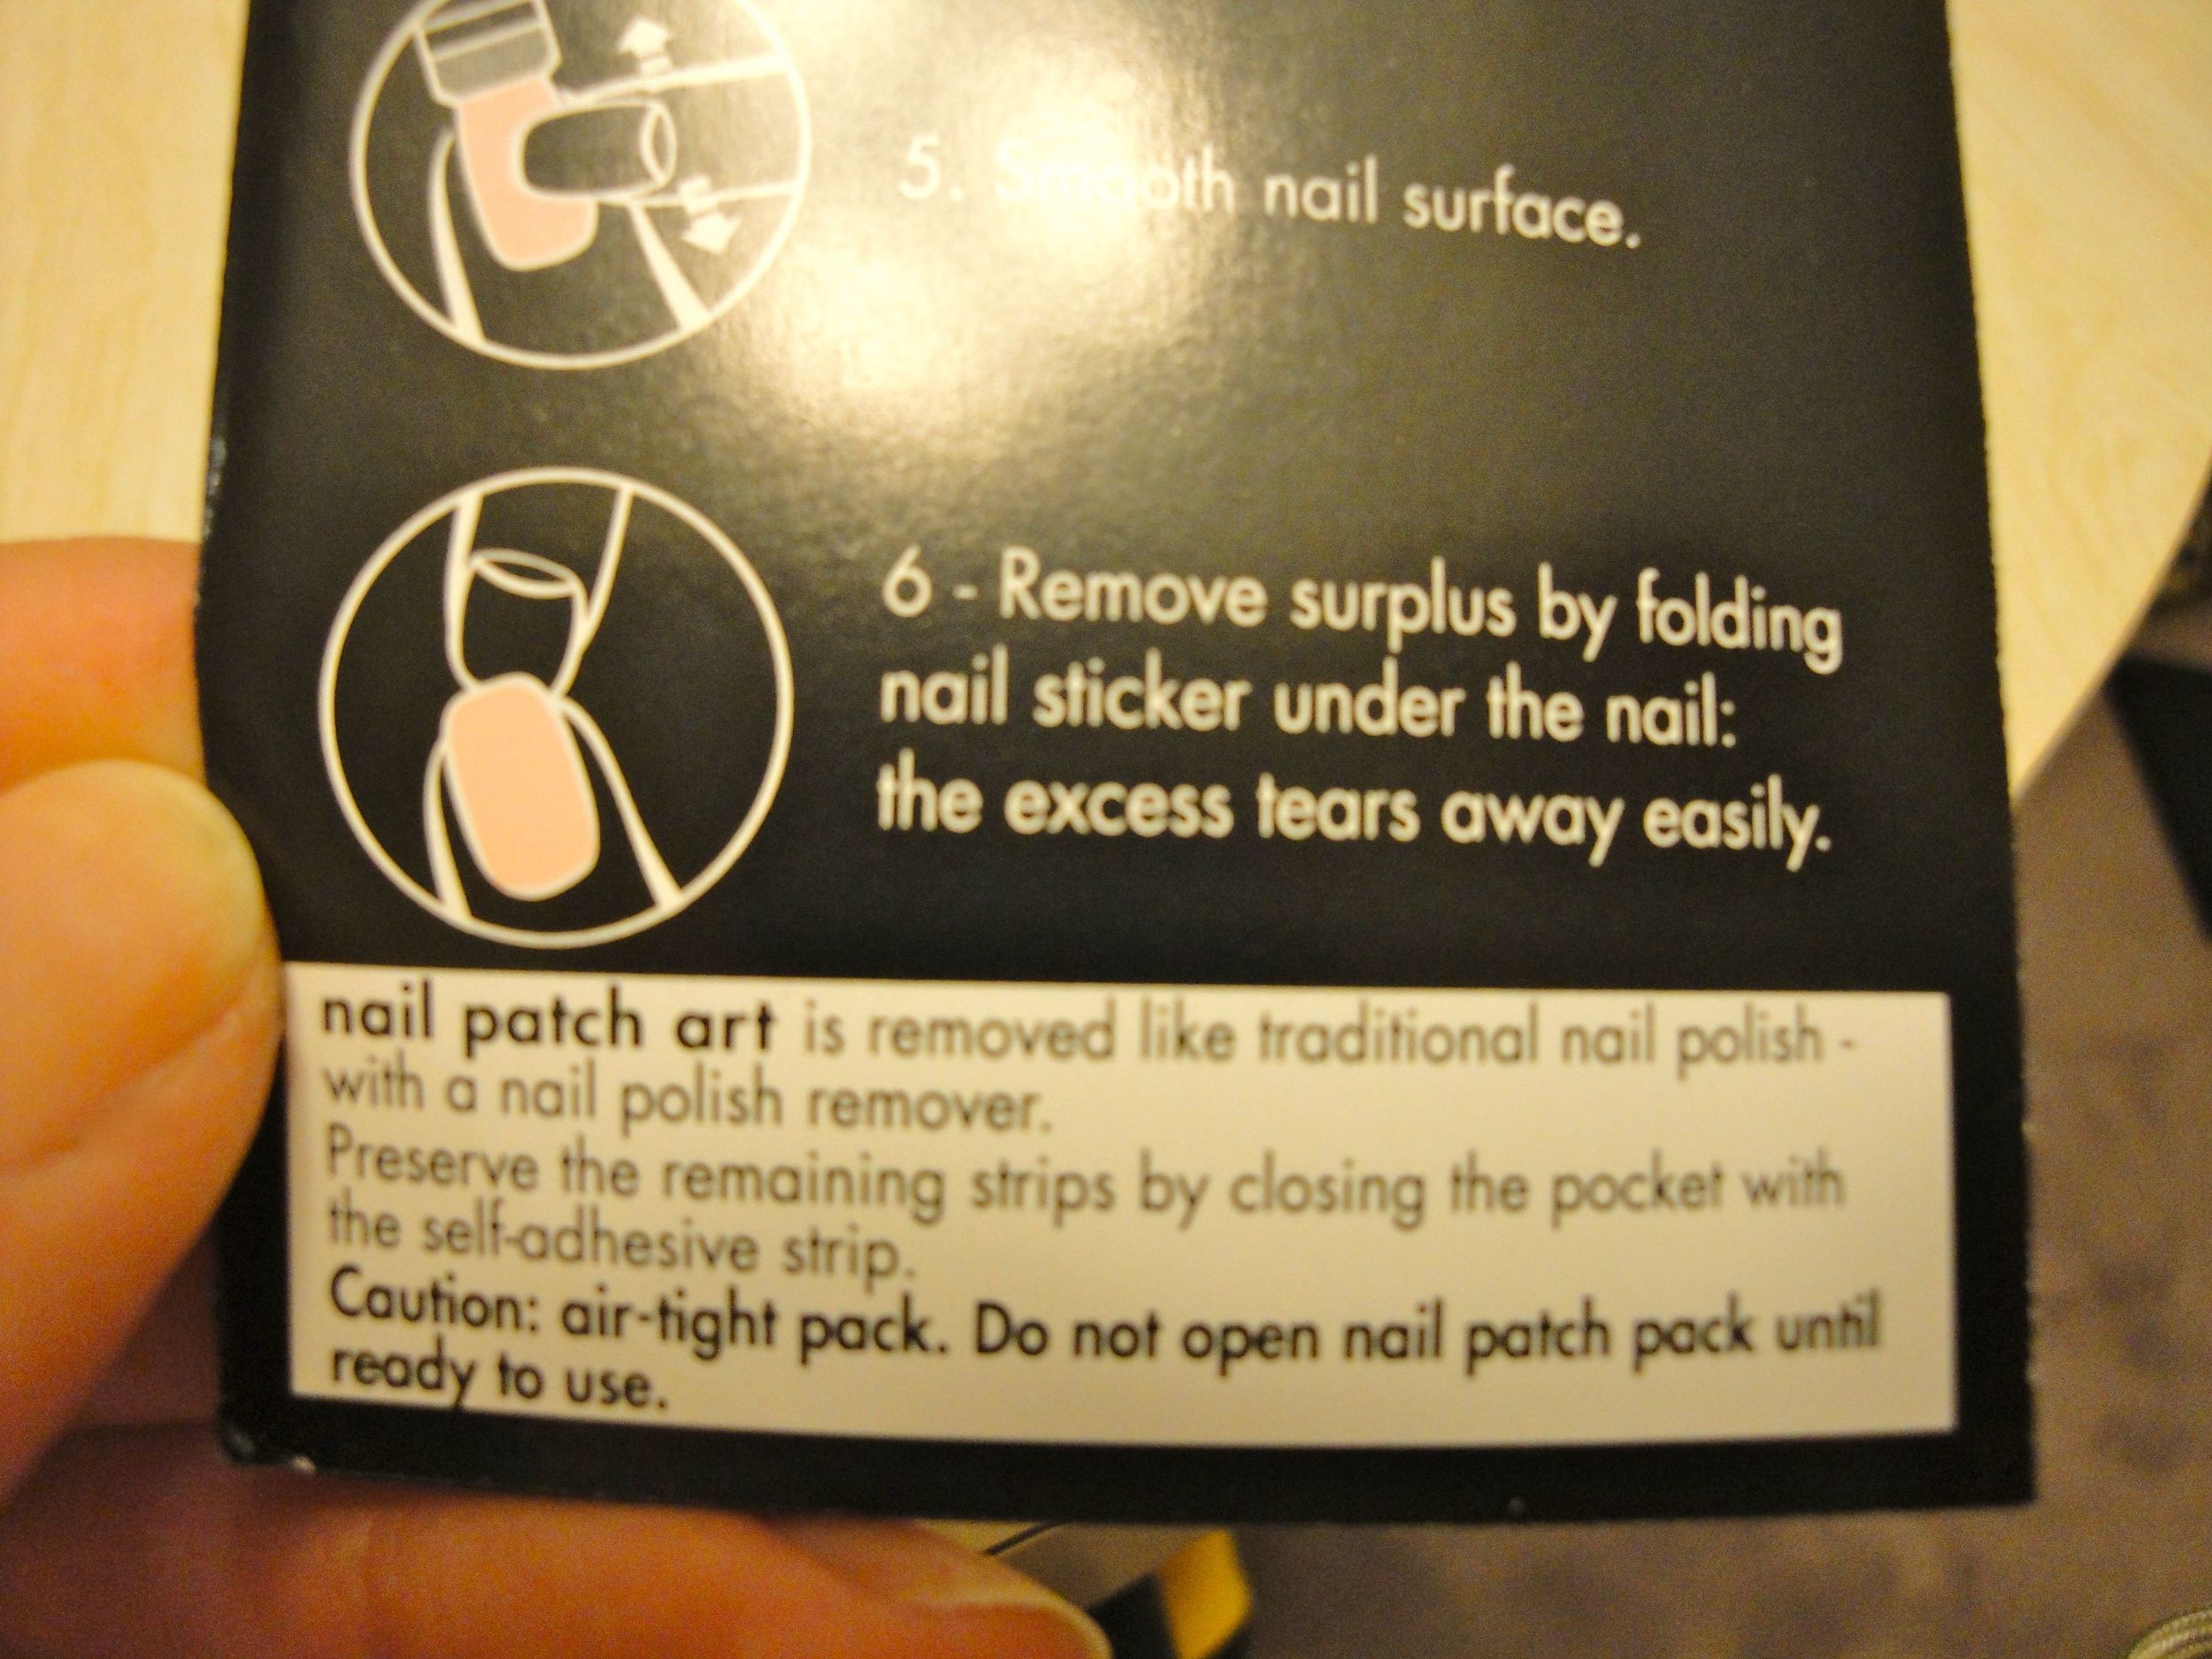
      • The shaping of the nails was a little troublesome, too. The directions read, "Remove surplus by folding nail sticker under the nail: the excess tears away easily." But it's just not that easy. I ended up using nail clippers to trim away the overhang of the patch, so there was no extra material and it lined up exactly with my already-filed nail. Then I gently filed & smoothed away any weird angles...
  • To Top Coat or Not to Top Coat? — Oh, you know it. But beware.
      • I love a glossy finish. I used a top coat when I tried out the Check It Out (houndstooth) Sally Hansen Salon Effects, and it took the look to a whole new level. When I used a top coat on the Girl Flower Sally Hansens, it ate away the pattern a little bit and turned what were once bright flowers into a pastel bouquet. I knew I was playing with fire when I decided to add a top coat to these Sephora Nail Patches.
      • But I did it anyway, and I payed the price. The top coat shrunk my perfectly trimmed patches, leaving a thin white line (my real nail) at the tips. Grrr.
  • S.O.S. (N.P.A)!! — In case of emergency!
      • This called for an emergency tactic. I used my trusty Sally Hansen Black Heart and carefully sealed the tips of my nails, covering the exposed white. The black polish blended perfectly with the black background of the pattern. Problem solved!
  • Wear & Tear — Typical for a nail polish sticker.
      • I wore these for a week with minimal chipping. Keep in mind, these were my Thanksgiving Nailz, so I was helping out with lots of cooking & cleaning. They began to get little chips on the seventh day, but considering what they'd been through, I was impressed.
      • The one thing that drives me crazy — and this is an issue with nail polish strips / stickers in general, not specifically Sephora's — is that you quickly develop a "ridge" between the top of the patch and your cuticle as soon as your nails begin to grow. And what's worse than looking at that ever-growing space? Washing your hair and feeling individual strands get stuck in (or worse, UNDER the) ridge. It's... eugh, omg, I can't even talk about it. Chills. Chills down my spine. Gah.
  • Recommend? I think so.
      • I would advise using the Sally Hansen Salon Effects nail polish strips if it's your first time, since they're easier to use, have more of an assortment of sizes, and are less expensive. I'll stick with Sally Hansen for my nail polish strip needs... unless Sephora comes out with a new, gorgeous pattern like Chinese Blossom that I can't get anywhere else, in which case, game on.
      • BONUS! The package is genius in that Sephora provides a piece of magic silver tape so that you can reseal your leftovers! One of the biggest bummers about the Sally Hansen Salon Effects is that it feels like such a waste; you throw so many away! I am sure the sooner you use the Sephora strips you're able to save, the better, but it was still a nice gesture of them to provide some way to at least tryto entertain the possibility of using them up completely.

xxo, GLOSS

P.S. I was in St. Louis for Thanksgiving, hence the pic of the Gateway Arch. Livin' large!