There Ain't No Party Like a Nail Polish Party

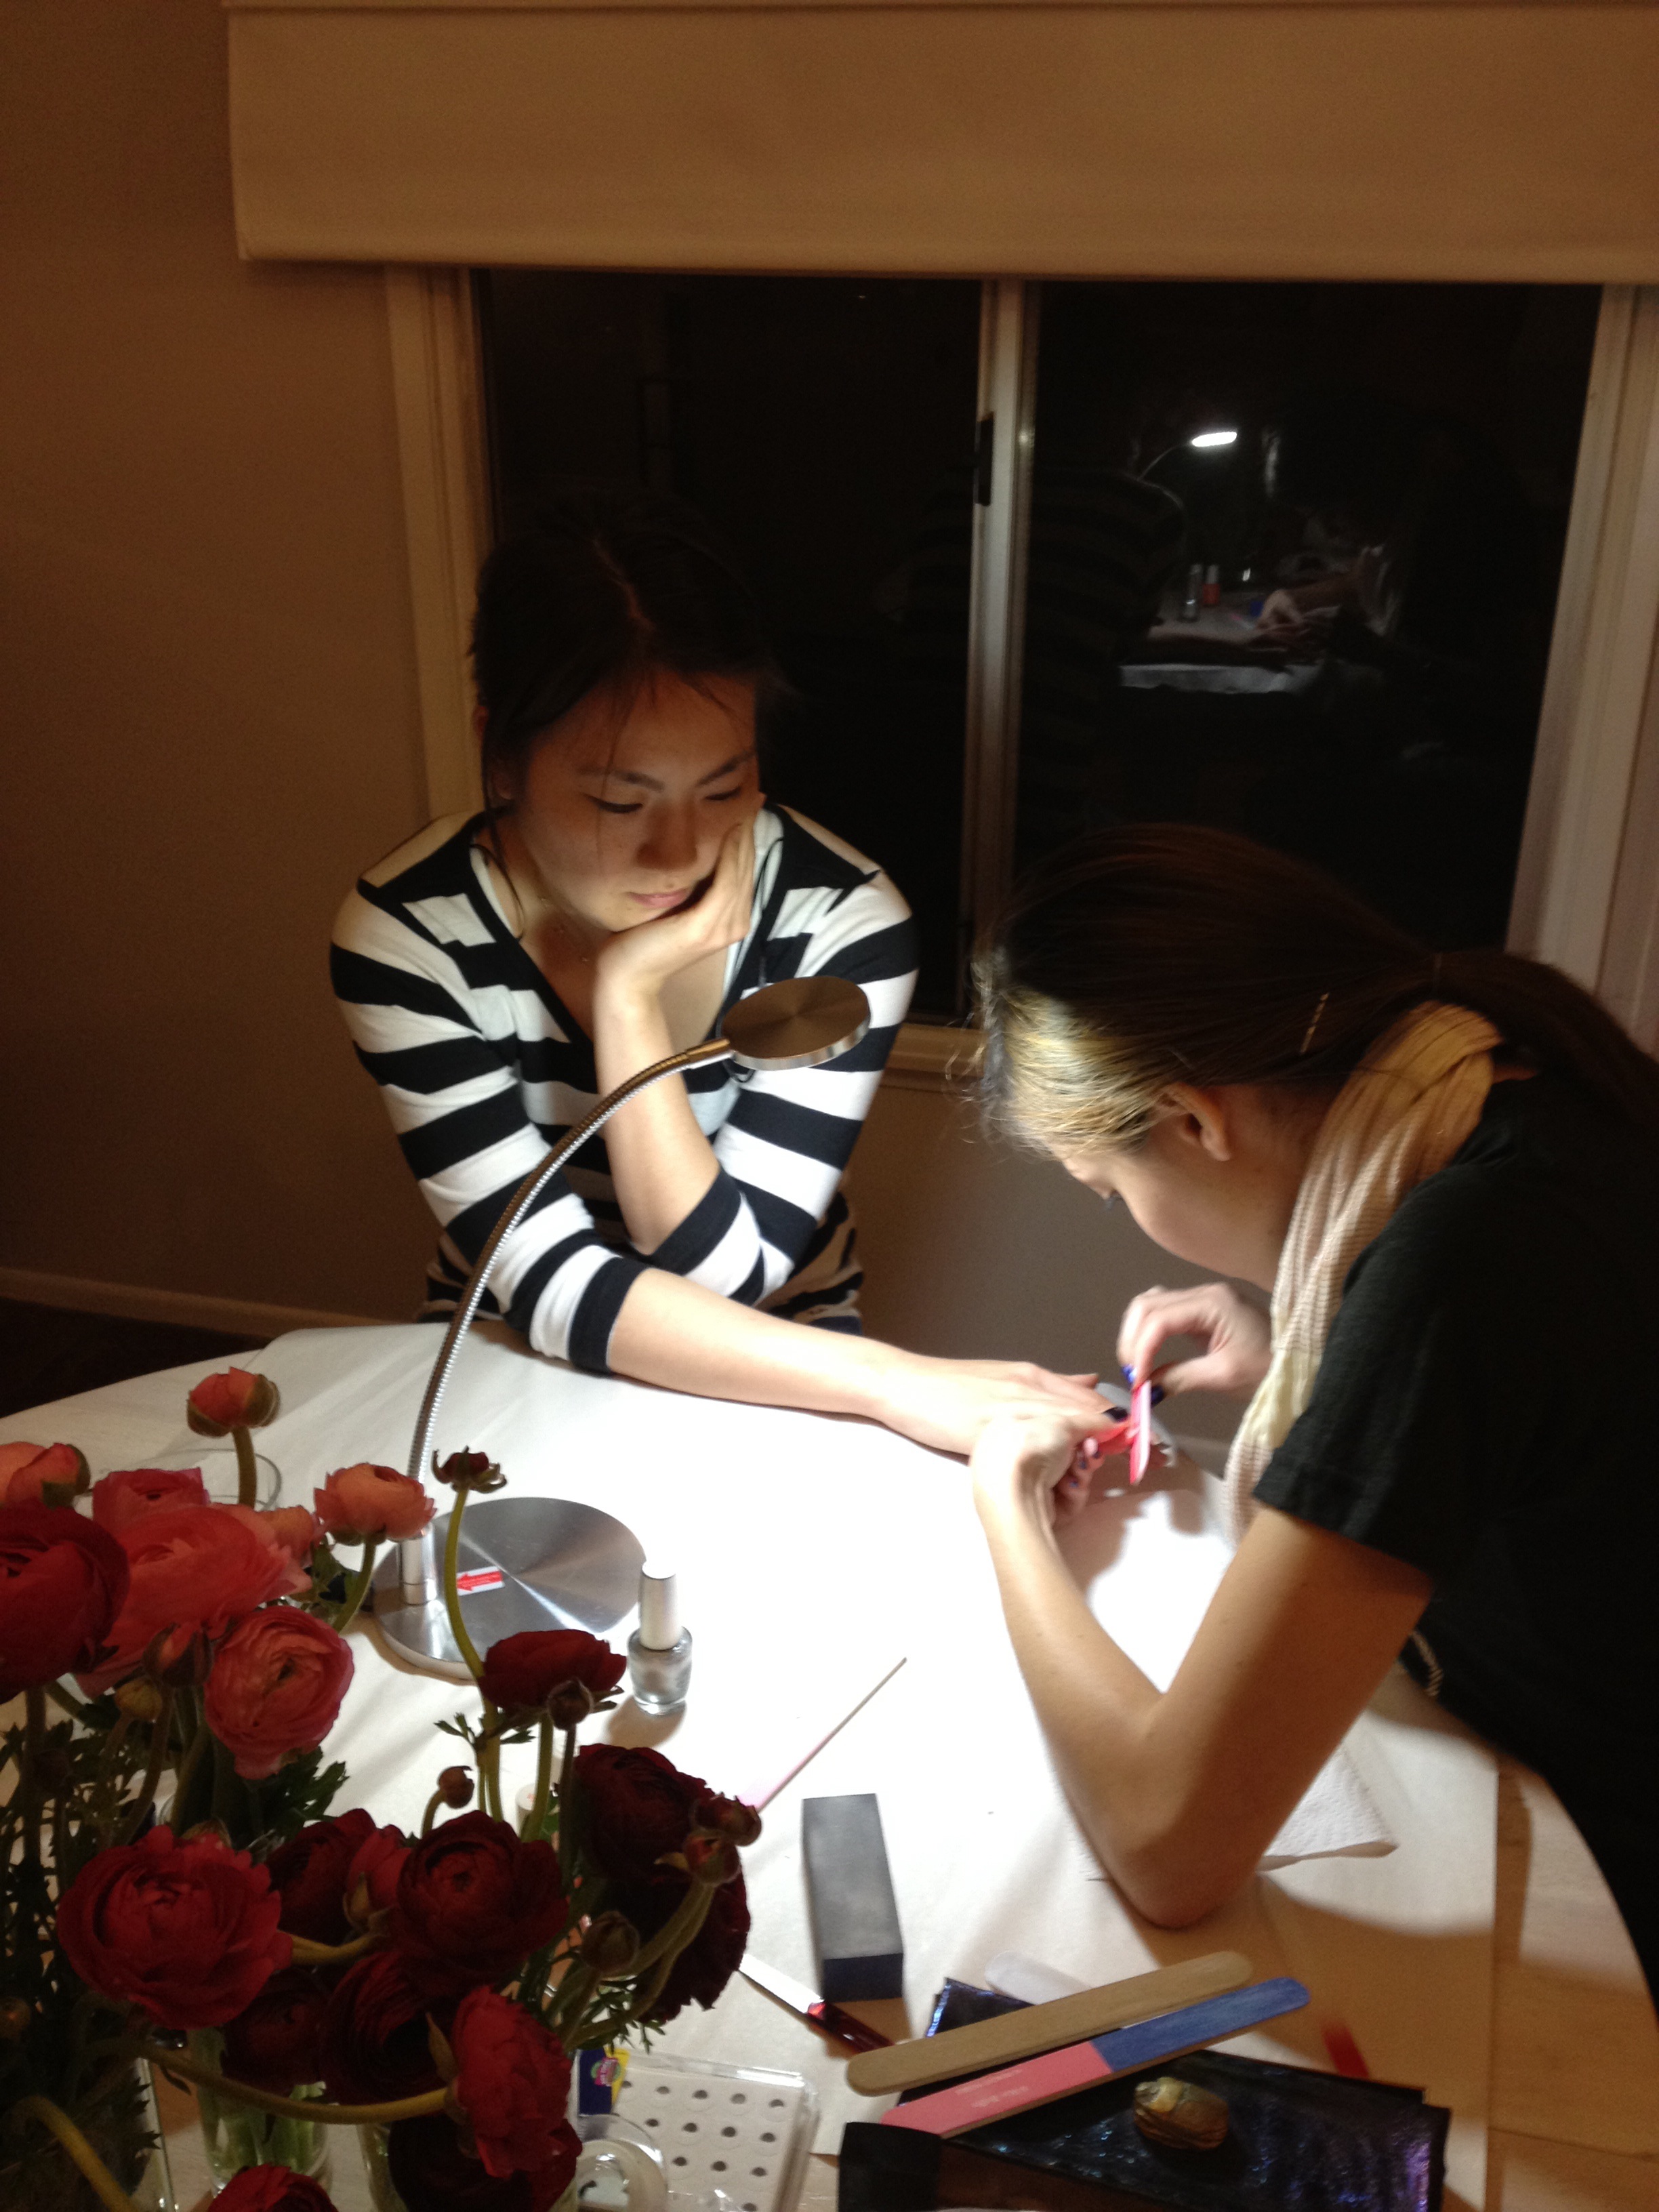
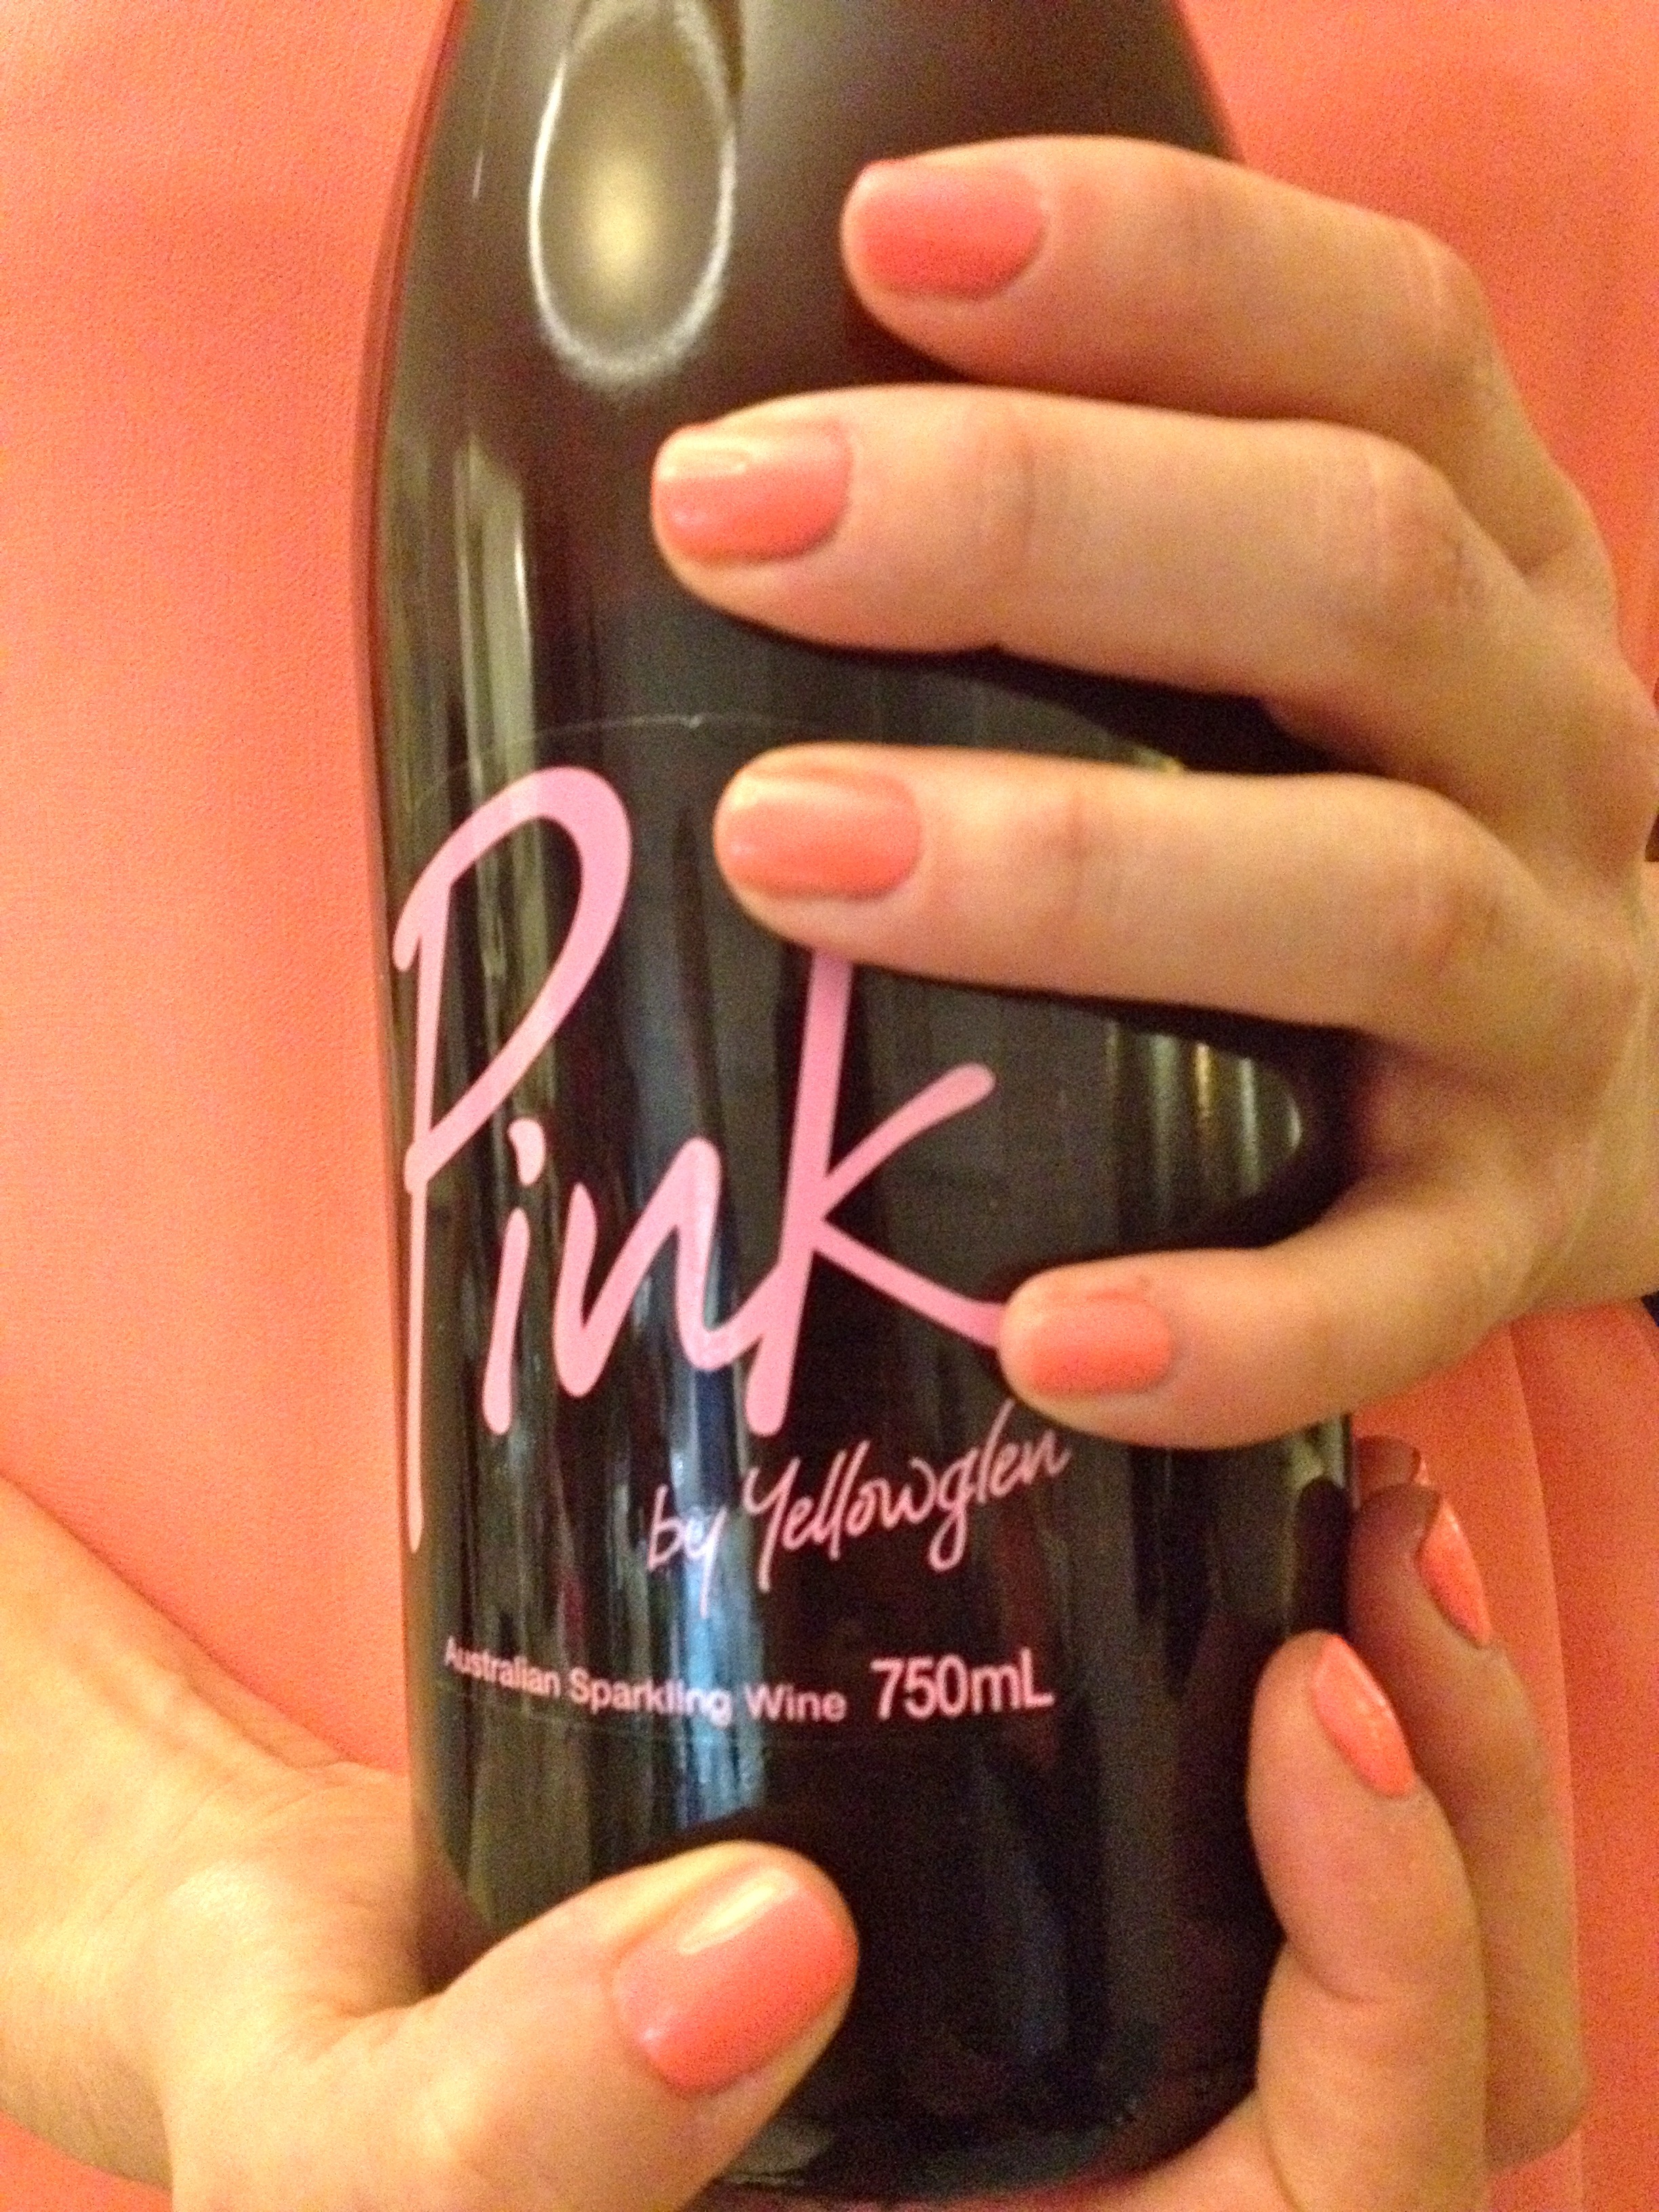
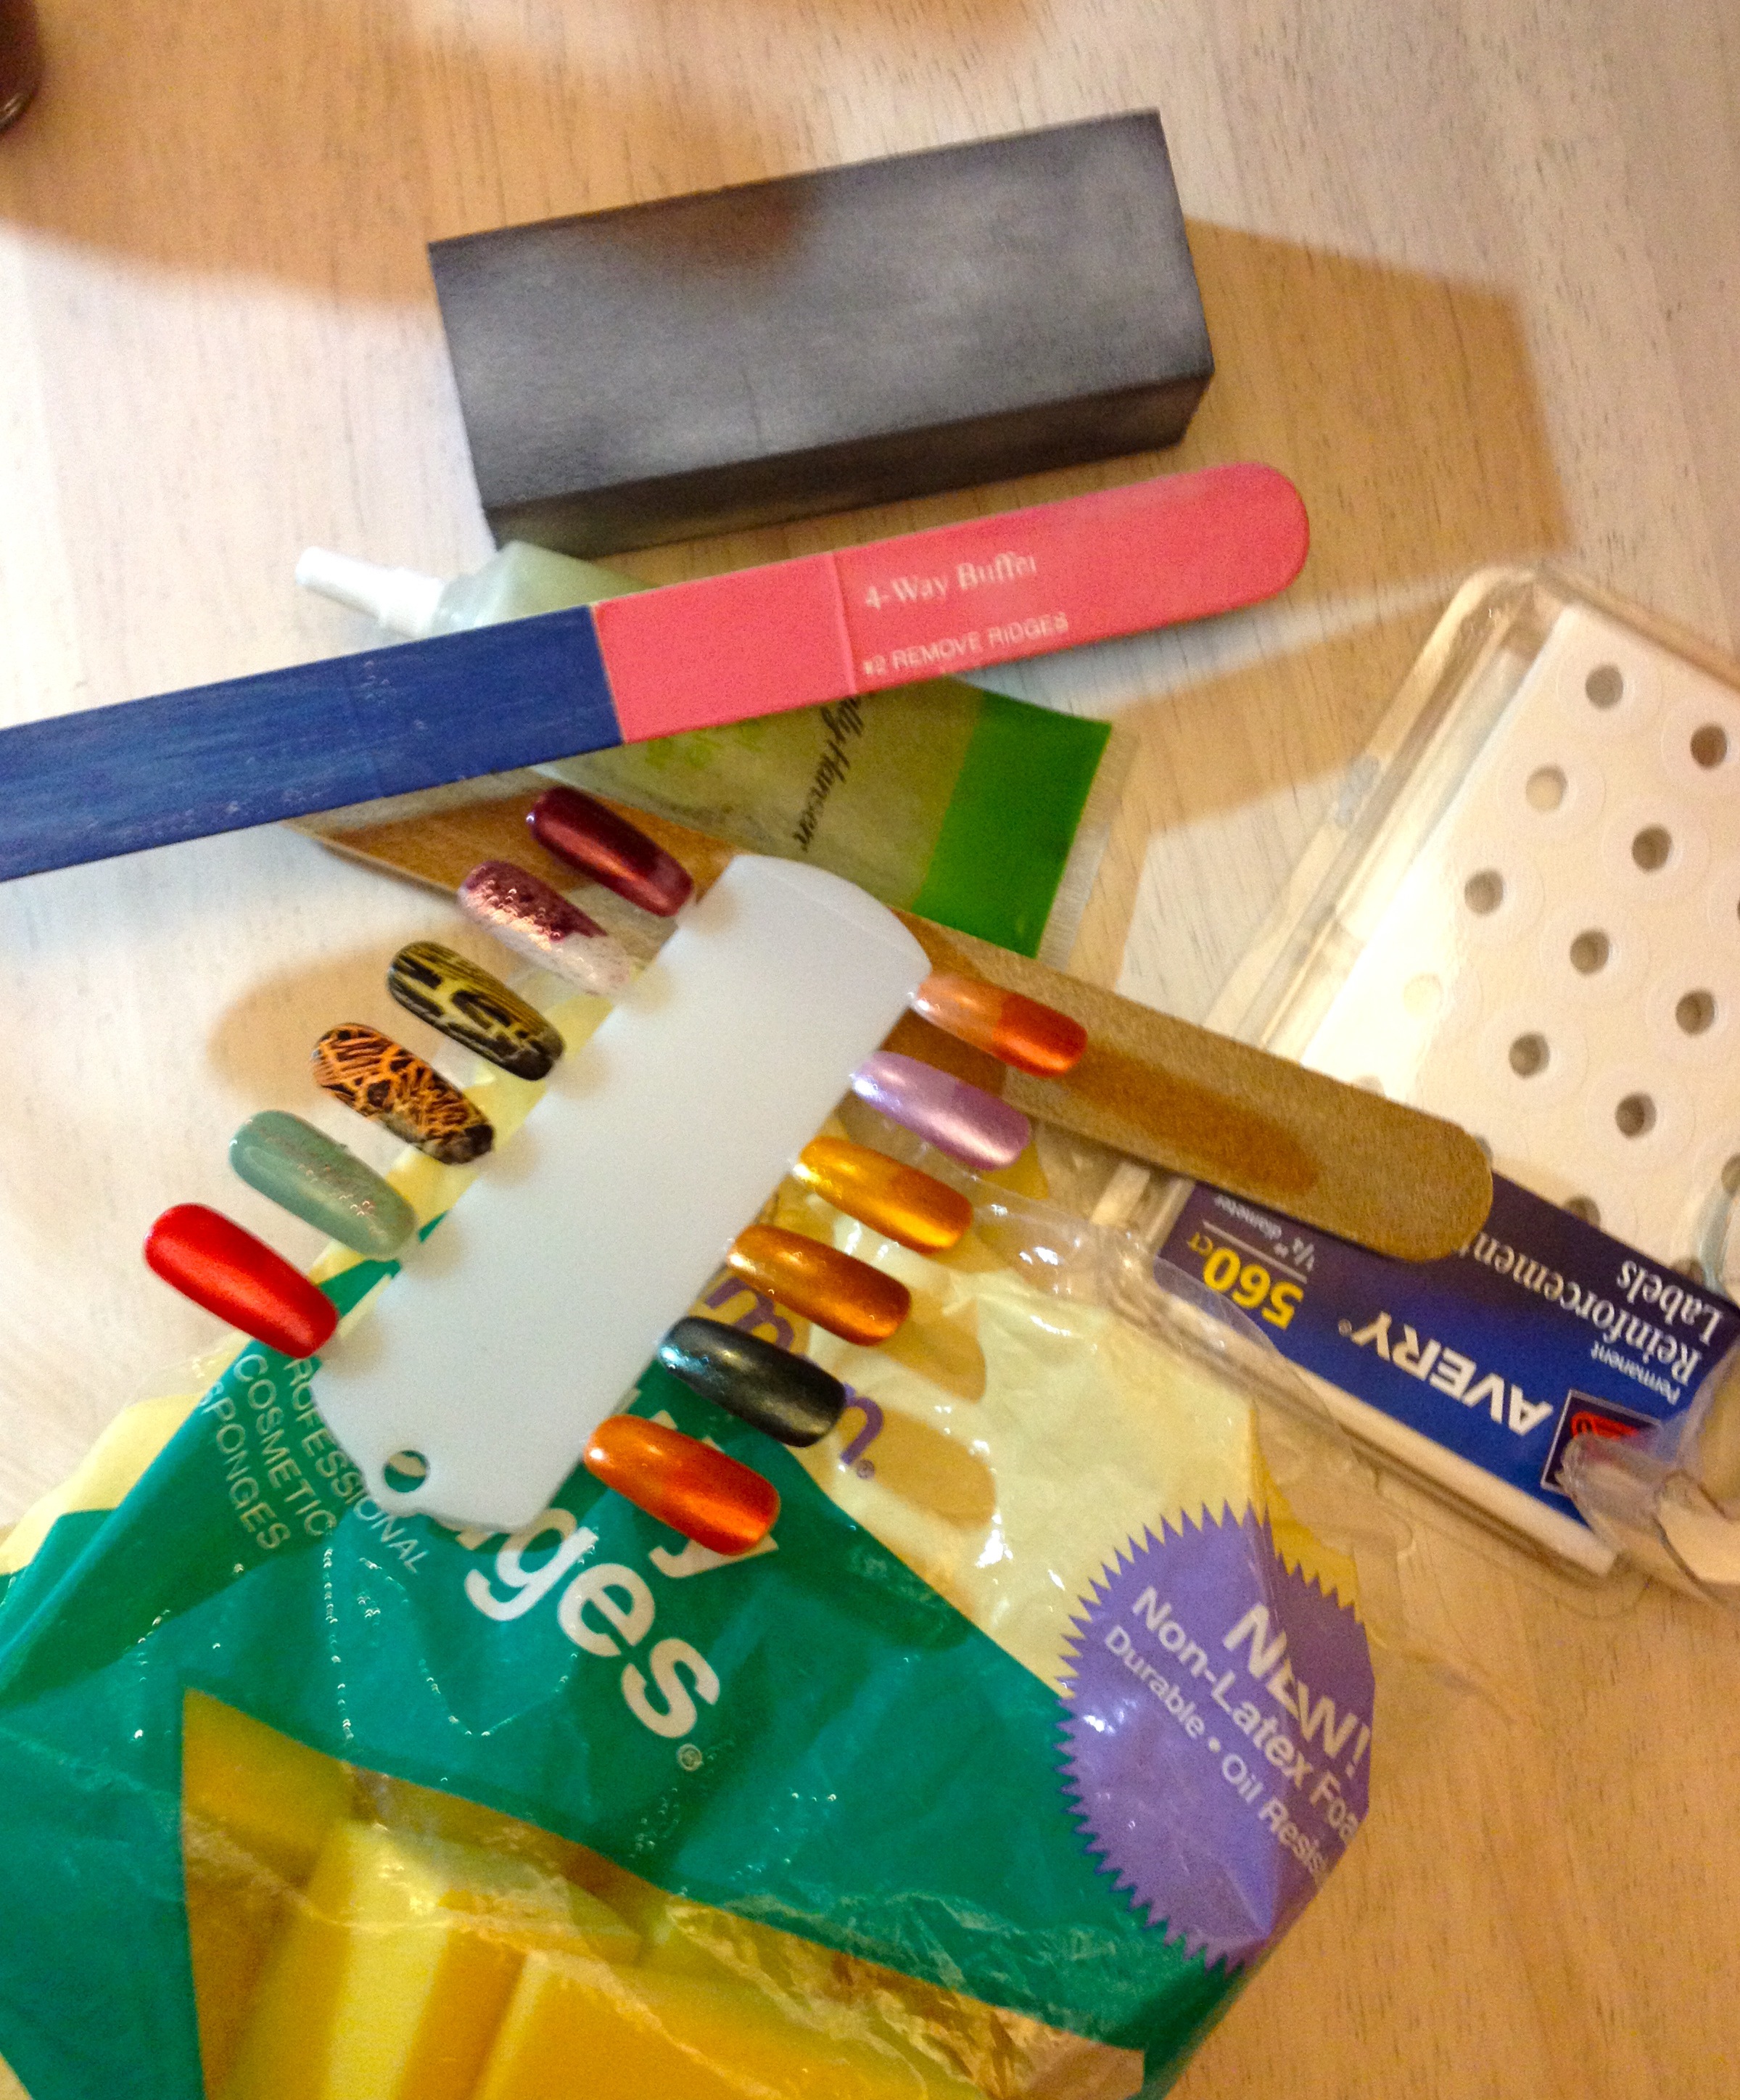
The Polishment Polish Party this past Friday was a blast! My friend Kim, aka "FancyPants" really outdid herself with the decor.

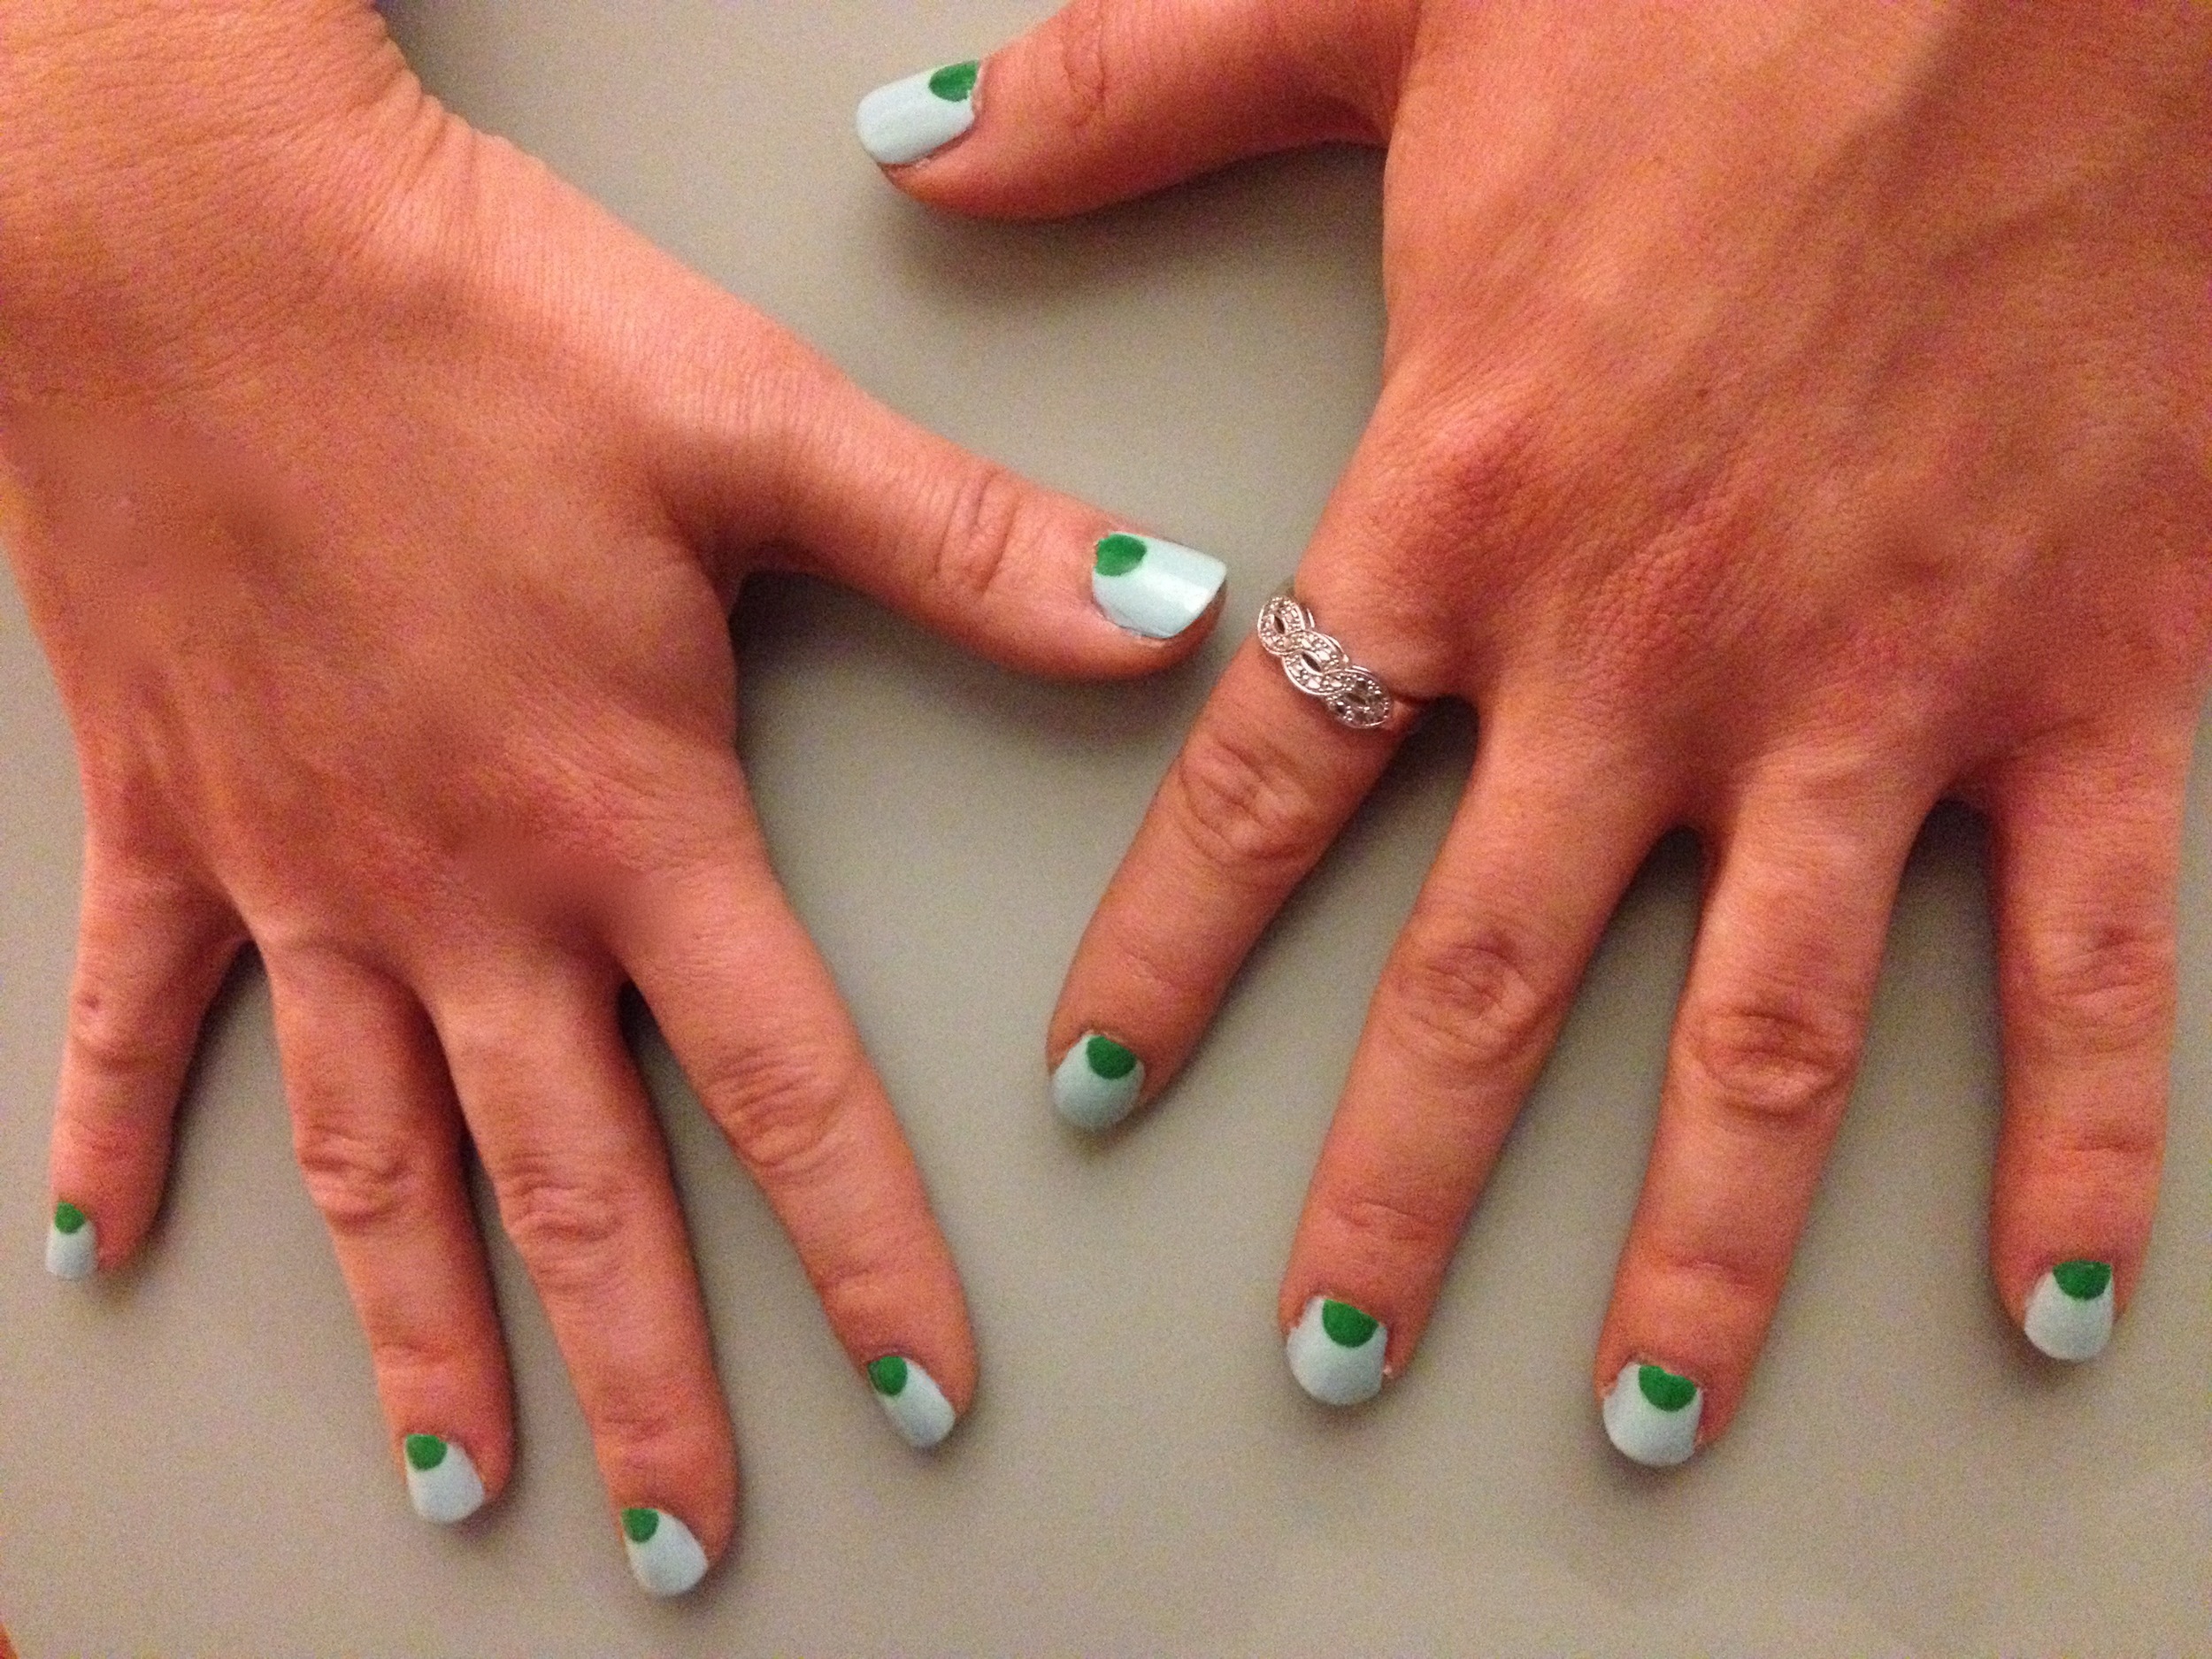
The point of the polish party was technically to try out some new Texture Coats I've been meaning to experiment with, but we got a little sidetracked.

It was a little nerve-wracking to paint other people's hands, I have to admit! I do a lot of my own painting by feel, so to work on someone else's fingers was tough for me! I also didn't get to drink much wine, since I needed steady hands, lol.

I would love to do another Polishment Polish Party again, so if I get any new victims, I'll be sure to share.

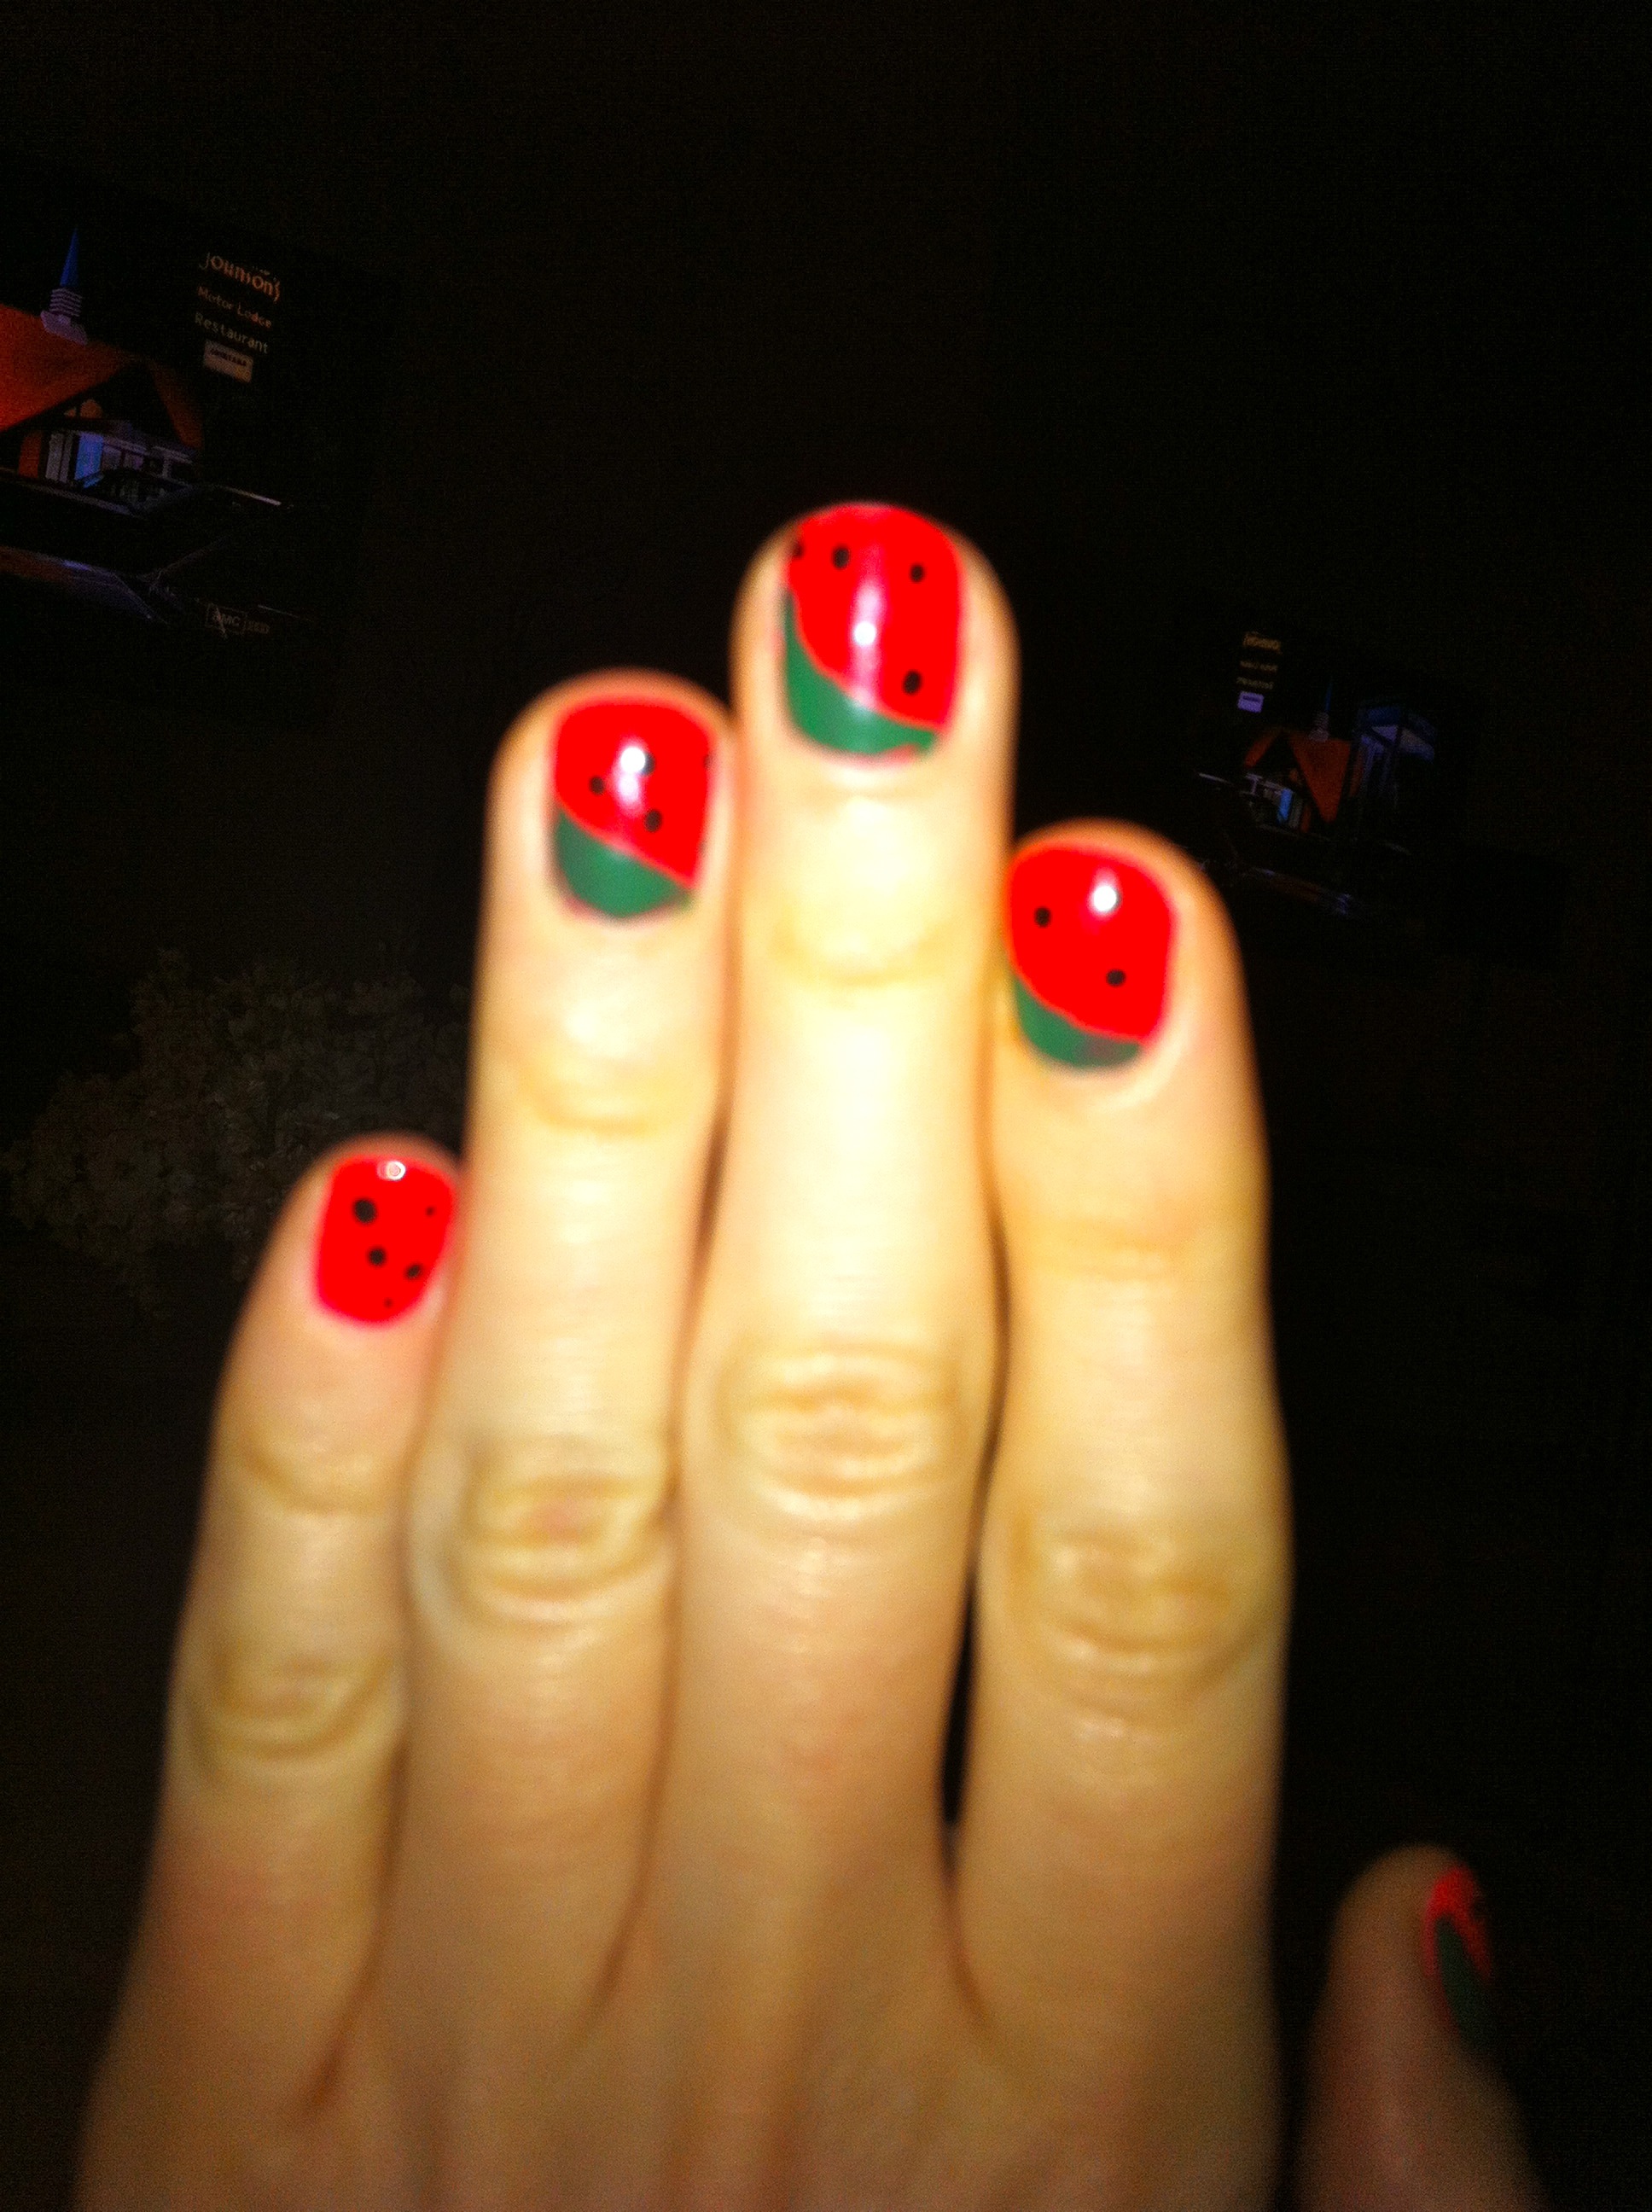
In other news, I'm working on this week's nails even as I type this. I'll give you a clue: "Sweet Pea."

getreadyforsomeglitter, Francesca

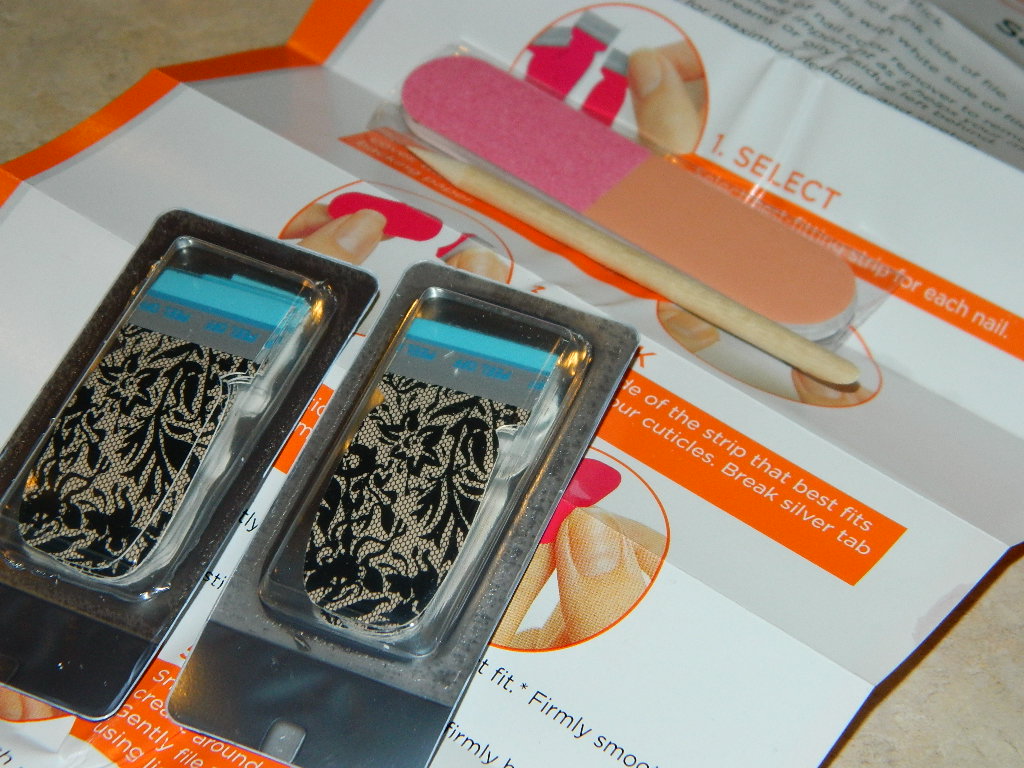
Sally Hansen Salon Effects — Laced Up

There's been a lot of talk about nail stickers. Remember Gloss's Sephora Collection Nail Patch in Chinese Blossom.  Fantastic!

And then....THE HORROR....of Gloss's Chic Prints by Sephora, which came off only after a few hours of wear (while sleeping). Ugh.

Never fear!

~begin promotion~

Tried and true are Sally Hansen's Salon Effects nail stickers.  Furthermore, they are way cheaper than the other options.

Gloss has tried them, I've tried them, and honestly, I have nothing bad to say.  Now, I have heard some people talking badly about these nails stickers, but I don't understand it.  I haven't had a problem with them, and they always look fantastic!

~end promotion~

I'm home for the holidays and I have one mission....to paint my family's nails.

Needless to say, I have been very busy.

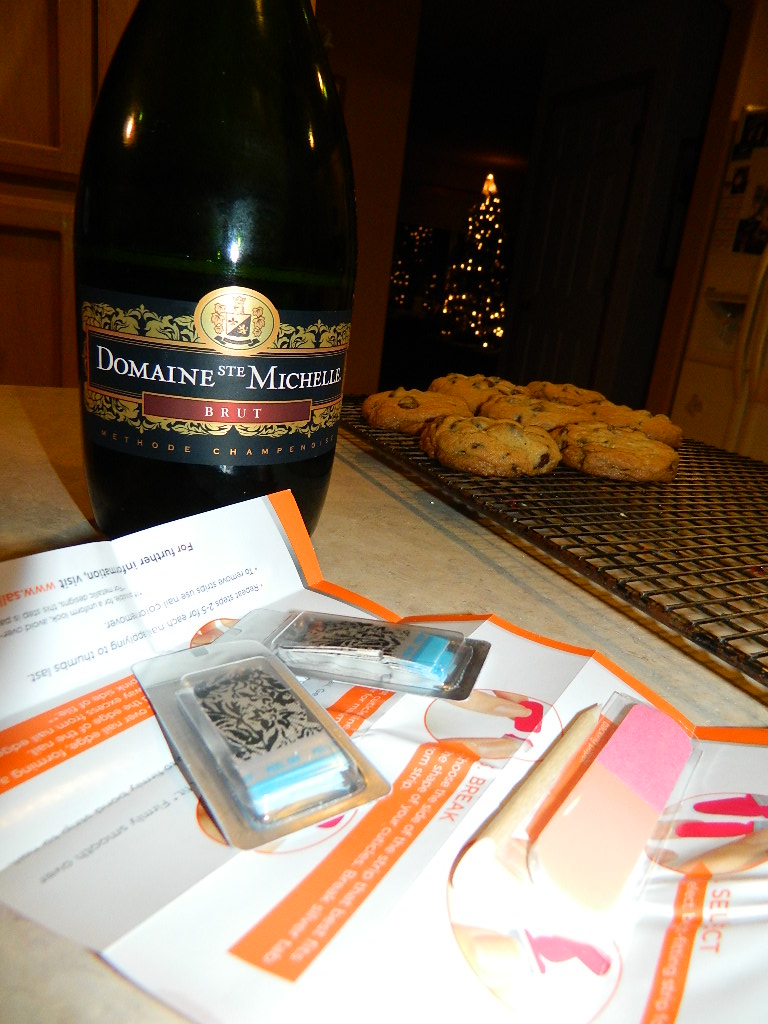
I bought my sister Sally Hansen's Salon Effects in Laced up, cracked open a bottle of champagne, and while she finished baking some chocolate chip cookies, I placed these beauties on her nails.

The final product:

Tribal Antler

First off....look what my lovely and very generous boss gifted me for the holidays:
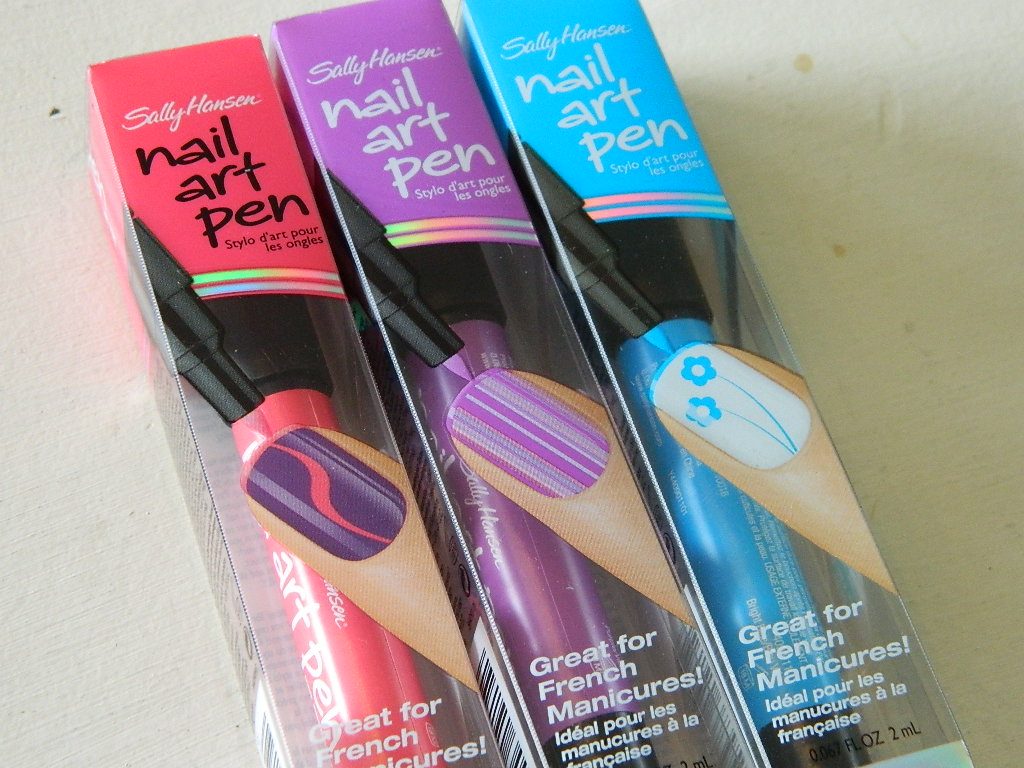
(Salley Hansen Nail Art Pens) 

I guess my nail polish obsession is apparent.  I will be using one of these for the following tutorial......

My inspiration for this weeks nails?...... a painted antler.

A bit of a weird piece, I realize, but I just loved the simplicity and the colors.

So, why not create this same pattern for my nails?!

First paint your nails in Finger Paints' Tiffany Imposter

(I LOVE this color!)

Then, using tape, tape off the center of each nail.
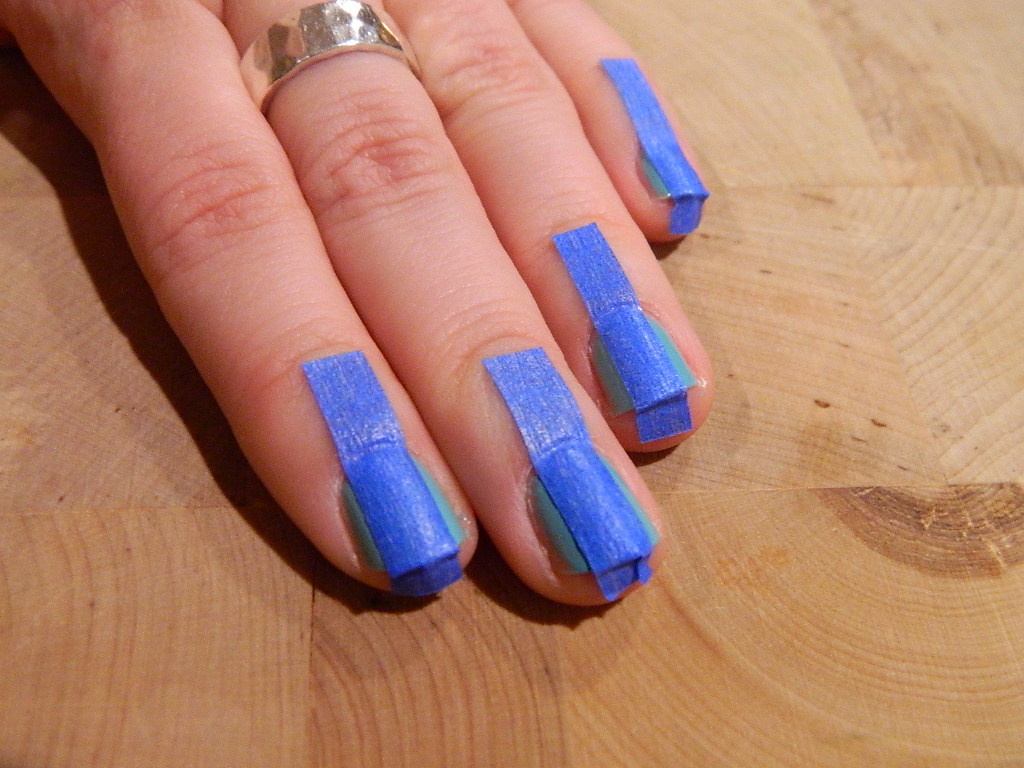
*I have been having a lot of trouble with scotch tape lately, often pulling off the color below it.  So, this time I tried blue painting tape.  It still caused the same problems.  I think the best thing to do is paint with  your base color, wait a full day, then tape as necessary.  Still working on perfecting this step.*

Then paint remaining portion of nails in Sephora by OPI's Already Famous (one of my most favorite colors!).  Make sure to do two coats here so the base color does not peek through.
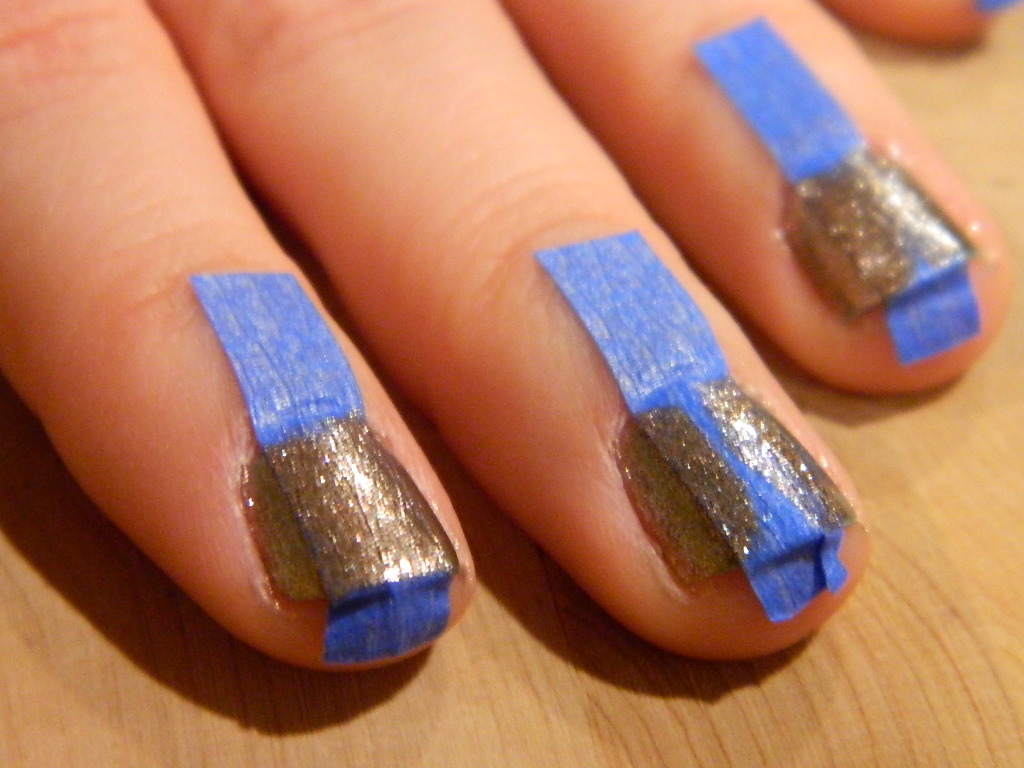
Once dry, carefully pull tape off.

*The good thing about this is that if you pull the tape off and the base color comes off with it, as it inevitably will, then it is super easy to fix.  Just grab your base color and do a quick swipe for a touch-up.  I totally had to do this on at least four nails :(*

Let dry.

Then, using Salley Hansen's Nail Pen in Black, draw the following print on each nail as seen in pic:
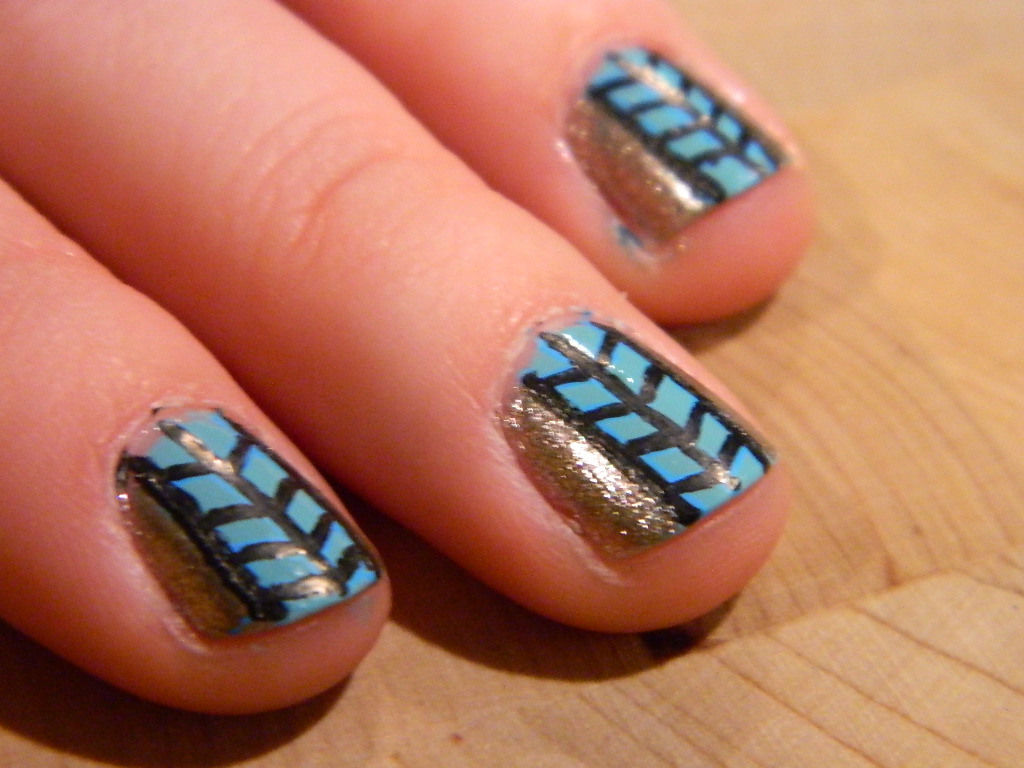
Let dry completely.  And when I say "completely," I mean totally and fully, there is not chance that it will every smudge, dry.

*These Salley Hansen Nail Art Pen's are tricky.  You think they are dry, you have been sitting patiently for a couple of hours, then you go to wash your hands or paint a top coat and they smear all over the place.  Very frustrating.*

Make sure to coat your nails in a healthy top coat, to seal in the nail art pens and give your nails a nice shine.  The top coat makes a world of difference on these nails; don't forget this step!
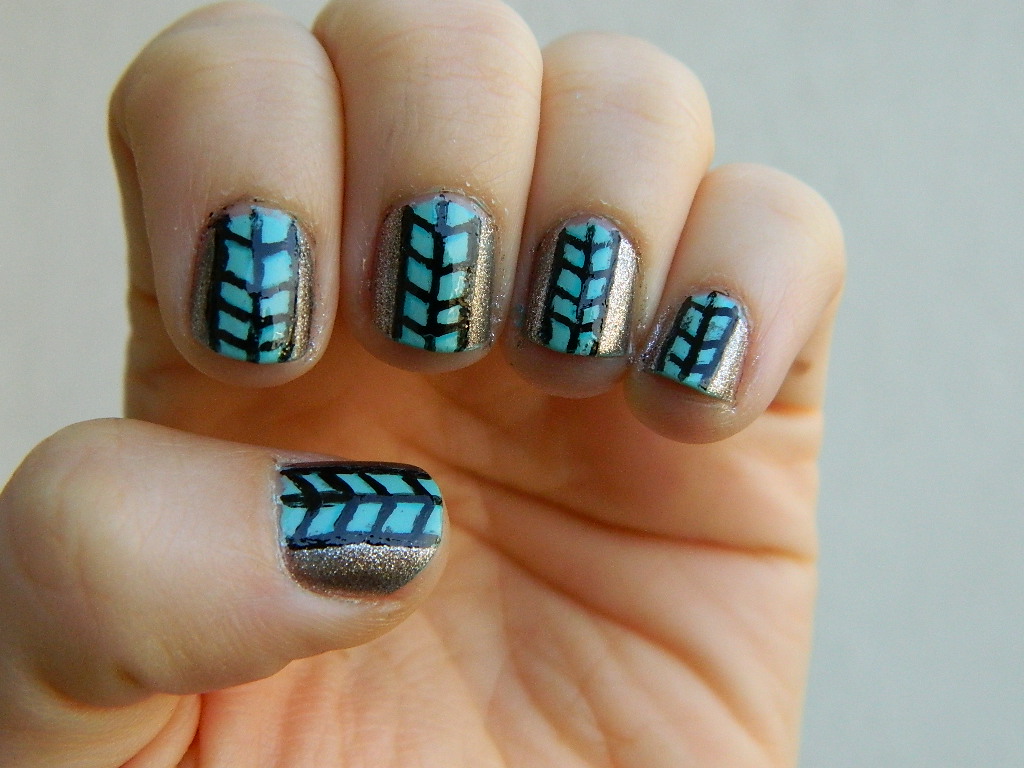
(Up close like this you can see the smudges these pens make)

All in all, I really like this pattern and these nails.  Just wish the pens and tape didn't give me so much trouble.  If you follow this tutorial, I say plan this out over a couple of days, so that you do the base color one day, the tape and second color on the next day, and the nail pens and top coat on the following day.  Let me know how it works out for ya!

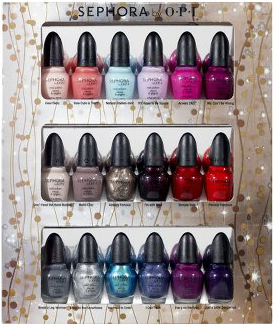
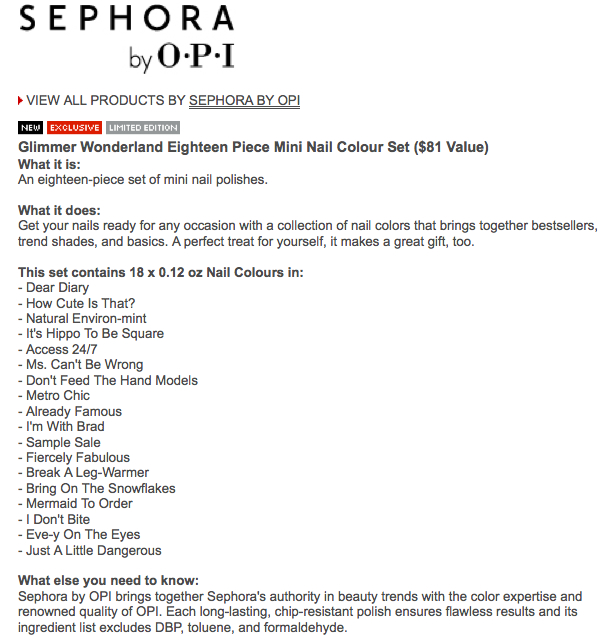
Sephora — Glimmer Wonderland Nail Polish Set

You pay for what you get, as the saying goes. Usually, the old adage is true *except* when it's Christmas time! Oh, I do love a good gift set. (As you know.) I saw this gem online today and had to share.

Eighteen mini bottles — nice! I am of two minds when it comes to mini bottles.

On the one hand (pun intended), I love that they're less expensive, so you can load up on way more options than you could if you were buying full-size bottles.

On the other hand, I find that the little bottles dry up pretty quickly. You can always invest in some actual, legitimate nail polish thinner (yes, it exists... and NO, using nail polish remover as a thinner is not recommended by true purists such as myself). Alternatively, you can just embrace the fact that this is a one-time or two-time polish and make the most out of it.

If you're a big fan of Sephora by OPI, note that many of the colors in this set are some of the line's most popular shades, so you may end up with dupes if you've got a stash already going.

At $48 for the set, this breaks down to ~$2.50 a bottle. This would be an awesome gift for a young lady in your life who's just beginning to develop her very own nail polish stash — and would be just as perfect for that special someone who's already obsessed with polish. And if that "someone" is YOU (nothing wrong with a little treat for yourself)...

My recommendation is finding two or three friends and going in on the polish together so that you can all get your favorite shades! If all of you seem to be liking the same shades (uh-oh!), I suggest this "grab bag" method:

  • Putting all of the little bottles in a bag or box — however you'd like so that the drawing is blind
  •  Roll a dice or do rock / paper / scissors to see who grabs first, then take turns grabbing until all bottles have been distributed
  • Then, it's up to each girl:
      • Keep what you grabbed, or
      • Discuss trading options on a bottle-per-bottle basis

Hey, nail polish distribution is serious business, okay?

Maytheoddsbeeverinyourfavor, GLOSS

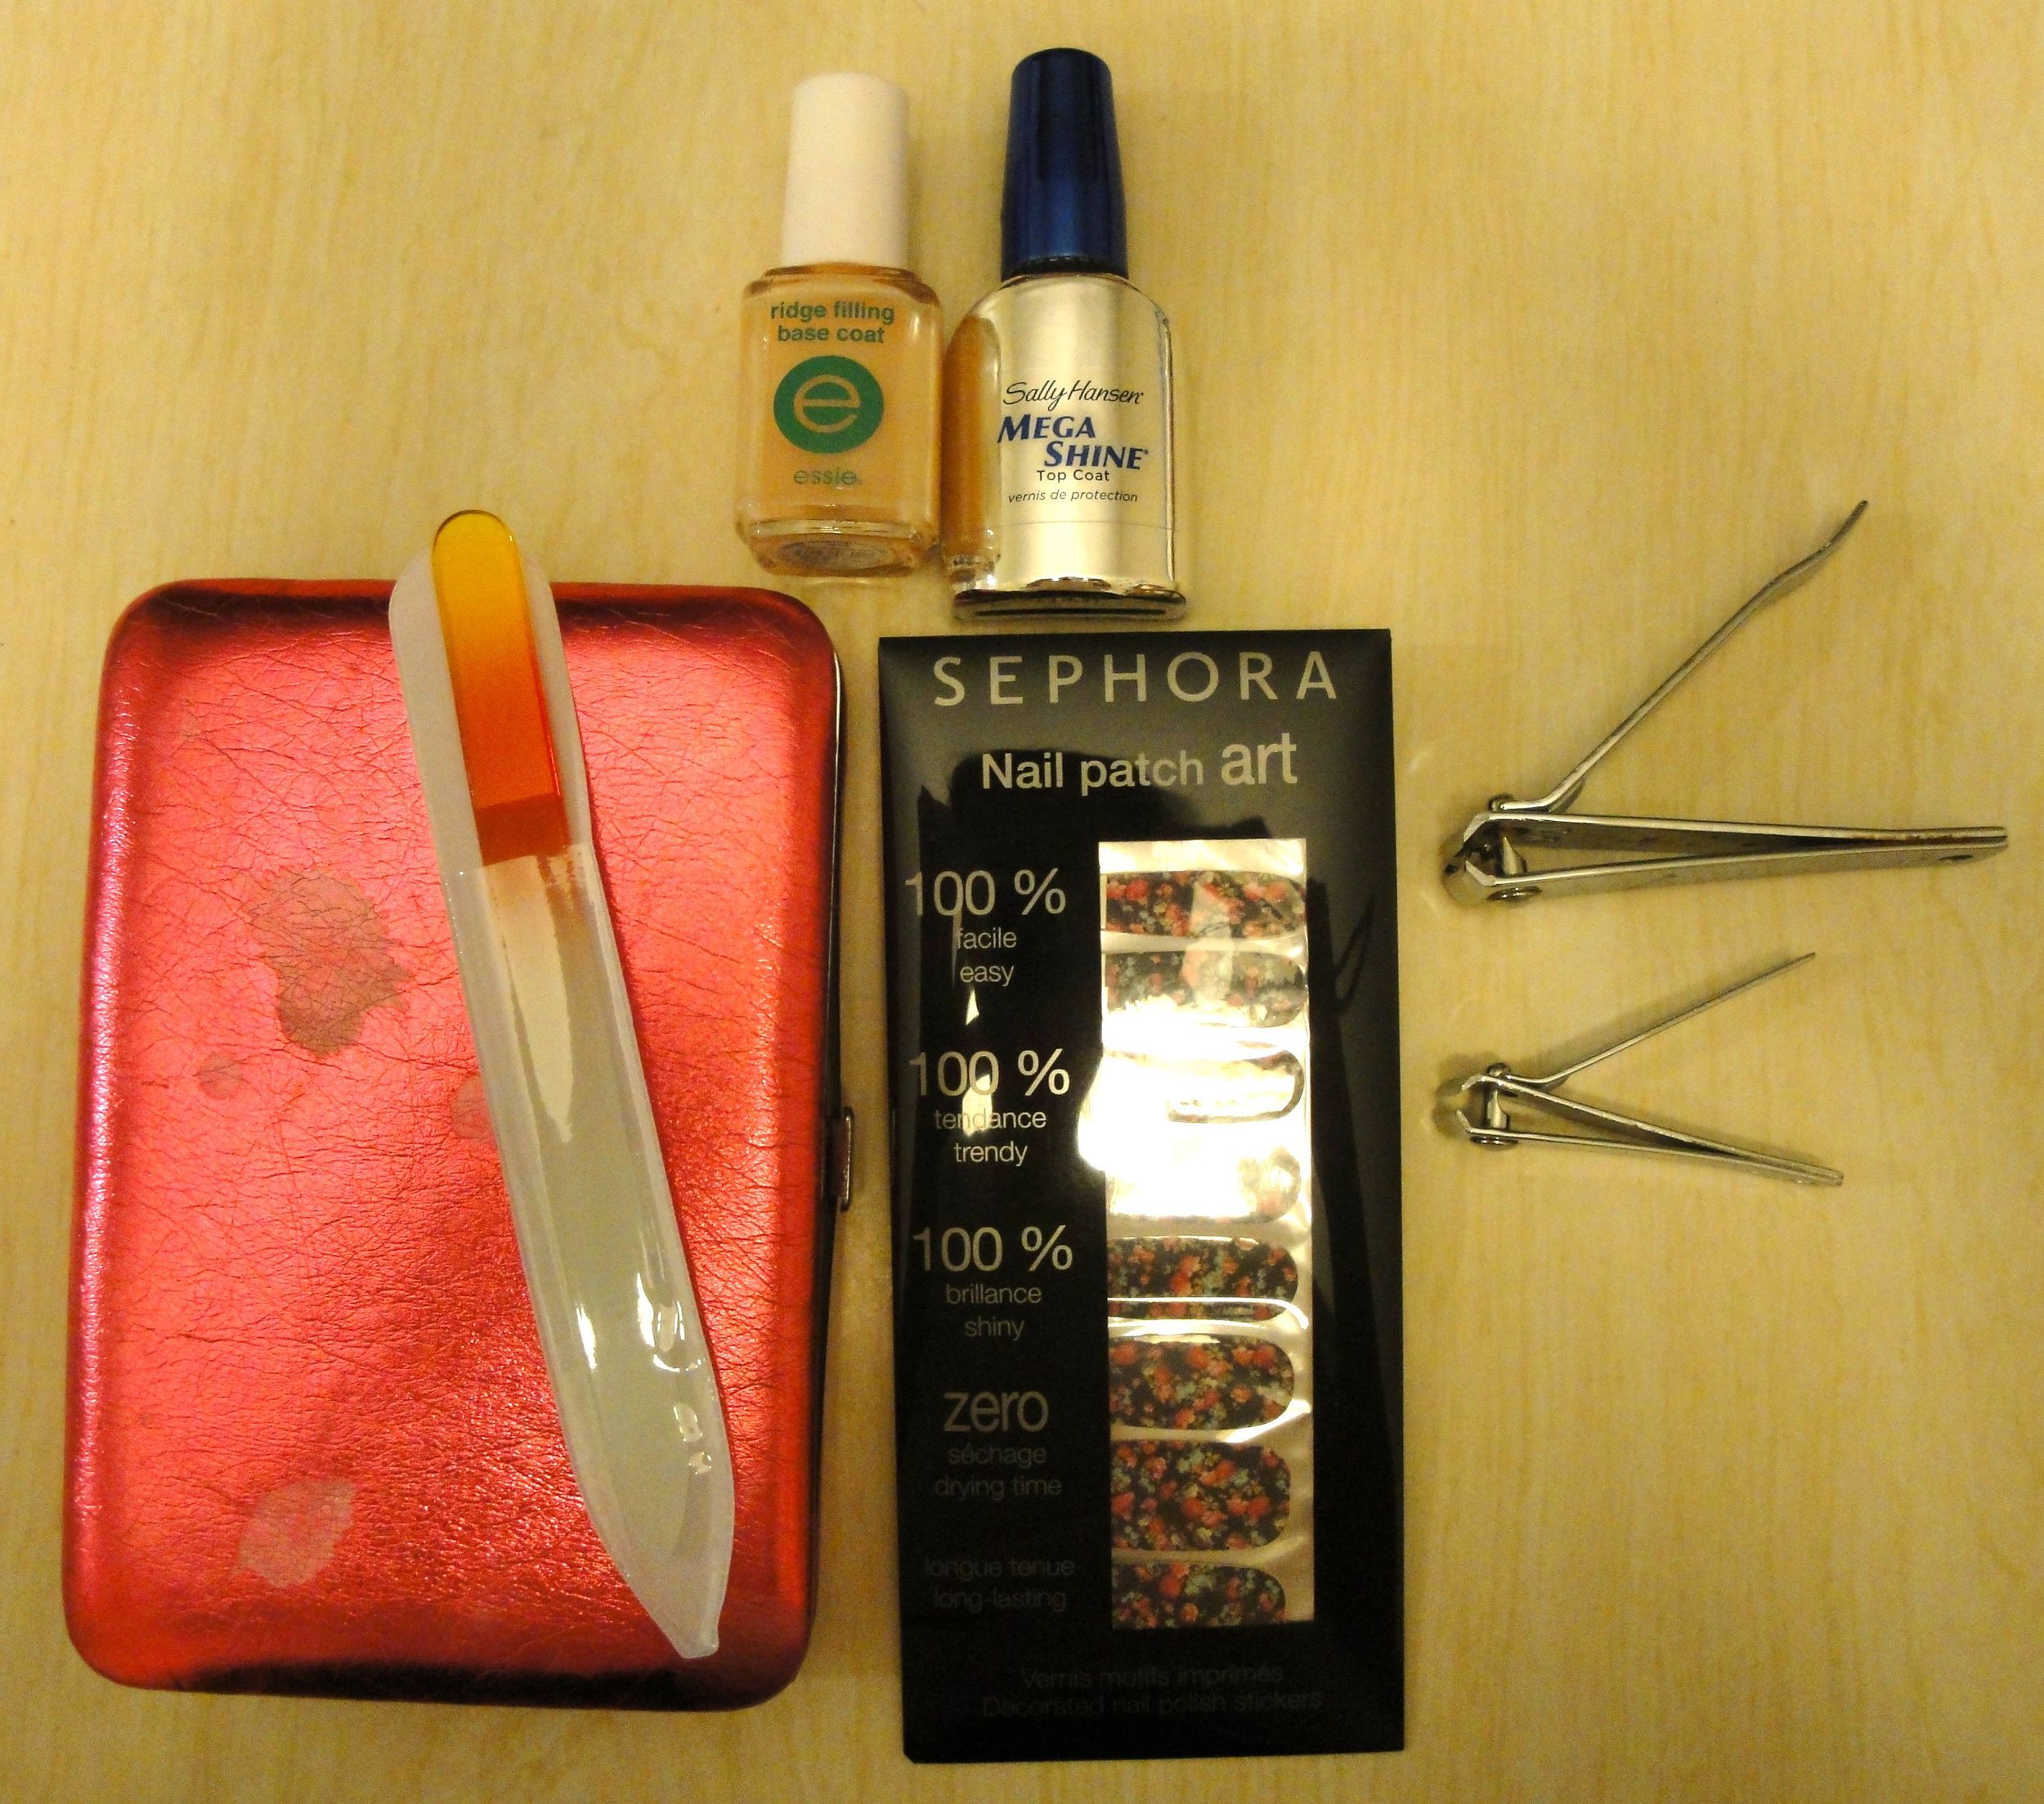
Sephora Collection Nail Patch Art — Chinese Blossom

Fact: Not all nail sticker / nail patch / nail applique products are created equal. Just check out my previous post on Chic Prints by OPI to see what I mean.

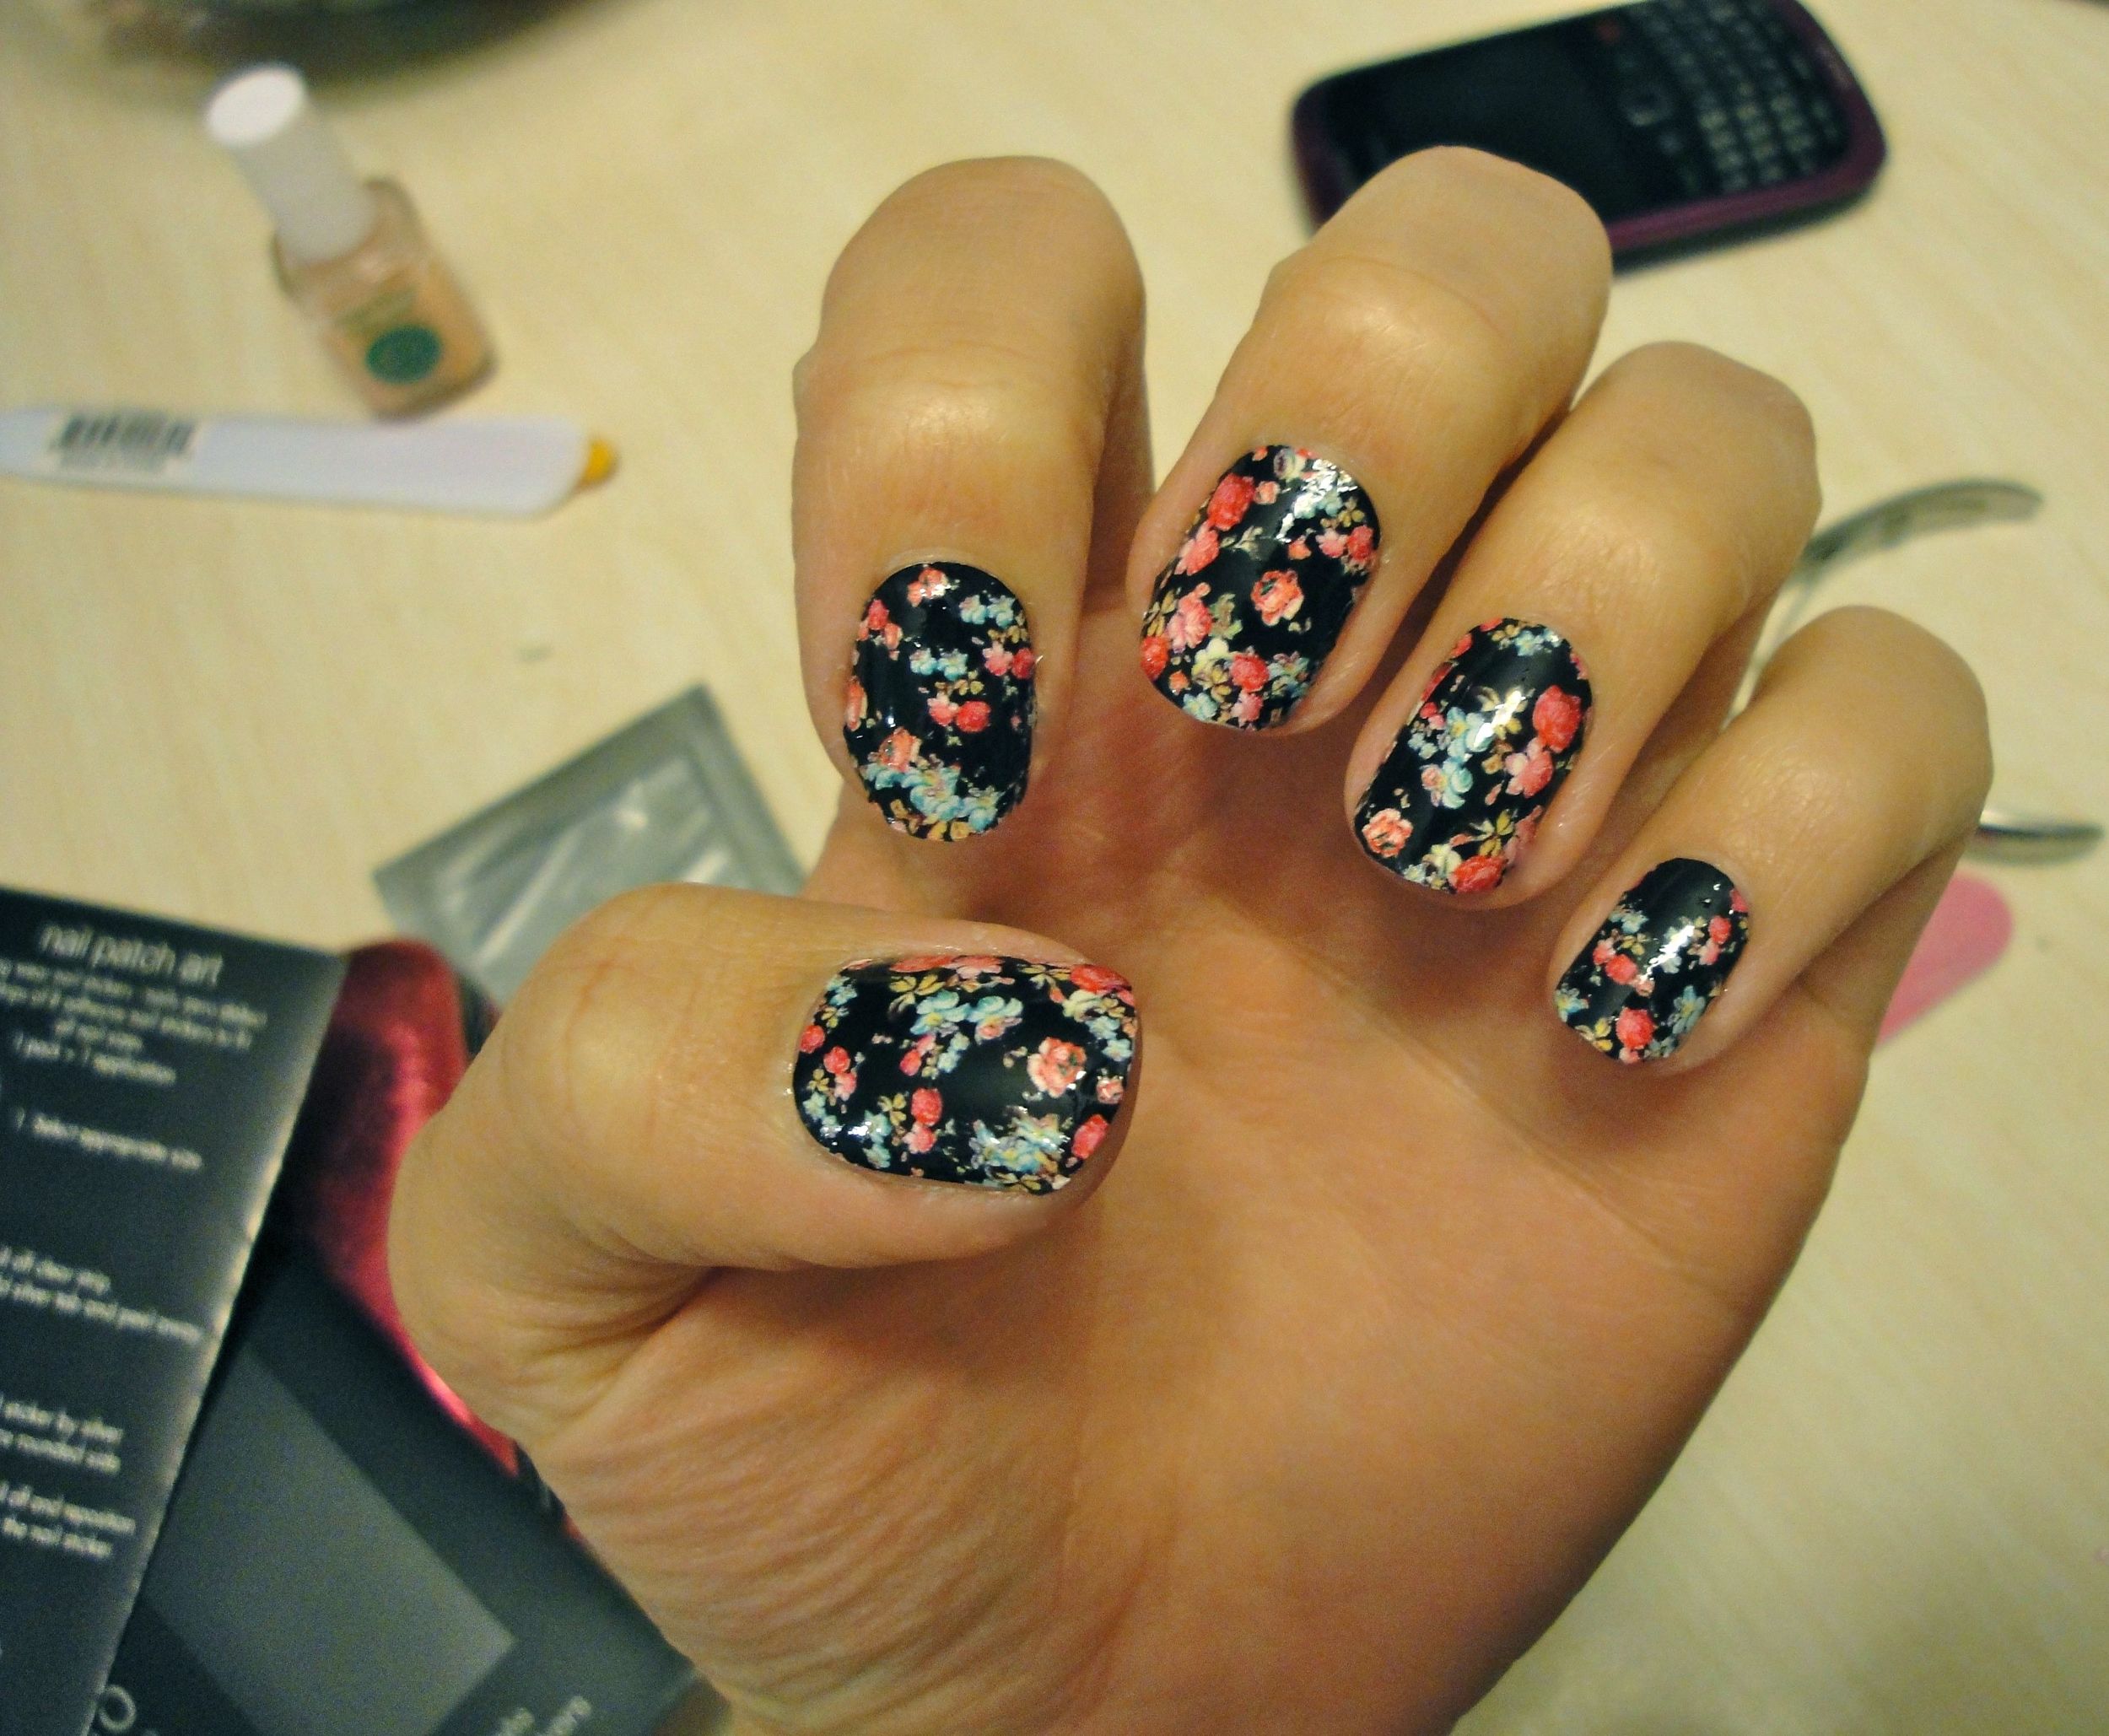
I've tried the Sally Hansen Salon Effects nail polish strips before and really, really loved them. That's why, when I was doing my annual self-indulgent birthday shopping spree at Sephora back in September, I had to try Sephora's version. What I immediately noticed was that the patterns were more fashion-forward than what Sally Hansen was offering. Oh, and also the price. Quite a bit more expen$ive. In the name of research, I succumbed.

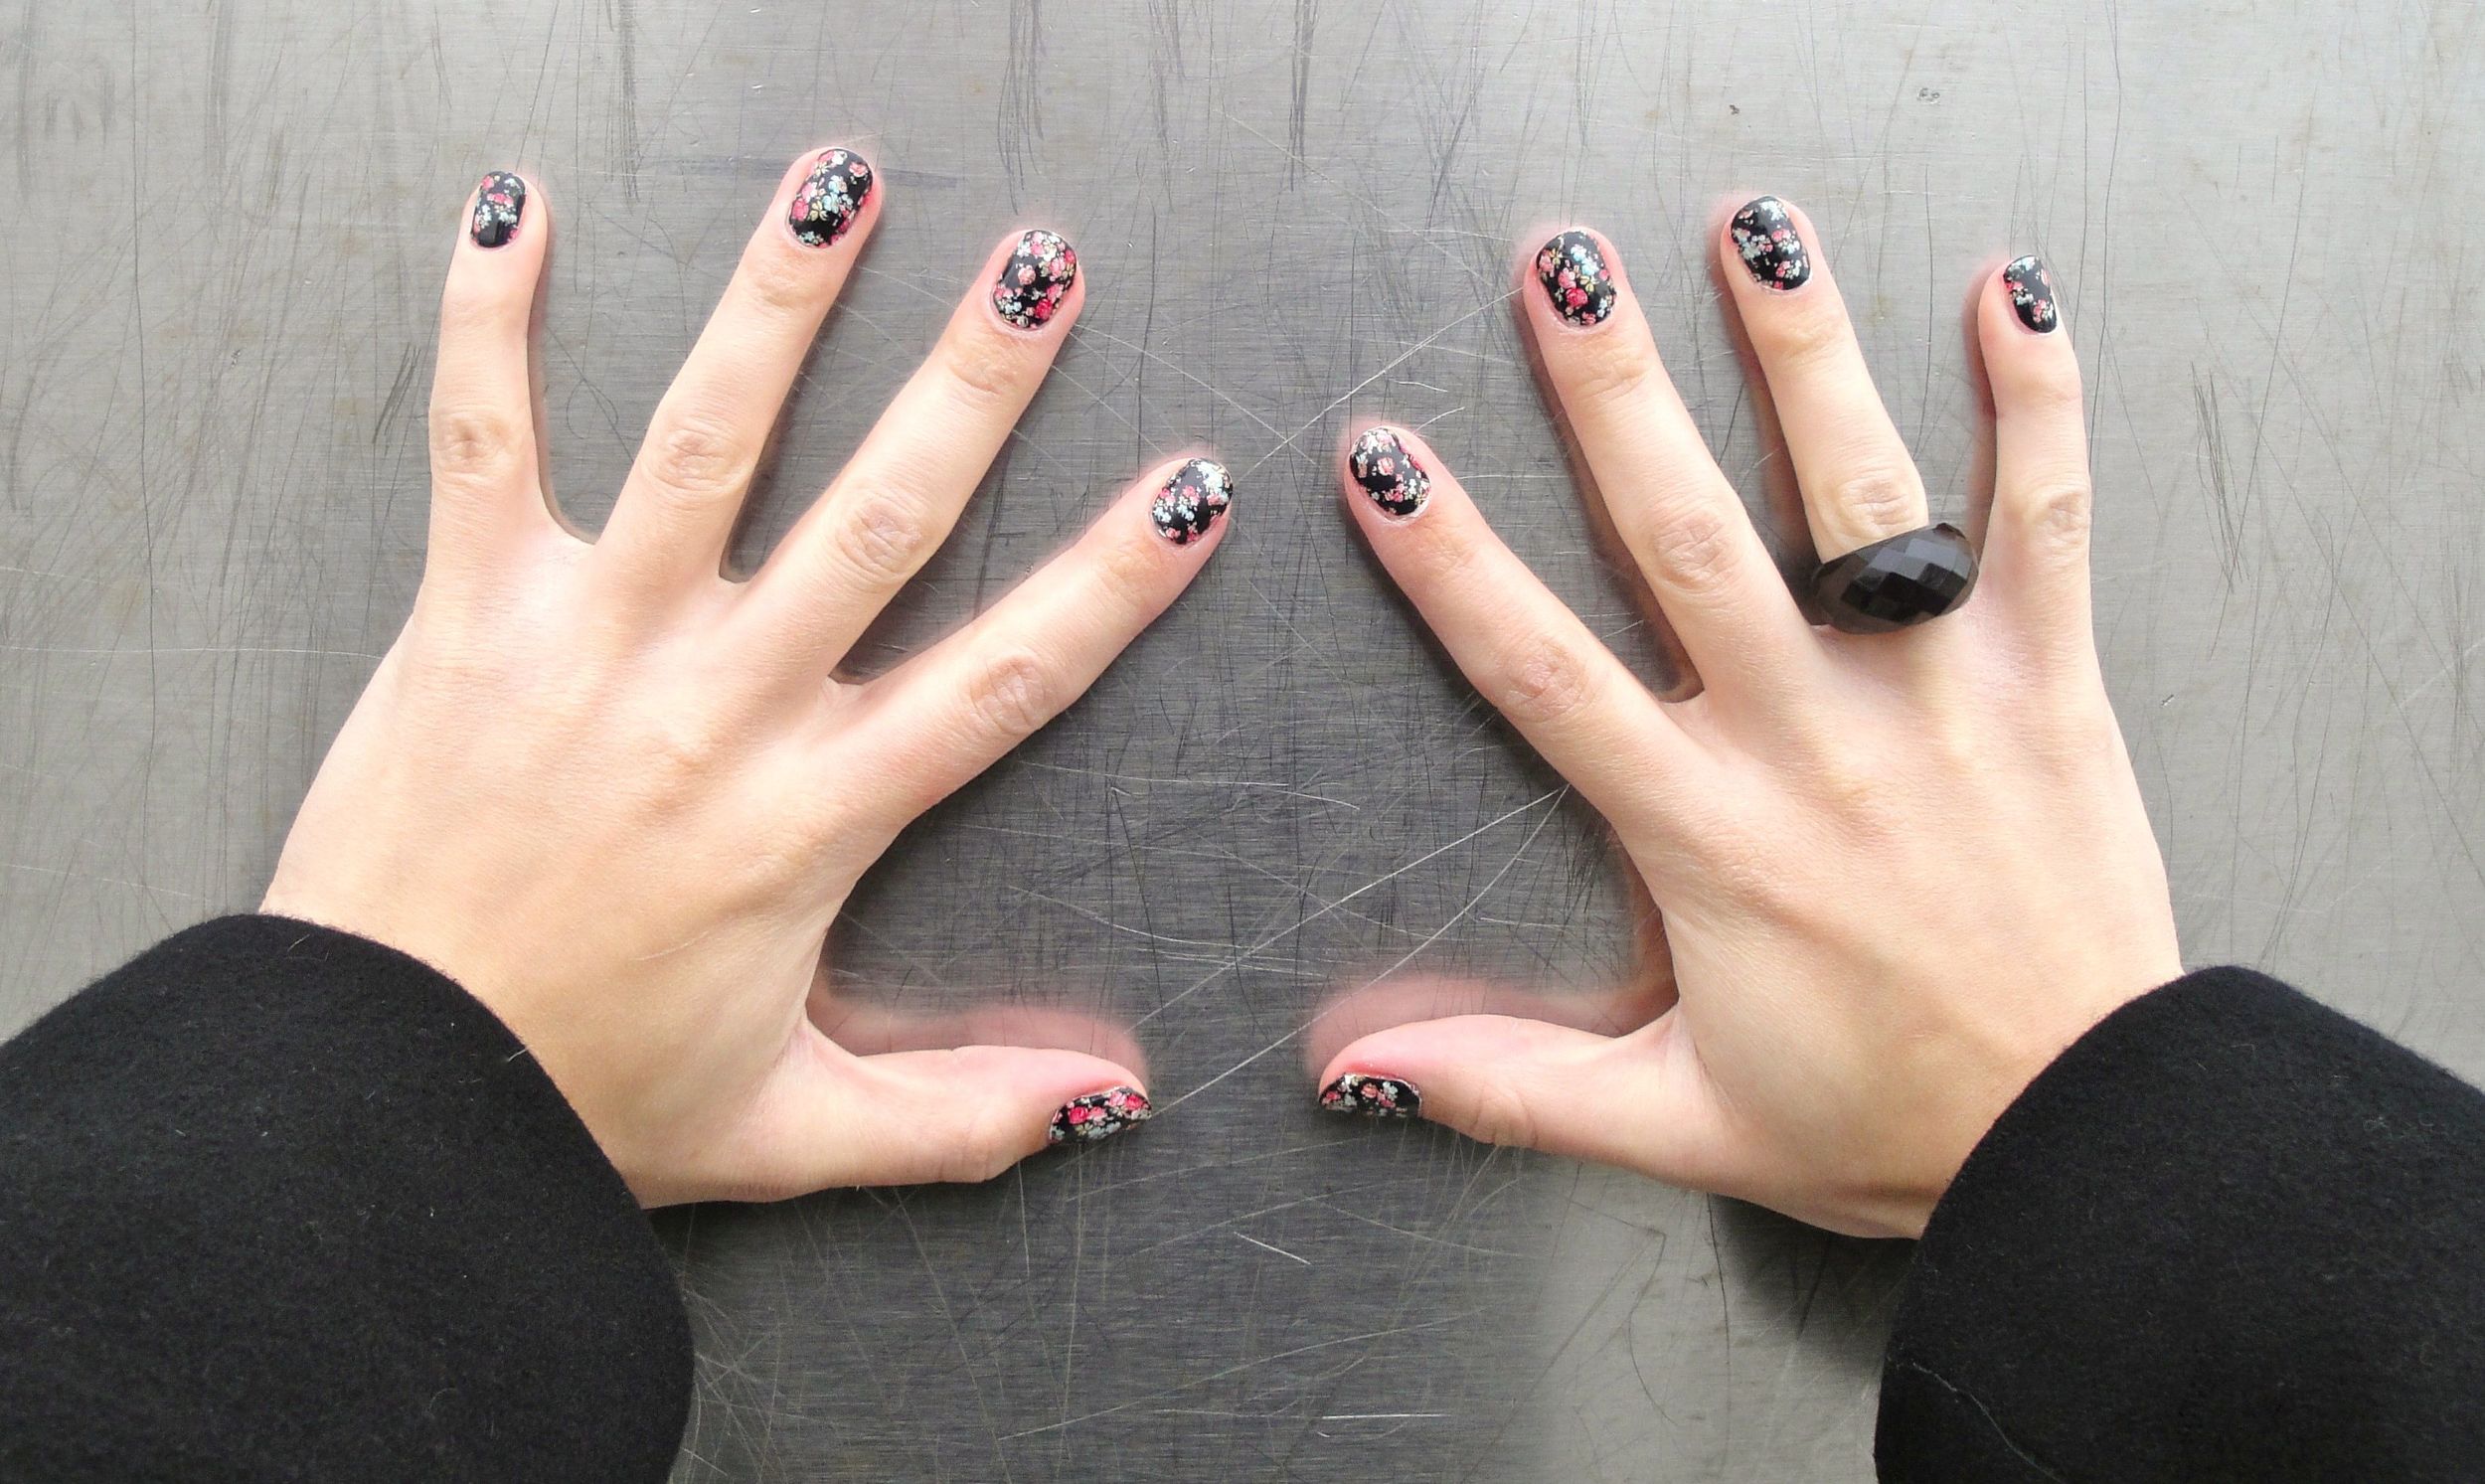
First of all, the pattern in real life is awesome. It's not pixilated at all; it looks like a work of art on your nails. Some called the print "wallpaper-like" but I think they meant that in the very best way possible. Ahem. I did get tons of compliments, for what it's worth!

Despite the name "Chinese Blossom," the pattern did not strike me as overtly Asian. When I hear "chinese blossom," I think "cherry blossom," which are very distinctive flowers. Sephora's Chinese Blossom Nail Patch Art looks more Victorian to me. You be the judge!

And now, some pictures of my experience.

And now onto the nitty gritty.

  • Application — Relatively easy.
      • These seemed slightly thicker than the Sally Hansen Salon Effects, so they weren't as flexible and easy to stretch. A friend of mine recommended blasting each strip with a hair dryer for a few seconds to warm it up, and then it'll be more pliable. (Thanks for the tip, Kelsey!)
  • Shapes & Shaping — Not too good, not that bad.
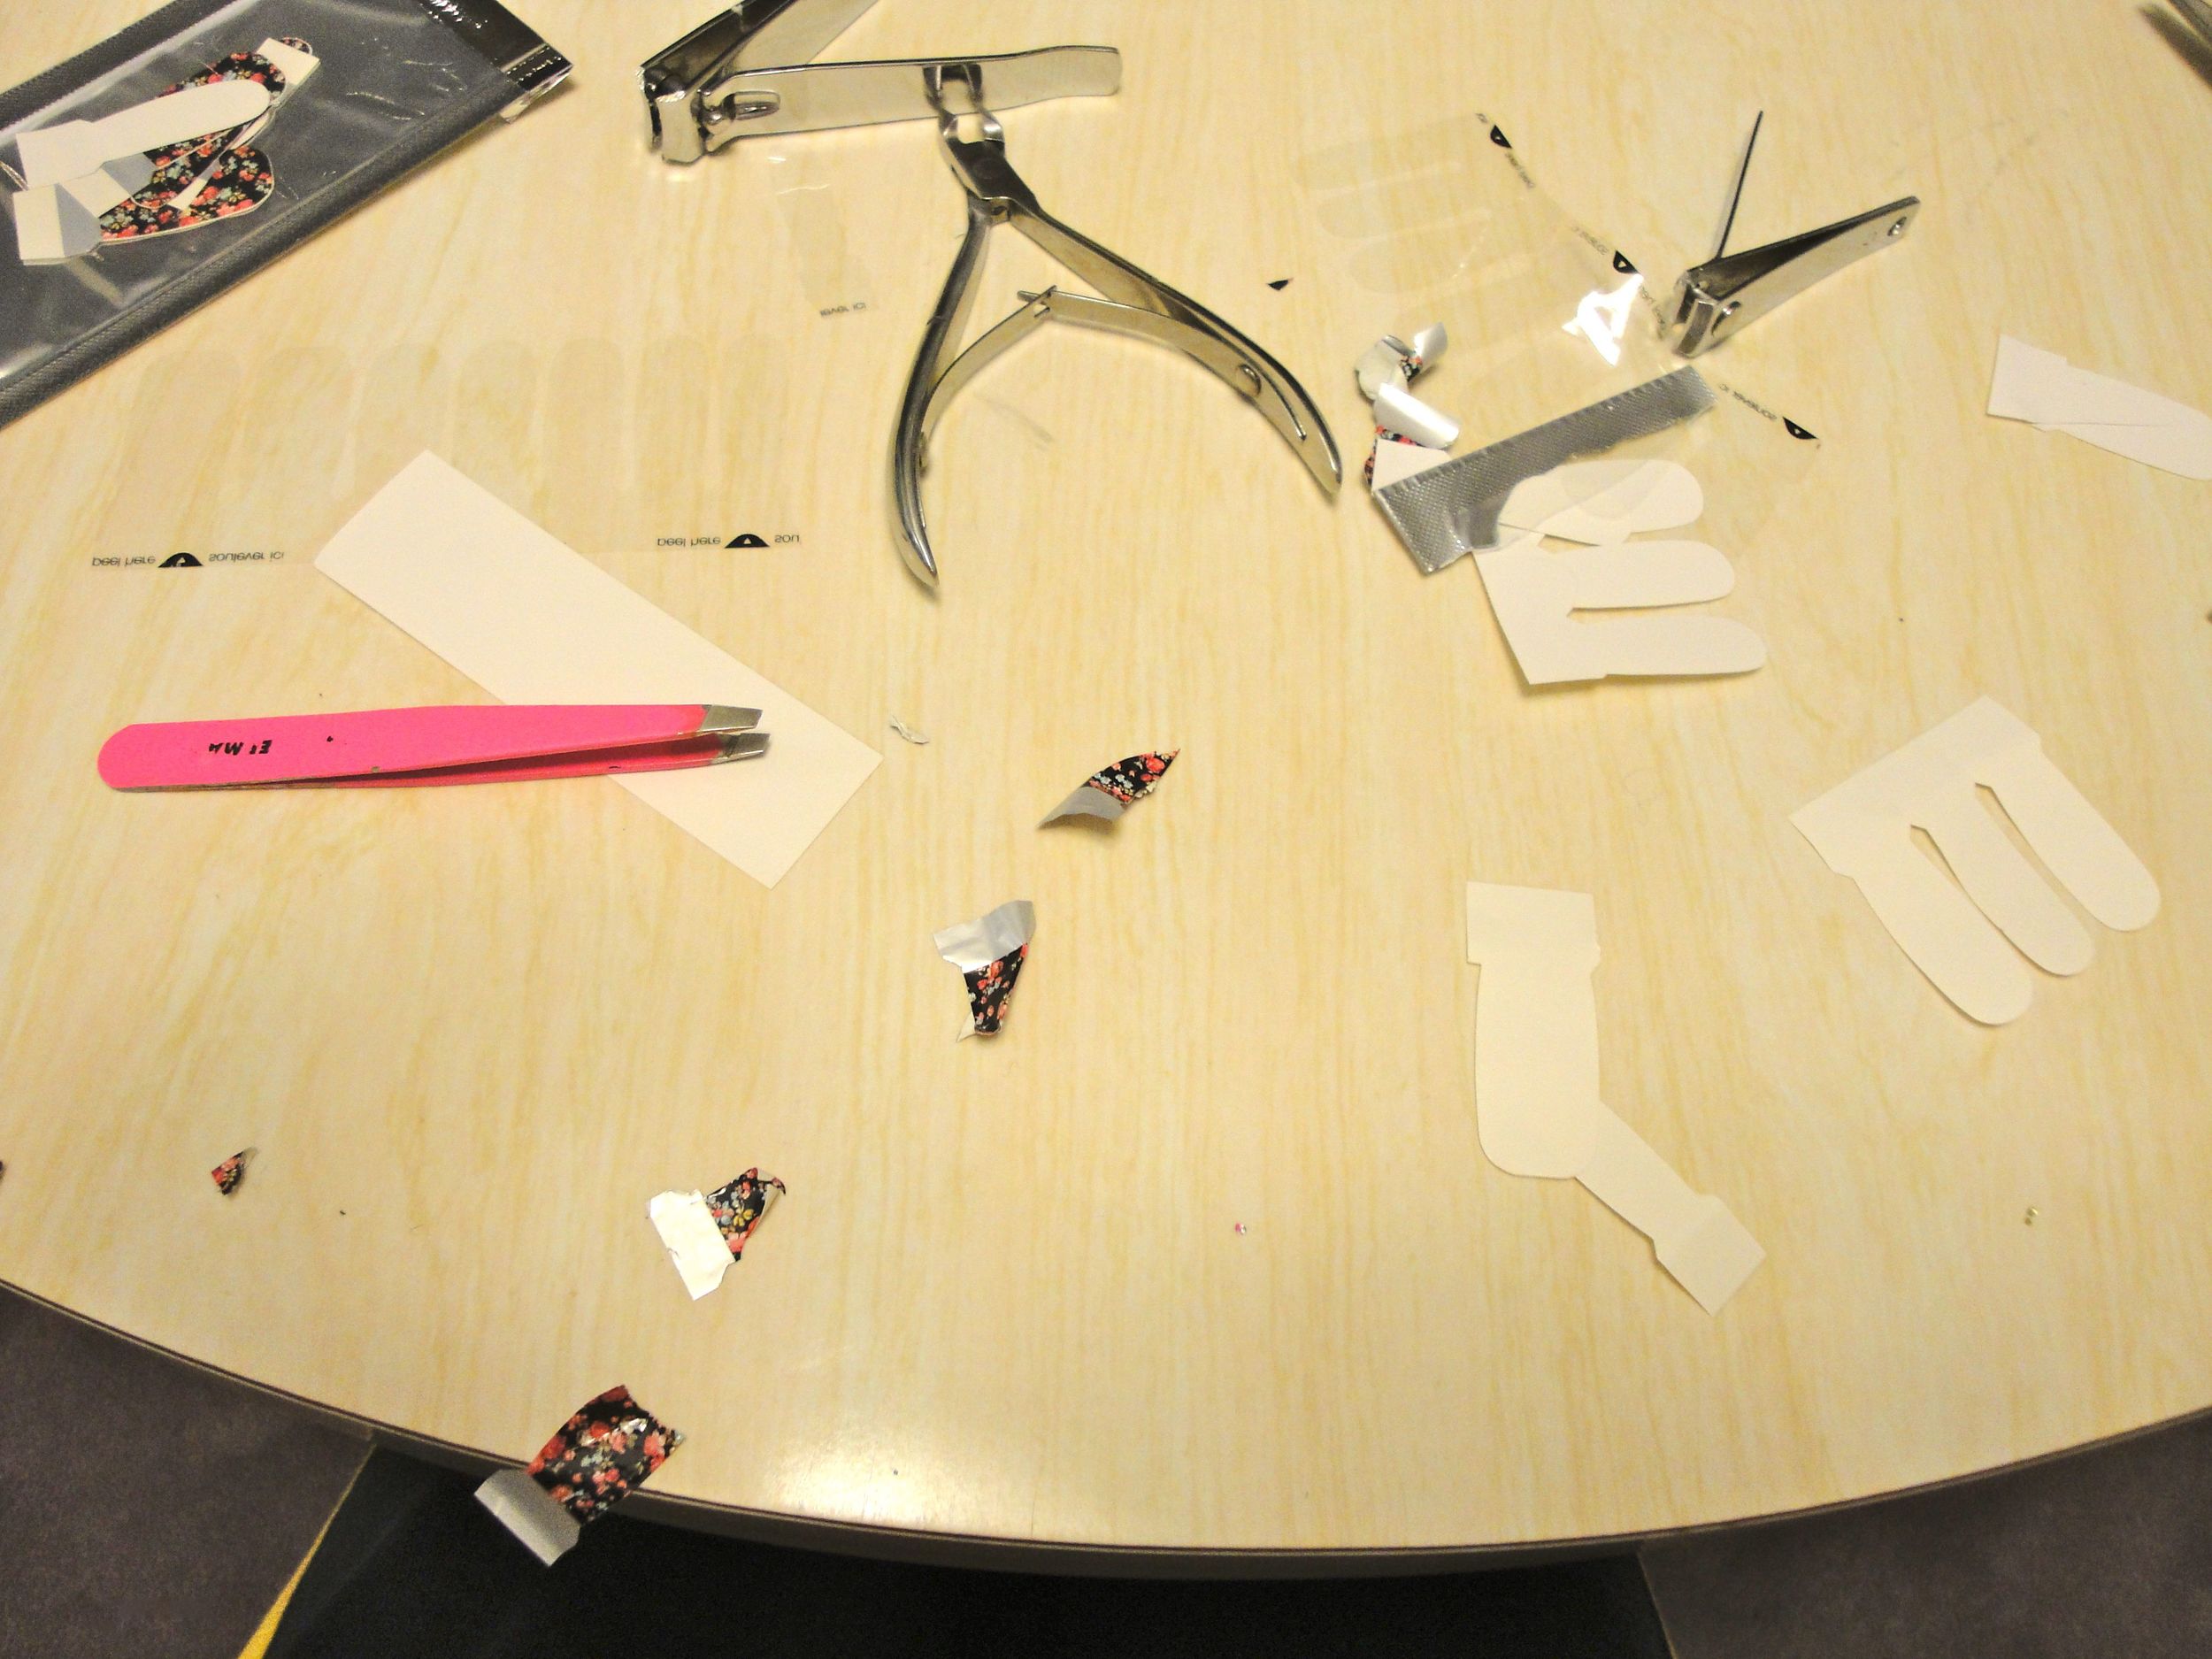
      • The sizing seemed a little off on these. I think Sally Hansen offers a better array of pre-cut sizes. I found myself making Franken-nails by creating thin strips out of the excess of the patches I'd already applied, so that I could literally "fill the gap" on the sides of a few nails. With a busy pattern like this, it wasn't too noticeable. Still a bit of a hassle, though.
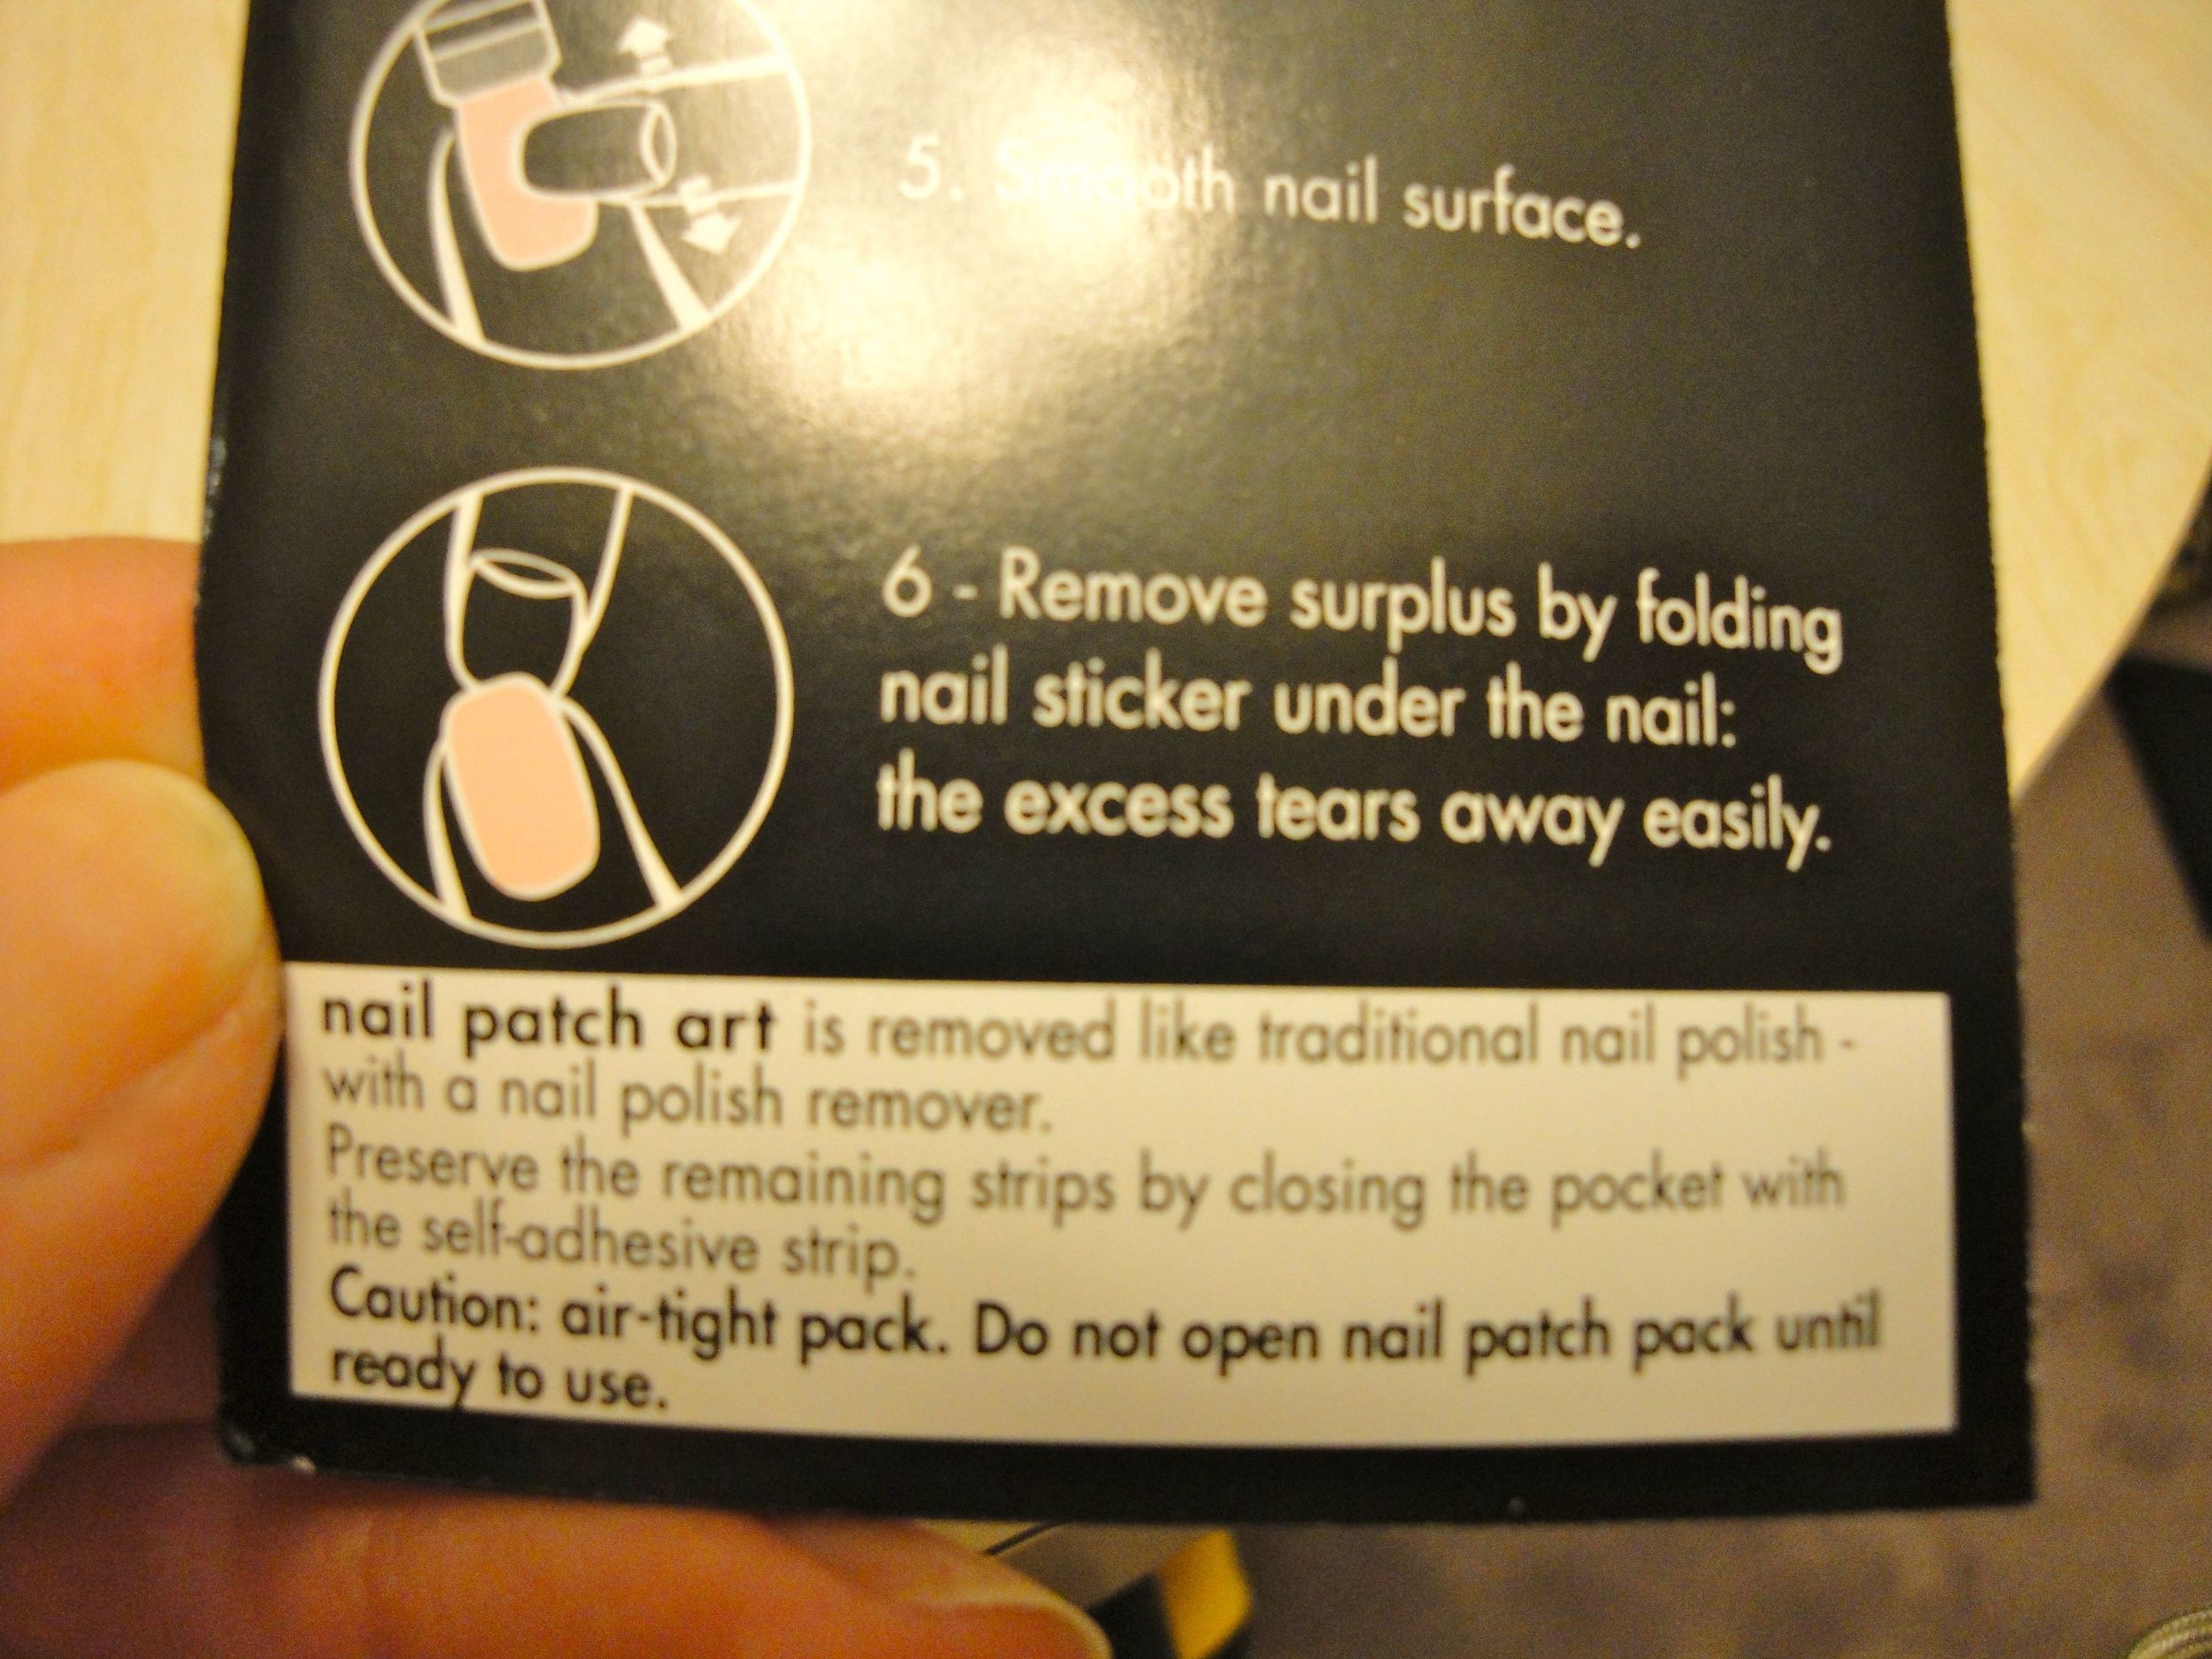
      • The shaping of the nails was a little troublesome, too. The directions read, "Remove surplus by folding nail sticker under the nail: the excess tears away easily." But it's just not that easy. I ended up using nail clippers to trim away the overhang of the patch, so there was no extra material and it lined up exactly with my already-filed nail. Then I gently filed & smoothed away any weird angles...
  • To Top Coat or Not to Top Coat? — Oh, you know it. But beware.
      • I love a glossy finish. I used a top coat when I tried out the Check It Out (houndstooth) Sally Hansen Salon Effects, and it took the look to a whole new level. When I used a top coat on the Girl Flower Sally Hansens, it ate away the pattern a little bit and turned what were once bright flowers into a pastel bouquet. I knew I was playing with fire when I decided to add a top coat to these Sephora Nail Patches.
      • But I did it anyway, and I payed the price. The top coat shrunk my perfectly trimmed patches, leaving a thin white line (my real nail) at the tips. Grrr.
  • S.O.S. (N.P.A)!! — In case of emergency!
      • This called for an emergency tactic. I used my trusty Sally Hansen Black Heart and carefully sealed the tips of my nails, covering the exposed white. The black polish blended perfectly with the black background of the pattern. Problem solved!
  • Wear & Tear — Typical for a nail polish sticker.
      • I wore these for a week with minimal chipping. Keep in mind, these were my Thanksgiving Nailz, so I was helping out with lots of cooking & cleaning. They began to get little chips on the seventh day, but considering what they'd been through, I was impressed.
      • The one thing that drives me crazy — and this is an issue with nail polish strips / stickers in general, not specifically Sephora's — is that you quickly develop a "ridge" between the top of the patch and your cuticle as soon as your nails begin to grow. And what's worse than looking at that ever-growing space? Washing your hair and feeling individual strands get stuck in (or worse, UNDER the) ridge. It's... eugh, omg, I can't even talk about it. Chills. Chills down my spine. Gah.
  • Recommend? I think so.
      • I would advise using the Sally Hansen Salon Effects nail polish strips if it's your first time, since they're easier to use, have more of an assortment of sizes, and are less expensive. I'll stick with Sally Hansen for my nail polish strip needs... unless Sephora comes out with a new, gorgeous pattern like Chinese Blossom that I can't get anywhere else, in which case, game on.
      • BONUS! The package is genius in that Sephora provides a piece of magic silver tape so that you can reseal your leftovers! One of the biggest bummers about the Sally Hansen Salon Effects is that it feels like such a waste; you throw so many away! I am sure the sooner you use the Sephora strips you're able to save, the better, but it was still a nice gesture of them to provide some way to at least tryto entertain the possibility of using them up completely.

xxo, GLOSS

P.S. I was in St. Louis for Thanksgiving, hence the pic of the Gateway Arch. Livin' large!