OPI — You're Such a Budapest & The Lights of Emerald City

opi YSAB w TLOEC

OPI is pretty amazing. I can't claim that this is an actual fact... but I'm pretty sure that they release more colors per year than any other nail polish brand. Imagine their color archives! It's gotta be incredible. I picture an endless hallway of bottles placed on shining pillars protected by glass, like in a museum.

OPI recently released their Euro Centrale & OZ collections. I'll cover off on those in depth later, but for now I wanted to show you a pairing I fell in love with. It's perfect for spring!

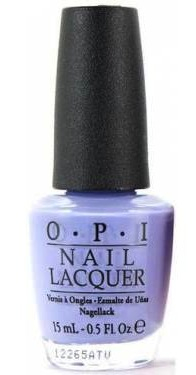
You're Such a Budapest* stole my heart the moment I saw it. I love a good lavender to begin with — and YSAB is a little richer and deeper than the usual pastel purples. It hovers between purple and lavender and leans on the blue side. It's technically a creme, but has a hint of jelly to it. That element of translucency adds a delicate touch to this color.

You're Such a Budapest

I contemplated wearing YSAB solo... but then The Lights of Emerald City* were twinkling at me and I couldn't resist. TLOEC is fantastic. Tiny pieces of square metallic glitter sparkle green, peach, pink and gold, suspended in a clear base. Mixed among them are larger squares of pearl white glitter.

The Lights of Emerald City

TLOEC closeup!

I carefully applied TLOEC so that the white glitter pieces were concentrated toward the middle and tips of my nails, leaving the area near my cuticles clean. I was going for a slightly gradated look.

Here's some indirect sunlight for you.

This is how I was driving the whole time. Gotta check out the nailzzz, lol

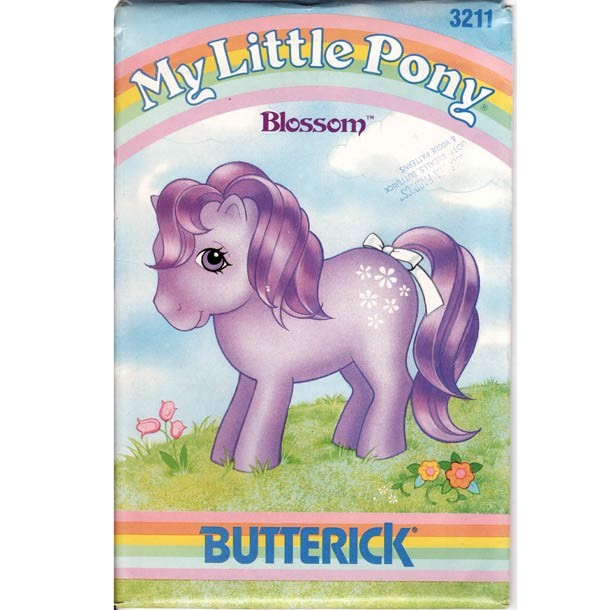
These nails felt very My Little Pony, Pretty Pretty Princess-y, in the very best way possible. These are two new bottles that I am thrilled to have in my collection. :)

These nails just scream "Blossom" to me.

LOVED this game. Anyone ever heard of the lesser-known "Tales of the Crystals?"

xxo, Francesca

*product provided for honest review

Manicure Mania, Pt. III: Glitter Gradient

And so we continue with the mayhem that is Mani MANIA! Next up is a look that's incredibly easy to do and guaranteed to get the nod of approval (or even the ole eyebrow-raise of astonishment) from all of your pals: The Glitter Gradient.

First, pictures:

And now, here's how to do your own Glitter Gradient.

  • I first had to comb through my Stash for some good glitter / base color combos. You'll need to do the same. What we're trying to achieve is a pairing that is pleasing to the eye — but it can't be too matchy-matchy or else the glitter fade will be difficult to detect. Nor can it be too contrasty; too distracting. Eventually, I settled on two polishes that looked great together: ORLY Pixie Dust, a lavender-gray hybrid with teensy specks of silver microglitter, and Nubar Pink Glitter, a pretty shade of pink that's more sparkling rosé than bubblegum.
  • Next, I did my usual Essie base coat, followed by two coats of ORLY Pixie Dust. I let the polish dry down a little and watched a scintillating half hour of Pawn Stars. (That show gets me every time!!)
  • And now, the fun part. GLITTAH. Do not shake the bottle. With a lot of glitters, you'll notice that the glitter sinks ever-so-slightly, leaving the bottom of the bottle very dense with glitter and the upper part of the bottle with fewer glitter particles. Carefully remove the brush from the bottle. We want to dip into the very top of the polish, the part that is mostly clear polish with only some bits of glitter here and there.
  • Then, paint about 75% of your nail with this diluted glitter formula. Don't go straight across; kind of move your brush like a zizag at the top, to avoid a clear line of demarcation between glitter and no-glitter on your nail.
  • Okay, now give that bottle a decent shake (like how you'd shake a bottle of milk). This will stir up the glitter and give you a more concentrated glitter mixture to paint with. Now paint 50% of your nails with this shaken-not-stirred polish. Use the same zigzag strategy.
  • One more step! Shake, shake, SHAKE. I mean really shake it (like when you were in second grade, and you brought in small glass baby food jars and added cream and then shook it the entire day to make butter). Get the glitter as mixed up as you can! This will give you GLITTERO MAXIMO. Paint just the tips of your nails, say the bottom 25%.
  • Top it off with your favorite top coat and BAM! Sparkle fingers FTW!

sparkleandshine, Francesca

Manicure Mania, Pt. II : A Tribute to Sweet Pea

You may remember this post about Mademoiselle Marie's awesome pastel manicure, during which I fell in love with a peacock lamp from Etsy. And, in fact, one of you encouraged me to splurge. (Megan, you devil.)

When it comes to apartment accessories, is there anything more essential than a vintage, opalescent, peacock-shaped lamp complete with a rainbow Lite-Brite tail?

The answer was obvious. I needed this lamp.

To celebrate my purchase investment, I created a manicure inspired by none other than Sweet Pea herself.

I used OPI Alpine Snow as a base, topped with two coats of an opalescent, sheer color. Then, when my nails were dry, I painted the tips of my nails with clear and dipped them into some glitter from Bath & Body Works that I've had since, no joke, 1999. The last time I wore it was at Dave Matthews Band concert. (LOL.) A thick coat of Seche Vite sealed the deal.

dedicatedtomypreciousSweetPea, Francesca

Spotted: Stiletto Done Right

There I was, battling the masses at Target. I was on the defensive. My mission was to get in, get out and OH why hello there... Distraction! Gold glitter! Peachy orange! A stiletto nail!

I spotted Kia, who was sporting a wearable version on the on-trend stiletto nail. Note how her nails taper to a subtle point but avoid looking like sharp daggers. She also chose a girly, friendly peach instead of a dark vamp or blood red shade. It keeps the mood light and playful instead of dark and deadly.

Nice work, Kia! (And nice to meet ya.) ;)

xxo, Francesca

P.S.