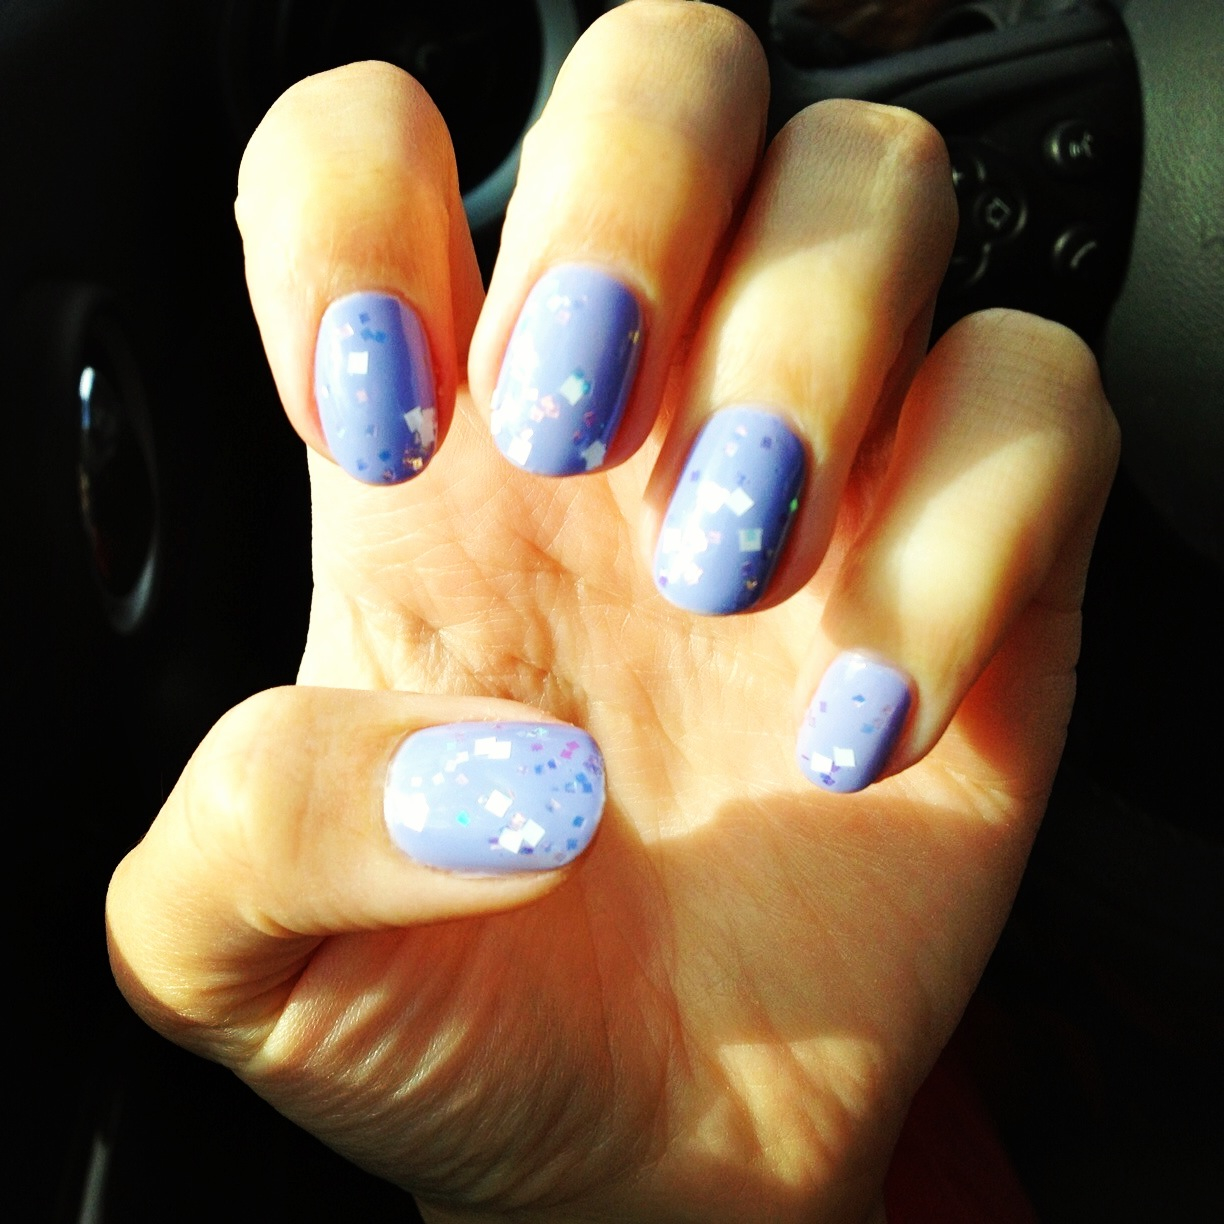
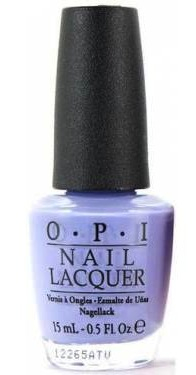
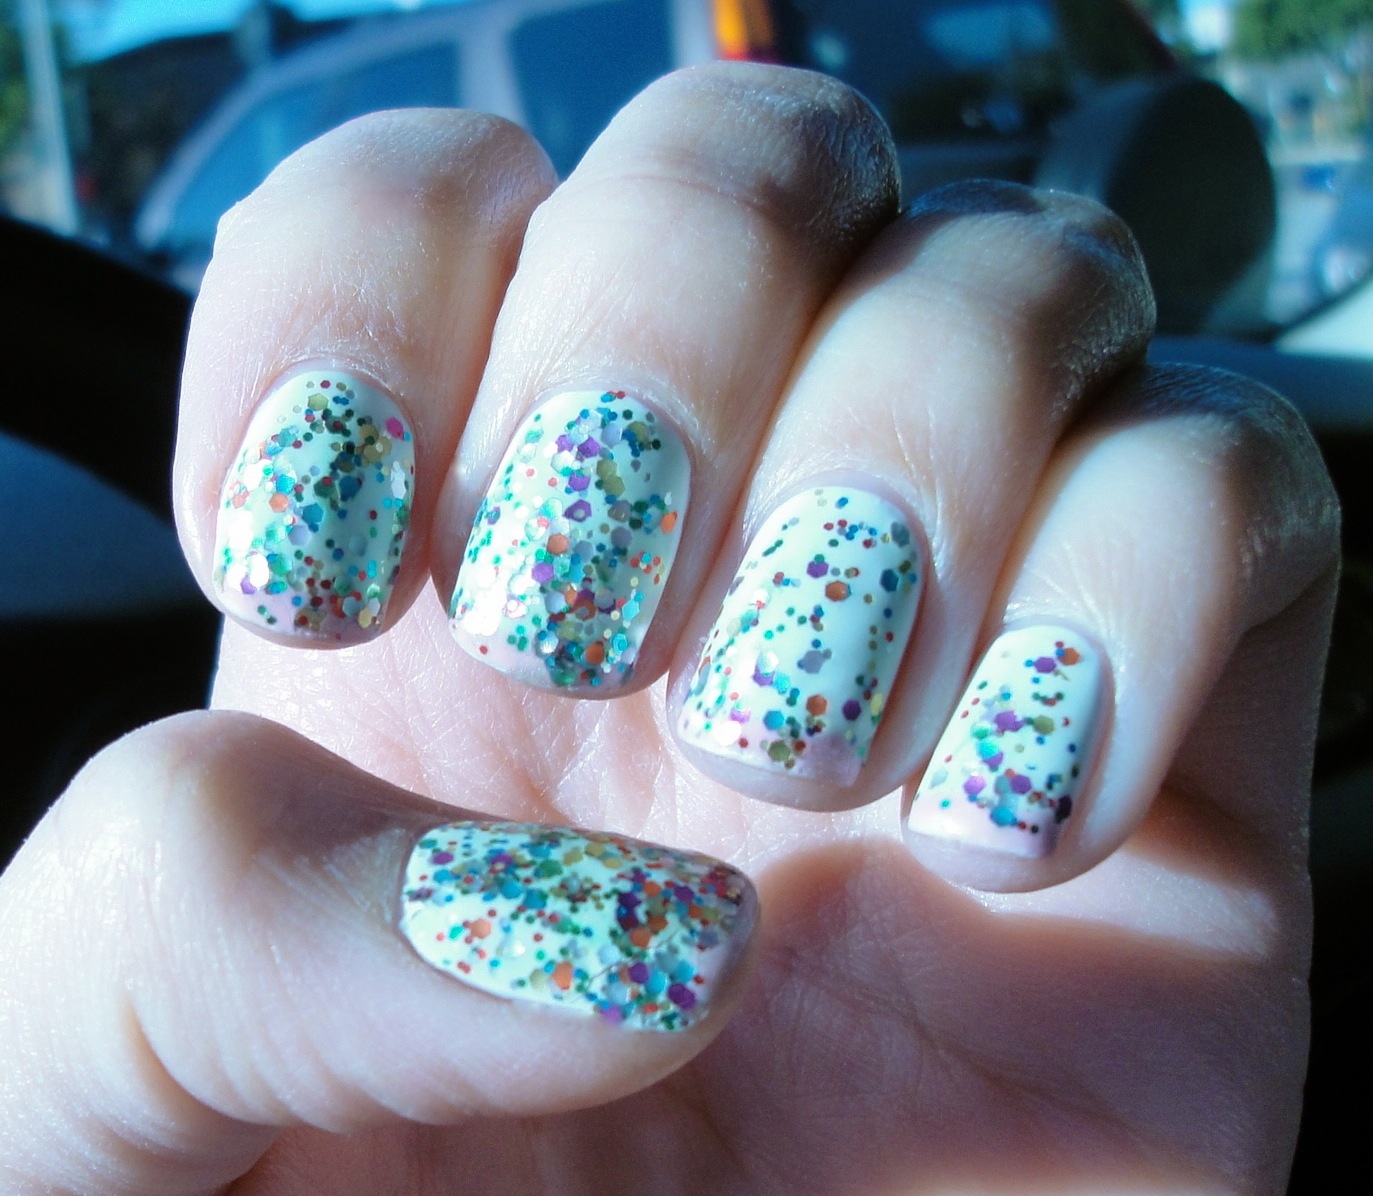
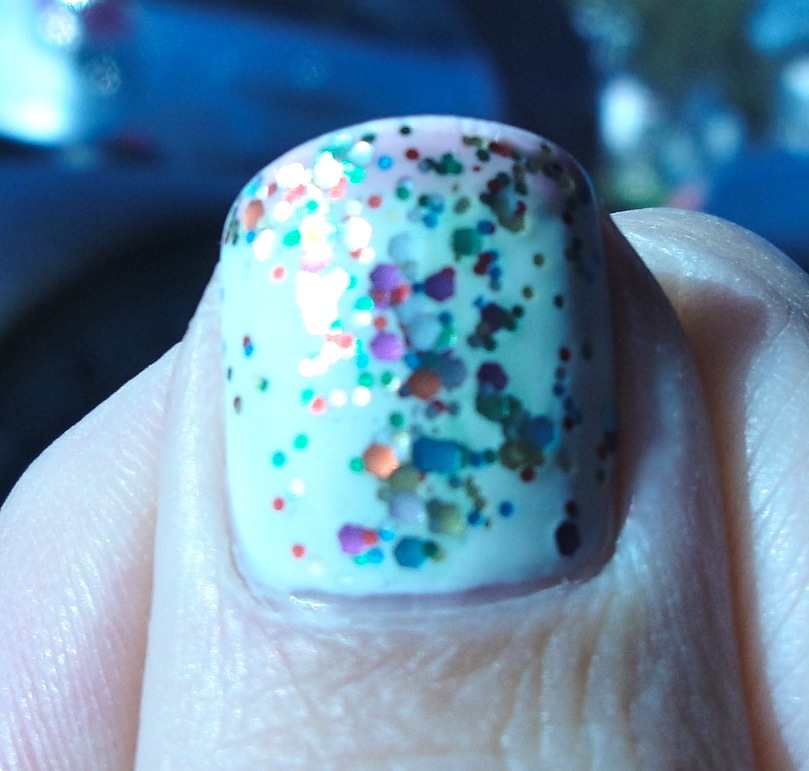
 I am flattered that my friends come to me for polish advice; after all, I do have a nail blog. But you see, more often than not, the questions have less to do with cool colors and nail art... and more to do with maintenance. And the most popular question of all is:
Francesca, how do you get your nail polish to stay looking so good for so long?
The answer is simple: years of practice, quality products, a few extra steps (and tools). Oh... and extra time, too!
1. Cuticle remover on a somewhat regular basis.
I use Sally Hansen Gel Cuticle Remover each time I do my nails. Slather it on your naked nail, wait a few minutes, then scrape your nail with a wooden cuticle stick or a clean-up brush with a slanty end. You'll see that you not only slough off dead cuticle skin at the base of your nail, but you can also remove a thin layer of gunk from your actual nail. Basically what you're doing is exfoliating the nail like you would your face, if you will. That dead layer is a problem... and it needs to go. TIME: 8 min. (5 min. goop time, 3 min. scrape time)

2. Filing & buffing is a step you cannot skip and expect long-lasting results.
Always file your nails before you start painting. In addition to polish wear and tear, you get tiny little nicks on the edge of your nail throughout the week. You may have noticed these before. A nick is the weak link in the proverbial chain of your perfect nail; a nick will lead to a chip. So file for a smooth edge.
While you're at it, note that the minutes you spend shaping your nails are never wasted. Careful shaping is what makes a good manicure become a great manicure. The shape you choose is up to you!

I used to do square, which then evolved to the "squoval," but now I swear by round or oval-shaped nails. I find that they are more flattering for my hands (debatable, lol) but the main reason I go round/oval is that I find my nails barely ever break. And they take a while to chip. I credit this in part to the round shape. If you're having major chipping issues, even after you follow my other tips, then give the round/oval shape a try and see how it works for you.
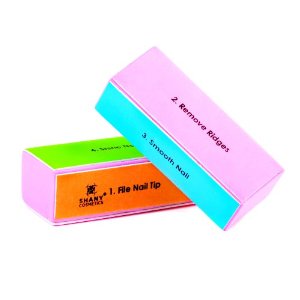
As for buffing... you don't need to do this each time you do your nails. In fact, be careful of overzealous buffing, as it can lead to a thin, weak nail. The right kind of buffing, done two times a month or so, will gently scuff up the top layer of your nail so that polish will stick to it more easily. If you have a 4-step buffer and you plan on painting your nails, use only the "Step 1" and "Step 2" sides. The other sides will buff your nails to a shiny finish, and that is the opposite of what we want. We want a dull, matte finish. TIME: 10 mins. (8 mins of filing; 2 minutes of light buffing)
3. No oil, no cry.
Wash your hands throughly before you get to painting; oils from your fingertips, face, food, or who knows what else, will keep polish from perfectly adhering to your nail. Some moisturizing soaps will leave a film. I use Method's Cucumber liquid soap for all of my bathroom hand-washing needs, and it's great for pre-mani prep. If you're really nervous about oils lingering on your nails, douse a cotton ball in a little alcohol and swipe over each of your nails. (Just note that alcohol is very drying, so when your manicure's completely dry, be sure to moisturize.) TIME: 1-2 min.

4. Apply the perfect base coat.
So you've removed weird layers of dead skin, you've shaped your nails to perfection, gave 'em a light buffing and have successfully created a clean, dry canvas to work with. And so the real fun begins! Painting. Start with a base coat, and make sure it's a good one.
Full disclosure: I have not tried every base coat in existence. But I have tried more than a few, and I have two favorites. Devoted readers know that Essie Ridge Filling Base Coat is my number one jam. Whether your nails have ridges or not is irrelevent; what this base coat does is create a perfectly smooth foundation for your color. It's also slightly tinted, so it dulls down the natural color of the "moon" (the lunula) and the white tips of your nails. That's fantastic because it'll help you avoid the dreaded VNL (visible nail line, in nail-blogger speak).

My second favorite is Orly Bonder. It's a rubberized base coat; this is no marketing gimmick. It's oddly sticky to the touch when dry. I use this when I'm doing a manicure that doesn't need a smooth, glassy finish... like a glitter... and I really want some staying power. Whichever base coat you use, make sure you let it dry a bit. TIME: 7 min. (1-2 min. base coat application, 4-5 min. dry time)

5. Be careful with color.
In general, thinner coats are better than thicker coats when it comes to avoiding chipping. I like to do a pretty thin first coat and then a medium second coat. The first coat is where you should invest your time and energy; this is where you want to carefully paint as much of the nail as possible, getting close to all edges without flooding them. Also try to wait as long as you can contain yourself before you apply the second coat. Second coat's fun because you can just slap it on!
Another color trick is called "wrapping the tip." This means putting a tiny bit of color on your brush and lightly painting the edge at the end of your nail (or even slightly underneath the edge, if your nails are long). I sometimes skip this step. If you are going to wrap your tips, I recommend doing it after the first coat. If you wait until after the second, you may not get as smooth of an overall finish. TIME: 15 - 20 min. (including dry time in between coats)
6. Don't forget to top it off!
Let your manicure hang out for about 4-5 minutes before you apply a top coat.
My favorite top coat, hands-down, is Sally Hansen MegaShine. I've used it for years. 15 maybe? It's the best. The. Best. Not only does it add incredible GLOSS, but it helps your manicure dry much faster, too.

Seche Vite is very popular; it's too gunky for everyday manicures for me, but I do use it when I am working with a chunky glitter that I want to smooth out. Fellow blogger Lashesandlips came to this same conclusion. Jenna on Jezebel.com loves Sally Hansen Insta-Dri. That's pretty good, too, but I still prefer my MegaShine.
Even though top coats are clear, don't get sloppy. Apply too thick a coat and you'll get bubbles. Too thin a coat and the top coat's brush may drag on your color coats and smudge them. TIME: 6-7 min. (including the wait time prior to application)
7. Be patient.
After all of your hard work, you don't wanna mess this up! I like to paint my nails while I do computery things, read, or watch a movie / TV. The sad fact is, polish is paint and it needs to dry. Sometimes I'll paint right before bed with my face washed, teeth brushed, contacts out, etc. That way I can hop right into bed and be done with it.
So how do I avoid sheet marks? I sleep Cleopatra-style (okay, maybe not actually arms crossed...) or I have been known to lie on my side to create a safe pocket of space beneath the covers and I put my hands there. It sounds crazy, but it's crazy enough to work.
TOTAL TIME: 54 minutes, not including complete drying time.
And there you have it! TL;DR, I know. And if I missed any great tips or left out any must-have products, please share in the comments!
sayciaociaotochips, Francesca
