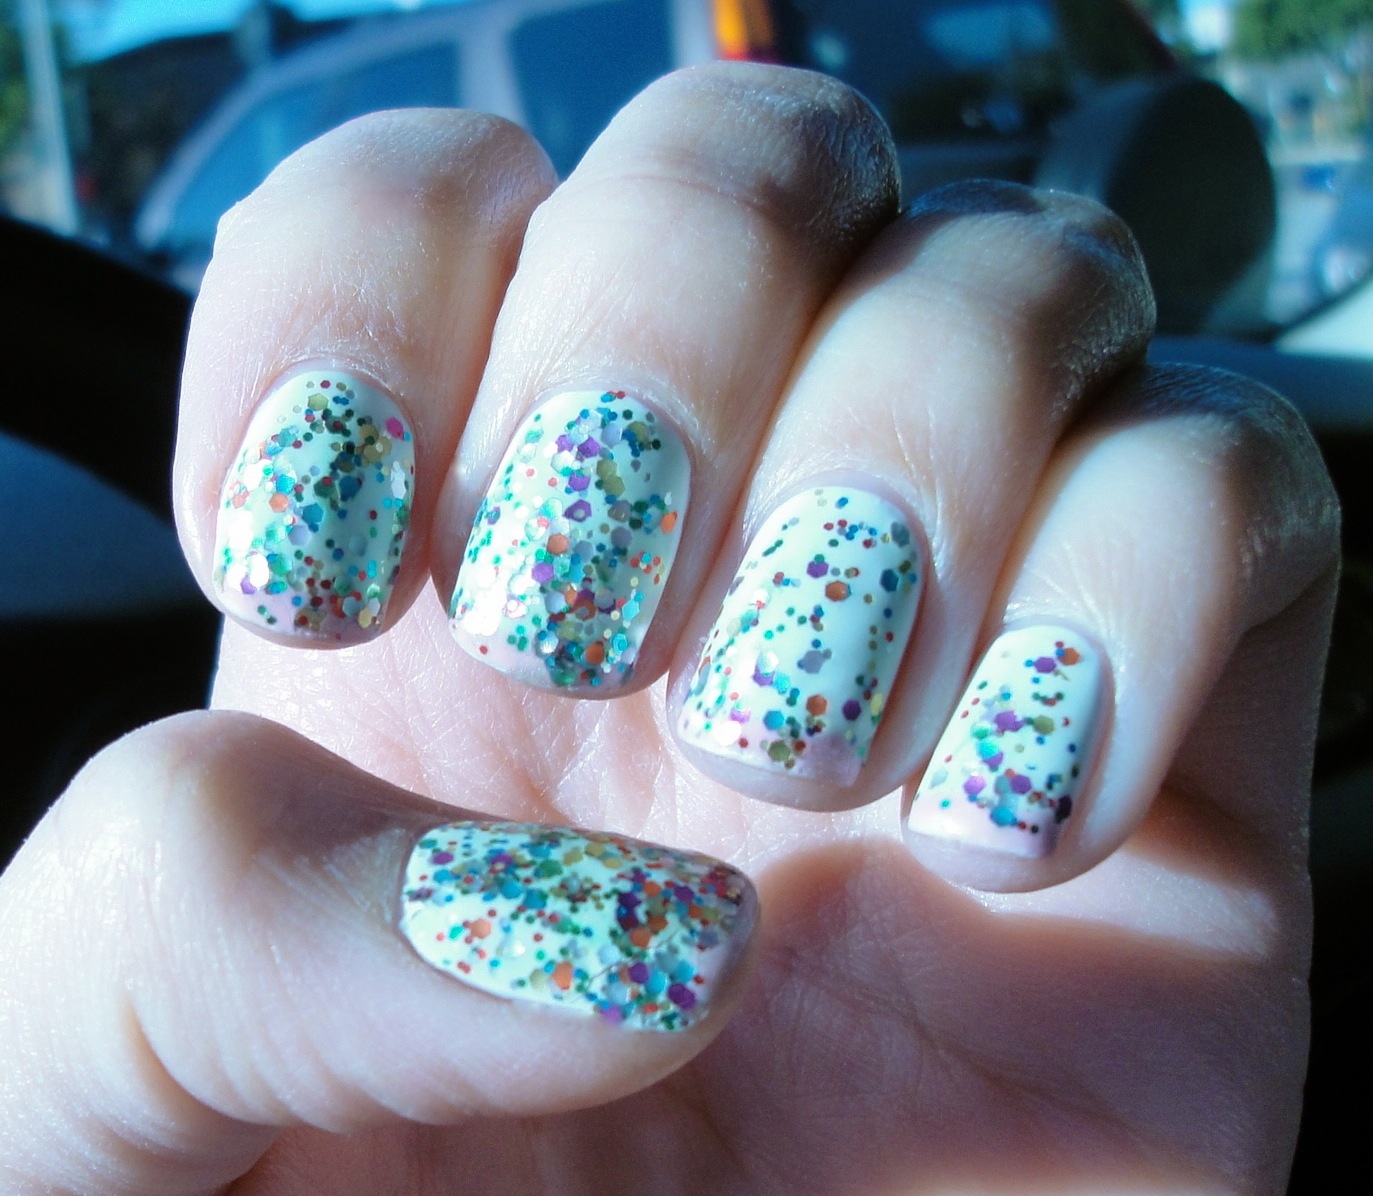
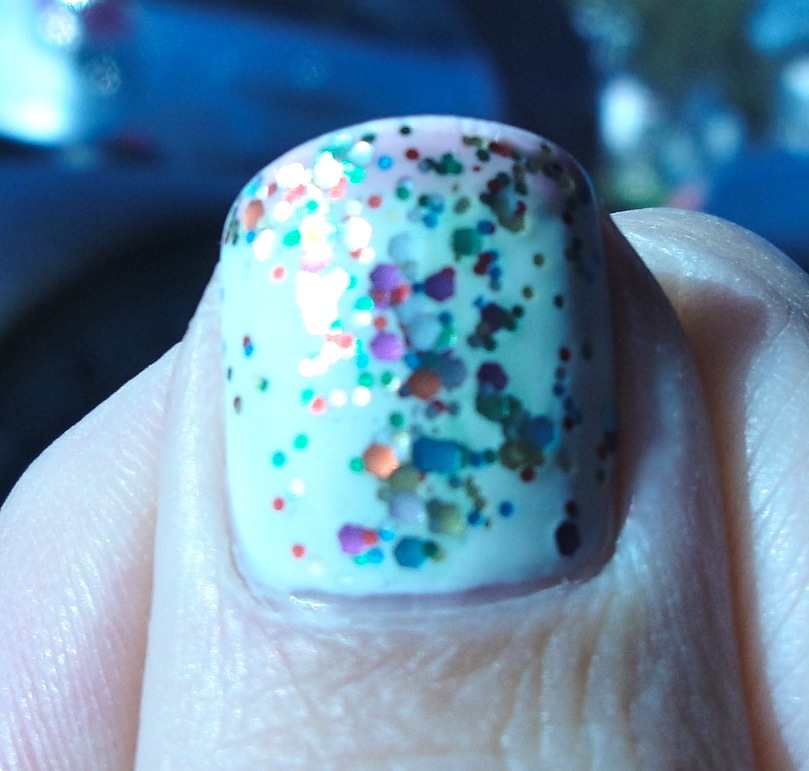
Funfetti Glitter Mani
One of the world’s most simple joys is Pillsbury Funfetti cake mix.

It's not just plain ol' vanilla. I guarantee you that, in a blind taste test, I could detect the true Funfetti out of a selection of French vanilla, vanilla, white cake and yellow cake samples.
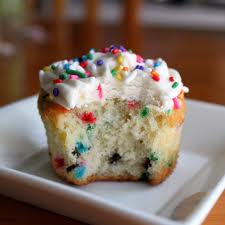
Funfetti is different. Funfetti is... special. There’s just something about that trademark treat when you bite or slice into it… pale, fluffy cake with cheerful dots of color.
Over the past decade or so, “cake batter,” “cupcake,” and "birthday" flavored and scented things have become increasingly popular. I've seen lotion, perfume, candles, frozen yogurt, ice cream and more, all made to smell like cake.
It occurred to me that, out of all the cakes you can make or buy, Funfetti is the epitome of all things cakey. And here's why.
Funfetti is cake-batter flavored cake. And it’s deliciousss.
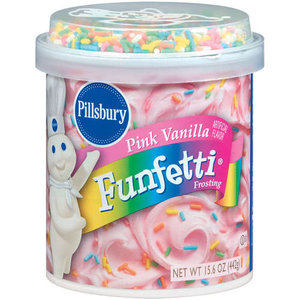
I’m usually very strict about my cake… I like to bake from scratch BUT I make an exception from time to time for Funfetti. When I do whip some up, I compensate by making a homemade frosting; either rich milk chocolate, or an angelically pink vanilla.
It was with pink vanilla Funfetti cupcakes in mind that I crafted the glitter manicure you’re about to see. I was also inspired by a recent purchase — Essie’s Matte About You. I’ve been contemplating matte top coats for a while now, and my online research confirmed that Essie’s formula creates the best matte finish.
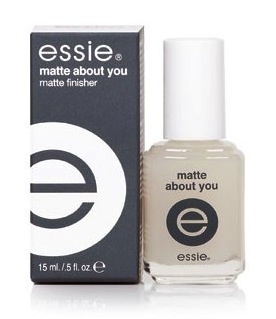 I love when frosting completes the transformation from fresh and shiny to that final stage when it has “set” with a thin, slightly crisp, somewhat matte shell or crust. Toothsome! A matte top coat would be the perfect finishing touch.
Want more desserty nail trends? Help yourself! There's plenty to go around. And if you've got some desserty nails to share, send them to us! We'd love to post them.
definepolishment@gmail.com
xxo, GLOSS

