Spotted: Mademoiselle Marie — Part Eight

Well, the month is nearly halfway over and I realized that I forgot to tell you...

...that I came up with a theme for my January posts!

It wasn’t technically deliberate. I was coming up with my Nail Planz for the month and it seemed like almost everything was revolving around…

GLITTER.

So, last week brought you Marie’s (and my!) Red Sparkle Mani plus Alpha’s Gobs of Gold Glitter. And we can't forget Whiskey's Snow Globe Mani.

Between now and the end of January, you can expect four (yes, four) more glitter-centric manicures, modeled by moi. And did I mention that two of these will feature HTFs?! (That’s “hard to find,” if you’re new to the nail blogger lingo.)

We’ll also talk about the various types of glitter, which of course leads us to the best way to get all that glitter off!

For today, I shall leave you with another one of Marie’s marvelous manicures. And yeah... there's glitter.

If you've been loving Mademoiselle Marie's manis (the eighth installment already... hard to believe!) then give thanks this day, because it's her birthday. :) SHOUT OUT TO MY PAL MARIE!!

Marie goes to Marie's Nails on 3rd Street here in Los Angeles. Her good friend Shigeko Kawaguchi is the artist responsible for Marie's polished look.

http://marienails.com/

Stay tuned for a new Mademoiselle Marie post next week.

allthatglittersisnotgold,buthotdamnyouknowiloveit, GLOSS

Spotted: Mademoiselle Marie — Part Four

Hey Kittens, Looking for inspiration before you get your weekend manicure? Let's turn to my favorite muse: Marie!

May I present: MADEMOISELLE MARIE — Part Four.

Marie goes to Marie's Nails on 3rd Street here in Los Angeles. Her good friend Shigeko Kawaguchi is the artist responsible for Marie's polished look.

http://marienails.com/

Stay Shiny, GLOSS

Mummy Tape Mani & Orly Androgynie Review

Whilst browsing the Internet, I stumbled across an amazing blog: Nailside.

Jane, at the tender age of 21, is absolutely amazing. I clicked and clicked and clicked away on her blog, filled with inspiration. I plan to try out a lot of her techniques over the next few months, so I decided I'd better master the basics first.

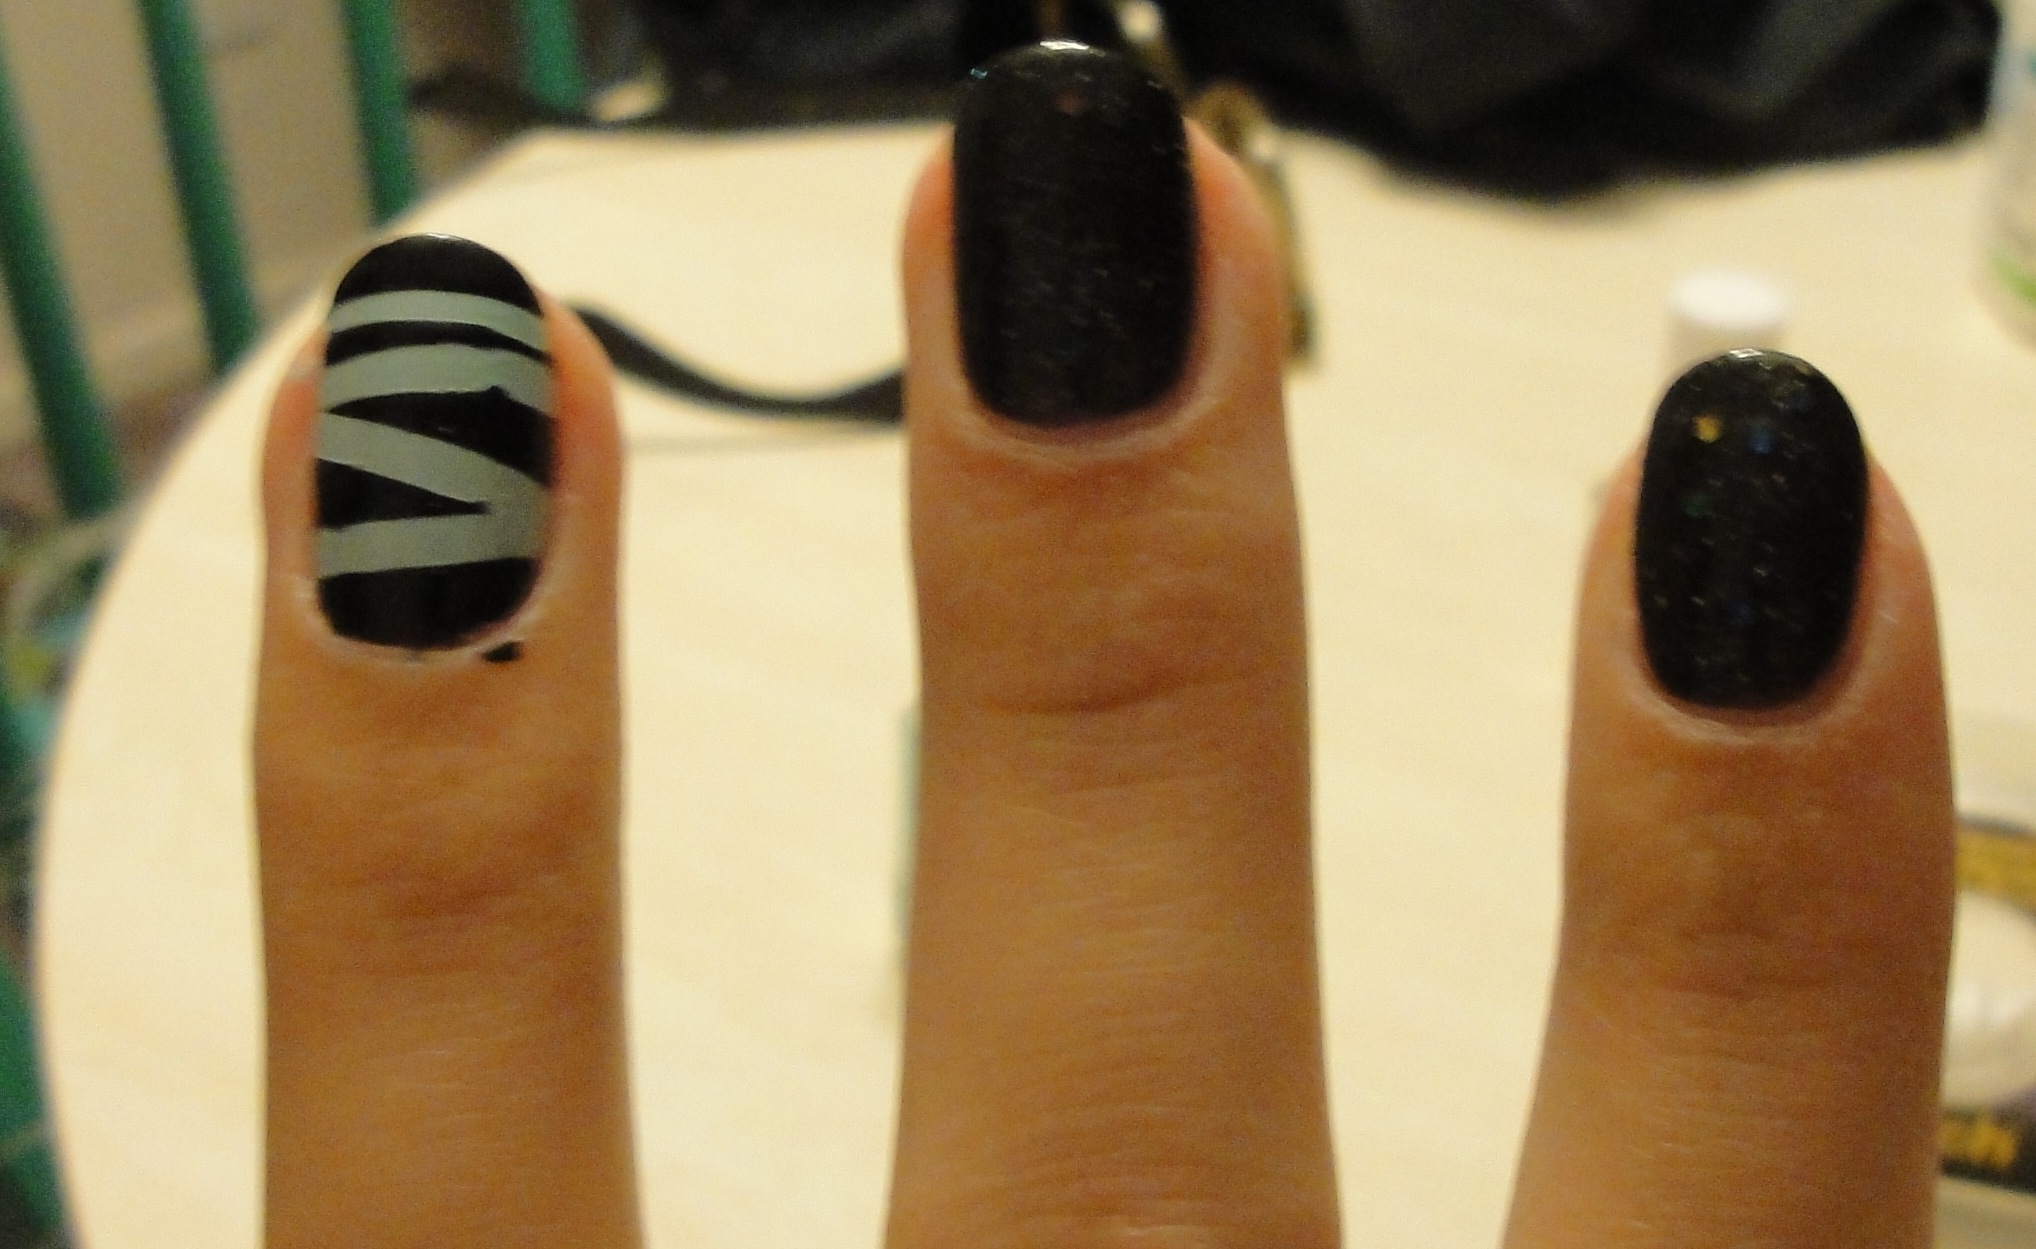
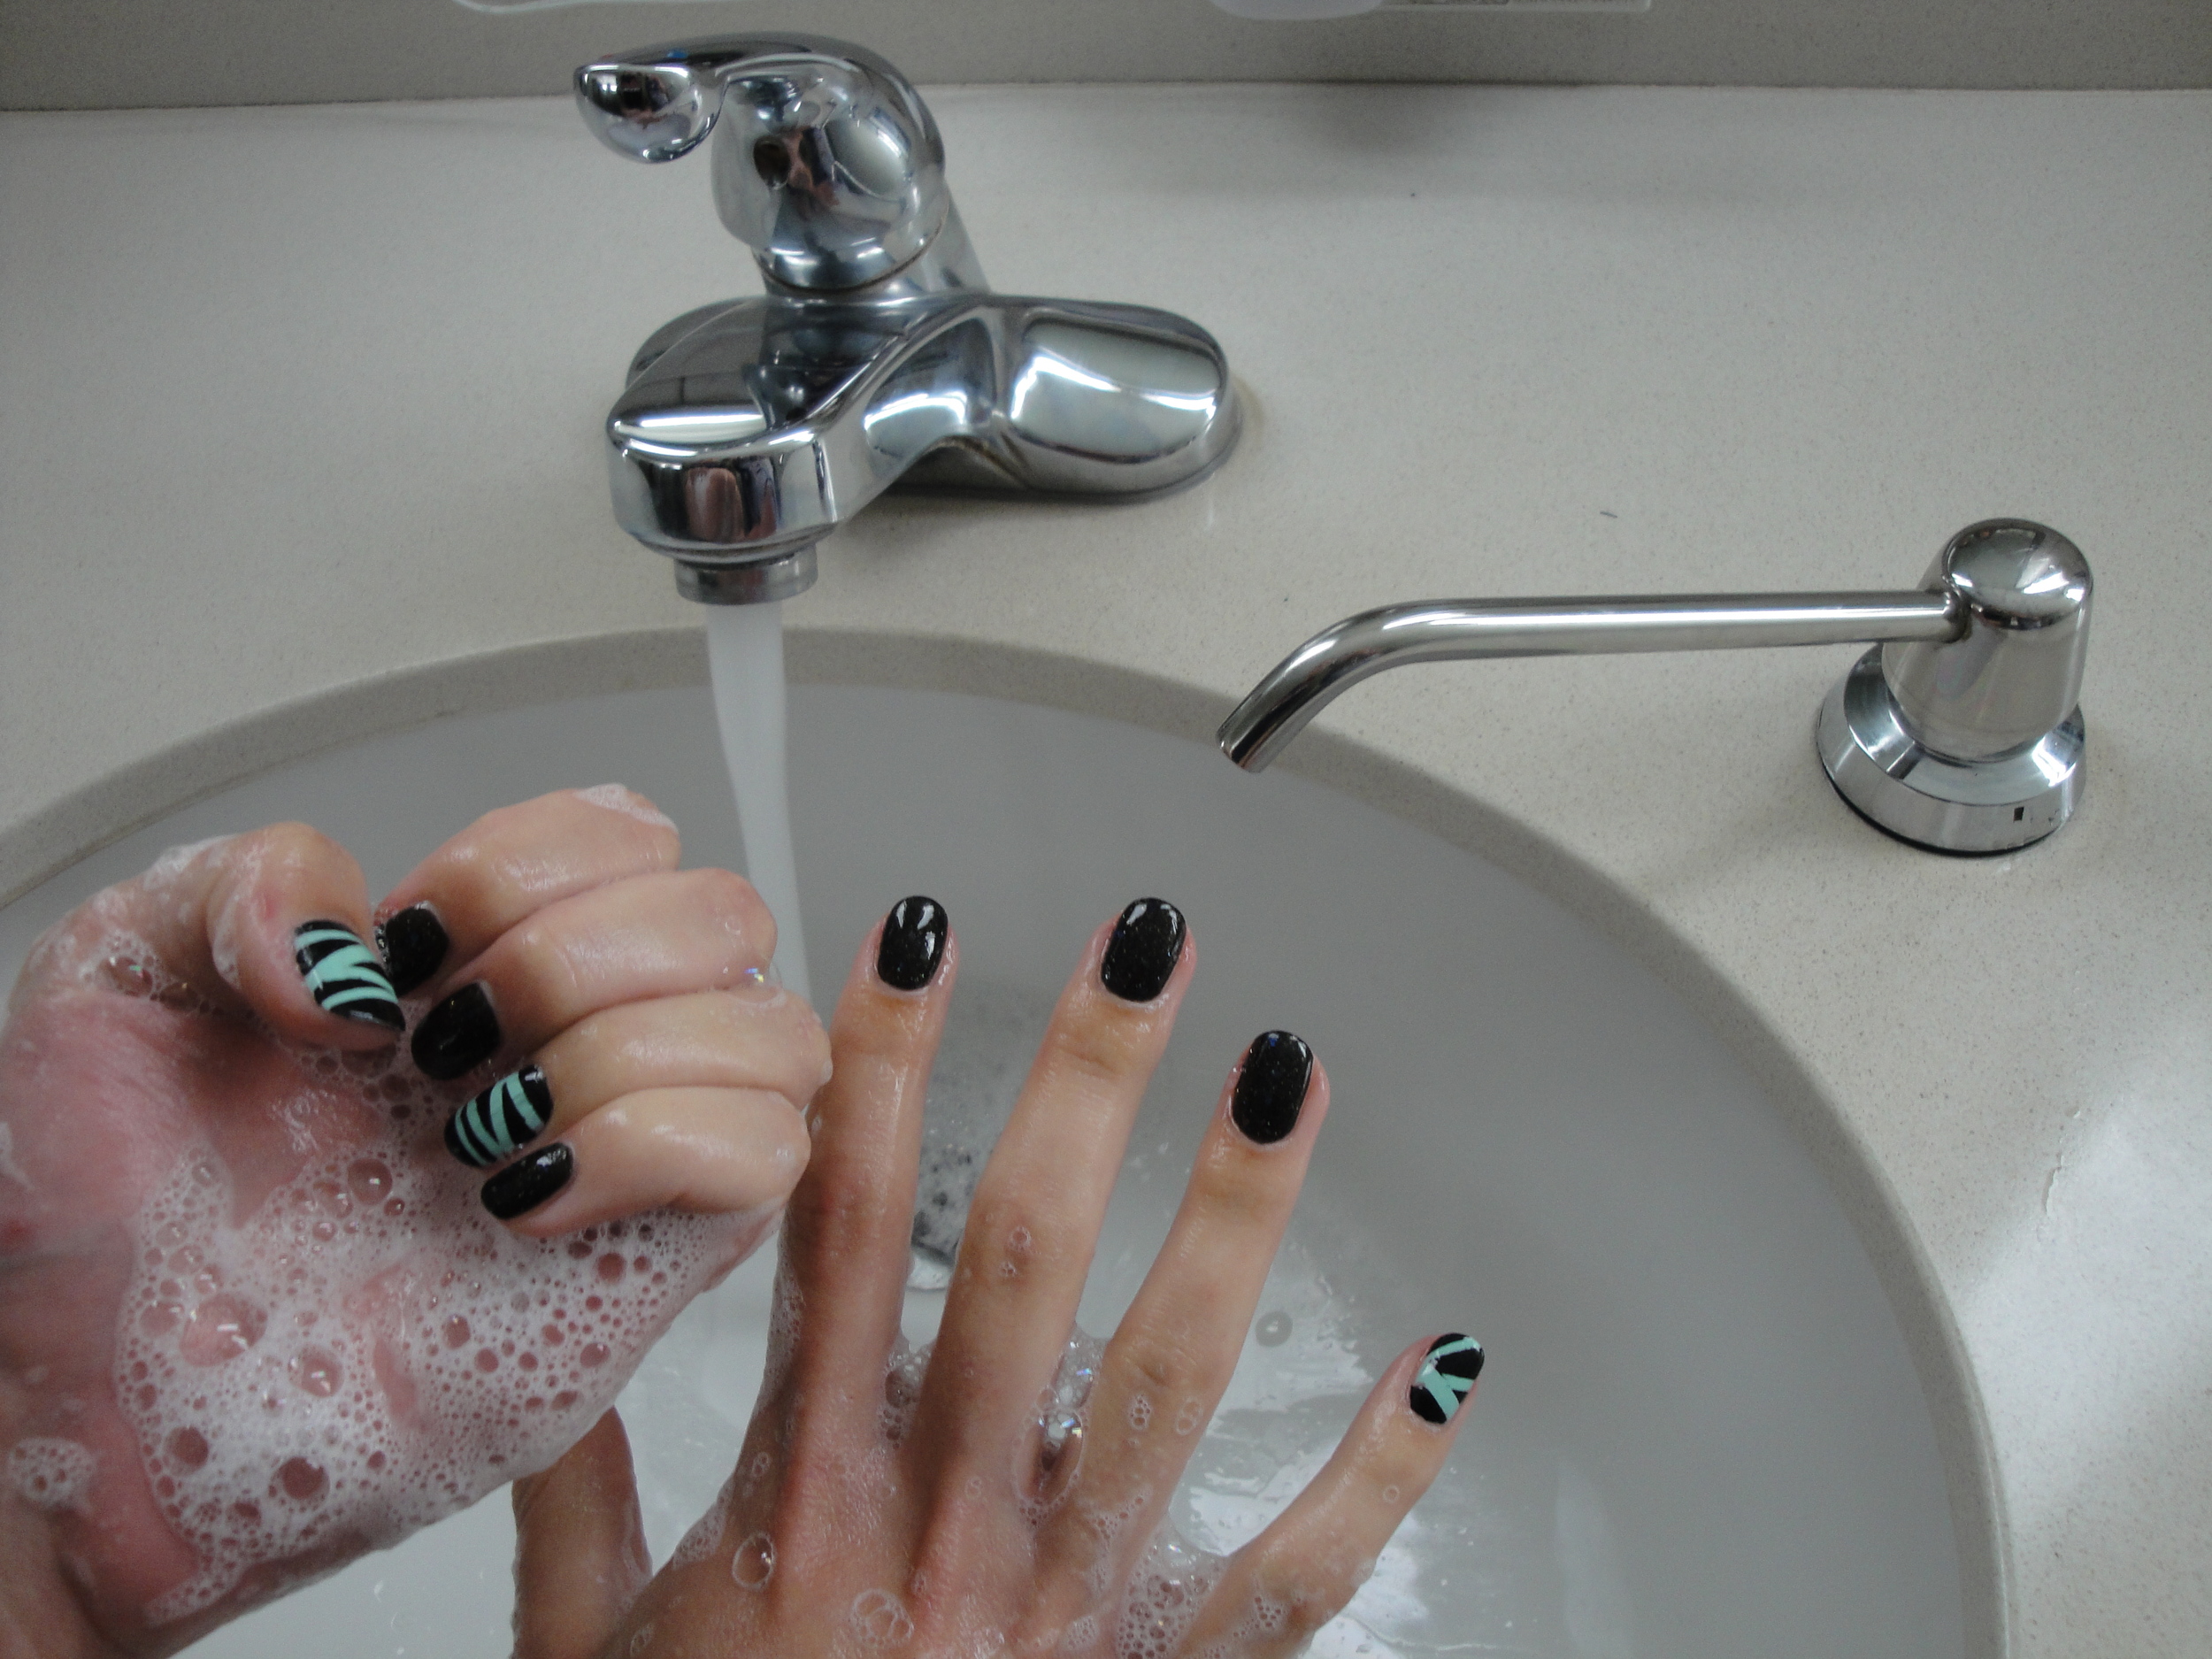
I used her "Mummy Tape Mani" tutorial as my guide. I was a little apprehensive, so I decided just to do a few accent nails. I chose my left ring finger and thumb, then threw in my right pinky for a little extra cray cray.

MAH COLORZ

Accent nails: I used Essie Mint Candy Apple as my base, and Sally Hansen Hard as Nails Black Heart as my top coat. "Normal" nails: Orly Androgynie


Let's just say my dreams came crashing back to earth. Everyone said the gray jelly base is too dark, leaving you with a "dead glitter" look. "Dead glitter? What does that even mean??" I asked myself. Now I know!

The base is just too dark. I used three light coats and you can barely see any glitter. The base obscures any possible sparkle. Not to mention, the glitter sticks to the sides and bottom of the bottle. I shook vigorously for a very long time, but it didn't do much good. I ended up tapping the "stick" part of the brush onto my nails to steal glitter off of it. Low budget, right?

I would not advise the purchase of this particular Orly shade. If you truly feel like shelling out the dough, check out Alexandra's mani. She did it; must be witchcraft. ;)

xxo, GLOSS