There are only two mistakes one can make along the road to truth; not going all the way, and not starting. — Buddha
Well, I definitely went all the way on this one. TWICE.
You know that sinking feeling you get, about halfway through a project, when you realize that everything's gone to hell in a handbasket? Why, yes — yes, I do.
I had this awesome (though not necessarily revolutionary) idea for
Candy Corn Nailz. Emboldened by
my recent Mummy Tape Mani success, I figured I was Master of All Things Tape now, so it would be easy peasy.
White near the cuticle, orange in the middle, and yellow tips. Thumbs would be mellocreme pumpkins, complete with bright green "stem." Maybe I'd even make a few nails look like chocolate candy corn. Why not?
... And why stop there? Why not ALSO do my friend (to protect her identity, we shall call her "Bubbles") Bubbles's nails, too!
I made several missteps, and I will share them with you now, so you avoid the same fate.
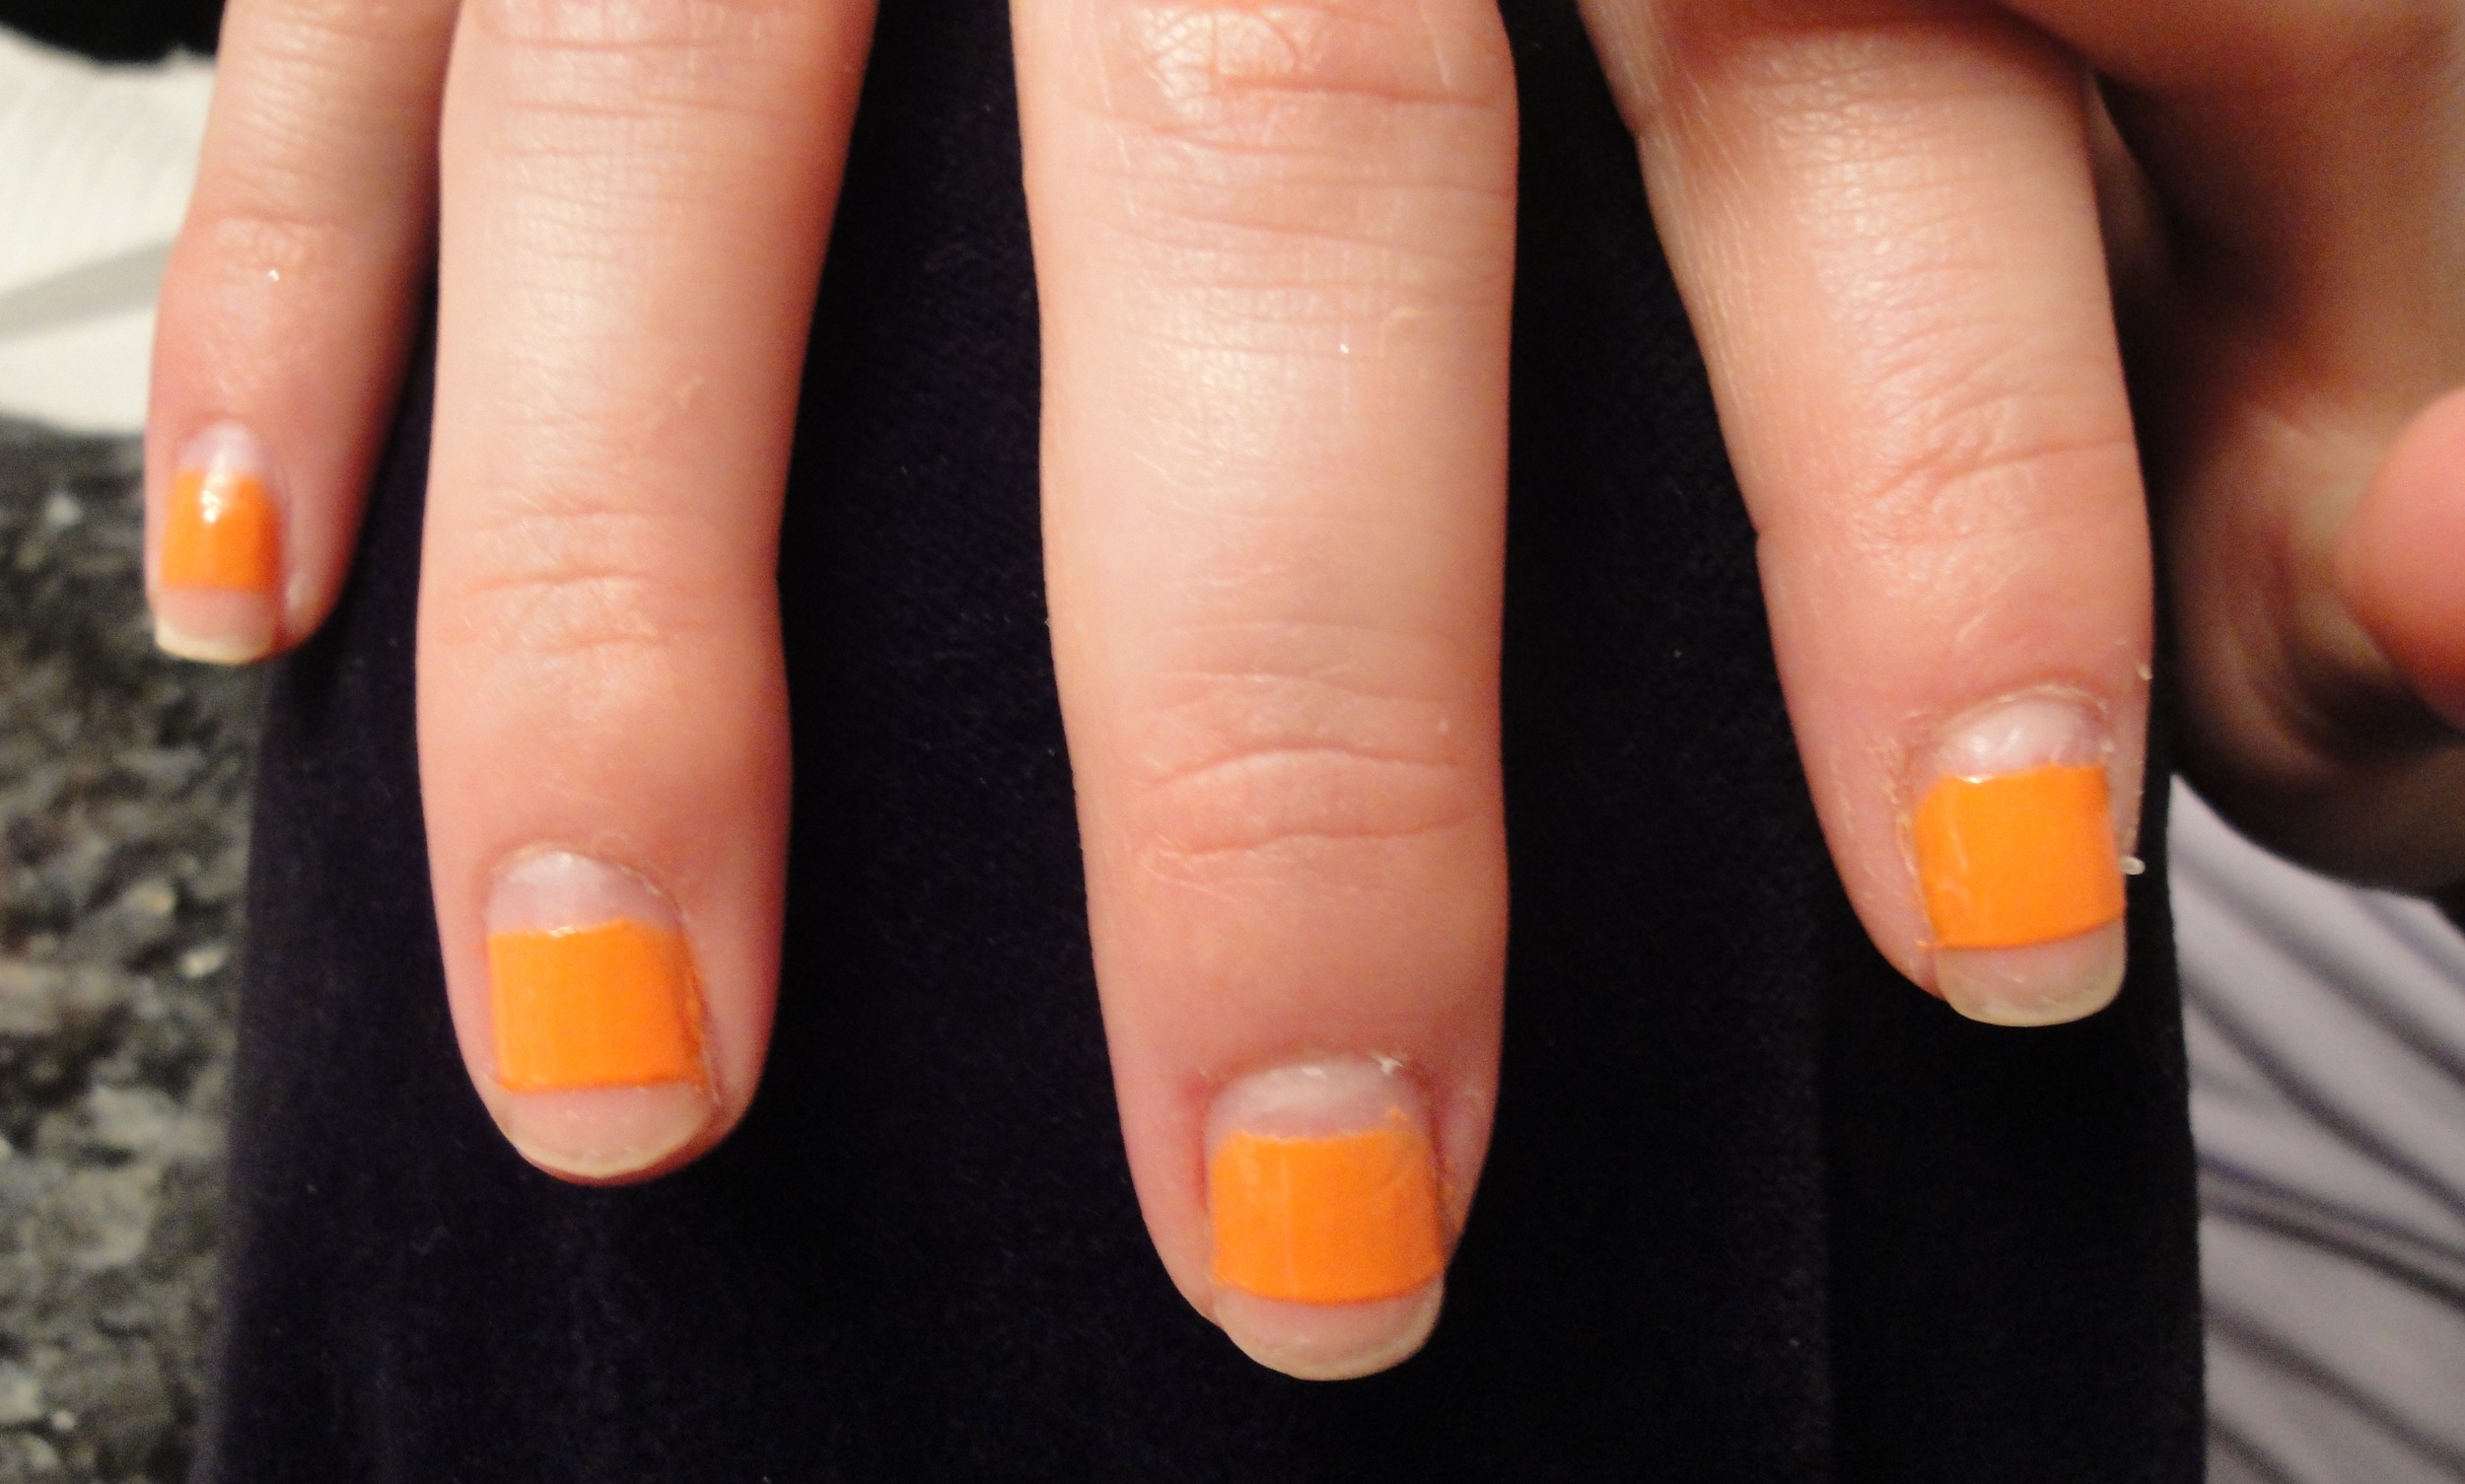
1. Out of fear of lightening up my colors too much, I did not do a white base. In a moment of very poor judgement, I taped off the middle section first and painted it orange. LESSON: Should have done a white base. LESSON II: Taping off and painting the middle section nail is tricky, time-consuming, and not recommended.
2. Not only did I foolishly paint the middle orange... I made a custom orange. That's right. Custom. And that's just asking for trouble, especially when you don't mix enough of the custom color at one time. It was more of an inside joke with myself. Nail bloggers call custom mixes "frankens," as in Frankenstein. And this manicure was Halloween themed. Get it? Halloween? Franken! Haha ha ha ahh... Okay. LESSON: Beware of custom mixes, and if you are going to do custom, make it in a bottle or else you will a) not have enough polish or b) it will dry up on your low-budget tin foil palette before you can put on a second coat. True story.
3. I tried a new product for the first time: Stripe Rite. It's made for nail "art." I thought it was same ole same ole polish, just in a cute little retro bottle with a tiny brush. It's not. It's paint. Real paint. It dried matte and chunky, like the tempura paints from elementary school. LESSON: Nail art polish is for nail art only, not for an entire third of your nail. LESSON II: Don't try a weird new product when you're working on something tricky like this. And definitely don't use your friend as the guinea pig first. :( Teehee! ;)
In summation, a Candy Corn Manicure has the potential to look really cute, and if you learn from my mistakes, you can achieve a clean, expert looking Halloween mani. Please let me know if you do — I'd love to post your pics!
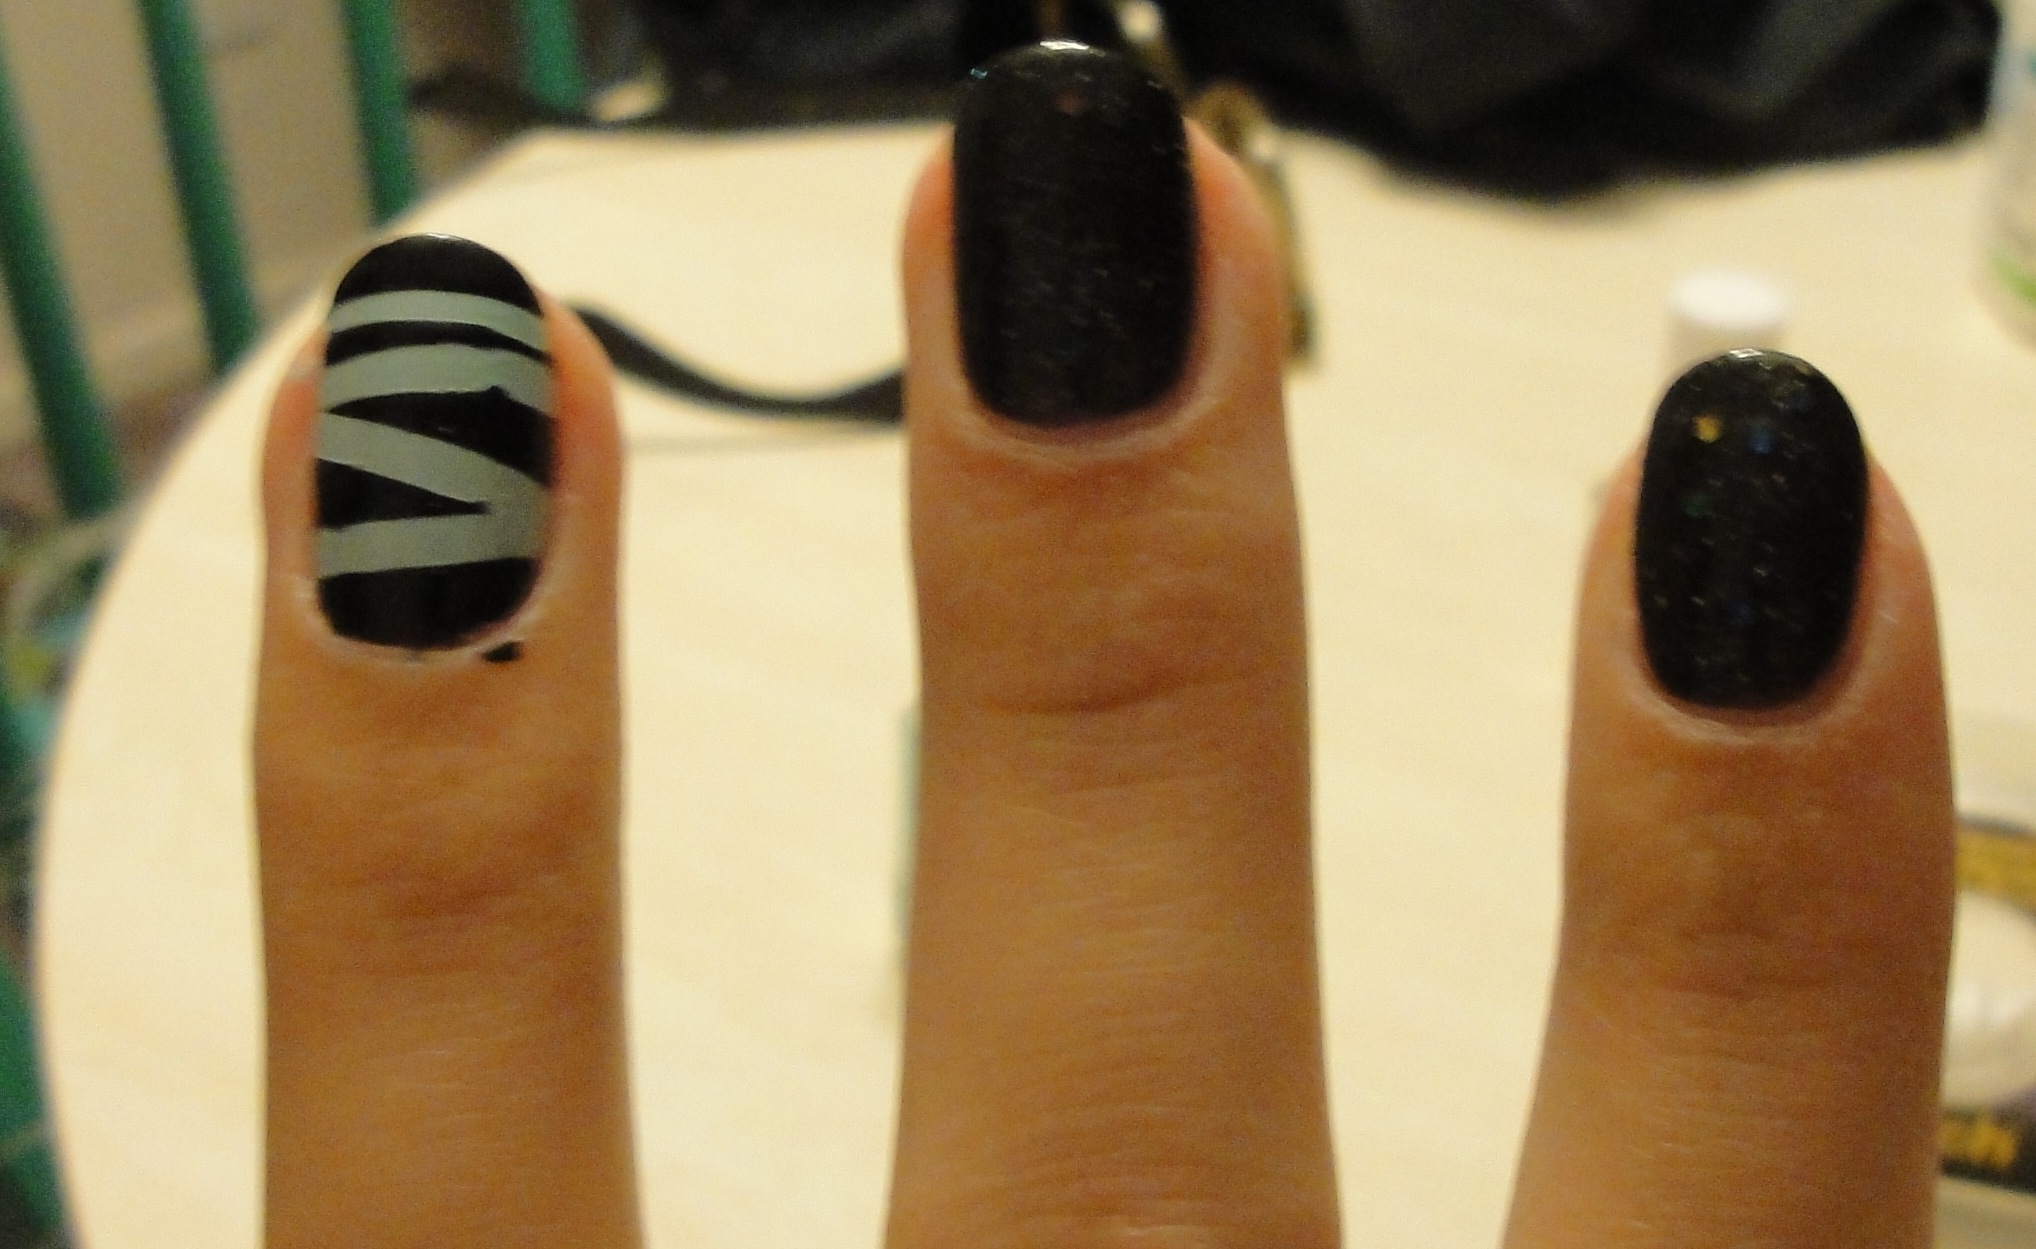
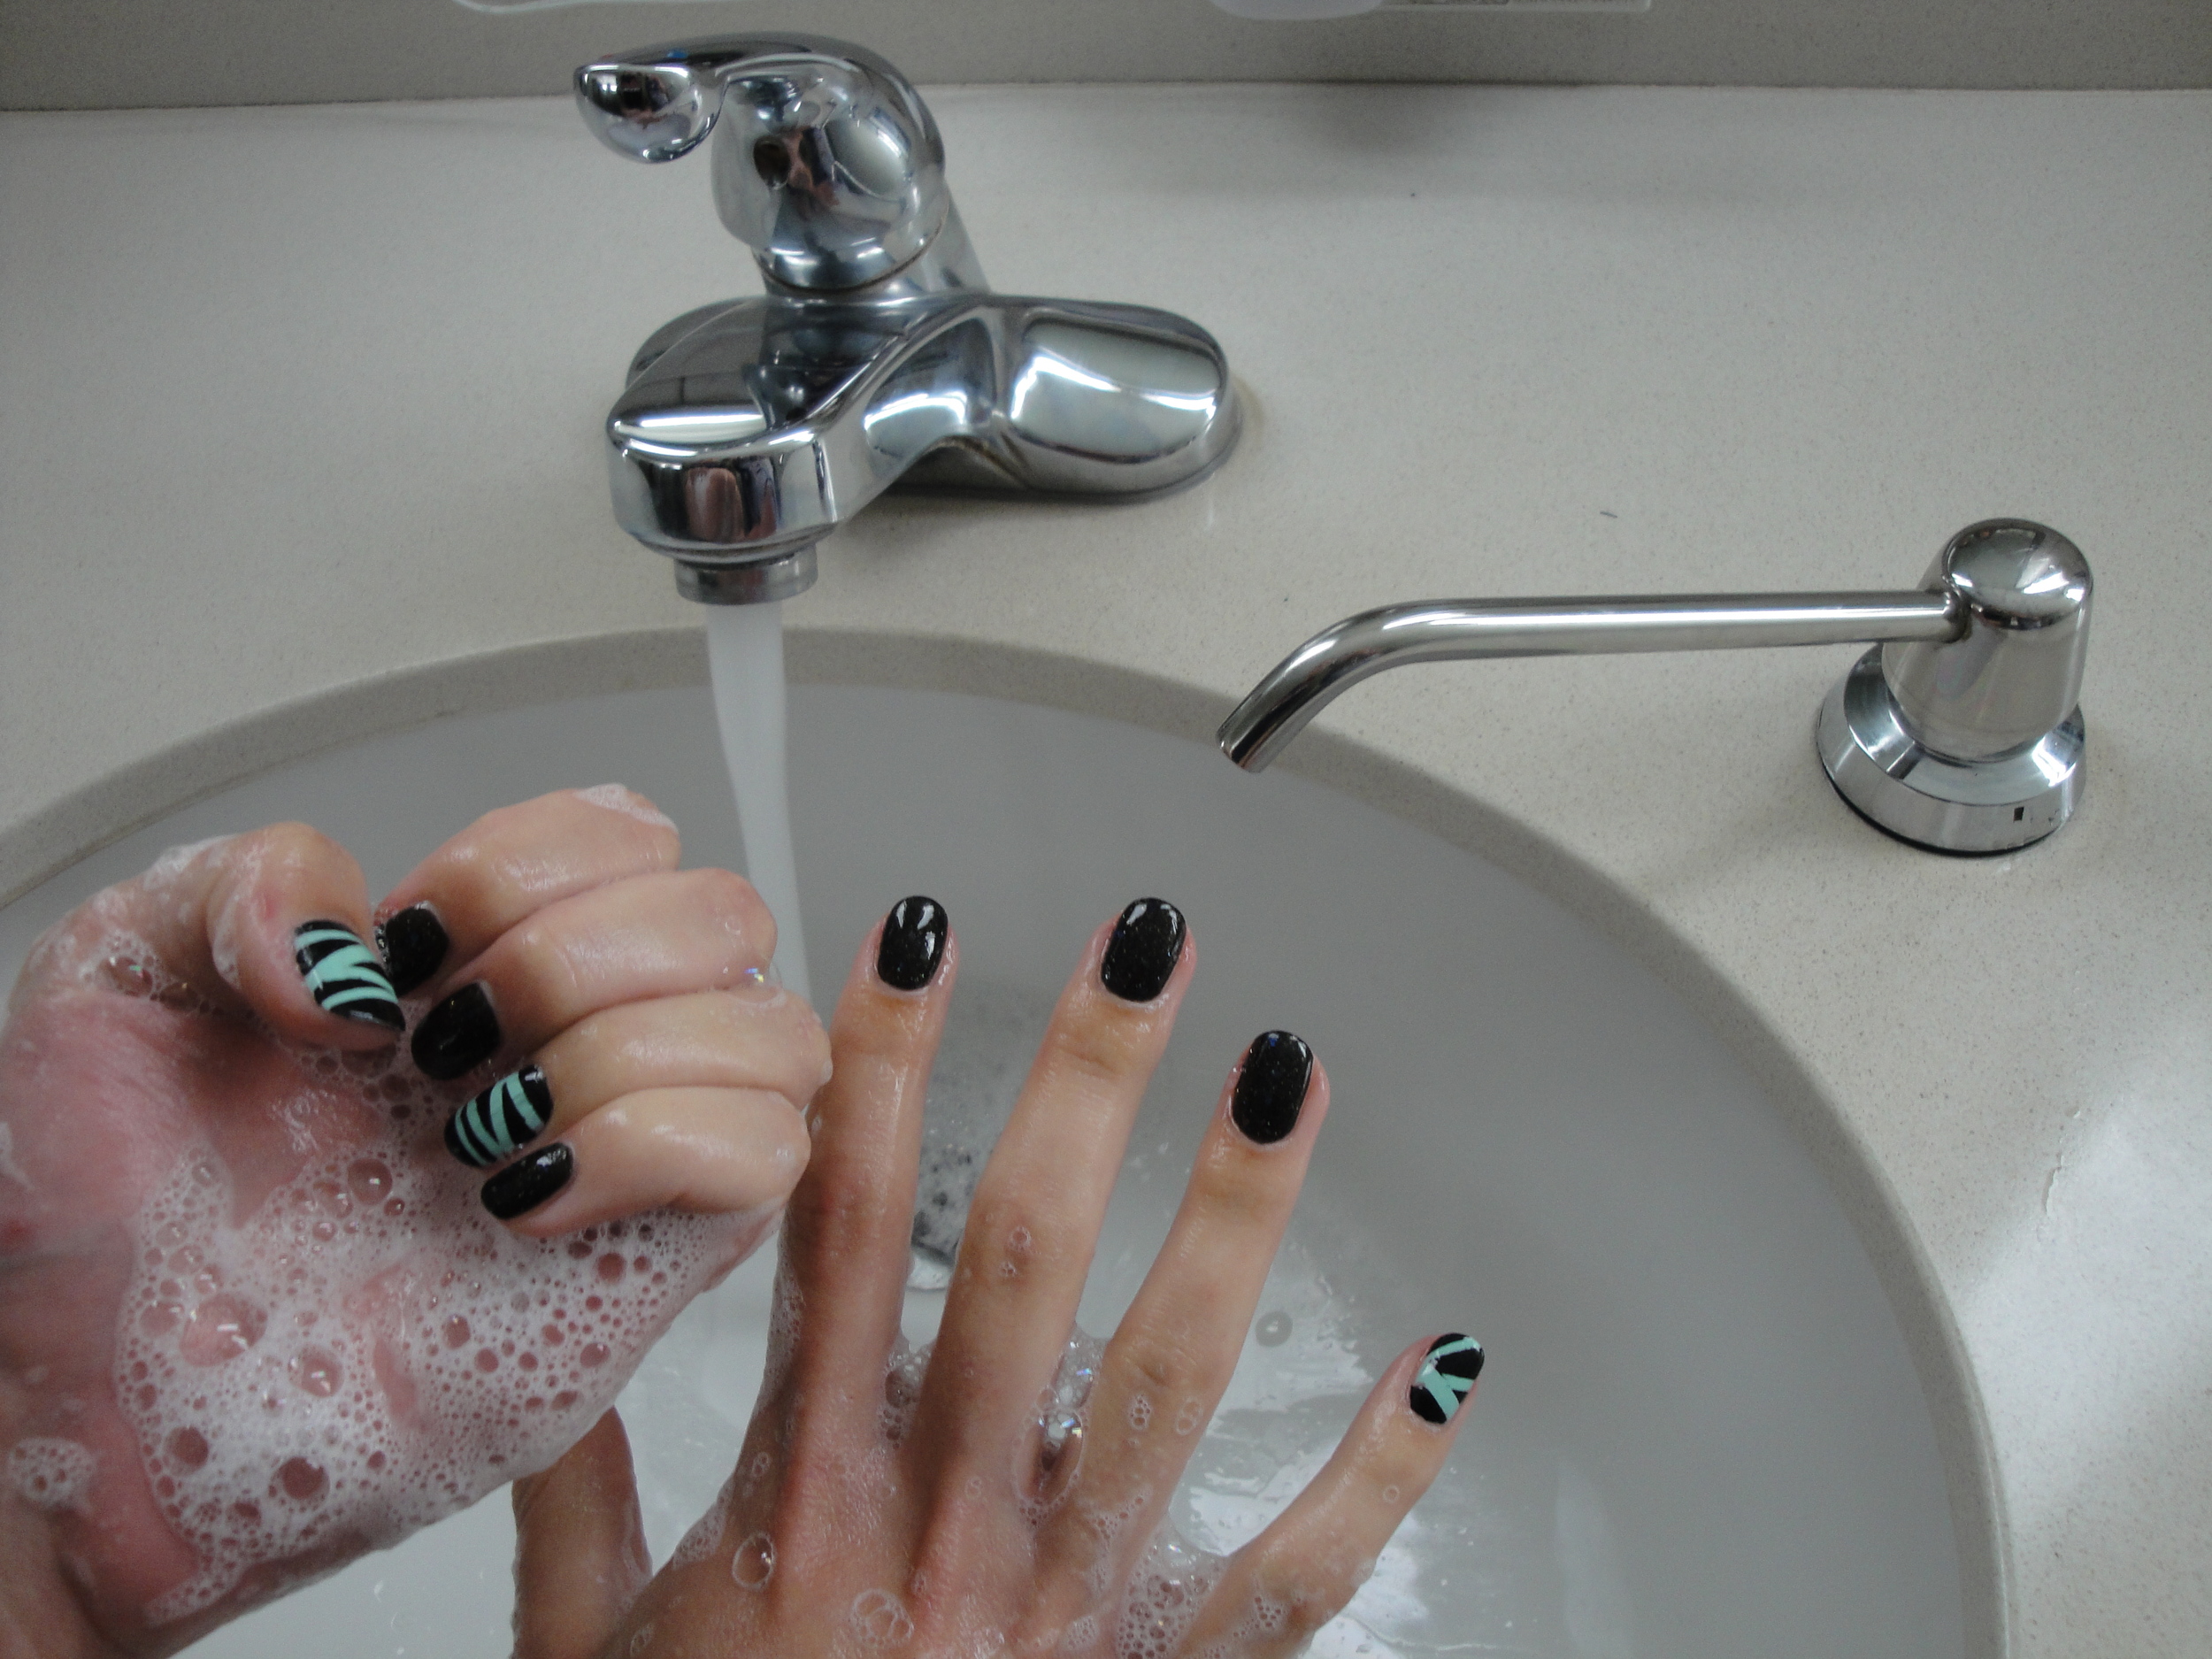
And so, here are pictures of my hideous work. True to its Halloween theme, it's absolutely horrifying, don't you agree? Note: blurry pictures deliberately chosen.
tearstearstearsxxo, GLOSS
P.S. The good news is, I had found Revlon Royal earlier that afternoon at my local Walgreens. And it's fast-drying, thank goodness. The night was saved. Stay tuned for a review!
 With summer in full swing and a cool pool at my disposal, the decision to have a small polish get-together practically made itself. The first one was such a blast!


