Essie — A Crewed Interest & Luxeffects

Essie's spring collection is now available! Honestly, they can do no wrong.  Without a doubt, Essie is my favorite line of nail polish.  Their colors are gorgeous and unique; in the color department, Essie takes the cake.  Their application is flawless.  Their knack for fashion is on point.

Needless to say their spring collection is gorgeous....just as I suspected!

I haven't purchased the whole collection yet, but a couple colors have graced my stashed, including Navigate Her and A Crewed Interest.

Thus far, I am in love with A Crewed Interest!

I am always hunting for the perfect pale pink; one that is not too sheer or streaky; one that has me gawking at it and commenting aloud to myself, "damn, I love this color."

True story.  Ask any of my friends.

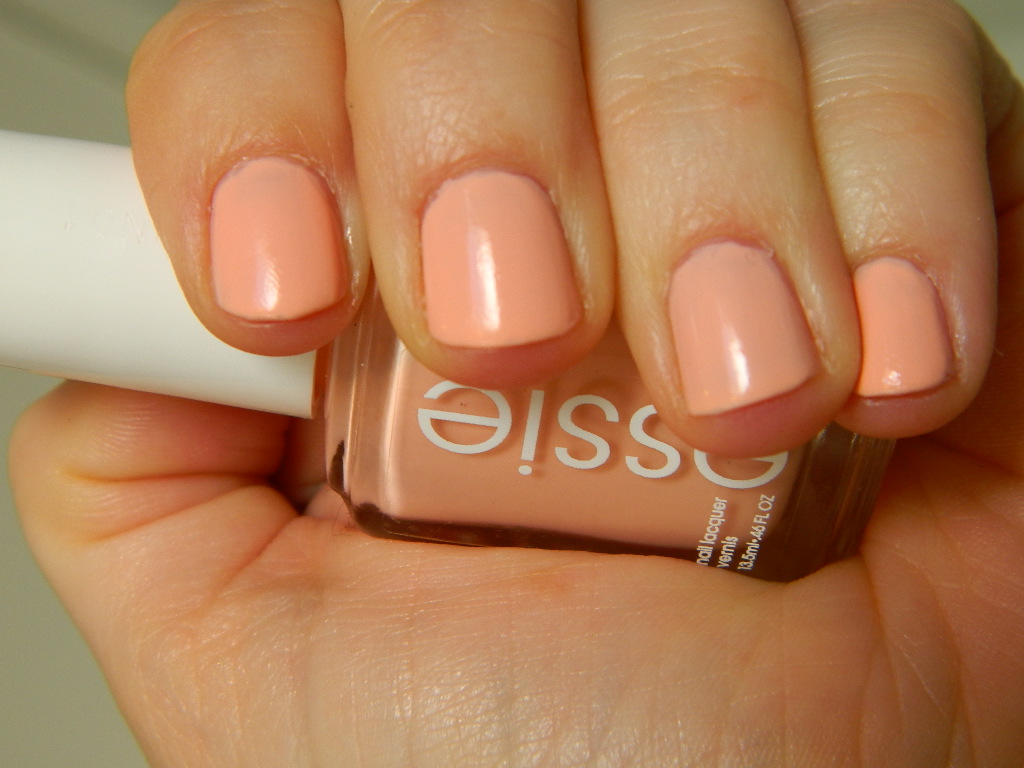
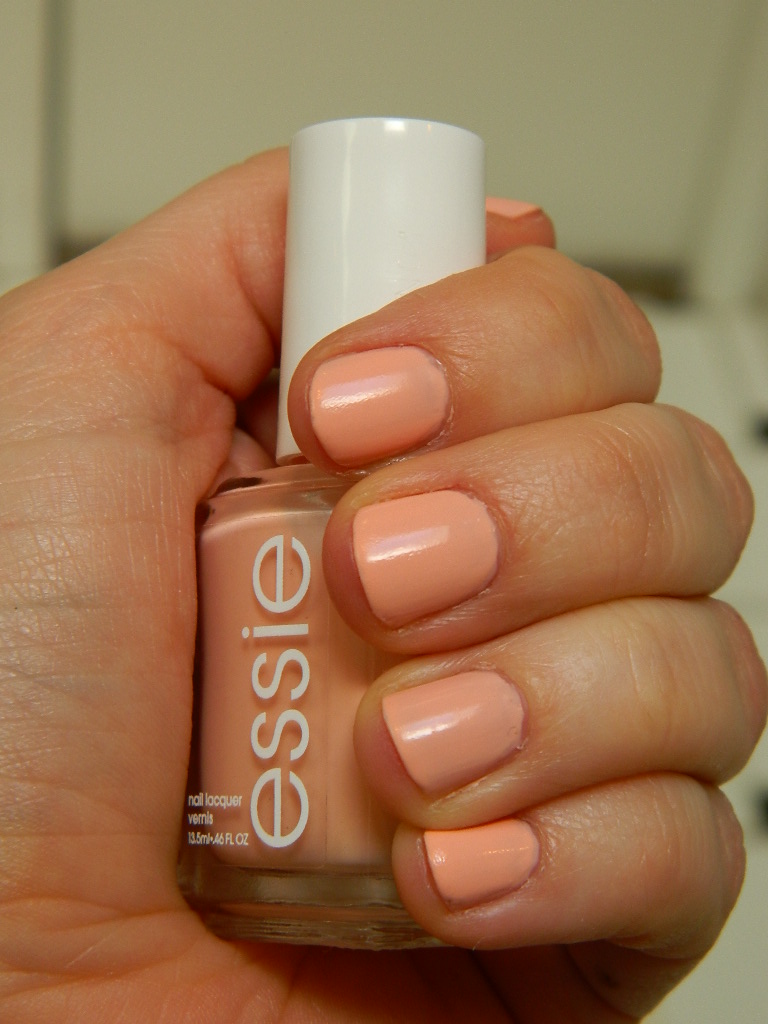
Well, A Crewed Interest is it!  A gorgeous pale pink, with a slight touch of peach in it....

Then I gave this pink a beautiful shimmer with Essie's Luxeffects in Shine Of The Times....a polish I had been hemming and hawing over for weeks until I commited to its purchase.

And boy and I glad I did!

The Luxeffects gives a very sbutle sparkle that changes color in the light, from an orangey pink to gold and to green, sure to make you stare at your nails in the sunlight all day!  Interested to see how luxeffects looks over other nail polish colors....

XOXO, Varnish

Blue Period — Water Marble

Well, it's official.  I am now blue because we have completed February, which concludes my "Blue Period."

First, let's recap on all the blue we have seen over the past month:

Chanel's Blue Satin
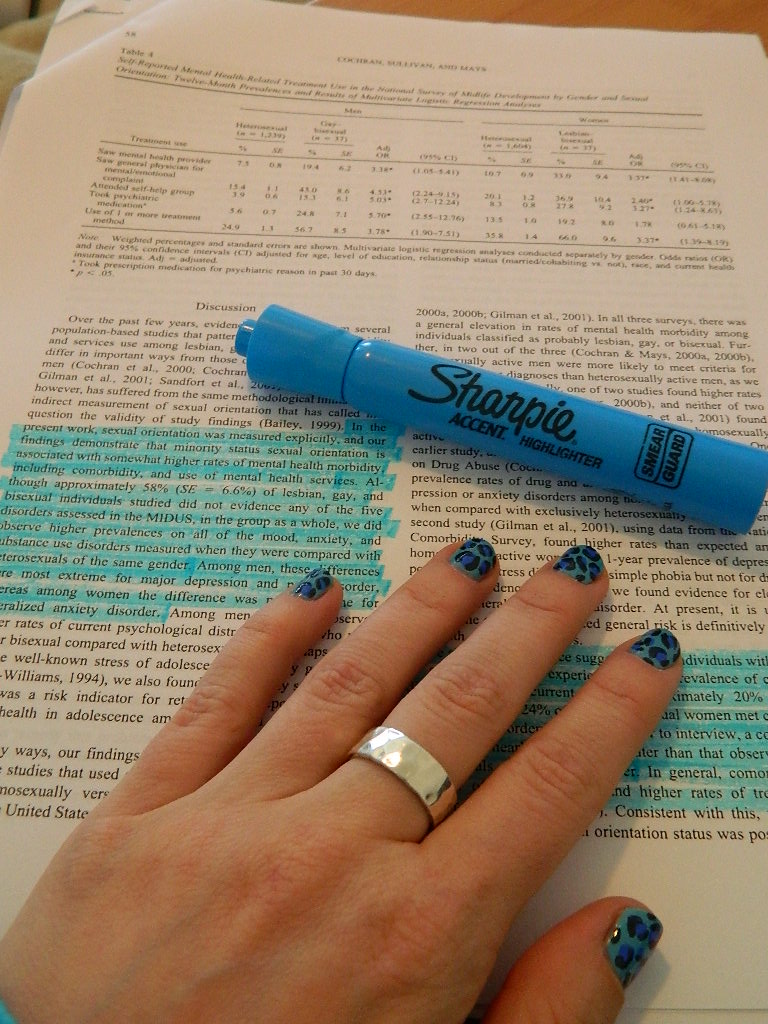
Leopard Print in blue
Essie's Lapiz of Luxury
Sacre Blue- blue fashion
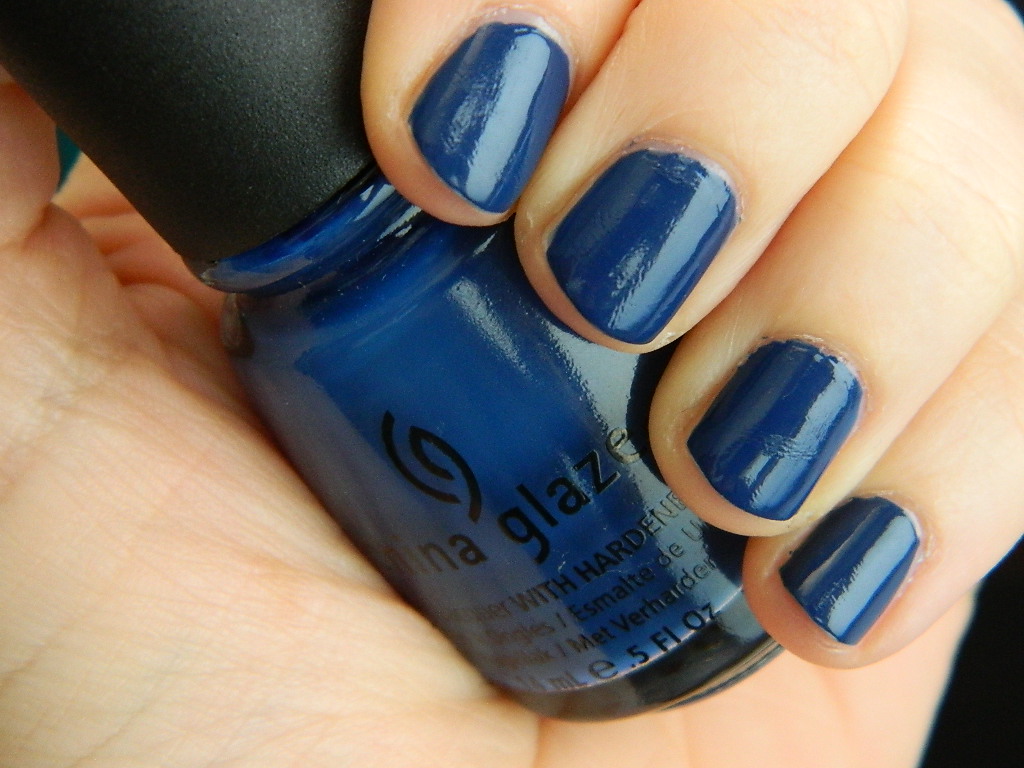
Chine Glaze's High Def
Ombre in blue
Ikat in blue

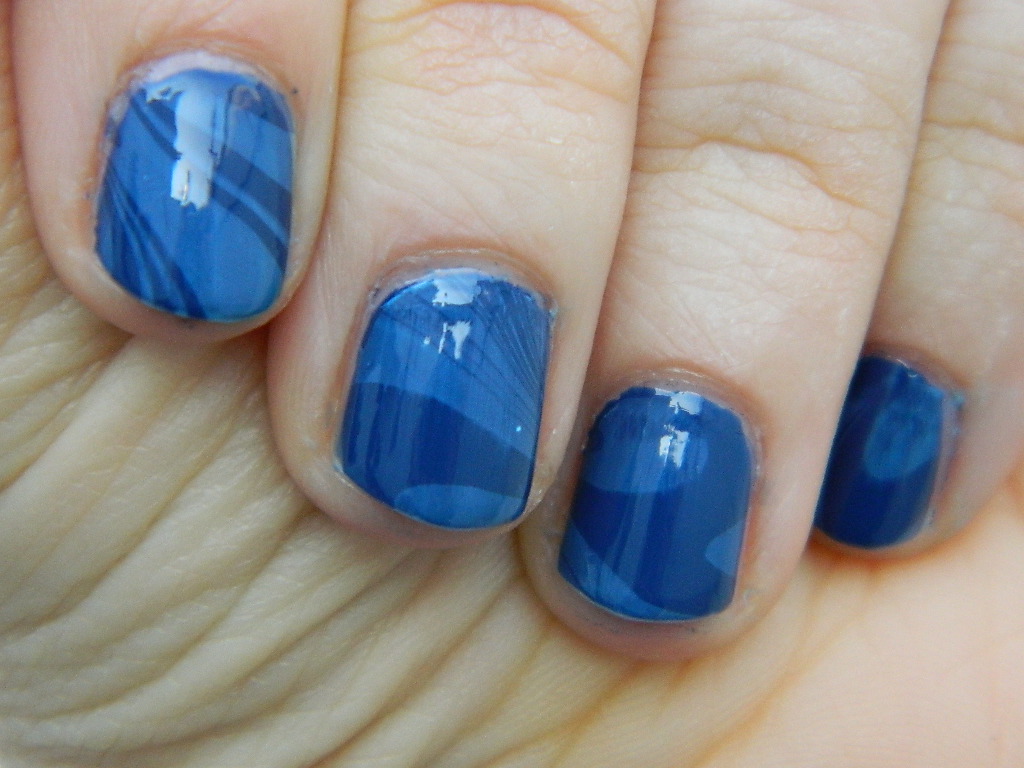
Lastly, I would like to finish off my Blue Period with a water marble, my very first water marble, in fact!

This one is blue, of course, but it is also quite subtle.

Follow Gloss's tutorial, with tips and tricks, on how to complete your perfect water marble.

Or, here is a water marble video, from polishandpearls, that I found to be quite helpful:

[youtube http://www.youtube.com/watch?v=ziUBMEzshgo&w=560&h=315]

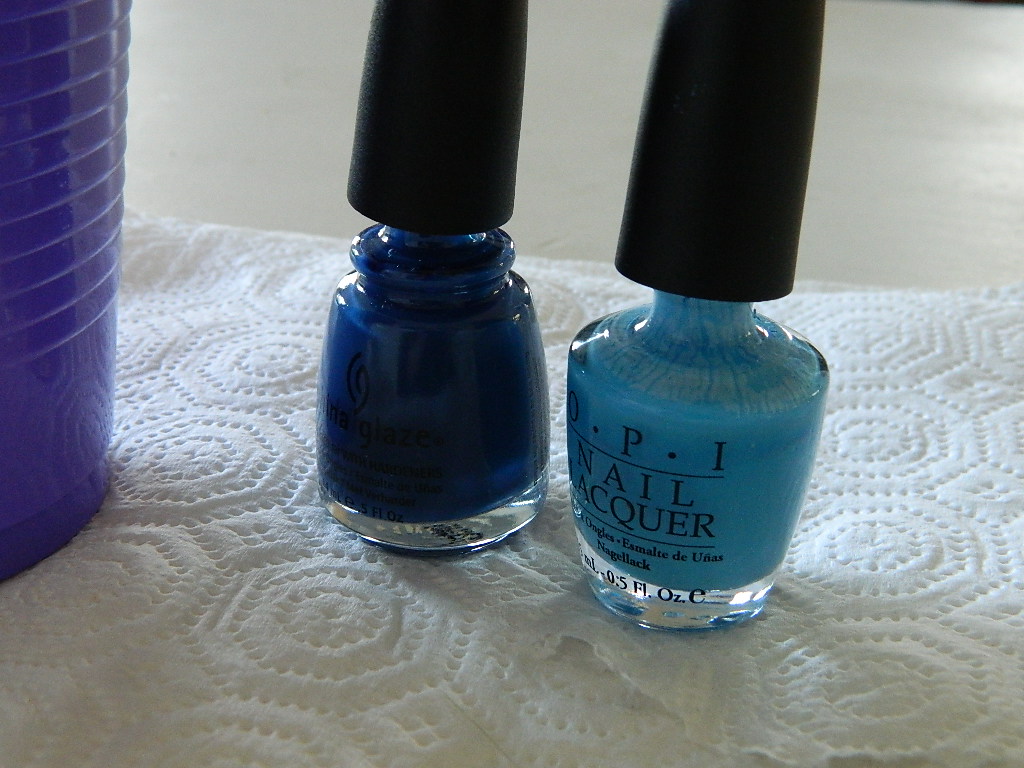
Using China Glaze's First Mate and OPI's No Room For the Blues, here is what I came up with.....

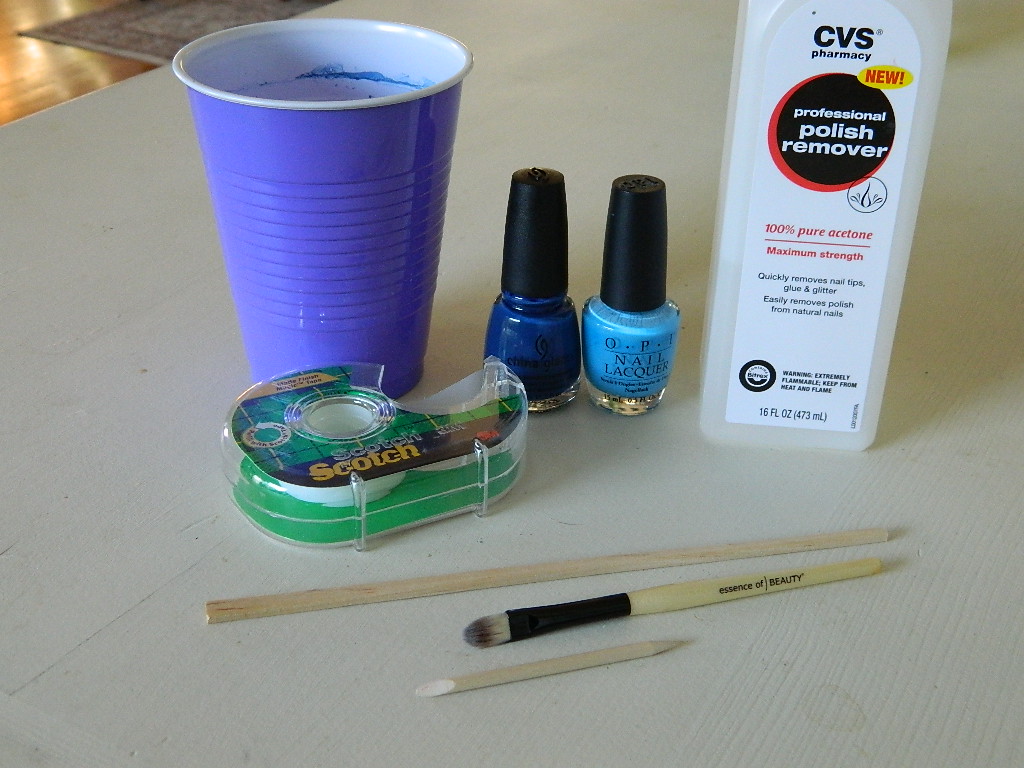
You will need the following materials:

- two colors of polish
- a cup of room temperature water
- a toothpick
- a chopstick (or some other device to remove the excess polish from around your finger after placing it in the water)
- polish remover and make-up brush
 

First paint your nails with the base color of your choice (China Glaze's First Mate) and let dry completely.

(This was a gift from Gloss and I love it!)

Then, make sure to tape around finger nails, for easy clean up....

Then, using room temperature water in a cup, carefully place the two polish colors (China Glaze's First Mate and OPI's No Room For the Blue) inside the cup (as seen in above video).

Then use the toothpick to create a nifty design in the nail polish.

Next, place one finger inside the nail polish design you have created and hold underwater.  Use a chopstick (or some other thingamabob) to carefully remove the excess nail polish sitting in the water around your finger before you pull it out.

Continue these above step with each finger until complete.

When dry (or mostly dry), carefully remove tape from fingers.  Use make-up brush and polish remover to remove any left over bits of polish from your fingers.  Then cover nails with healthy serving of top coat.

Subtle and cool.

Looking forward to practicing this technique more until I perfect it!

I now bid adieu to this sacre bleu.

XOXO, Varnish

Blue Period — Ikat

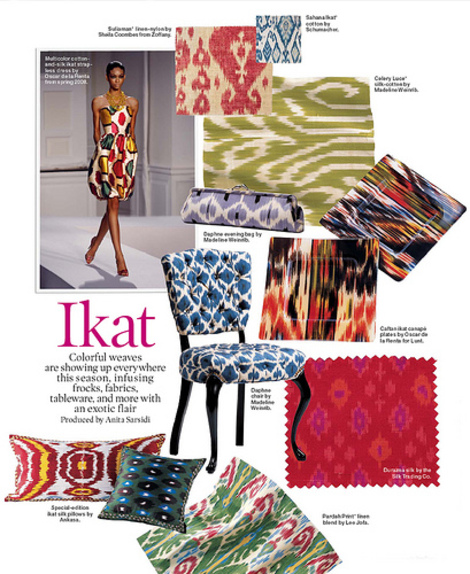
According to WikIpedia, Ikat is a dyeing technique used to pattern textiles that employs a resist dyeing process similar to tie-dye on either the warp or weft fibres. This is a very popular print in textiles and upholstery:

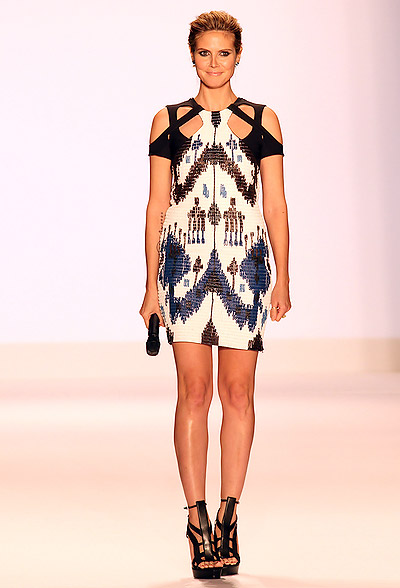
But, if you are anything like me, you probably are more familiar with the ikat fabrics that have been gracing the runway:

I did some research on ikat nails, as all good homemade manicurists do, and I was able to find these super fun ikat nails made by other homemade manicurists:

(by concreteandnailpolish)

(by chaoticwithin)

(From refinery29)

(by Mr. Candiipants.  You can watch a video for them here.)

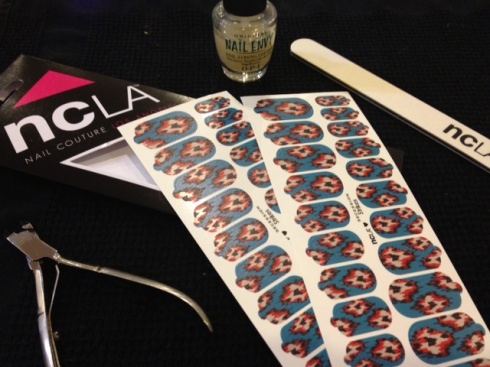
Or if you prefer, try this ikat print nail sticker by ncLA:

My inspiration for this next blue manicure, is this amazing ikat dress work by Heidi Klum:

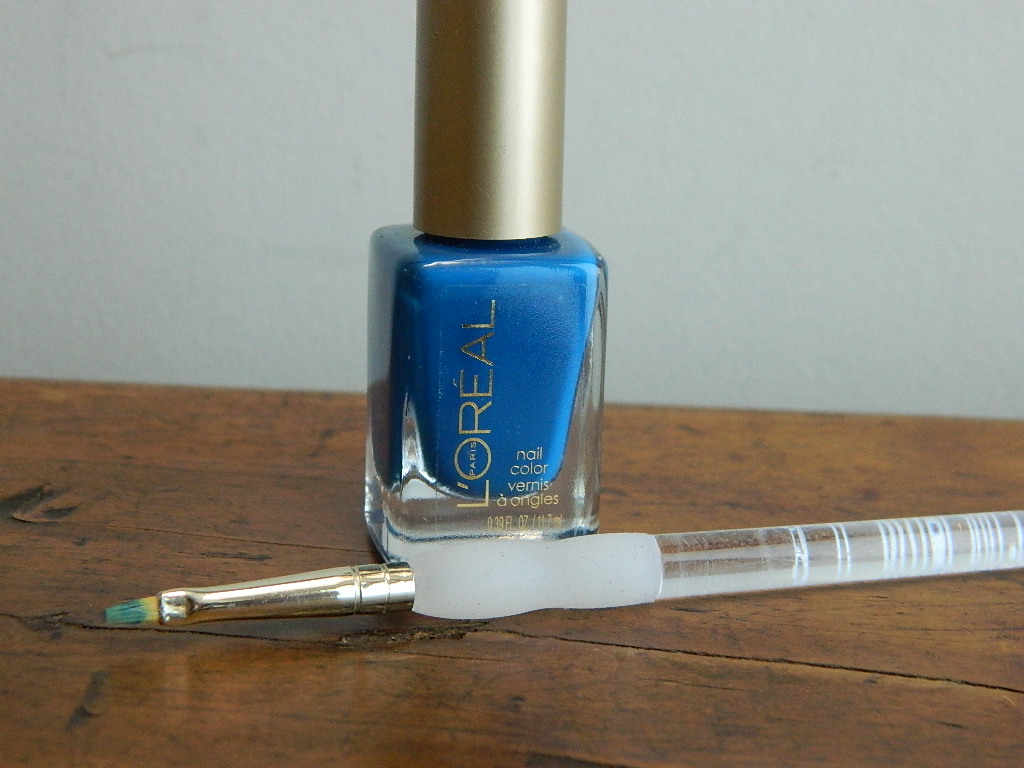
First, here are the tools you will need to complete your ikat nail:

Cover nails in base coats and let dry.  Then cover nails in two coats of Sinful Colors' Snow Me White and let dry completely:

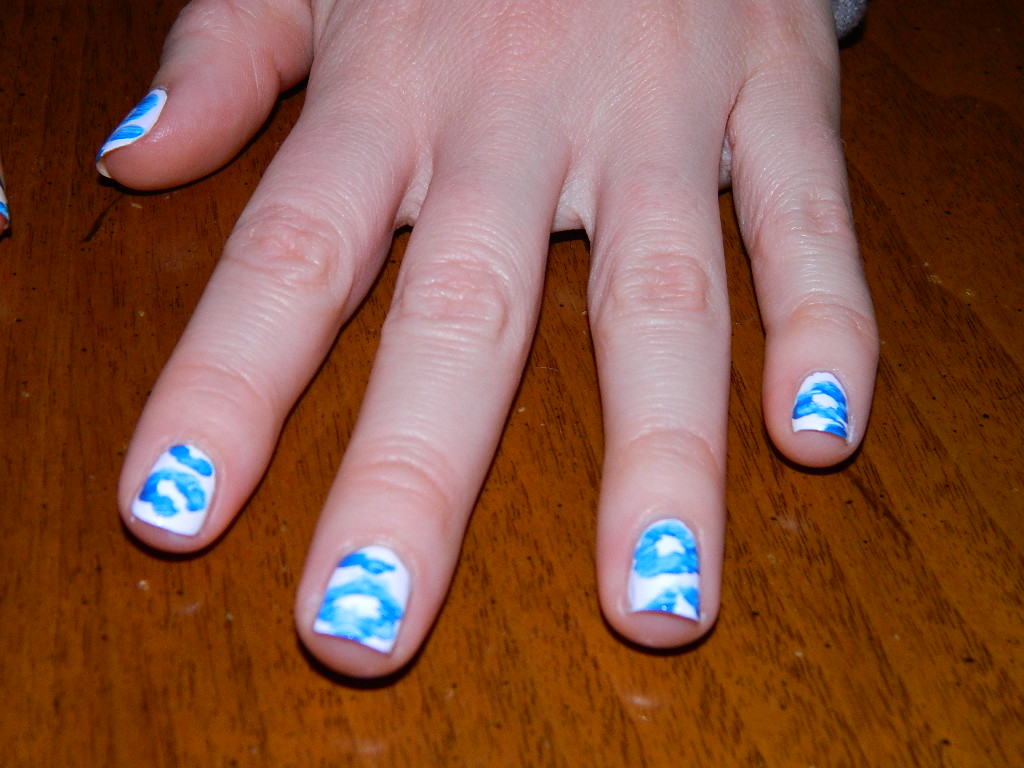
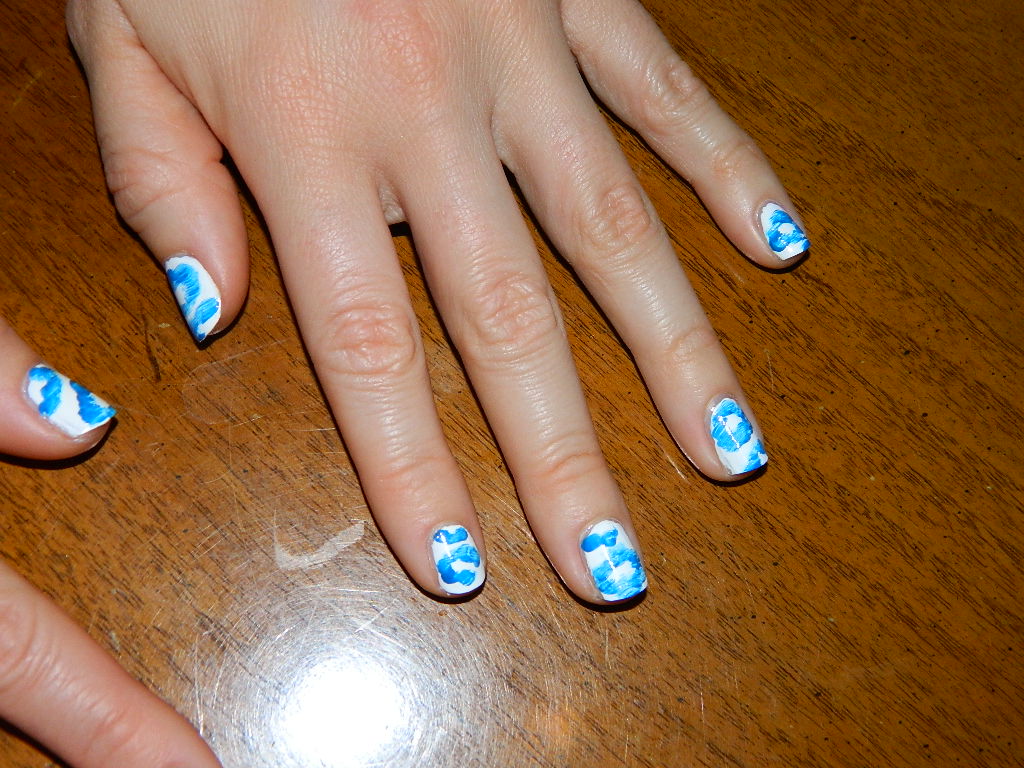
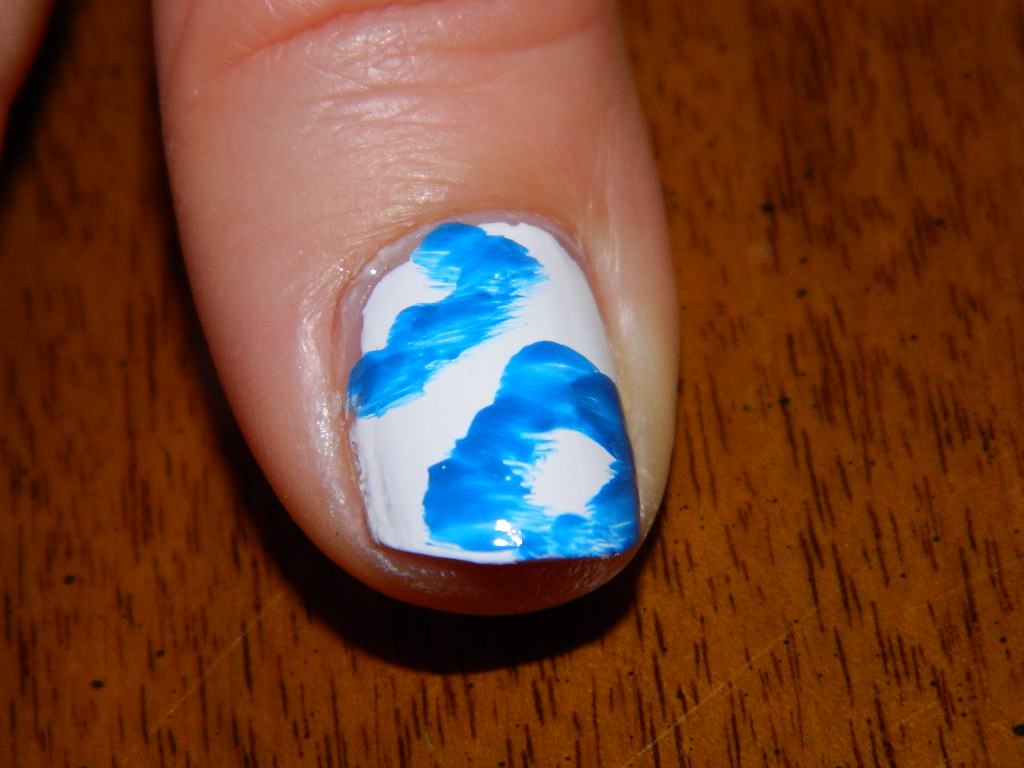
Then using a fine tip paint brush and Loreal's Jet Set To Paris, carefully and creatively paint on some fun blue shapes:

I can't really describe the shapes here, so just follow these photos for inspiration:

Make sure these are dry before moving onto the next step, which requires Sally Hansen's Nail Art Pen in Bright Blue and Black:

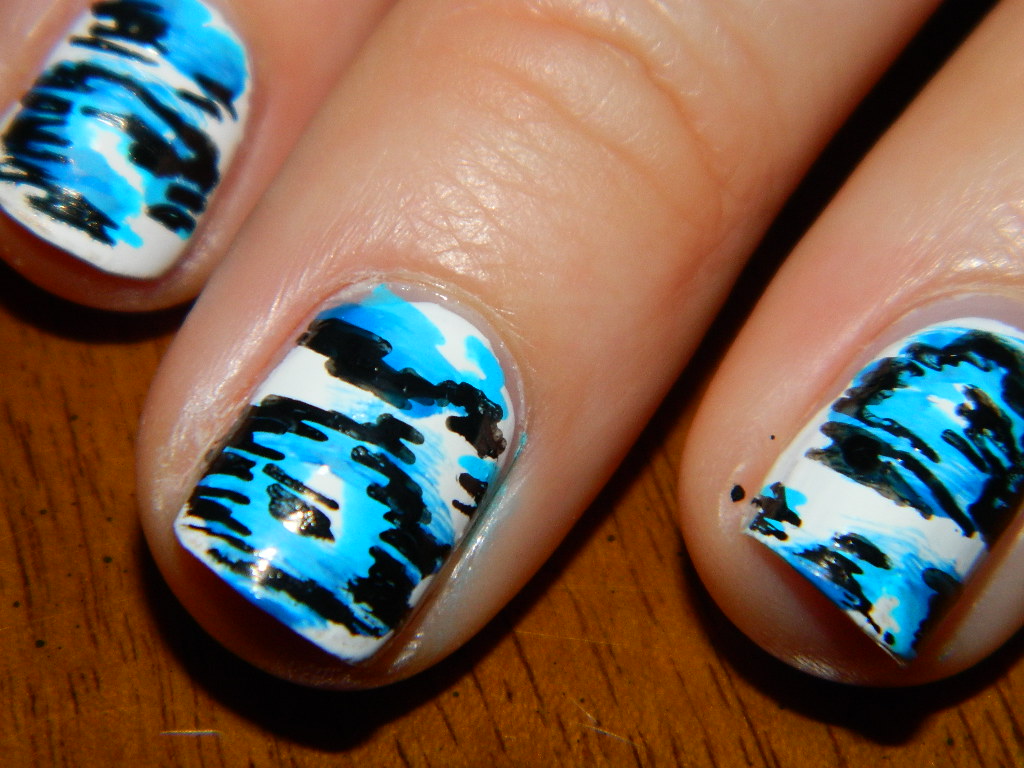
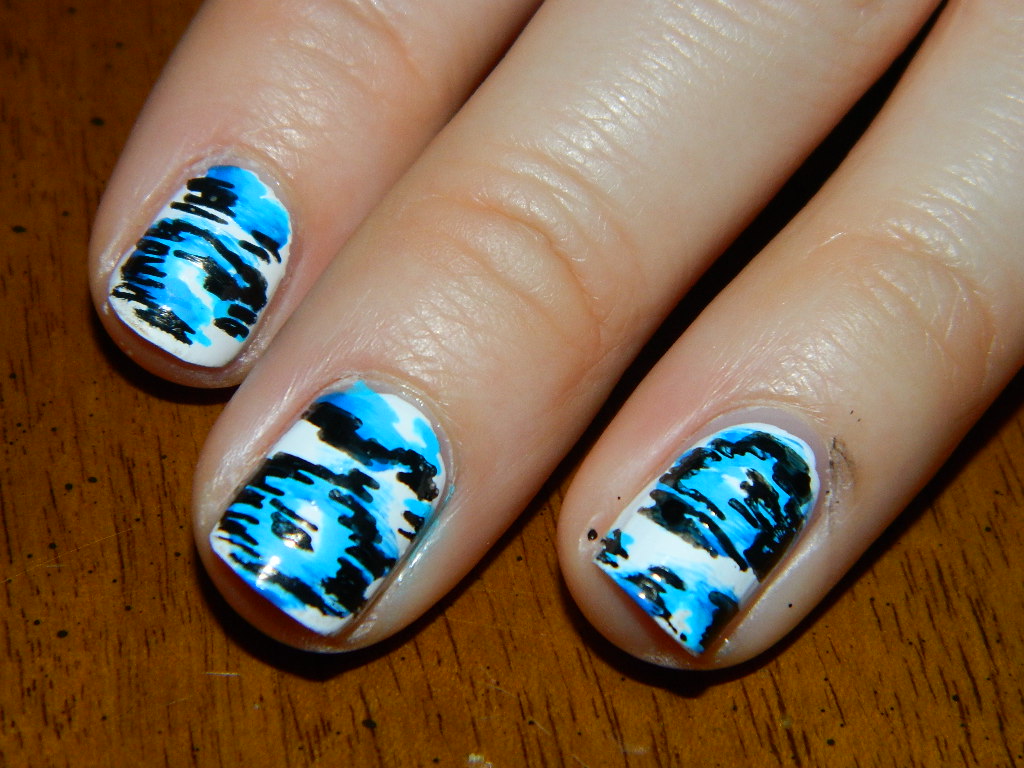
Using the Bright Blue pen first, following with the Black pen, make short and small dashes around the larger blue shapes you just painted.  Again, I can't really describe this, so just check out the pics.  You really cannot mess this us, so just have fun!

Let dry completely, and I mean COMPLETELY, before putting on your top coat.  These pens are tricky and they will bleed hours later when applying the top coat.  I suggesting going to bed and then applying your top coat in the morning.

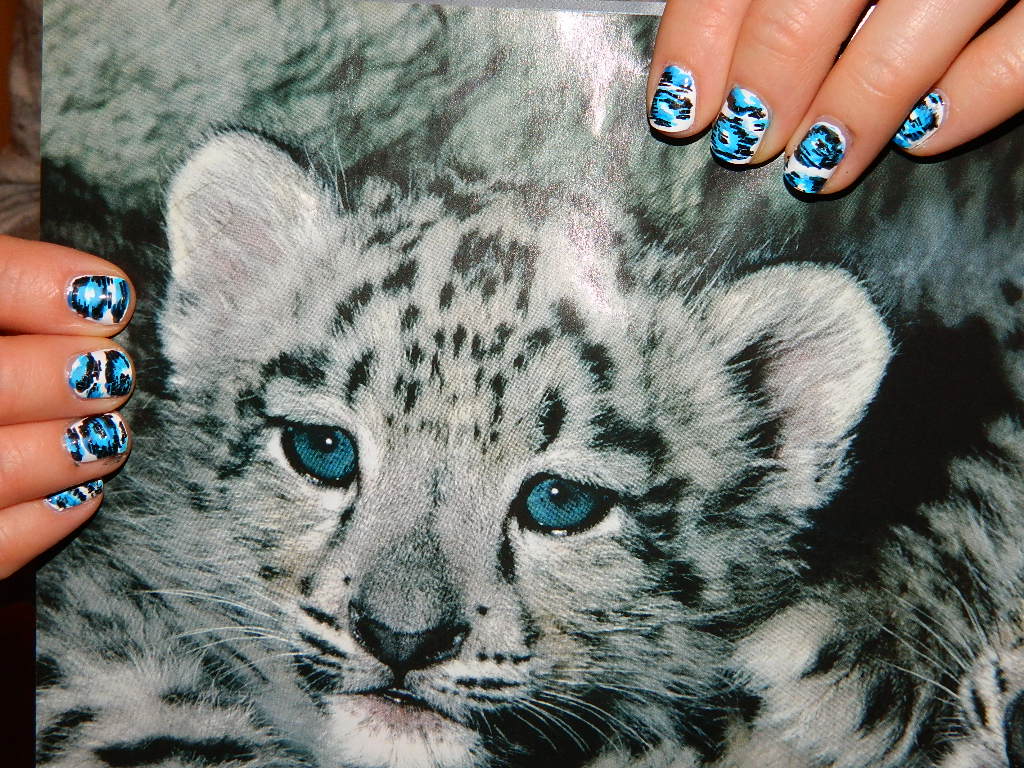
Honestly, these are my new favorite nails.  I cannot get enough of them!

Special thanks to my hand model, Jana!  Meow!

(Proper placement of ikat and baby snow leopard....for effect, of course!) 

XOXO- Varnish

Blue Period — Ombre

Yep, you guessed it!...another Ombre post. Knowing how much I adore ombre nails, it's really no surprise.

AND, what would this "Blue Period" be without a blue ombre??!!!

Honestly, this is my favorite ombre yet!

Check out some of our previous ombre posts:

Ombre Unas- A Gray Gradient
L'Ombre Rouge
Glitter Gradient
 

First, some ombre inspiration:

(I'm not one to post manicures done by professionals, but this one from Thefreshmani is soooo awesome!)

(Oh, Conrad and her ombre's!....she gets me every time!!!!)

Ok.  Are you good and prepped now?

Here are the colors I used:

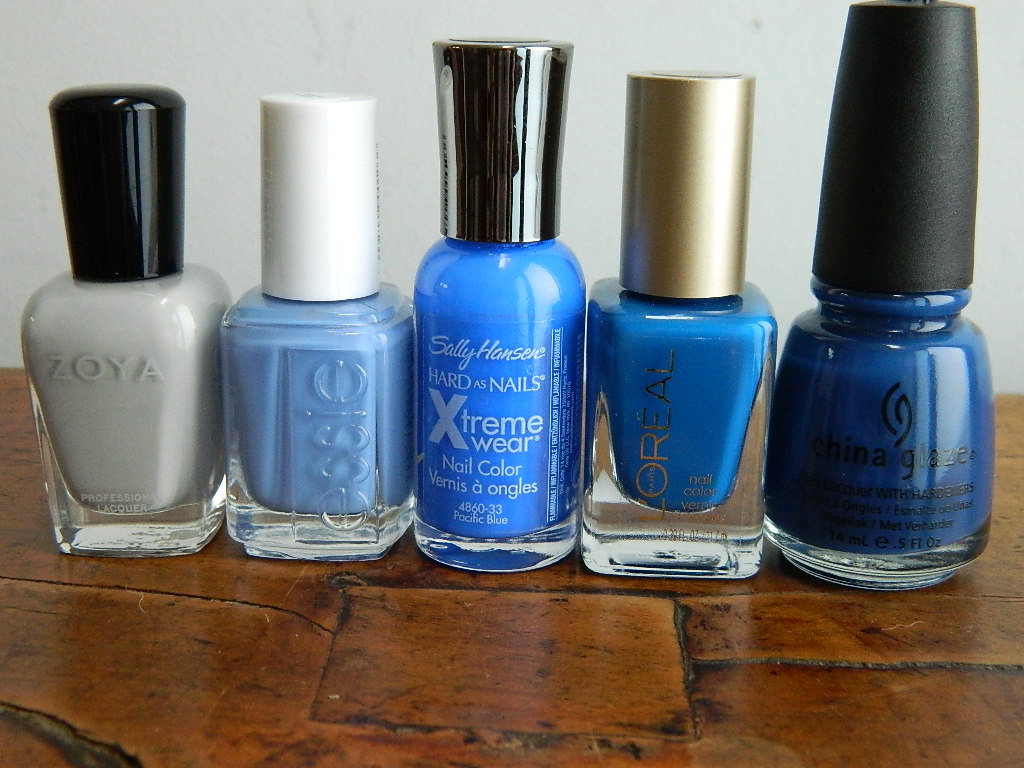
(From left to right: Zoya's Dove, Essie's Lapiz of Luxury, Sally Hansen's Pacific Blue, Loreal's Jet Set To Paris, China Glaze's First Mate)

(Reverse the order listed above from right to left)

* Side Note: I am really digging Loreal's new polishes (seen on index finger in above pic)!  The have some lovely colors and they go on nicely...so far..... 

This manicure was a hit and I received many compliments for the gorgeous blues!  Super fun and super easy!

Obsessedwithblue, Varnish

Blue Period — Leopard Print

I have been dying to do a free hand leopard print nail for weeks now and put together a little tutorial for you guys!  Finally, we wait no longer! Yes, everyone can have a leopard print nail without the high cost of a salon manicure, artistic ability, stickers, or a Konad stamp!

Of course, because I am in my "Blue Period," this leopard print has a twist and will be in shades of blue.  However, you can recreate this in any colors you choose!

What you will need:
• Base coat and top coat
• Two fine tip paint brushes
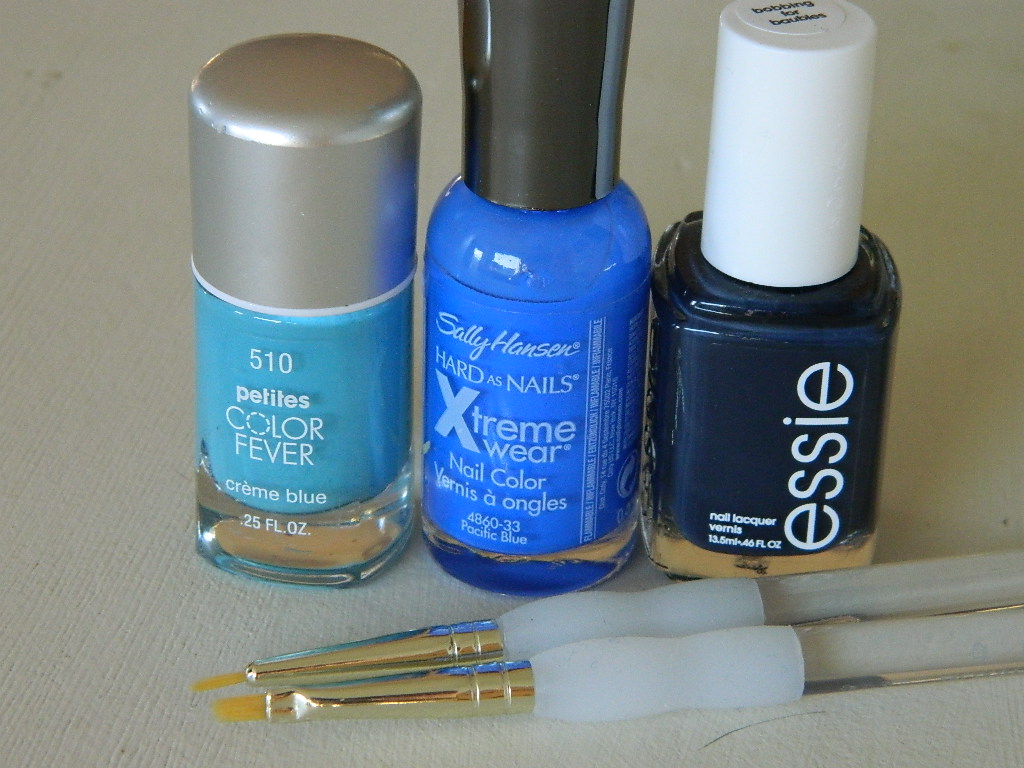
• Three colors of nail polish in the same colorway.  The base color should be the lightest shade, the large dots a medium share, and the squiggles (that's a technical term) the deepest shade of the colorway you choose.
 
The shades of blue I used are as follows:
• Petites Color Fever in Creme Blue (light)
• Sally Hansen's Hard as Nails Extreme wear in Pacific Blue (medium)
• Essie's Bobbing for Baubles (dark)


First, cover nails in base coat and let dry completely.

Then cover nails in Petites Color Fever in Creme Blue (lightest color from colorway) in two coats of polish.

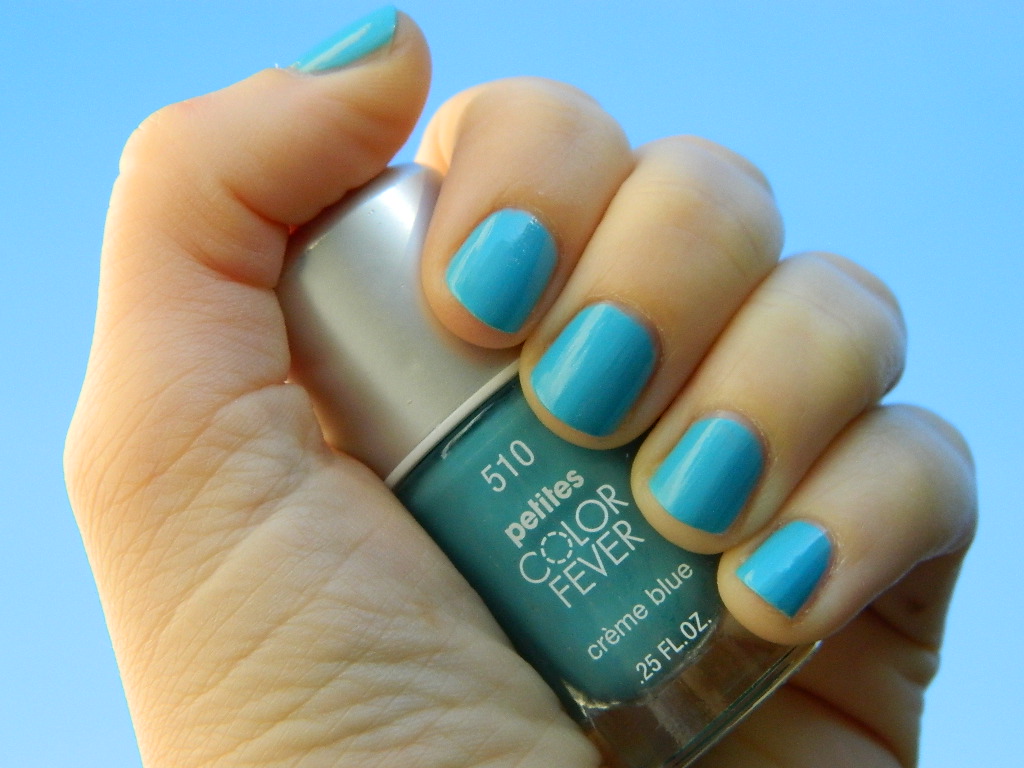
(ok, this is a super cheap bottle of polish I got many years ago at the drug store.  I have never seen this brand again.  However, this is one of the easiest nail application ever!  It goes on opaque; you could settle with one coat if you are in a rush.  And it goes on smoothly, not too thick, not too thin.  Great color too!  I just love it this little cheap polish!) 

Make sure to let dry completely.  You may want to wait until the next day to continue to the next step, in order to ensure complete dryness.

Next, using one of your fine tip paintbrushes and Sally Hansen's Pacific Blue (medium color from colorway), begin to paint random dots on each of your fingertips.  Make sure the dots are NOT perfect....you want them so be slightly jagged and asymmetrical.
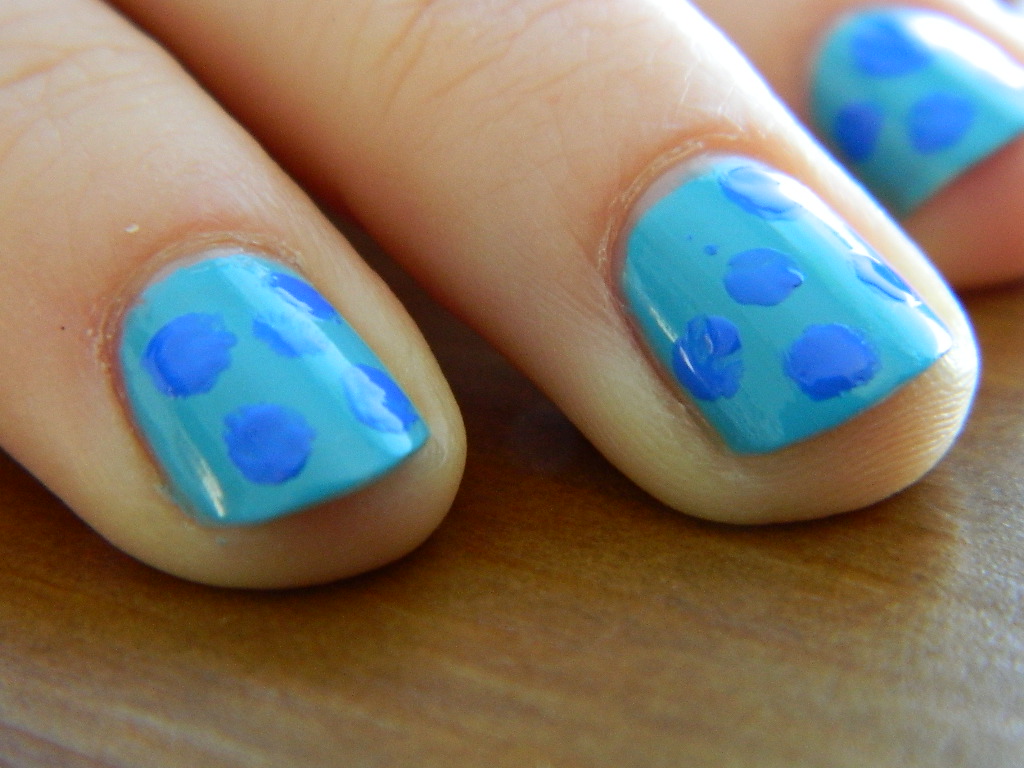
 (I applied these dots by dipping the end of the paintbrush into the end of the nail polish brush.  This way I ensured I would not waste any polish by pouring it out into a cup for dipping.)

Make sure to let these dots dry for some time (a couple hours minimum).

Next, using one of your fine tip paintbrushes and Essie's Bobbing for Baubles (darkest color from colorway), begin to paint squiggles 2/3 around the dots.  This is hard to explain in detail, so I suggest just copying the pic, but again, this is not perfect.  Best when sloppy.

Make sure to let the squiggles dry for some time (many many hours) before applying top coat. *IF YOU DO NOT WAIT LONG ENOUGH, THE TOP COAT WILL SMUDGE YOUR LEOPARD PRINT*

Then, cover nails in top coat and marvel at your handiwork!  Rawr!

(I waited about six hours to put my top coat on.....as you can see it still wasn't quite long enough, especially on that pesky middle finger) 

XOXO, Varnish  Varnish