Be My Guest: Charlotte — From Lips to Fingertips

I’m not sure if I subconsciously picked up this Southern fashion rule from my grandmother or just created it by osmosis of my family’s conservative style. Regardless, I primarily pick my nail polish colors by one motto; “If you wouldn’t wear the color on your lips, don’t wear it on your fingertips.” Granted, many modern Southern gals are much more adventurous but, after witnessing the look on my aunt’s face when my cousin’s wife wore a shimmering bronze polish, I learned at nine years old that there were limitations. Having been friends with Francesca for some time now, she’s often attempted to push me outside of my palette comfort zone. Only over the past few years I’ve been known to don an OPI Lincoln Park After Dark or even Essie’s Nice is Nice. One day I was bold enough to wear Essie’s Lapis of Luxury with one finger sporting shimmering gold flecks, which naturally garnered the attention of my polish pusher pal.  After a mere 20 years away from Texas, I had finally broken through my Southern style barrier.

Francesca is of course delighted at my sudden turn, frequently remarking on my more daring choices, but still there is a soft spot for those vibrant reds and flirtatious pinks, so I wanted to share some of my go-to shades.

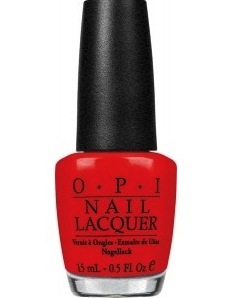
OPI’s “The Thrill of Brazil”

This is a classic red, not so brazen as to shock your co-workers, but still spicy enough for a night out.

OPI’s “Red My Fortune Cookie”

This red is a bit brighter than The Thrill of Brazil, which I’m interpreting as being a bit more playful.

Essie’s “Rose Bowl”

A very fun and rich pink, I feel like any eight-year-old girl would automatically select this shade.

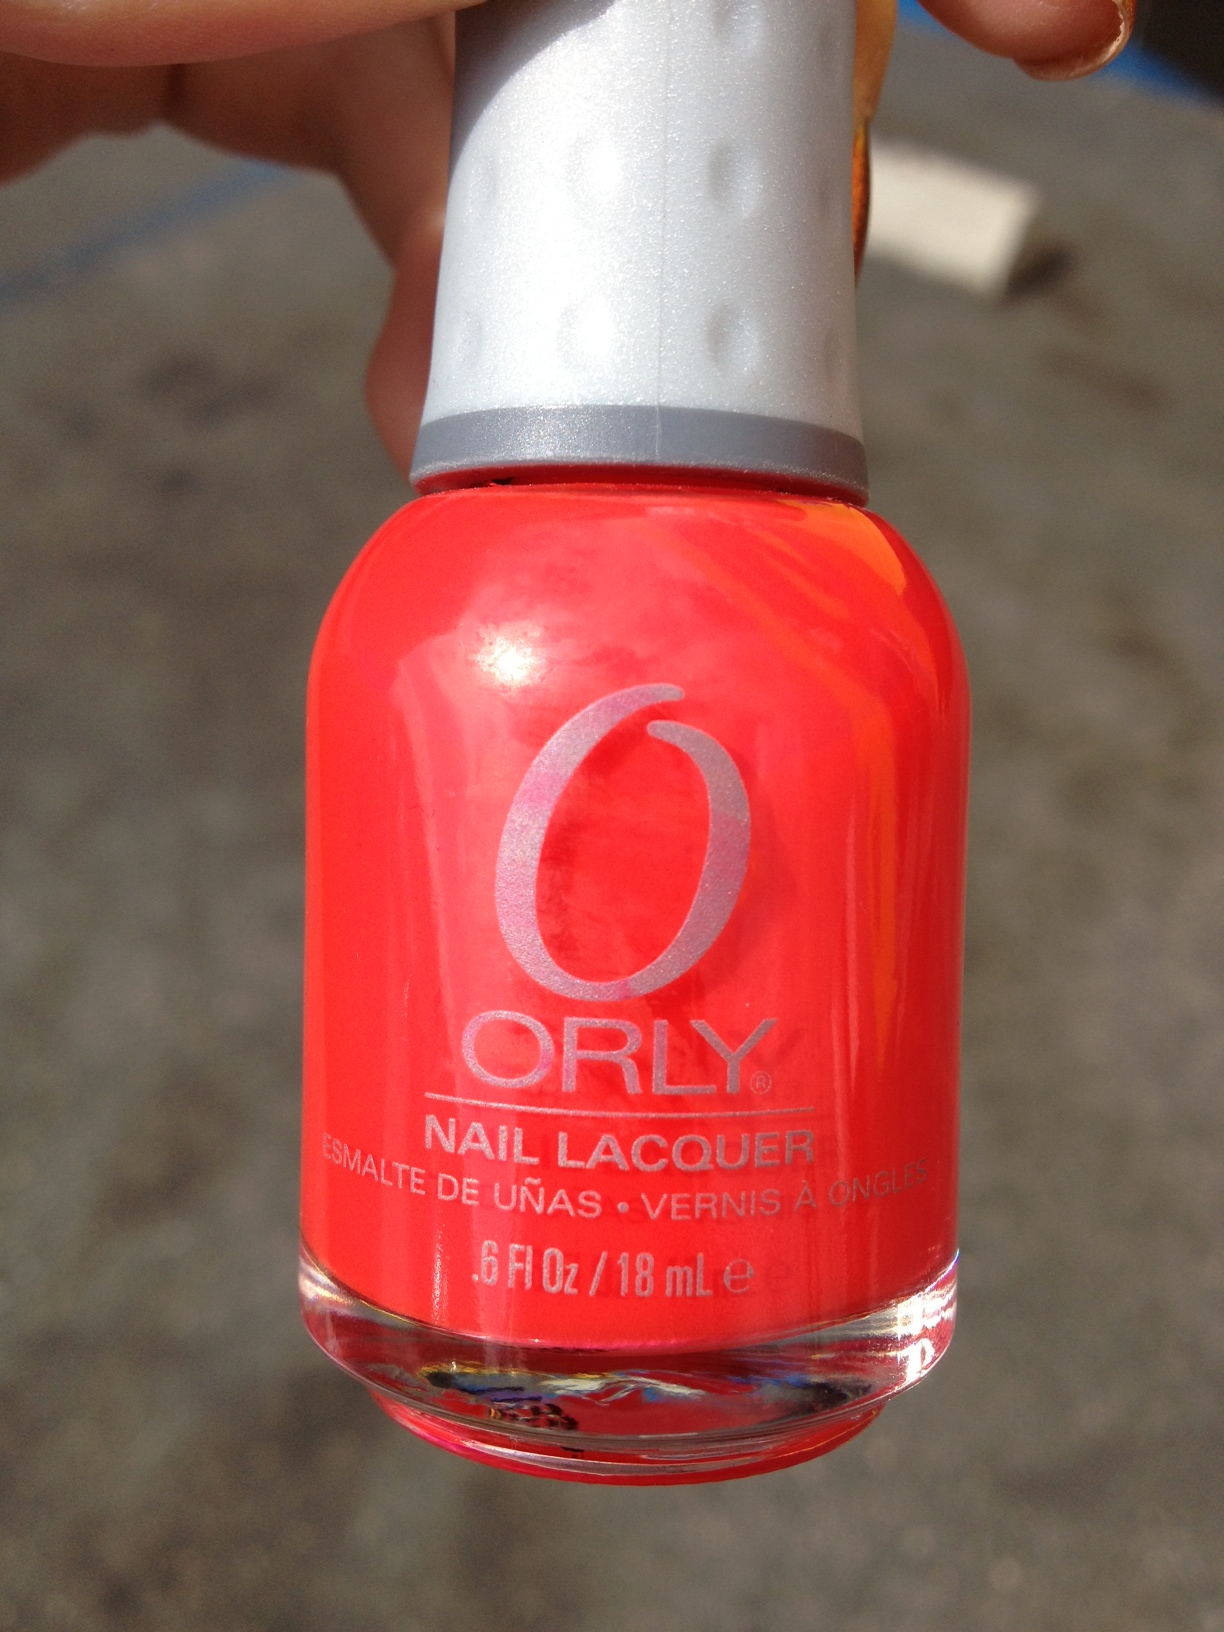
Orly’s “Passion Fruit”

Ah, a neon. I can’t help loving neon pink and Orly’s Passion Fruit does not disappoint. I’m so drawn to this color in fact that I accidentally purchased a duplicate bottle. Gorg.

Essie’s “One of a Kind”

This is a great one to break up my standard pinks and reds because it offers up some hints of orange. It’s like a blood orange-flavored candy.

Essie Closer

And for the finale, the perfect red that now eludes me... As part of a promotional offer for TNT's "The Closer," Essie released a "Closer" red polish that rocked my socks off. Brighter than my other reds, and oh-so-stunning. I've made it through 2 bottles of this perfect polish (I may have stolen an extra from a coworker once I discovered its magic) and now I'm scraping the bottom of my last Essie bottle. Help me!

Despite my occasional betrayal, I still come running back to my pinks and reds like a schoolgirl who’s dramatically run away from home. When in doubt, “If you wouldn’t wear the color on your lips, don’t wear it on your fingertips.”

**Side note, when I first moved to Los Angeles, I used to tell strangers in bars that I wrote the names for nail polish colors. Is this a job? Can I have it?!?

partlyprimandproper, Charlotte

My Top Ten \ Number Five: Orly — Hot Shot

Love red polish but want to kick it up a notch? Look no further than Orly Hot Shot. Neon red.

When I chose Orly Hot Shot for a manicure back in 2010,  I had no idea how addicted I would become. I wore that mani until it was hideously chipped. I thought about going back to the salon for a fresh coat, but I realized that wasn't the answer. I needed a bottle of my own.

Like I said, this was 2010. I loved nail polish, but I was not immersed in the world as I am now. I spent weeks — literally, weeks — stopping by random beauty supply stores in Los Angeles, praying and hoping that they would have Hot Shot. I left empty-handed every single time. What can I say? Total noob.

Oddly, Orly can be a tough brand to find! Drugstores carry about a dozen bottles, but none of the colors you typically see there are very cool. I needed to find a place that had the entire collection!

In retrospect, it's ridiculous that I didn't think of the obvious solution sooner: dahhh, just had to Google it, boss. I saw Hot Shot for sale on Amazon; a great place to find fantastic deals on polish. Problem was, I needed Hot Shot right away. I wanted it NOW! Luckily, Google had revealed more key information...

Turns out, Sally Beauty Supply carries all of Orly! Who knew? And there was a Sally's less than a mile away from my apartment. At the time, I was really, really sick with some sort of vile summer influenza. I was unshowered, feverish, disgusting... but obsessed. Walking like an extra from the Thriller video, I stumbled to the bathroom, made an honest attempt to brush my hair and teeth, and careened my way to Sally's.

I bought three bottles.

So why is Orly Hot Shot so awesome? The neon red is great because it's a less obvious neon color choice. I loved the neon pinks that were so popular this summer, but there's something about neon red that's a little more indie, a little more sophisticated... a little less Barbie.

The coverage is so-so; it has an almost jelly transparency, so I do about three coats. On this post, I painted my nails white prior to putting on neon and it really made all of my colors pop, though they also looked a bit lighter than usual. I have yet to do that with Orly Hot Shot on all 10 fingers but, when I do, I'll be sure to share! Like most neons, Orly Hot Shot dries semi-matte, so be sure you put on a nice shiny top coat.

ineedmyneon, Francesca

P.S. Missed the first few? No prob.

Manicure Mania, Pt. V: Neon Ombré

Sometimes you save the best for last.

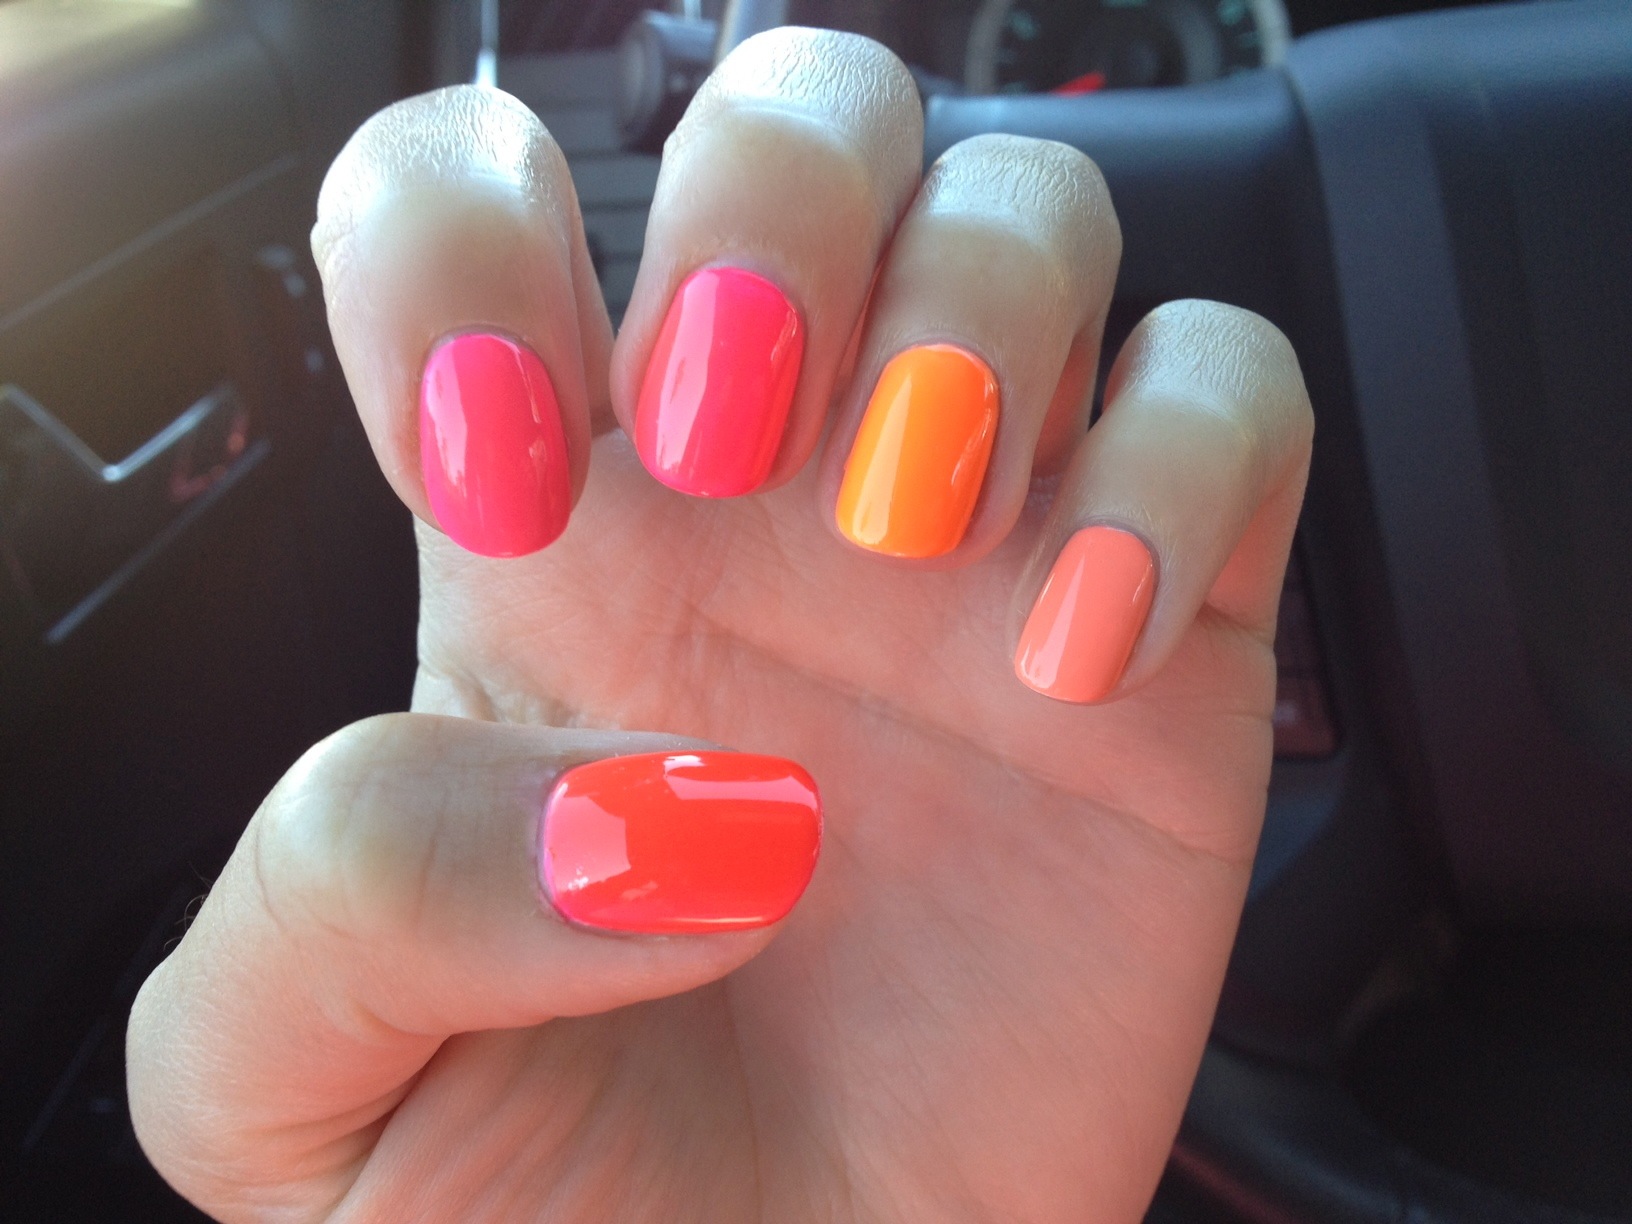
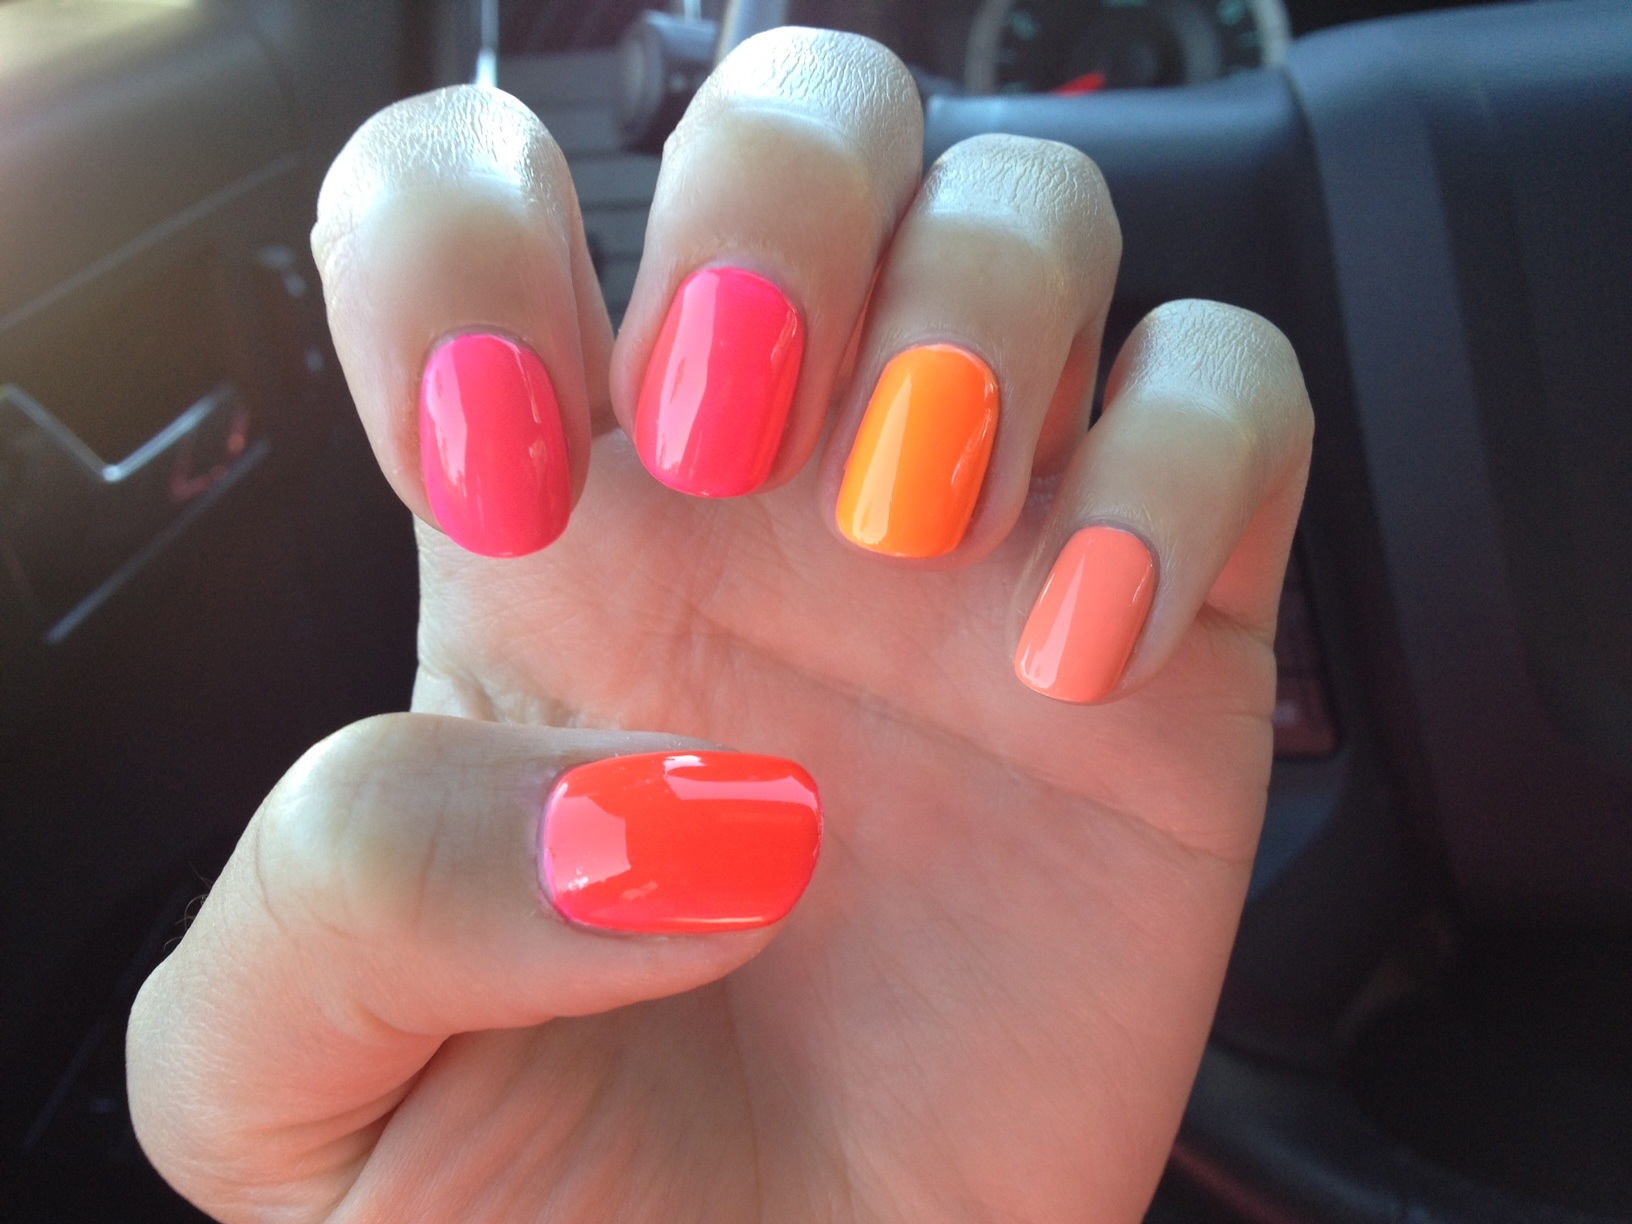
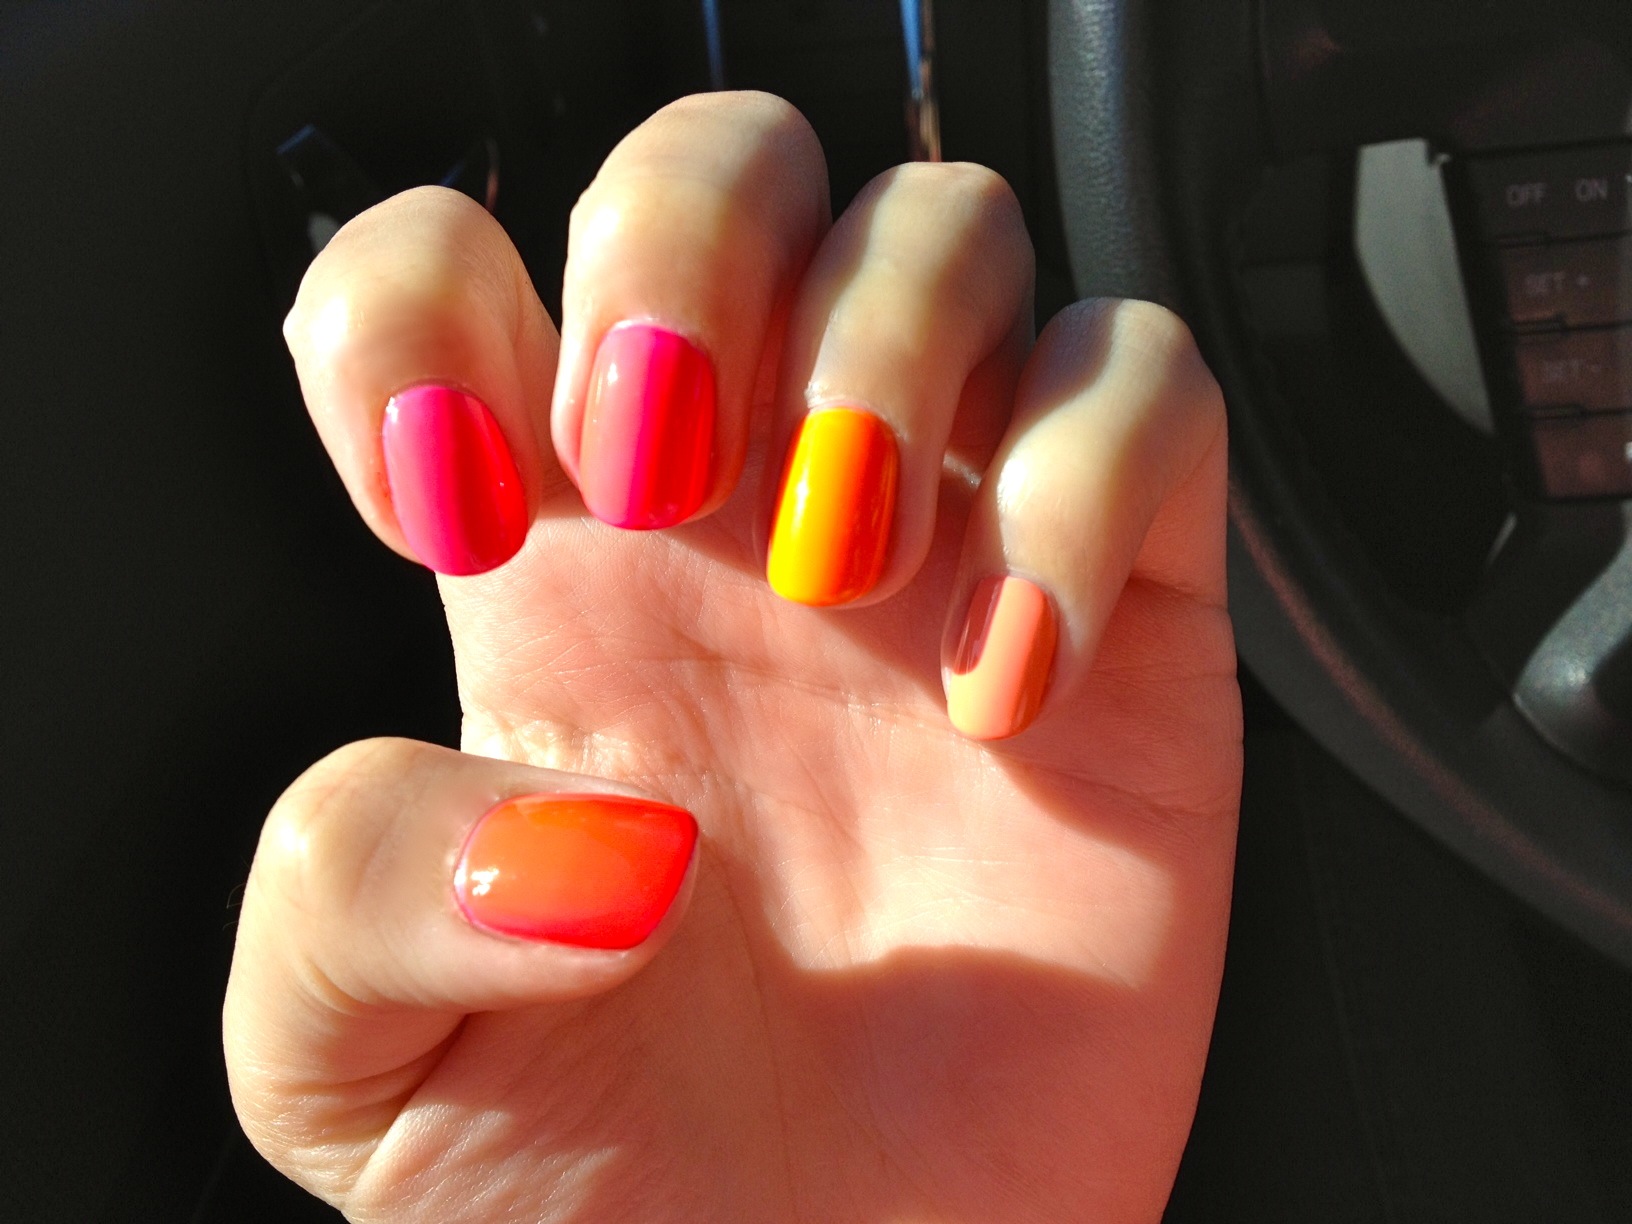
We love ombré. We love neon. So why not put them together? Like two A-list celebrities who pair up to become an A+ couple, neon and ombre's powers combine to become exponentially more awesome!

My idea came from this ubiquitous Pinterest pin; I'm sure you have seen it.

I wanted to roll with the idea but clean it up a bit; make a more definitive neon spectrum. I tested my neons on a discarded piece of snail mail and developed the perfect order.

I knew I wanted my manicure to be as jaw-droppingly neon as possible, so I painted two coats of OPI Alpine Snow as a base. Then, I painted like so:

Then, I got over eager and was anxious to start my clean-up. And in doing so, I hit my right index finger on the edge of the counter and made a huge scrape. I stared at my nail in horror — what to do, what to do! Start that nail all over again? Or... disguise this boo boo?

I remembered I had some small holographic golden stars lying around in my Stash somewhere. If I arranged them in a charming way, it might work.

I think my mini-constellation added some character!

haveablindinglybrightweekend, Francesca

P.S. Special shout out (and sincere thank you) to Weston for designing my Mani Mania headers this whole week. xx

[youtube=http://www.youtube.com/watch?v=5EdmHSTwmWY]

Manicure Mania, Pt. III: Glitter Gradient

And so we continue with the mayhem that is Mani MANIA! Next up is a look that's incredibly easy to do and guaranteed to get the nod of approval (or even the ole eyebrow-raise of astonishment) from all of your pals: The Glitter Gradient.

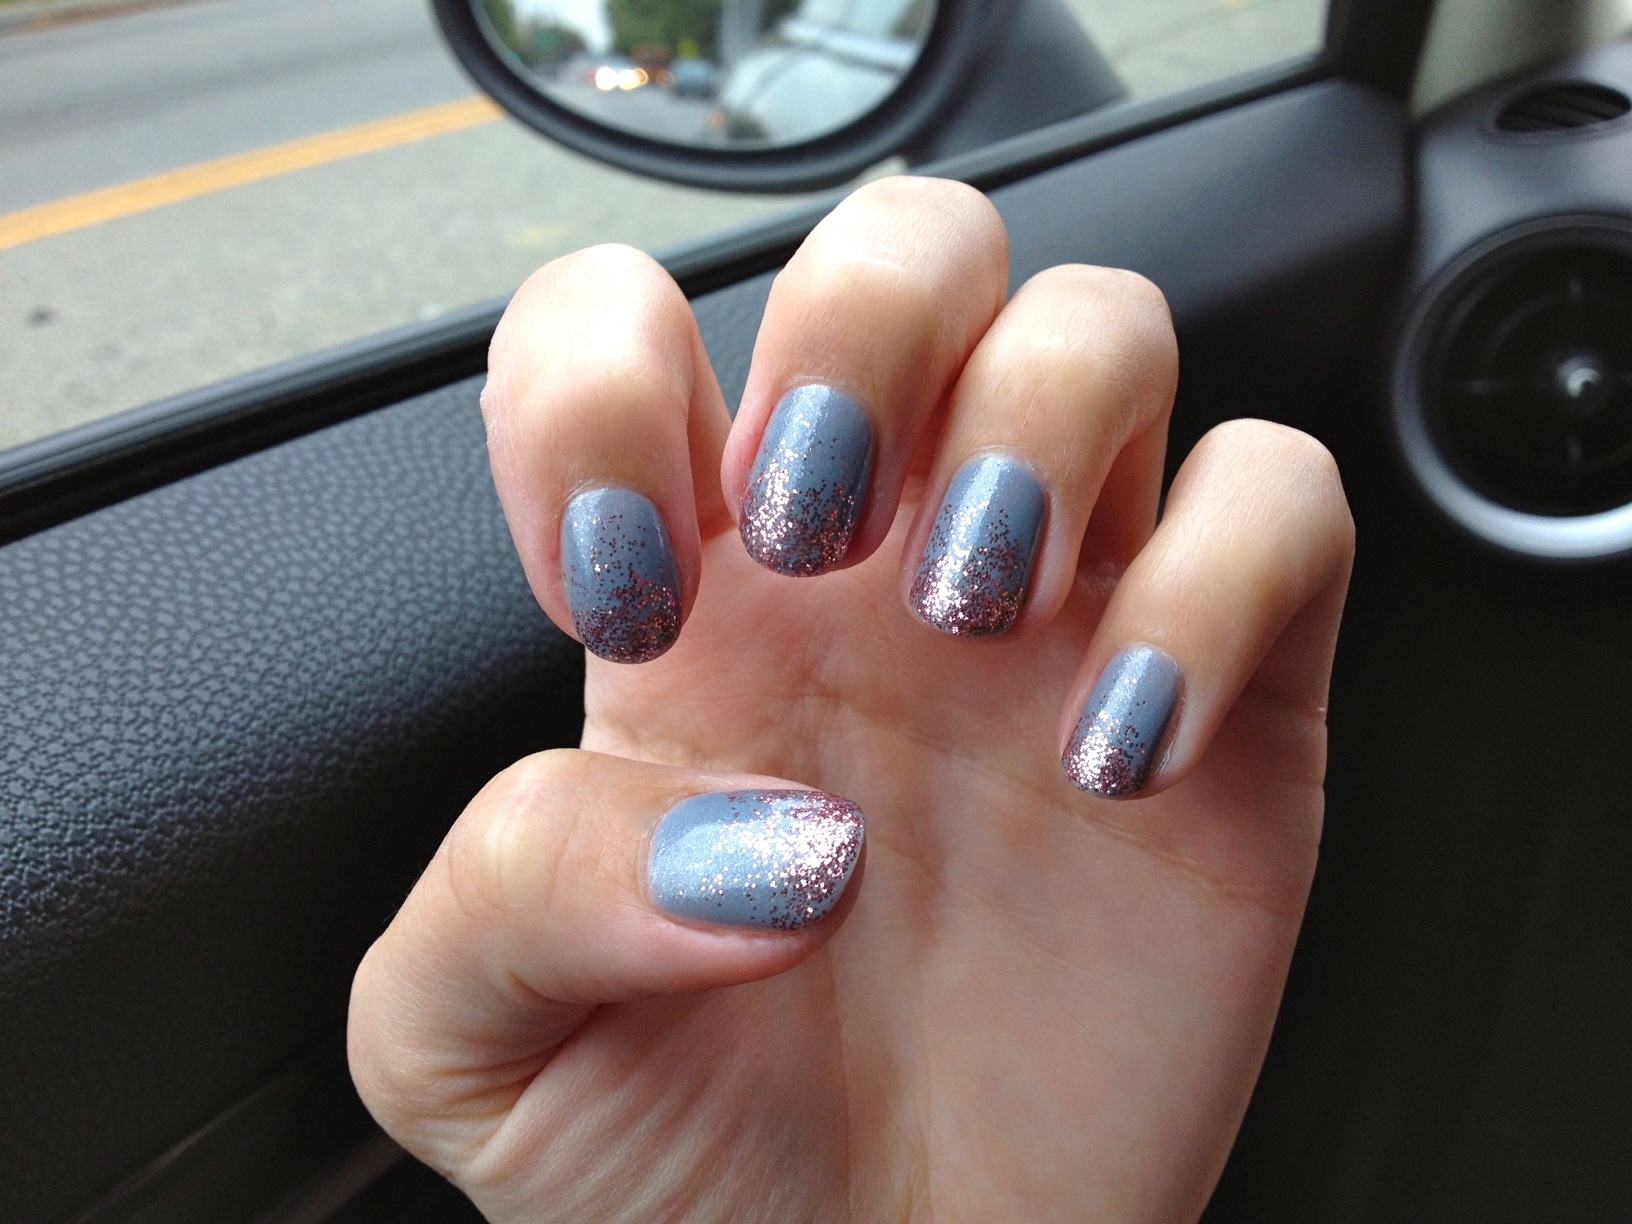
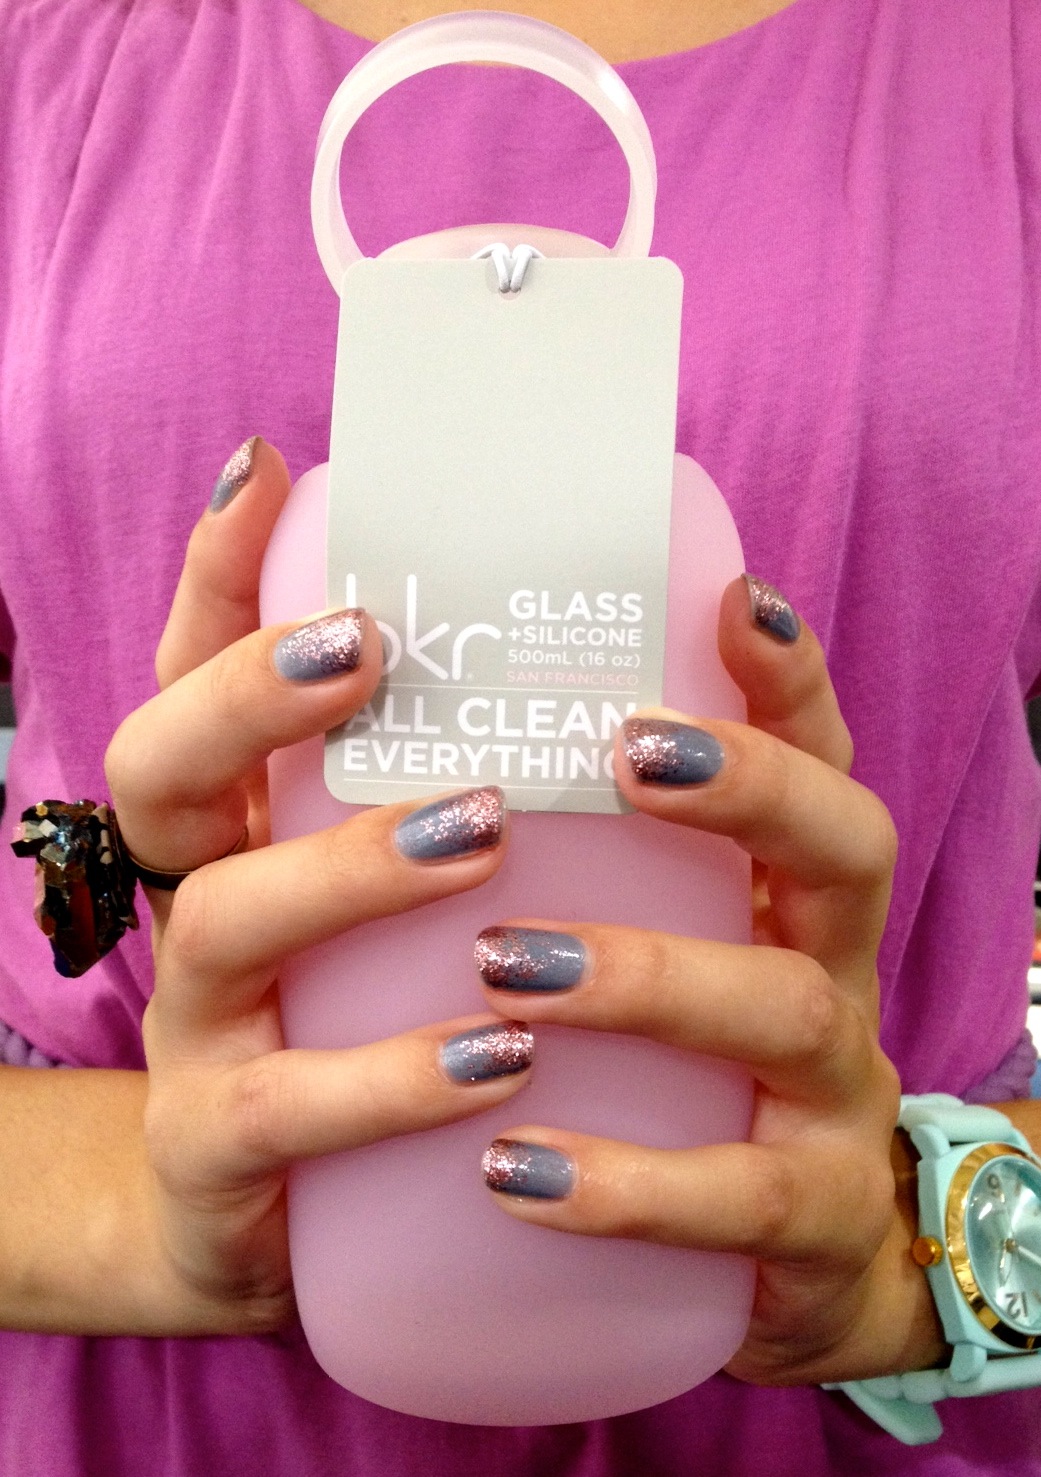
First, pictures:

And now, here's how to do your own Glitter Gradient.

  • I first had to comb through my Stash for some good glitter / base color combos. You'll need to do the same. What we're trying to achieve is a pairing that is pleasing to the eye — but it can't be too matchy-matchy or else the glitter fade will be difficult to detect. Nor can it be too contrasty; too distracting. Eventually, I settled on two polishes that looked great together: ORLY Pixie Dust, a lavender-gray hybrid with teensy specks of silver microglitter, and Nubar Pink Glitter, a pretty shade of pink that's more sparkling rosé than bubblegum.
  • Next, I did my usual Essie base coat, followed by two coats of ORLY Pixie Dust. I let the polish dry down a little and watched a scintillating half hour of Pawn Stars. (That show gets me every time!!)
  • And now, the fun part. GLITTAH. Do not shake the bottle. With a lot of glitters, you'll notice that the glitter sinks ever-so-slightly, leaving the bottom of the bottle very dense with glitter and the upper part of the bottle with fewer glitter particles. Carefully remove the brush from the bottle. We want to dip into the very top of the polish, the part that is mostly clear polish with only some bits of glitter here and there.
  • Then, paint about 75% of your nail with this diluted glitter formula. Don't go straight across; kind of move your brush like a zizag at the top, to avoid a clear line of demarcation between glitter and no-glitter on your nail.
  • Okay, now give that bottle a decent shake (like how you'd shake a bottle of milk). This will stir up the glitter and give you a more concentrated glitter mixture to paint with. Now paint 50% of your nails with this shaken-not-stirred polish. Use the same zigzag strategy.
  • One more step! Shake, shake, SHAKE. I mean really shake it (like when you were in second grade, and you brought in small glass baby food jars and added cream and then shook it the entire day to make butter). Get the glitter as mixed up as you can! This will give you GLITTERO MAXIMO. Paint just the tips of your nails, say the bottom 25%.
  • Top it off with your favorite top coat and BAM! Sparkle fingers FTW!

sparkleandshine, Francesca

butter LONDON — Teddy Girl & More

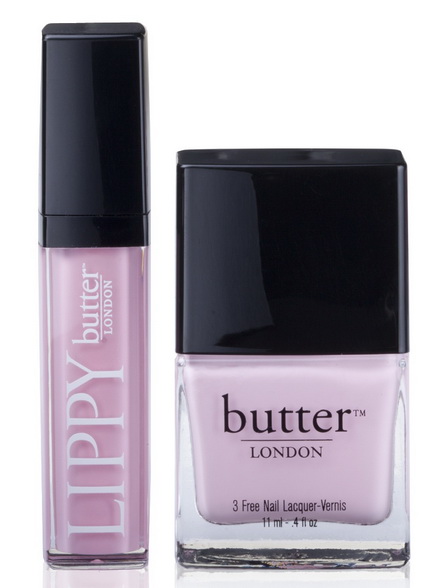
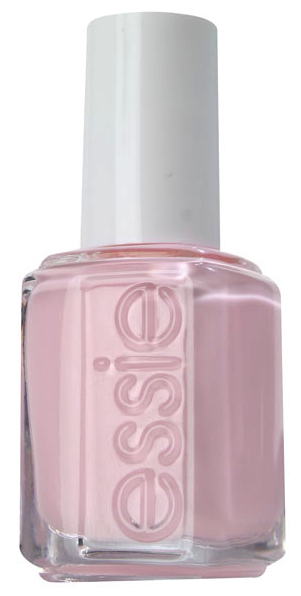
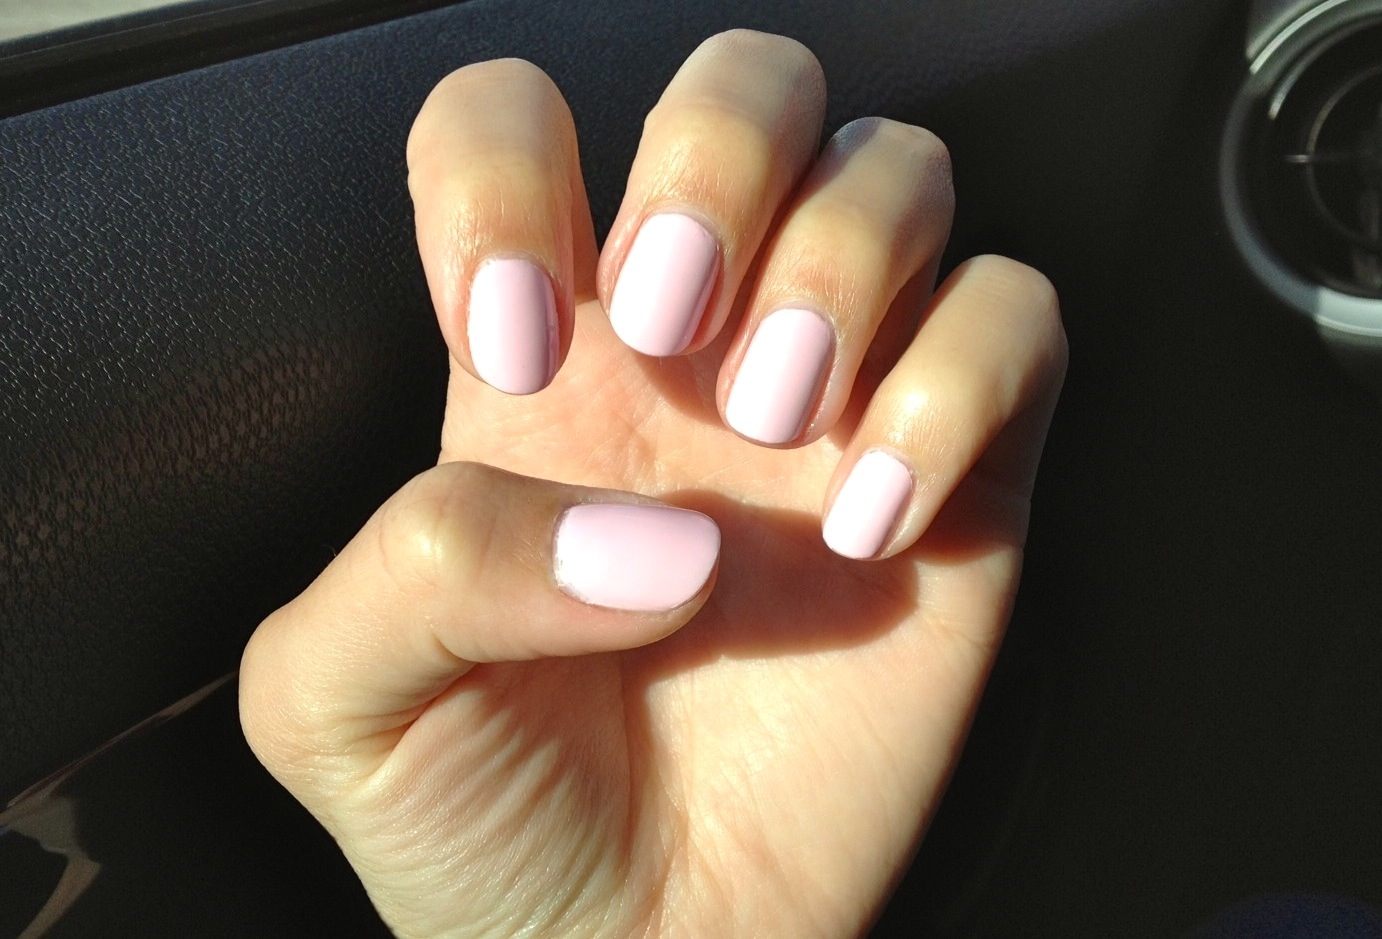
'Ello there! May I introduce one of my new favorites: butter LONDON's Teddy Girl*. I've been hoarding this color since spring; I was waiting until I had a whisper of a tan so that I could really show her off. And oh, some things are truly worth waiting for. I LOVE this color.

At first glance, Teddy Girl looks very similar to Essie Fiji. I know, I know — I was thinking that, too. My issue with Essie Fiji is that it is very streaky. You must have a light hand, and even then, the consistency tends to be a bit thick, so the only manicures with Essie Fiji that I've been satisfied with are when I glopped on three coats. And I really hate to do that.

I brought my brand new butter LONDON Teddy Girl to my nail appointment at Bellacures recently. I warned the nail technician — with colors like this, they tend not to go on evenly, so three coats might be a necessity. He admitted that this sometimes happens.

Together, we watched with anticipation as he worked on my right hand. The first coat was done... time to inspect. I raised my eyebrows in disbelief as I turned my hand this way and that.

It looked like I had two coats on already! Incredible! I hmmmmed with pleasant surprise. He nodded in agreement. This was fine polish. Nail polish of The Quality. Smooth, highly pigmented and such a great color for anyone's stash. [Side note, it's not a dupe for Fiji, don't let your eyes deceive you. Teddy Girl is a cooler, brighter, whiter pink. Fiji is softer and warmer; somewhat more subtle.]

I love this shade so much that I even got a pedicure with it, too! For the first time in eons, all 20 of my nails matched. I felt like such a lady.

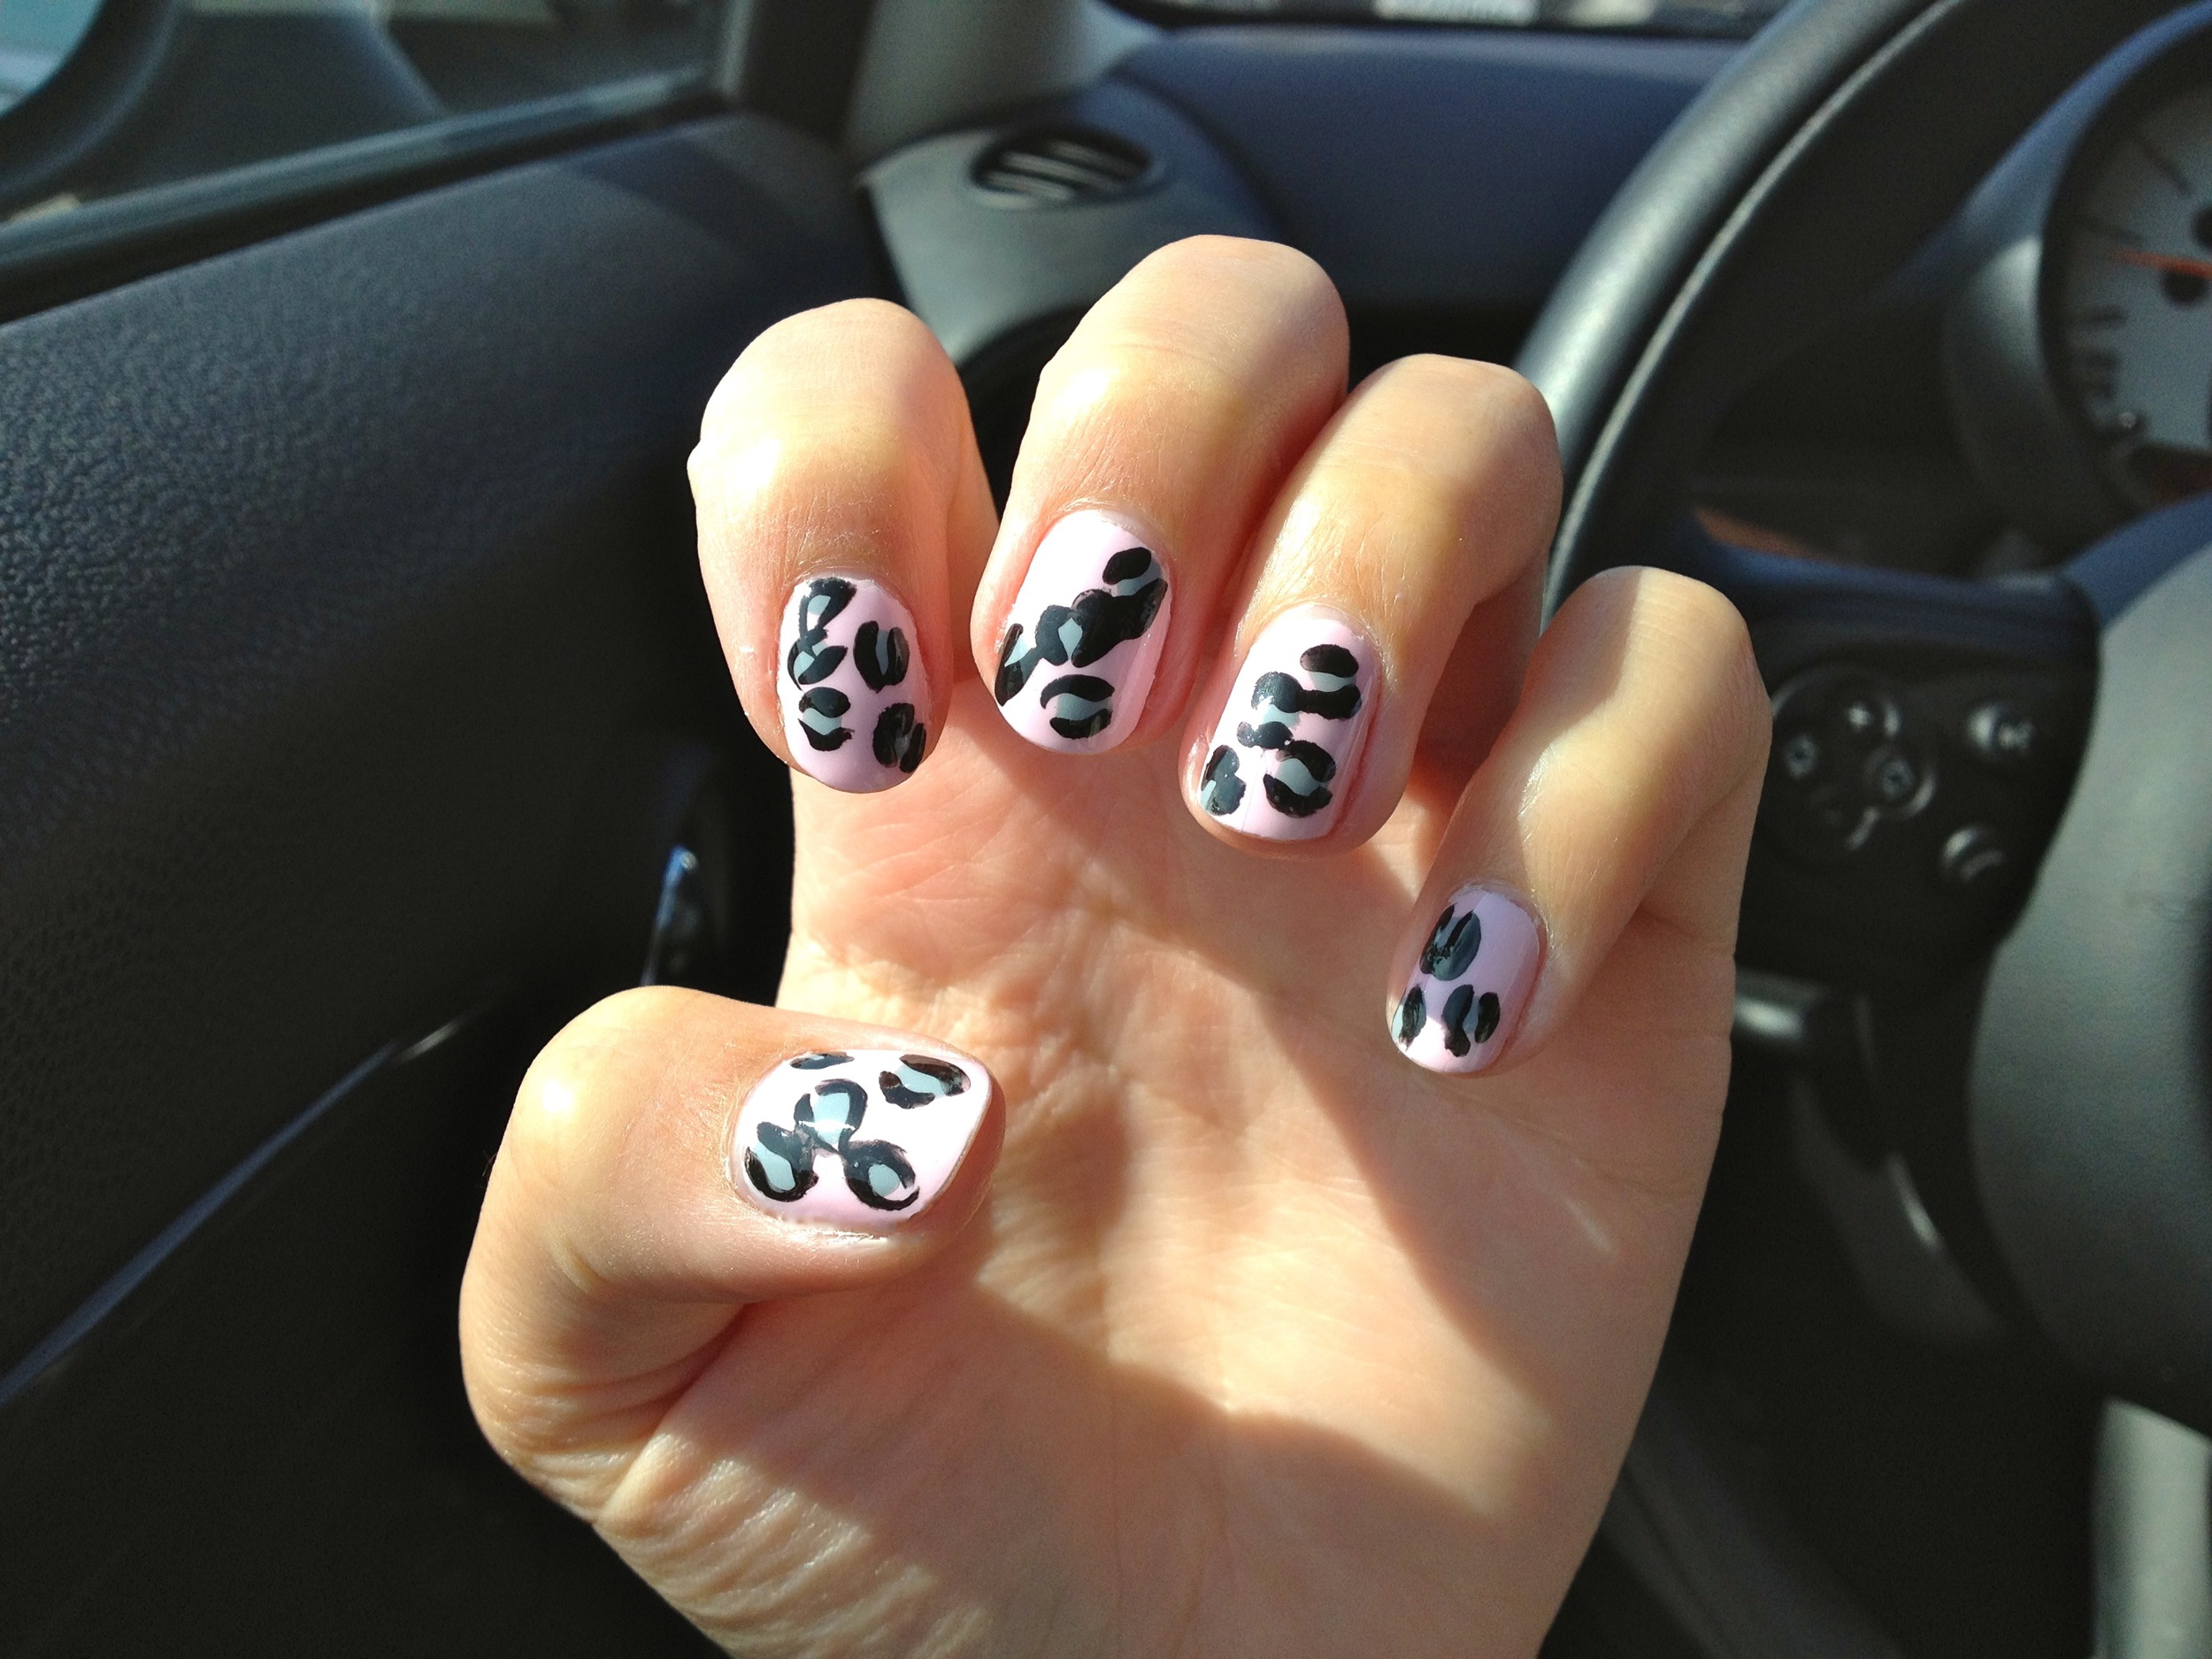
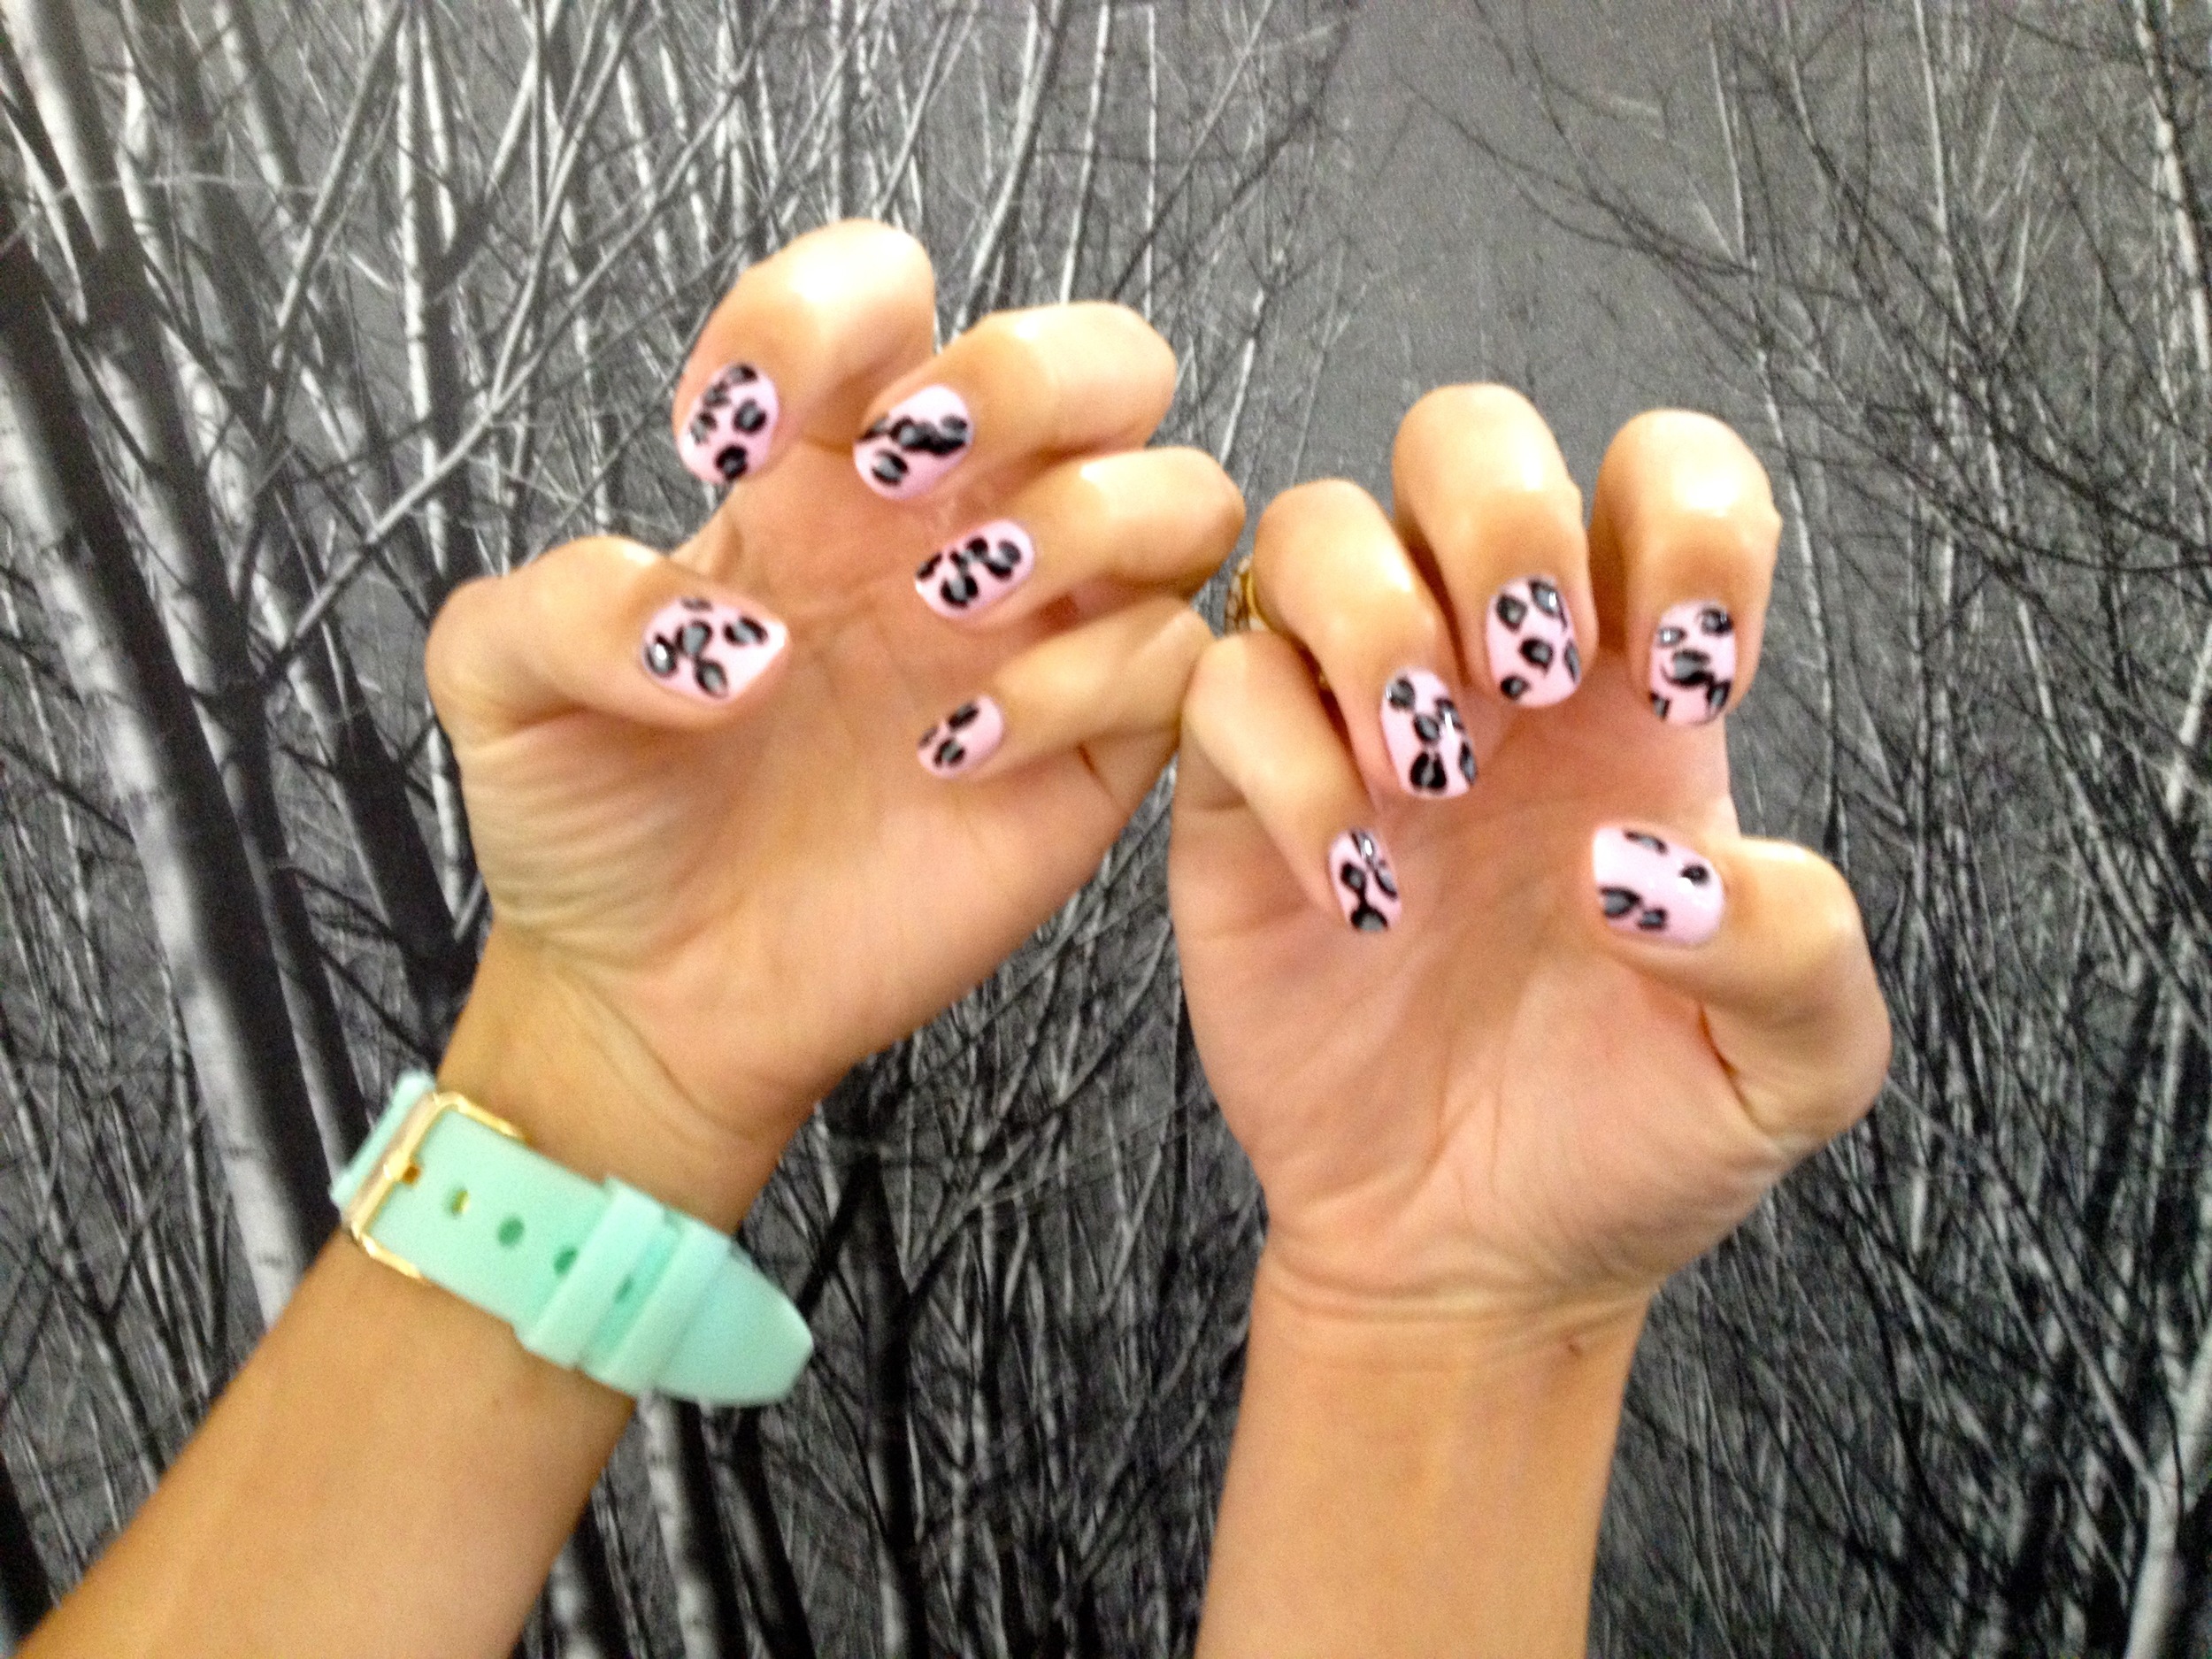
Two days passed. I was staring at the pale pink canvases that were my ladylike nails and I thought, well I suppose I could spice it up, just a little bit... and BAM! Leopard nailz.

Leopard spots are a piece of cake. I used a dotting tool to make small, irregular gray dots using ORLY Mirror Mirror. Then I used my bottle of ORLY Instant Artist in black to outline the dots I'd made. The outline doesn't need to be perfect (in fact, if it's a little sloppy...or we can be kind and say "organic," all the better). I was inspired by some of my pins on Polishment: THE BOARD!

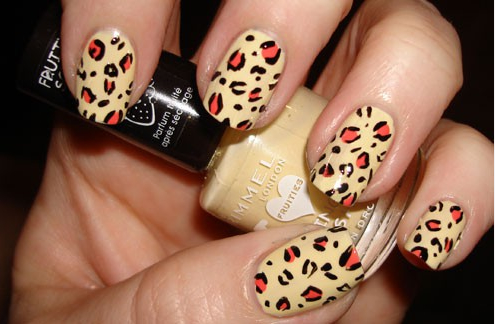
Have you guys tried any DIY leopard spots? I was thinking it might look cool if I added some smaller dots next time, like this:

dotdotdot, Francesca

*product provided for honest review