"Total Eclipse of a Star" Manicure

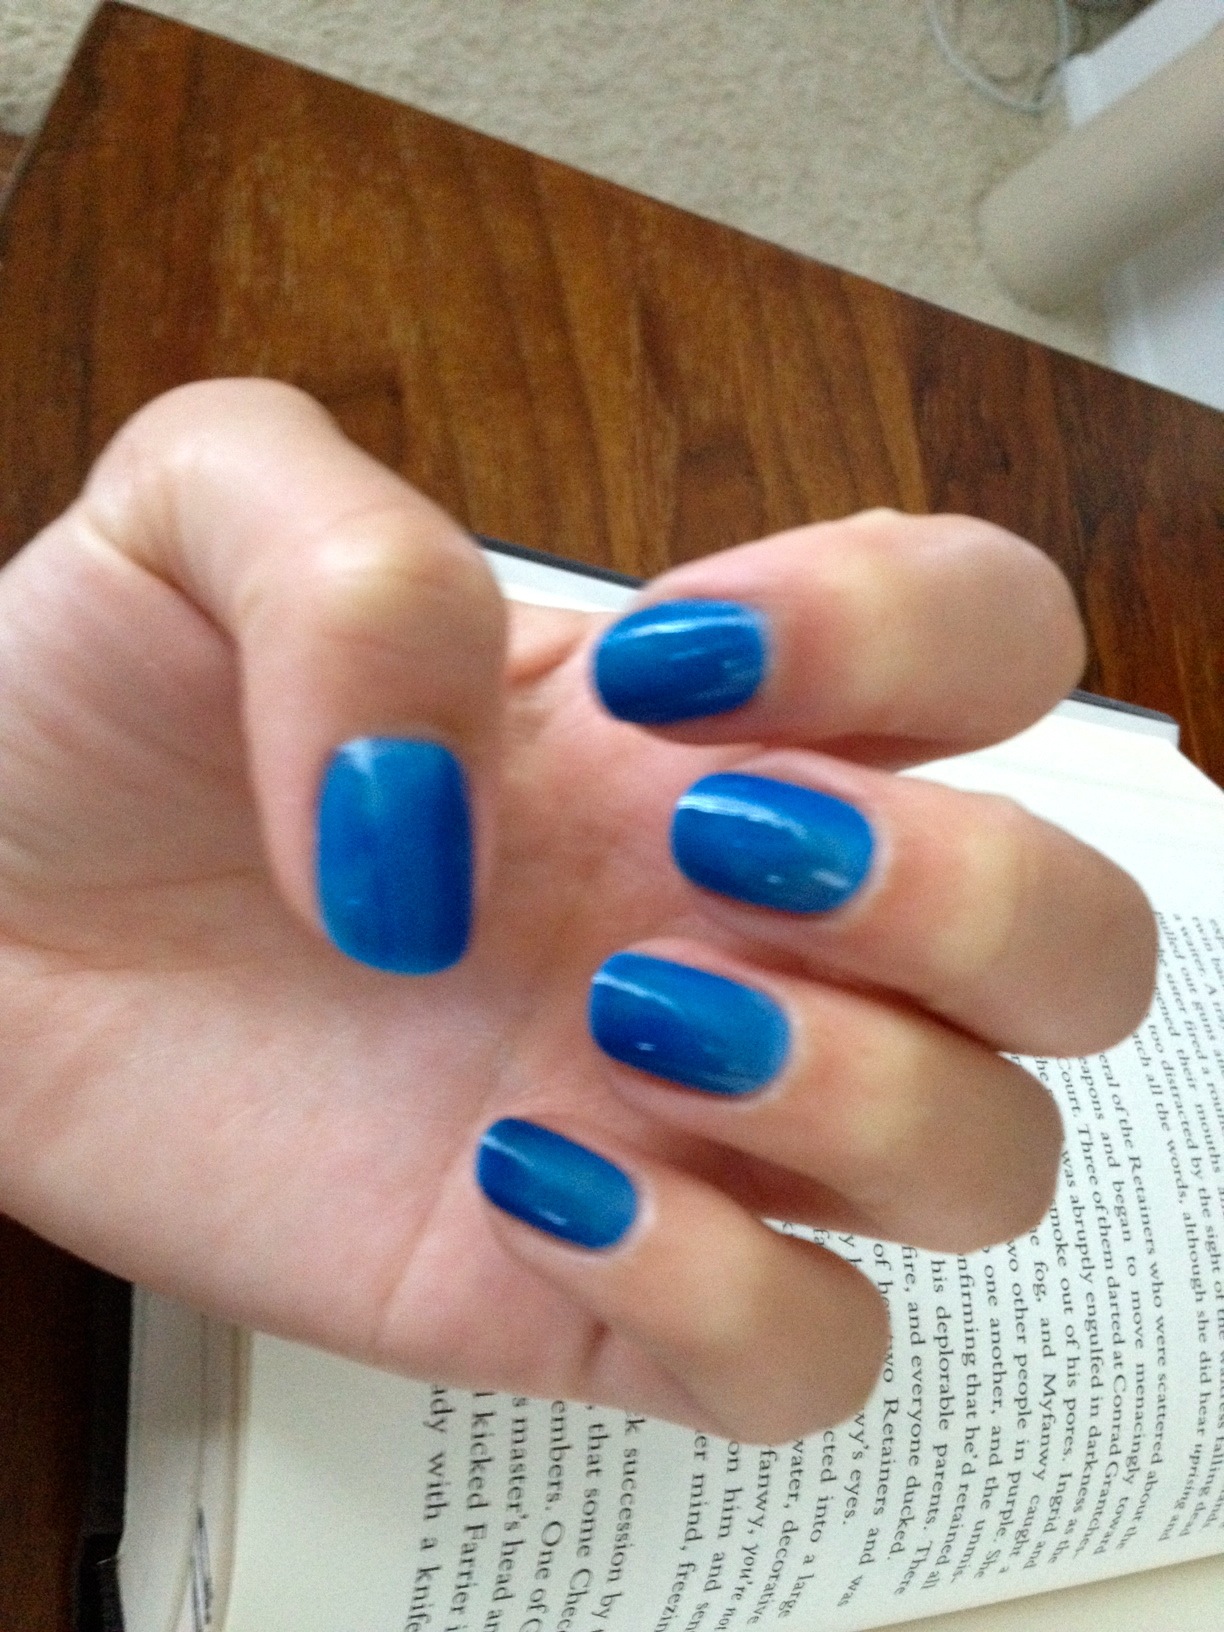
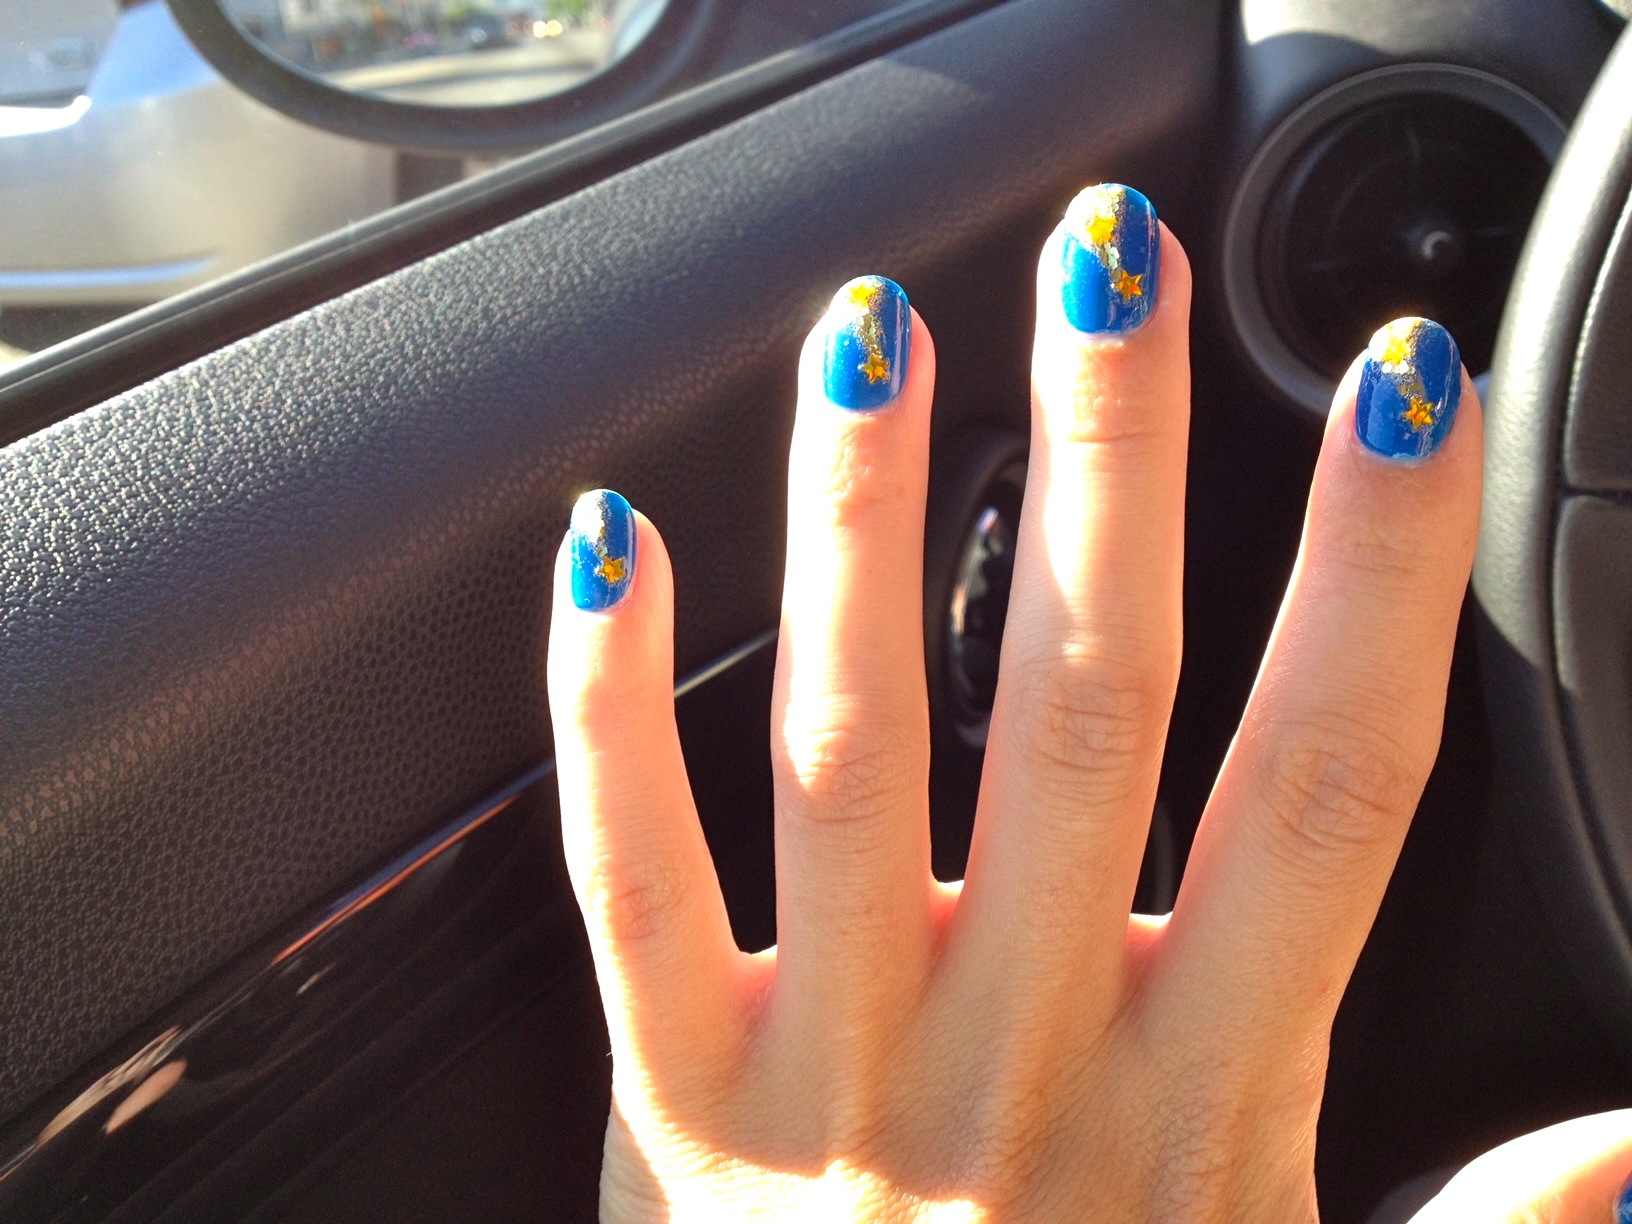
I'd had the urge to do justice to the holographic gold stars that saved my Neon Ombre manicure a few weeks ago. And perfectly enough, I'd just bought Nubar Blueberry, a deep blue jelly polish. Blue sky, gold stars... The rest of the plan just wrote itself. Here's my Shooting Star manicure.

And oh, what a happy coincidence that the cafe at my office had a makeshift karaoke stage set up. And so help me GAH, I was going to be a star!

Unfortunately, the little Booklet O' Songs was somewhat limited, so my trademark, go-to song was not there. Nor was my back-up. Nor was my back-up back-up. And when you come up empty like that, there's only one place to turn: Total Eclipse of the Heart.

[youtube=http://www.youtube.com/watch?v=ef-X3yejnr0]

turnaround, Francesca

Manicure Mania, Pt. III: Glitter Gradient

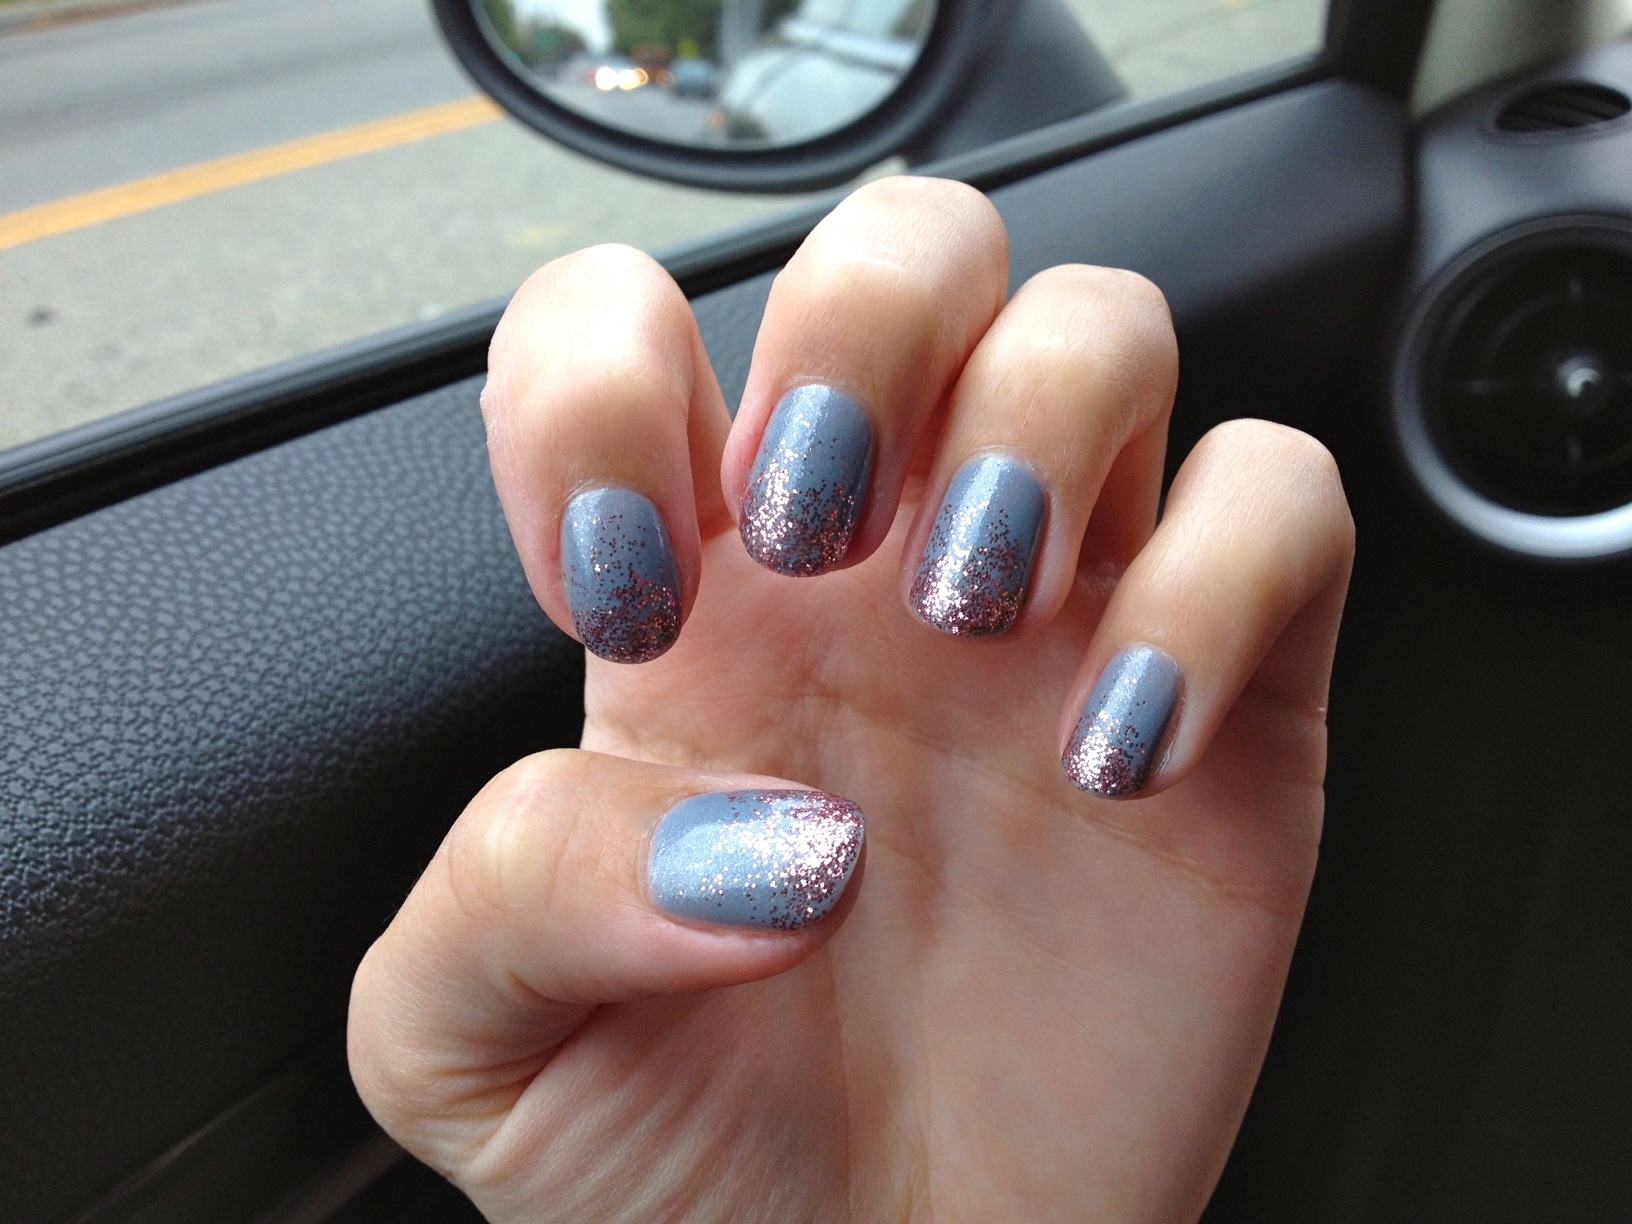
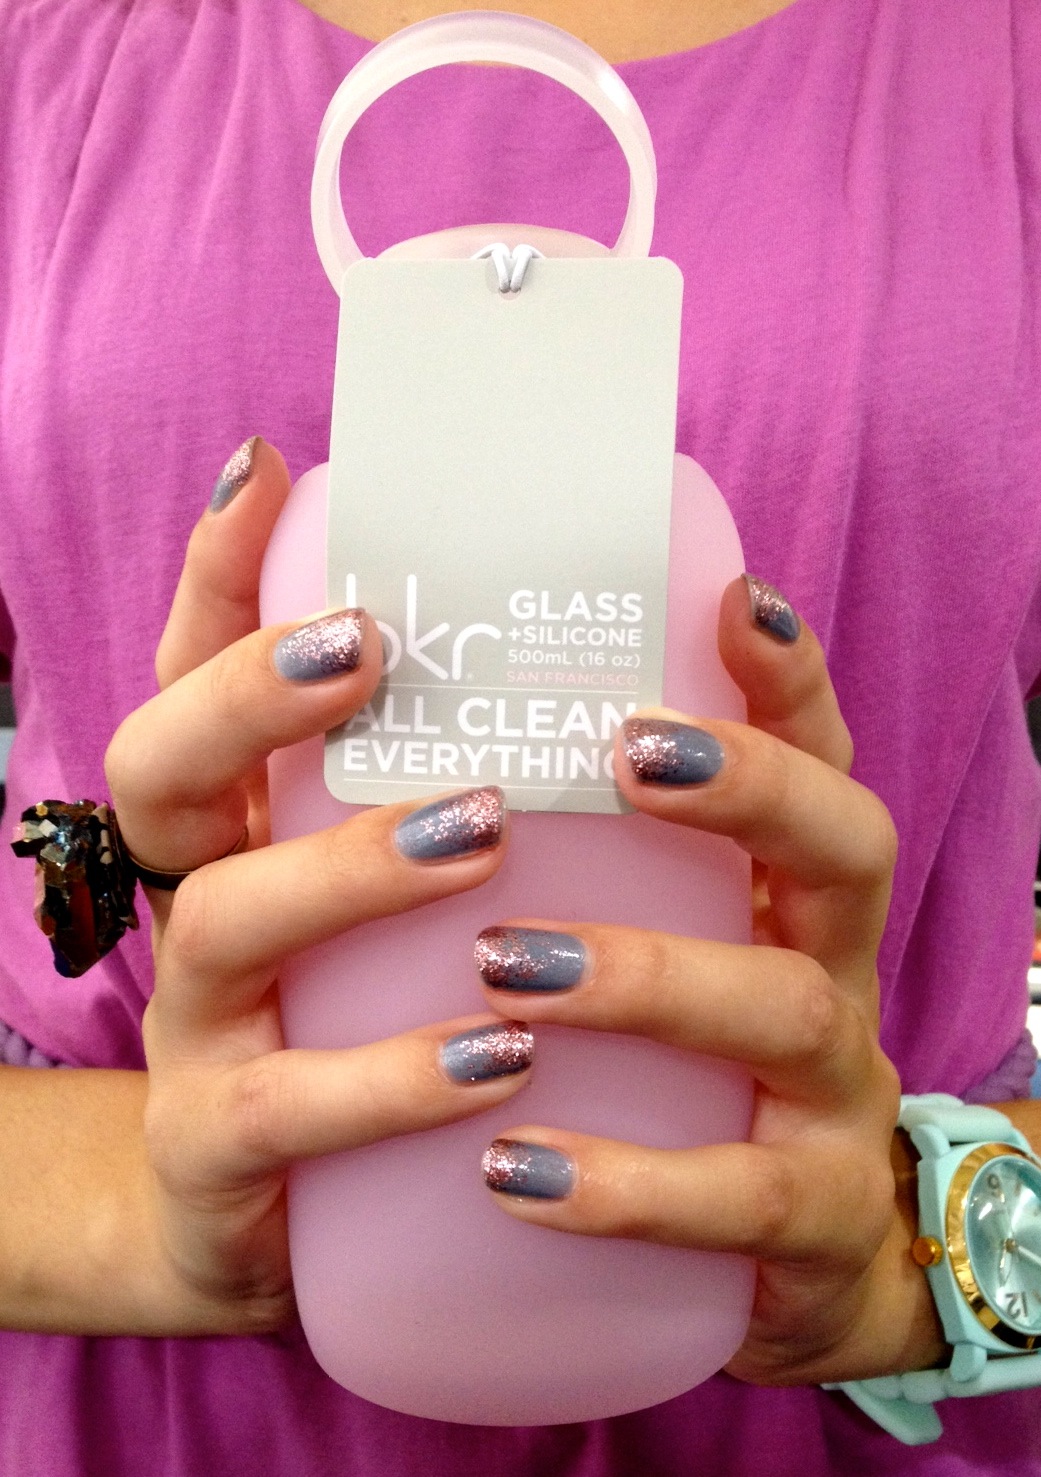
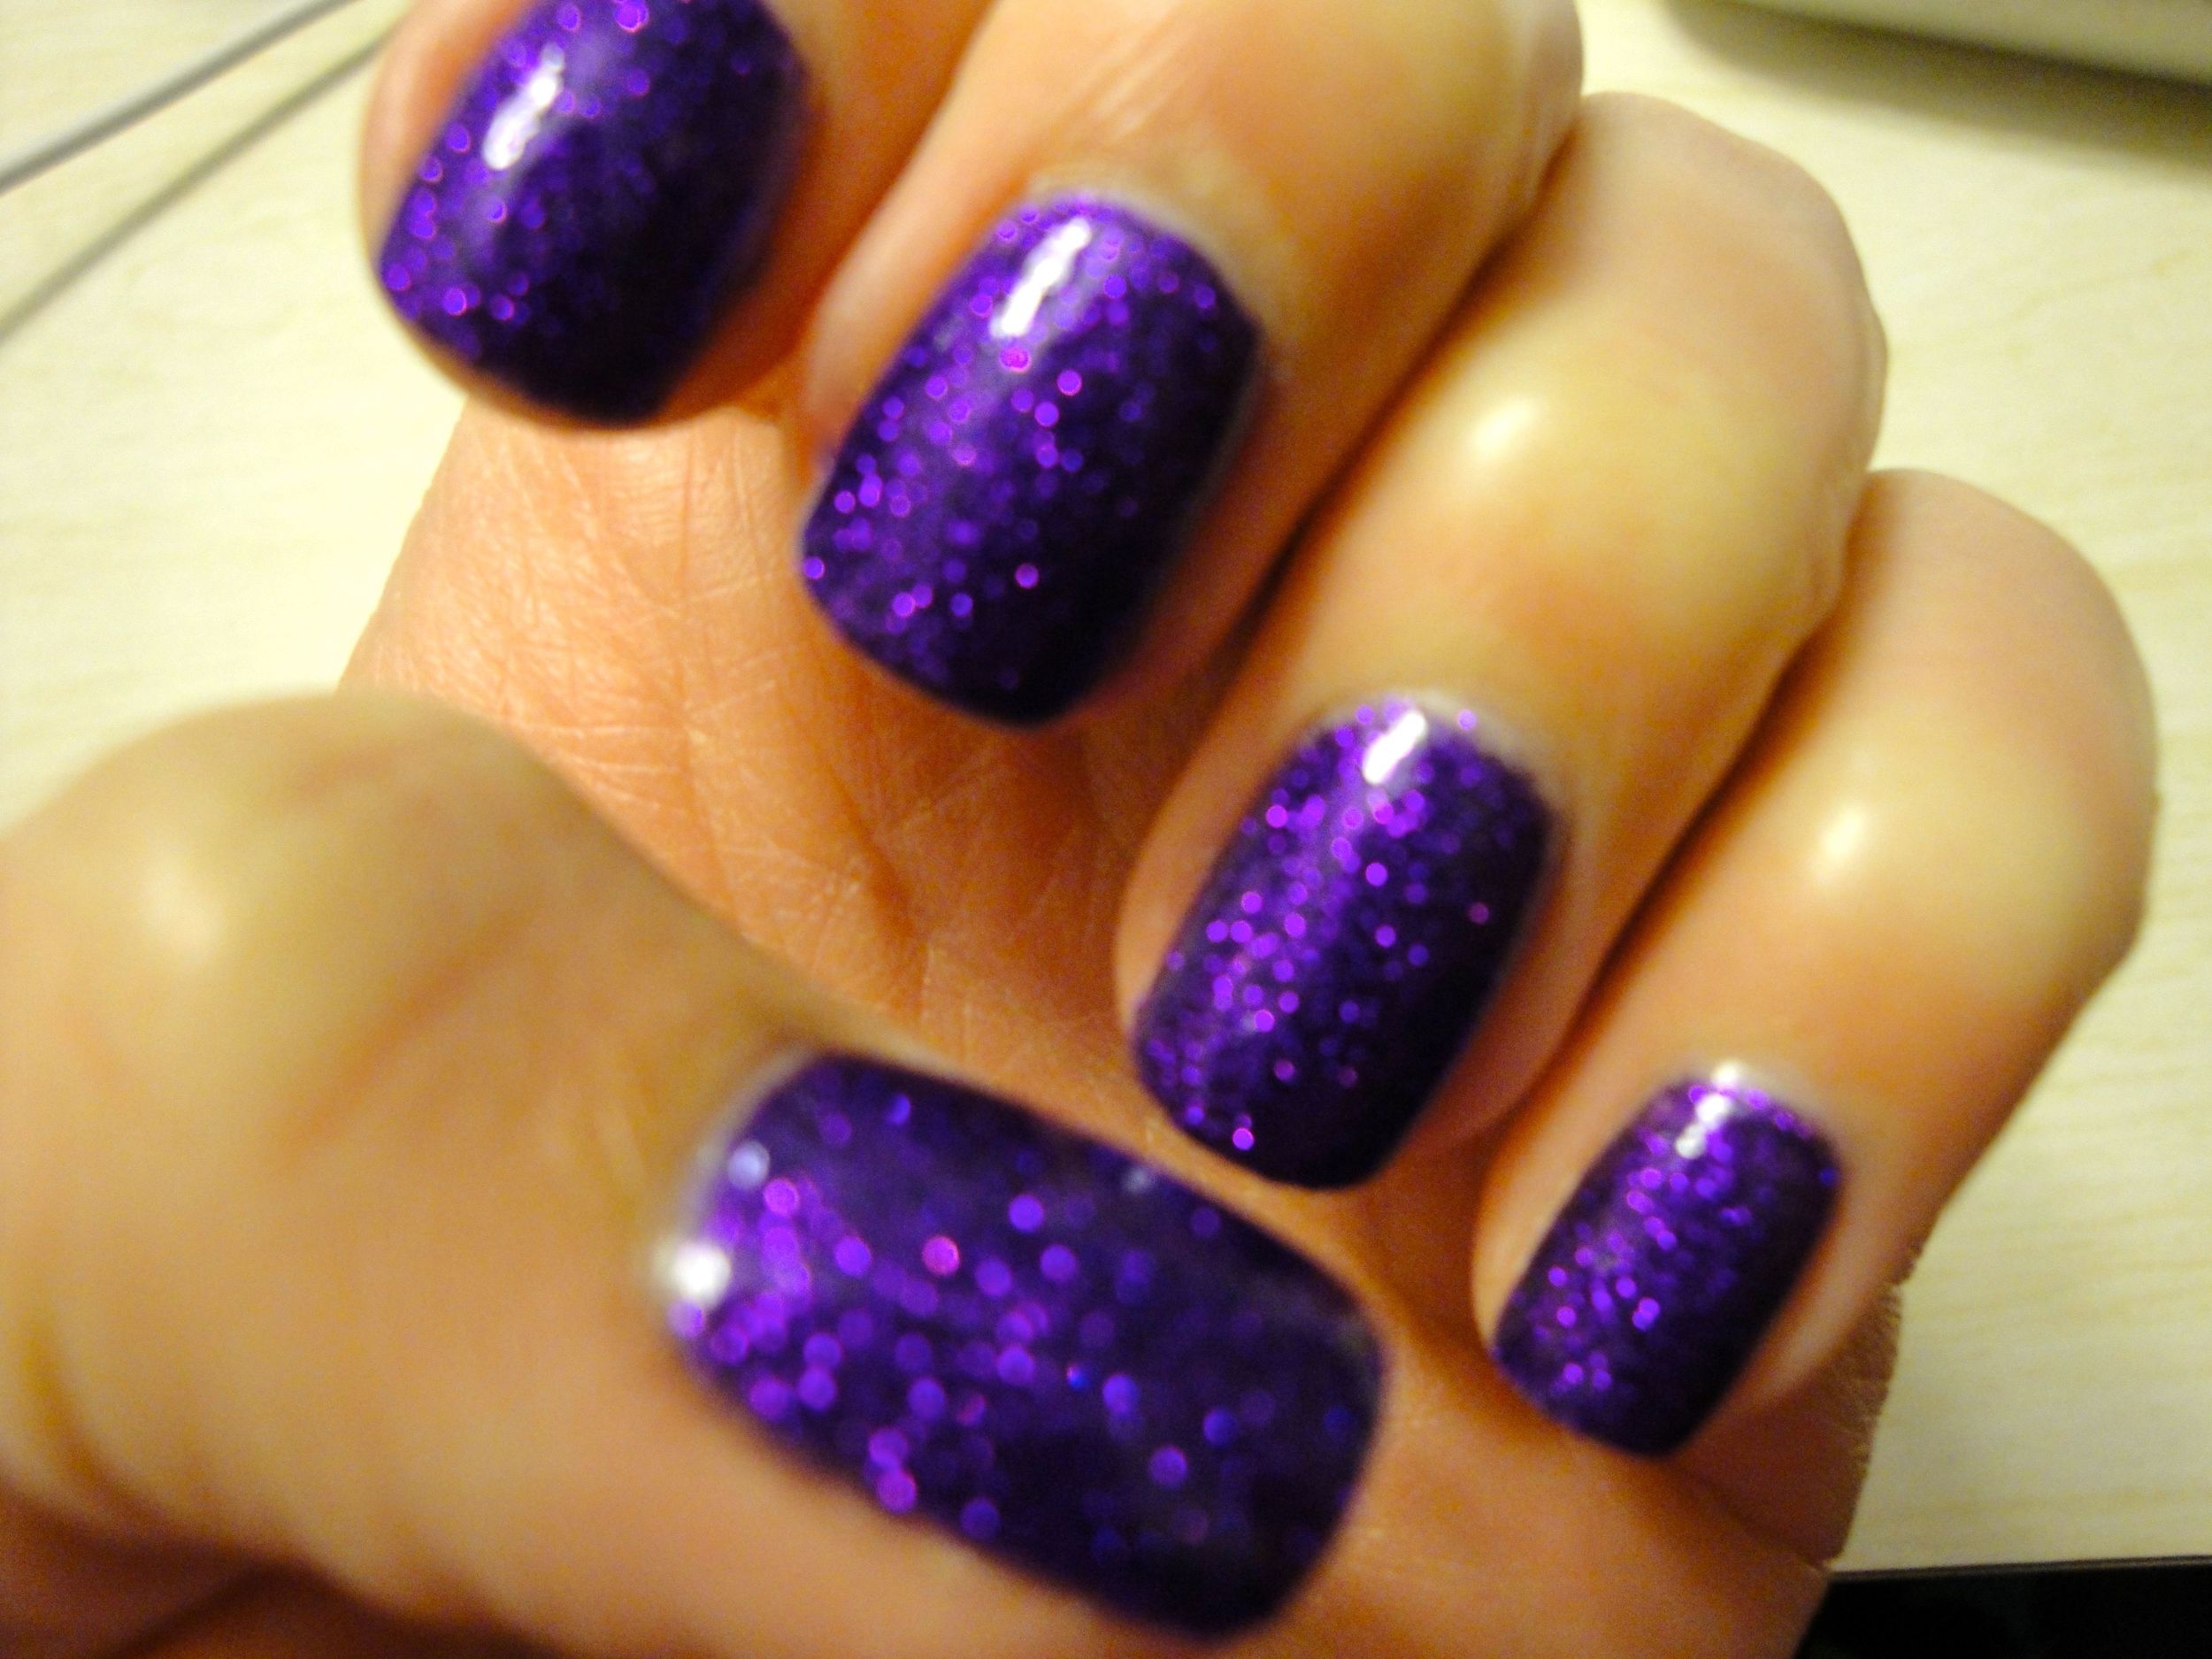
And so we continue with the mayhem that is Mani MANIA! Next up is a look that's incredibly easy to do and guaranteed to get the nod of approval (or even the ole eyebrow-raise of astonishment) from all of your pals: The Glitter Gradient.

First, pictures:

And now, here's how to do your own Glitter Gradient.

  • I first had to comb through my Stash for some good glitter / base color combos. You'll need to do the same. What we're trying to achieve is a pairing that is pleasing to the eye — but it can't be too matchy-matchy or else the glitter fade will be difficult to detect. Nor can it be too contrasty; too distracting. Eventually, I settled on two polishes that looked great together: ORLY Pixie Dust, a lavender-gray hybrid with teensy specks of silver microglitter, and Nubar Pink Glitter, a pretty shade of pink that's more sparkling rosé than bubblegum.
  • Next, I did my usual Essie base coat, followed by two coats of ORLY Pixie Dust. I let the polish dry down a little and watched a scintillating half hour of Pawn Stars. (That show gets me every time!!)
  • And now, the fun part. GLITTAH. Do not shake the bottle. With a lot of glitters, you'll notice that the glitter sinks ever-so-slightly, leaving the bottom of the bottle very dense with glitter and the upper part of the bottle with fewer glitter particles. Carefully remove the brush from the bottle. We want to dip into the very top of the polish, the part that is mostly clear polish with only some bits of glitter here and there.
  • Then, paint about 75% of your nail with this diluted glitter formula. Don't go straight across; kind of move your brush like a zizag at the top, to avoid a clear line of demarcation between glitter and no-glitter on your nail.
  • Okay, now give that bottle a decent shake (like how you'd shake a bottle of milk). This will stir up the glitter and give you a more concentrated glitter mixture to paint with. Now paint 50% of your nails with this shaken-not-stirred polish. Use the same zigzag strategy.
  • One more step! Shake, shake, SHAKE. I mean really shake it (like when you were in second grade, and you brought in small glass baby food jars and added cream and then shook it the entire day to make butter). Get the glitter as mixed up as you can! This will give you GLITTERO MAXIMO. Paint just the tips of your nails, say the bottom 25%.
  • Top it off with your favorite top coat and BAM! Sparkle fingers FTW!

sparkleandshine, Francesca

Nubar — Violet Sparkle

There's something you should know about me.

I have a very Violet past.

Heh. As a part of my GLITTER Month (!) here’s a new glitter mani for you: Nubar Violet Sparkle.

I am just now getting into Nubar. It was hard for me to find Nubar here in Los Angeles since it doesn’t lurk in your local Sally’s, nor even the well-stocked Wilshire Beauty Supplies, but now that I know where to look, I’m hooked.  I’ve only tried out three Nubar shades — but I bought many more than that — so get ready to see a healthy amount of Nubar in the future!

I was pumped to try out Nubar, period, but there was one entire series that had me salivating. Of course I’m talking about Nubar’s Sparkles collection from Spring 2010. You MUST click on this link to check out swatches for the whole set from the wonderful Scrangie. (Scrangie, you are a priceless gem for painting such awesome swatches!)

It’s hard for me to pick a favorite color, but purple’s usually high on my list. Thus, Nubar Violet Sparkle was a have-to-have.

What’s really interesting about this color is that the base is clear! It’s not tinted, like China Glaze Ruby Pumps. Instead, Nubar relies on its high-quality microglitter to handle the coverage. I really wanted to show you how quickly the coverage builds, so I took some coat-by-coat shots.
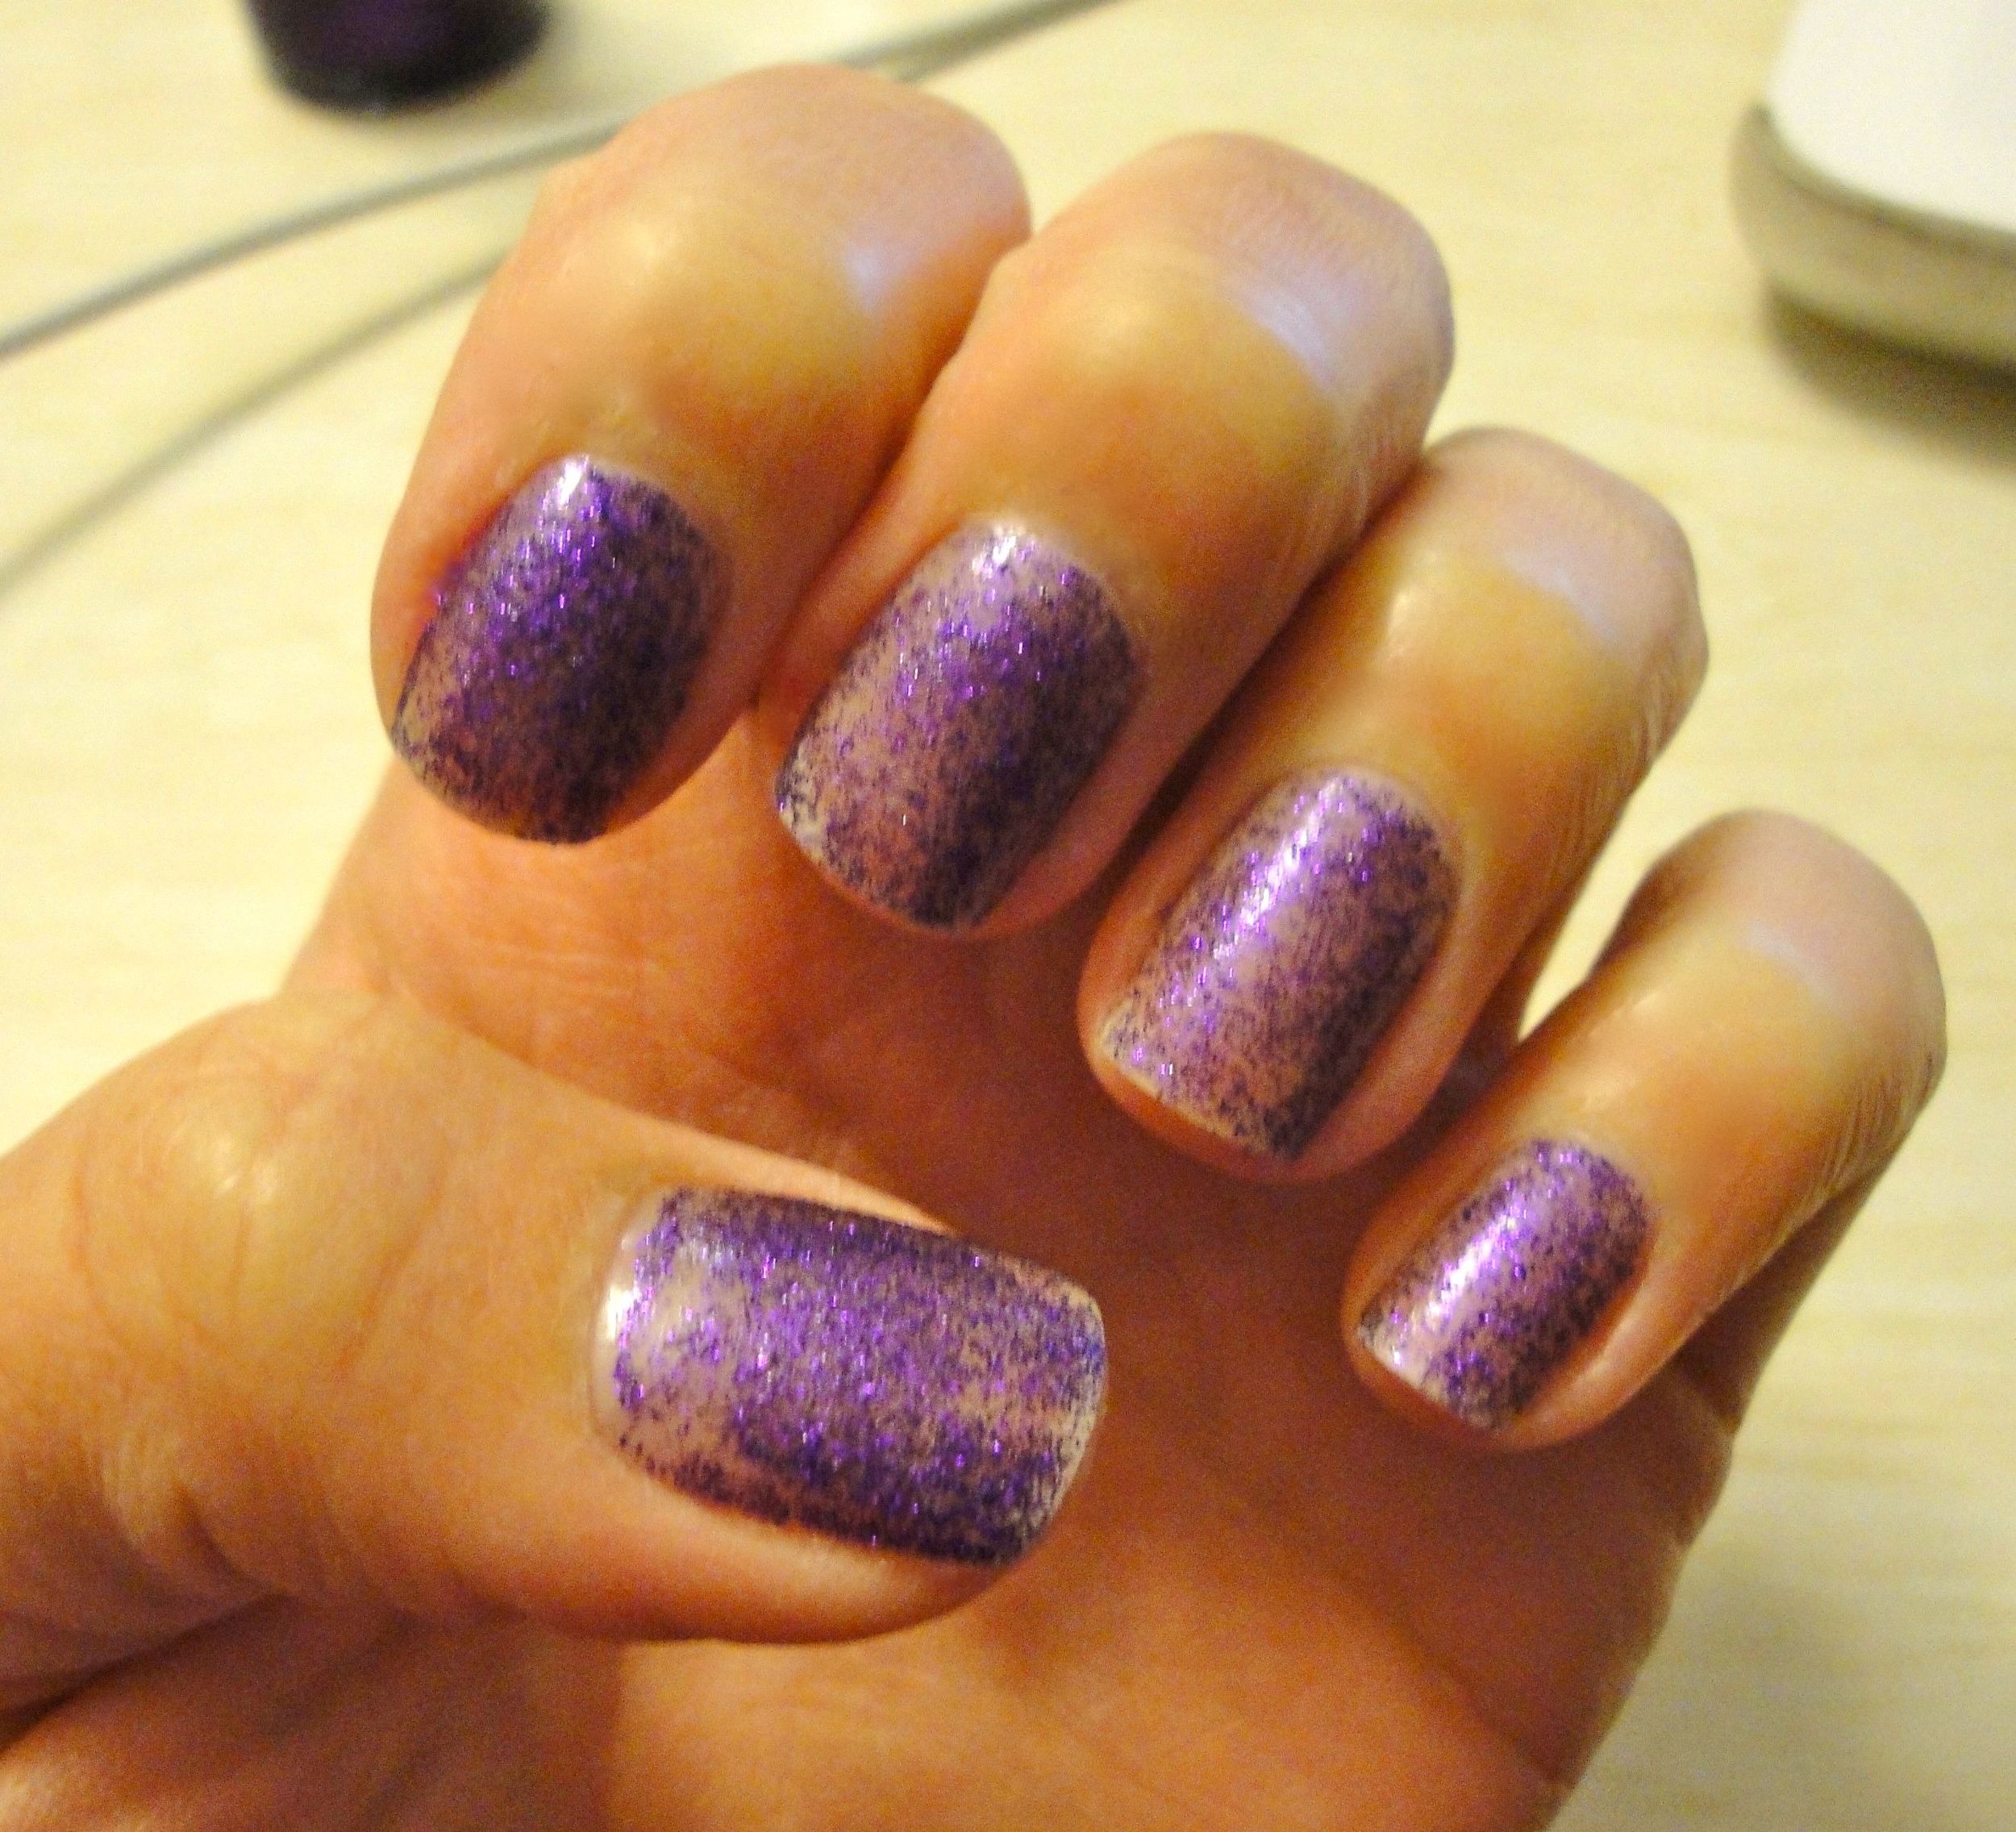
As you can see, the finish is very, very gritty (and matte!)... but it didn't bother me. I slapped on a generous layer of Seche Vite top coat, and it smoothed things over. A little texture was still detectable, but it didn't drive me crazy and probably would have been less noticeable if I'd done only two coats.

Just before I took this off, I painted over it with a matte top coat and it looked awesome. Sorry I forgot to take a pic! But just letting you know that it's worth a try, or could be a great way to easily switch up your look mid-week.

Now let's match up these eye-catching Nubar Sparkle Collection colors with some of my favorite nail-loving ladies:

  • Bubbles Echo: Sky Sparkle (light turquoise-y blue) would be out of your comfort zone, but so fun for summer!
  • Kilo Whiskey aka KIM: Meadow Sparkle (light green) to match your eyez.
  • Lima Alpha: Hyacinth Sparkle (light lavender) since purple's your favorite, too.
  • MSB Chic: Petunia Sparkle (magenta-y) would look great with your wardrobe & coloring.
  • Whiskey Mike: Petunia Sparkle (magenta-y) since you and MSB don't even know each other, lol. It would look great on you, too! :)
  • VARNISH: Night Sparkle (deep deep blue) would be such a statement and match every outfit.

Has anyone else fallen in love with Nubar’s sparkles?

Xxo, GLOSS

Ombré Uñas — A Gray Gradient Manicure

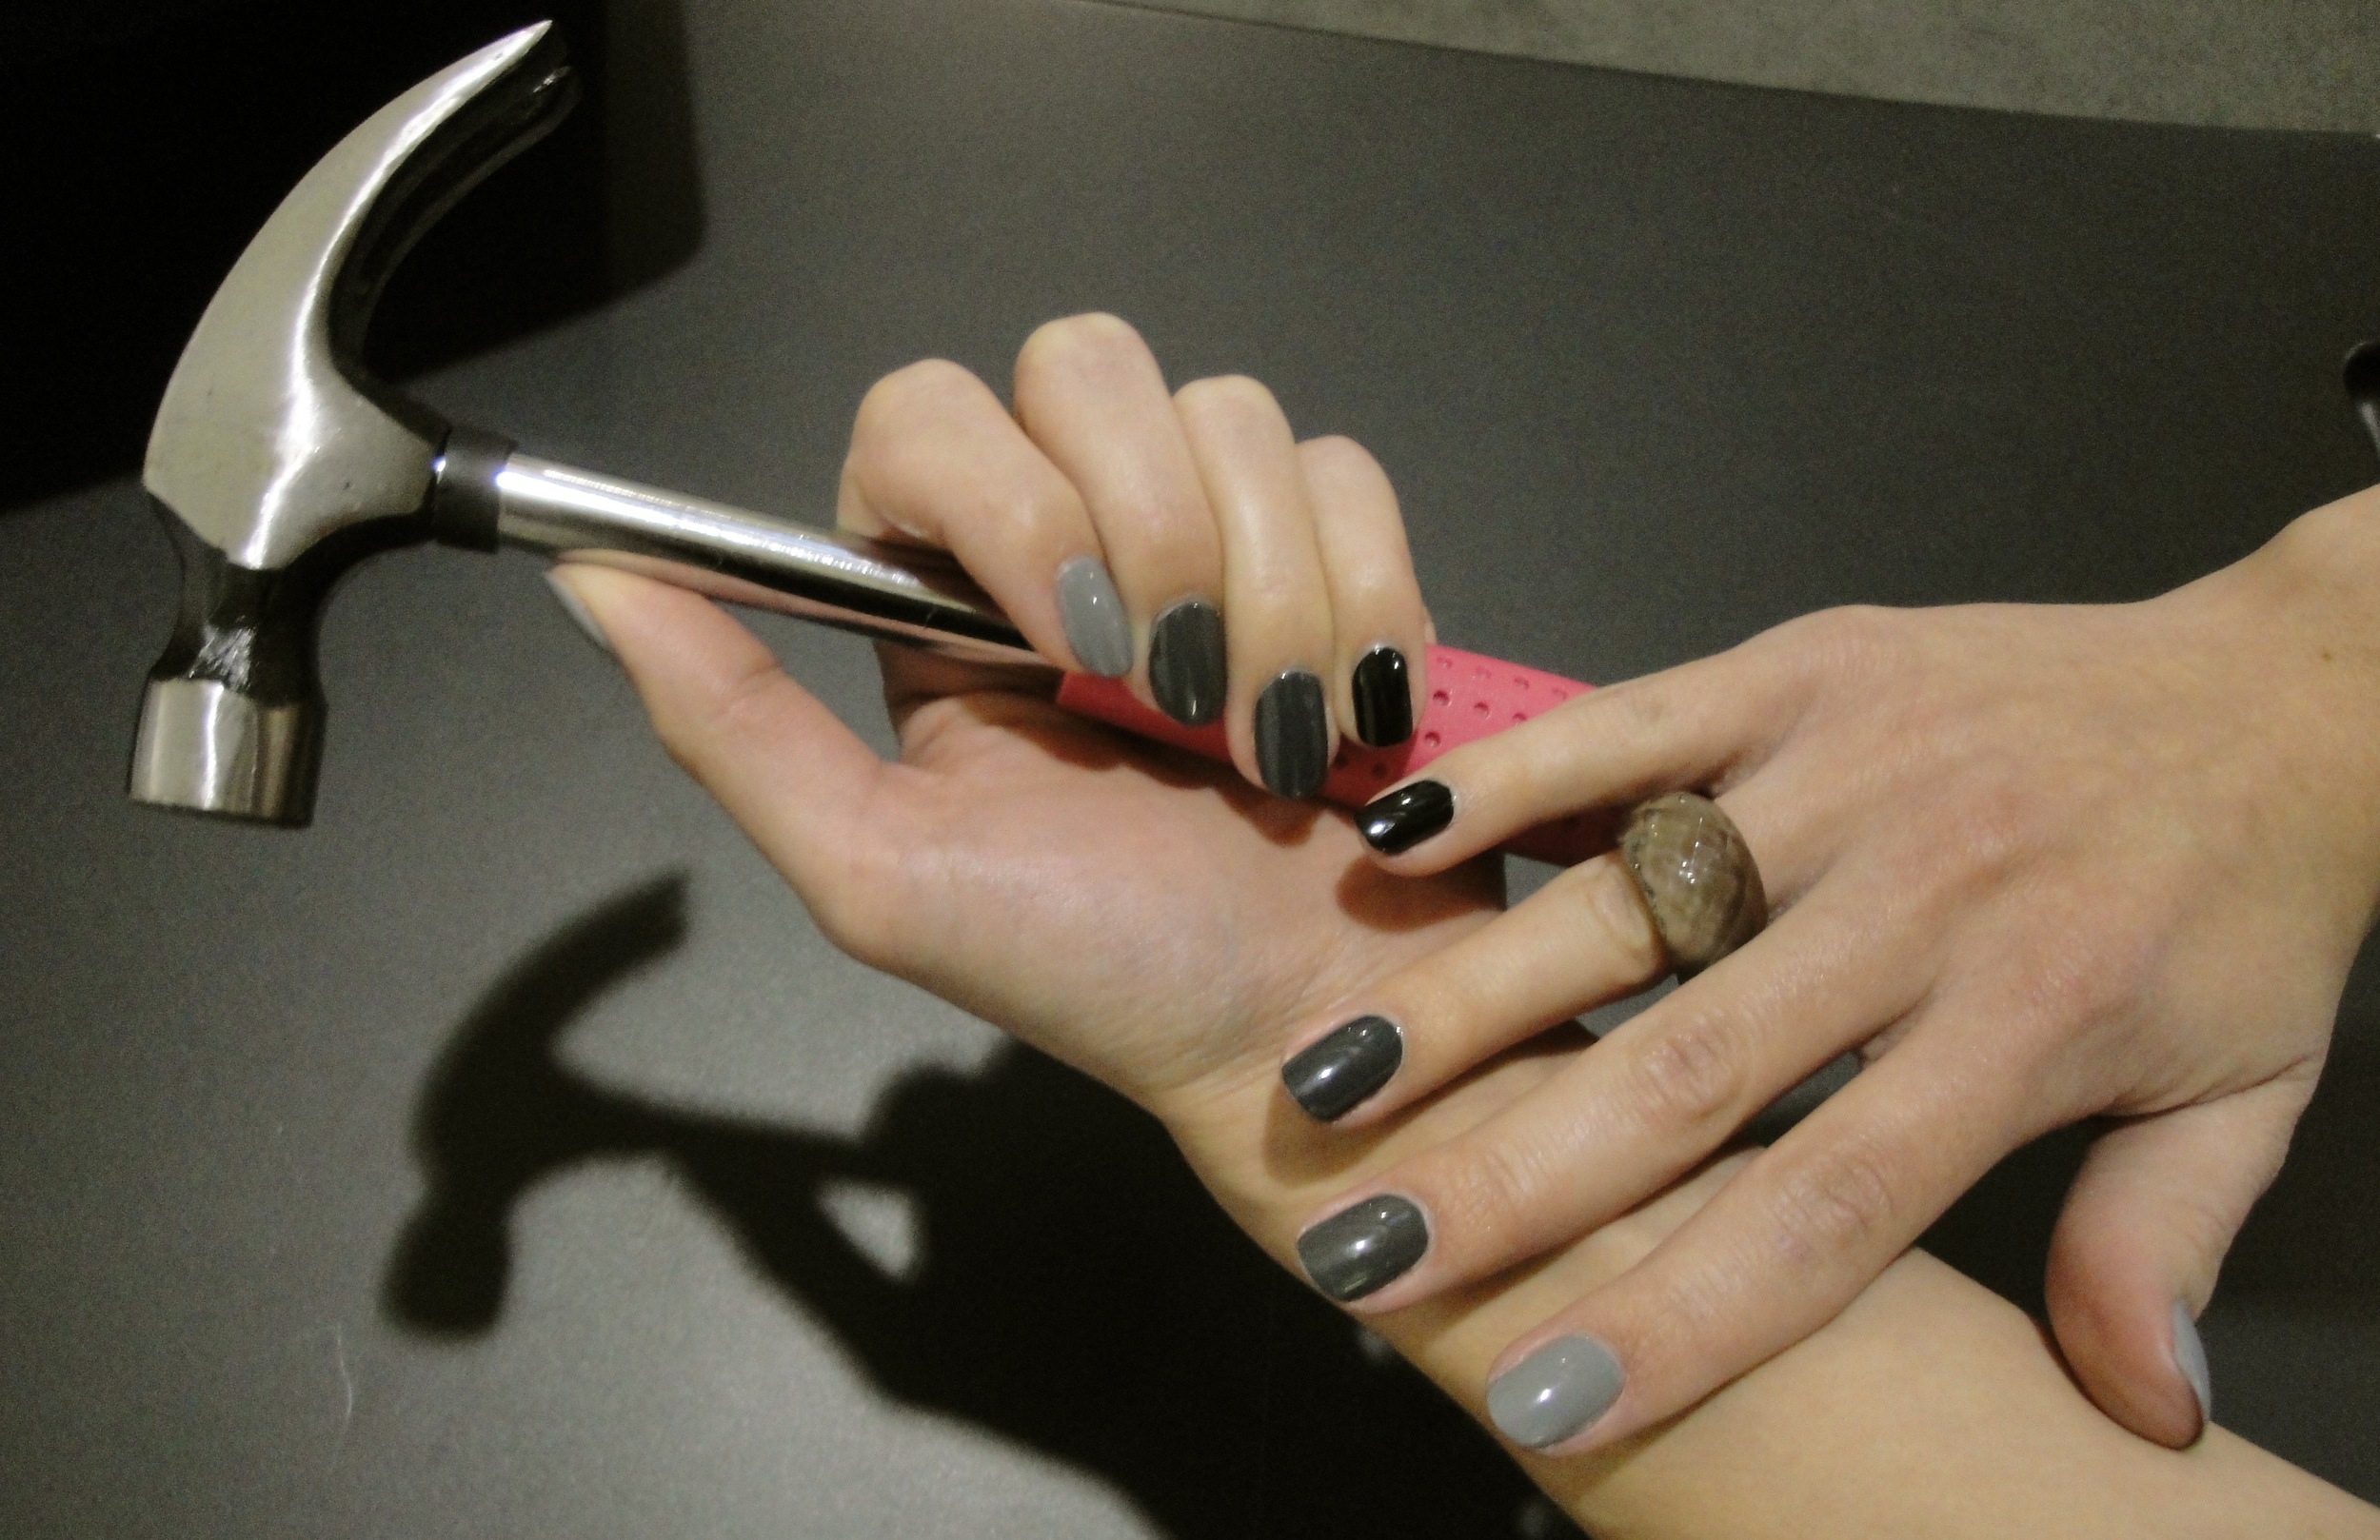
What’s a great way to add some D-I-Y artistic flair to your fingers without whittling hours away? An ombré manicure!

Varnish covered this in a post last month, and I’ve been meaning to try it ever since. Not to mention, I see a new variation of the ubiquitous ombré on Pinterest at least once a week, and I can’t take it anymore. Now, it’s my turn.

The key to painting a gradient that makes sense and looks good is access to a good-sized stash of polish. With my collection and my neighbor Celeste’s (hi Celeste!) combined, I was able to come up with an ombré that was not too shabby!

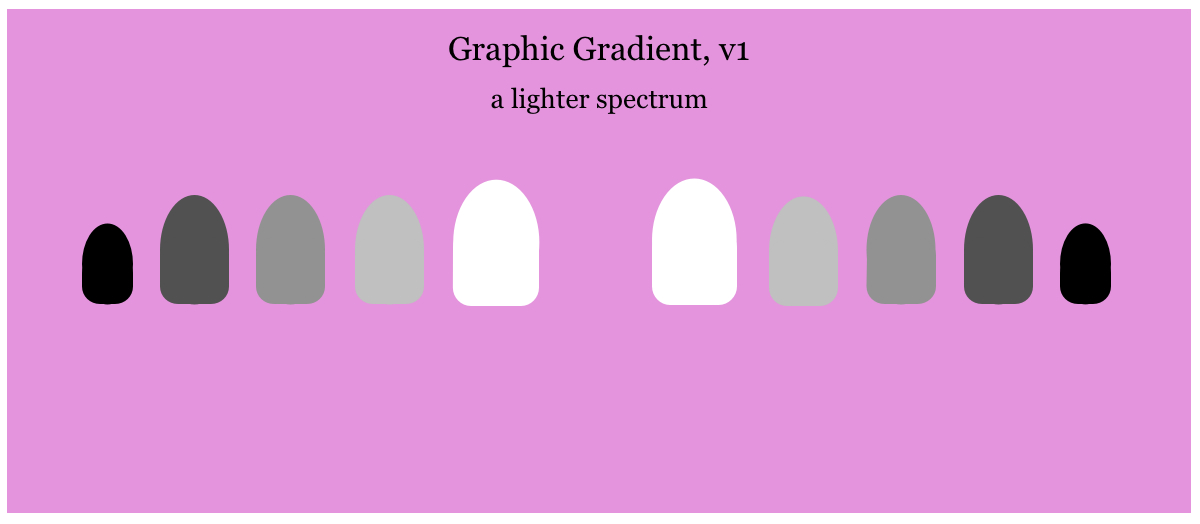
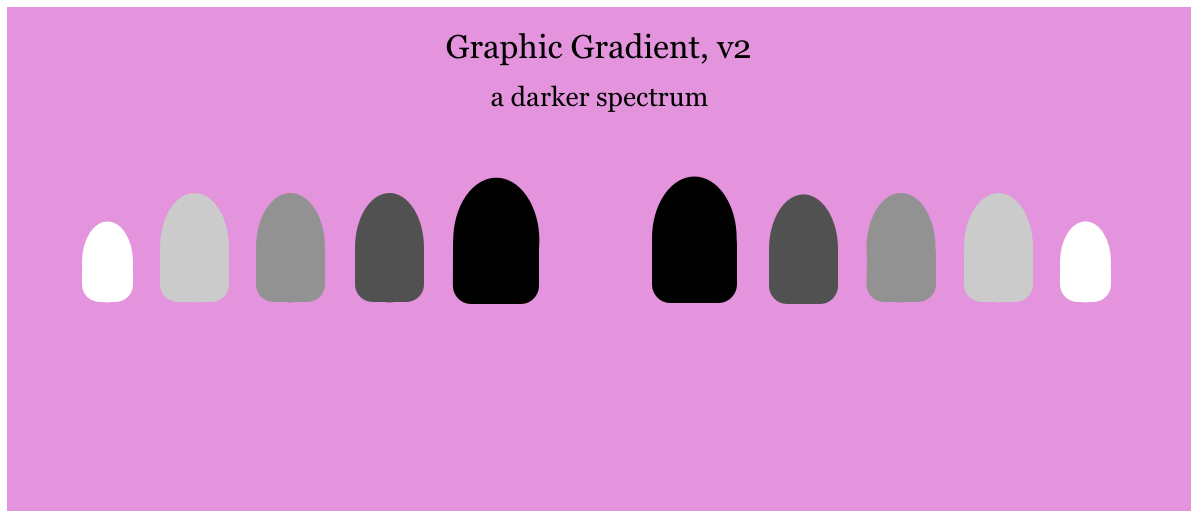
I knew I wanted to create a gray spectrum, but I debated and debated over how much contrast I should aim for. In other words, how stark a gradient should I paint? In the end, I opted for a subtle, charcoal-y spectrum, but I’ll show you my other idea in case you want to try it. I think it would look pretty sweet.

Ombré Tips (pun intended)

  • Try painting on an envelope or index card first, so that you can see how the colors will really look side by side, or see what you're missing (though as you'll see below, that's not a foolproof method)
  • I recommend sticking with one formula throughout your spectrum; I used all crème polishes for a consistent look
  • A little planning beforehand will go a long way; if you’ve got your heart set on a plum to lavender gradient, but are missing that perfect shade of purple, check with your friends to see if they can help you with your missing link before you sacrifice the look by using the wrong shade or, worse, shell out cash on a new bottle that you may not really need

"]Have you done any artsy ombrés? Send them my way and I’ll be sure to post ‘em!

xxo, GLOSS