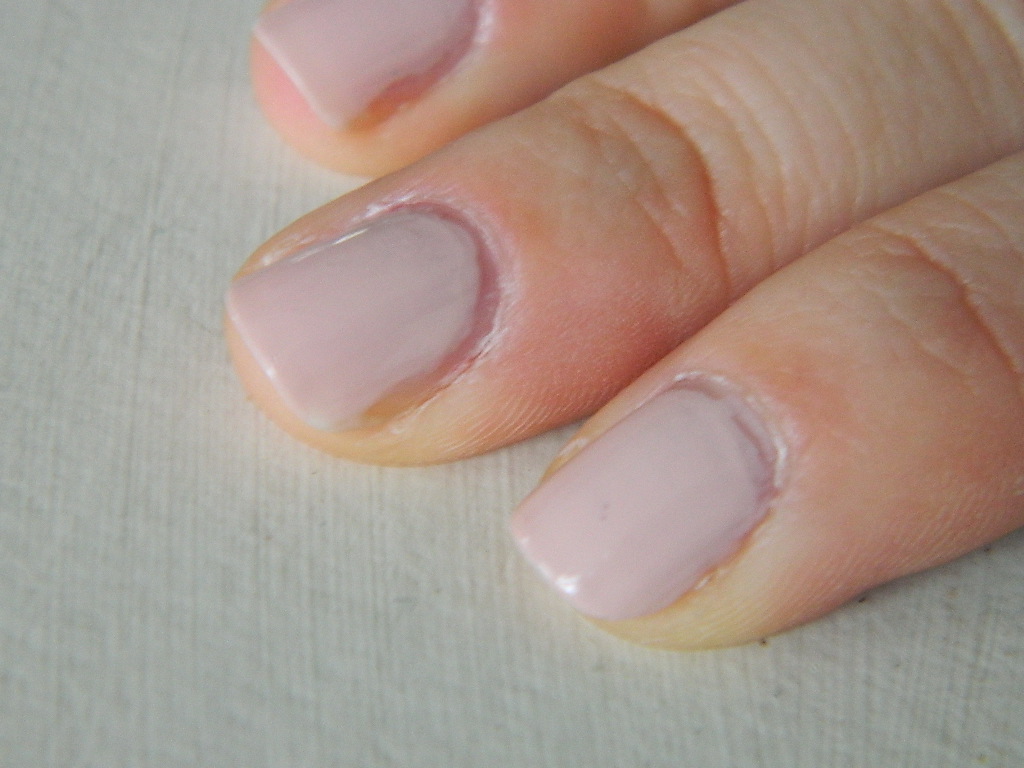
Manicure Mania, Pt. V: Neon Ombré

Sometimes you save the best for last.

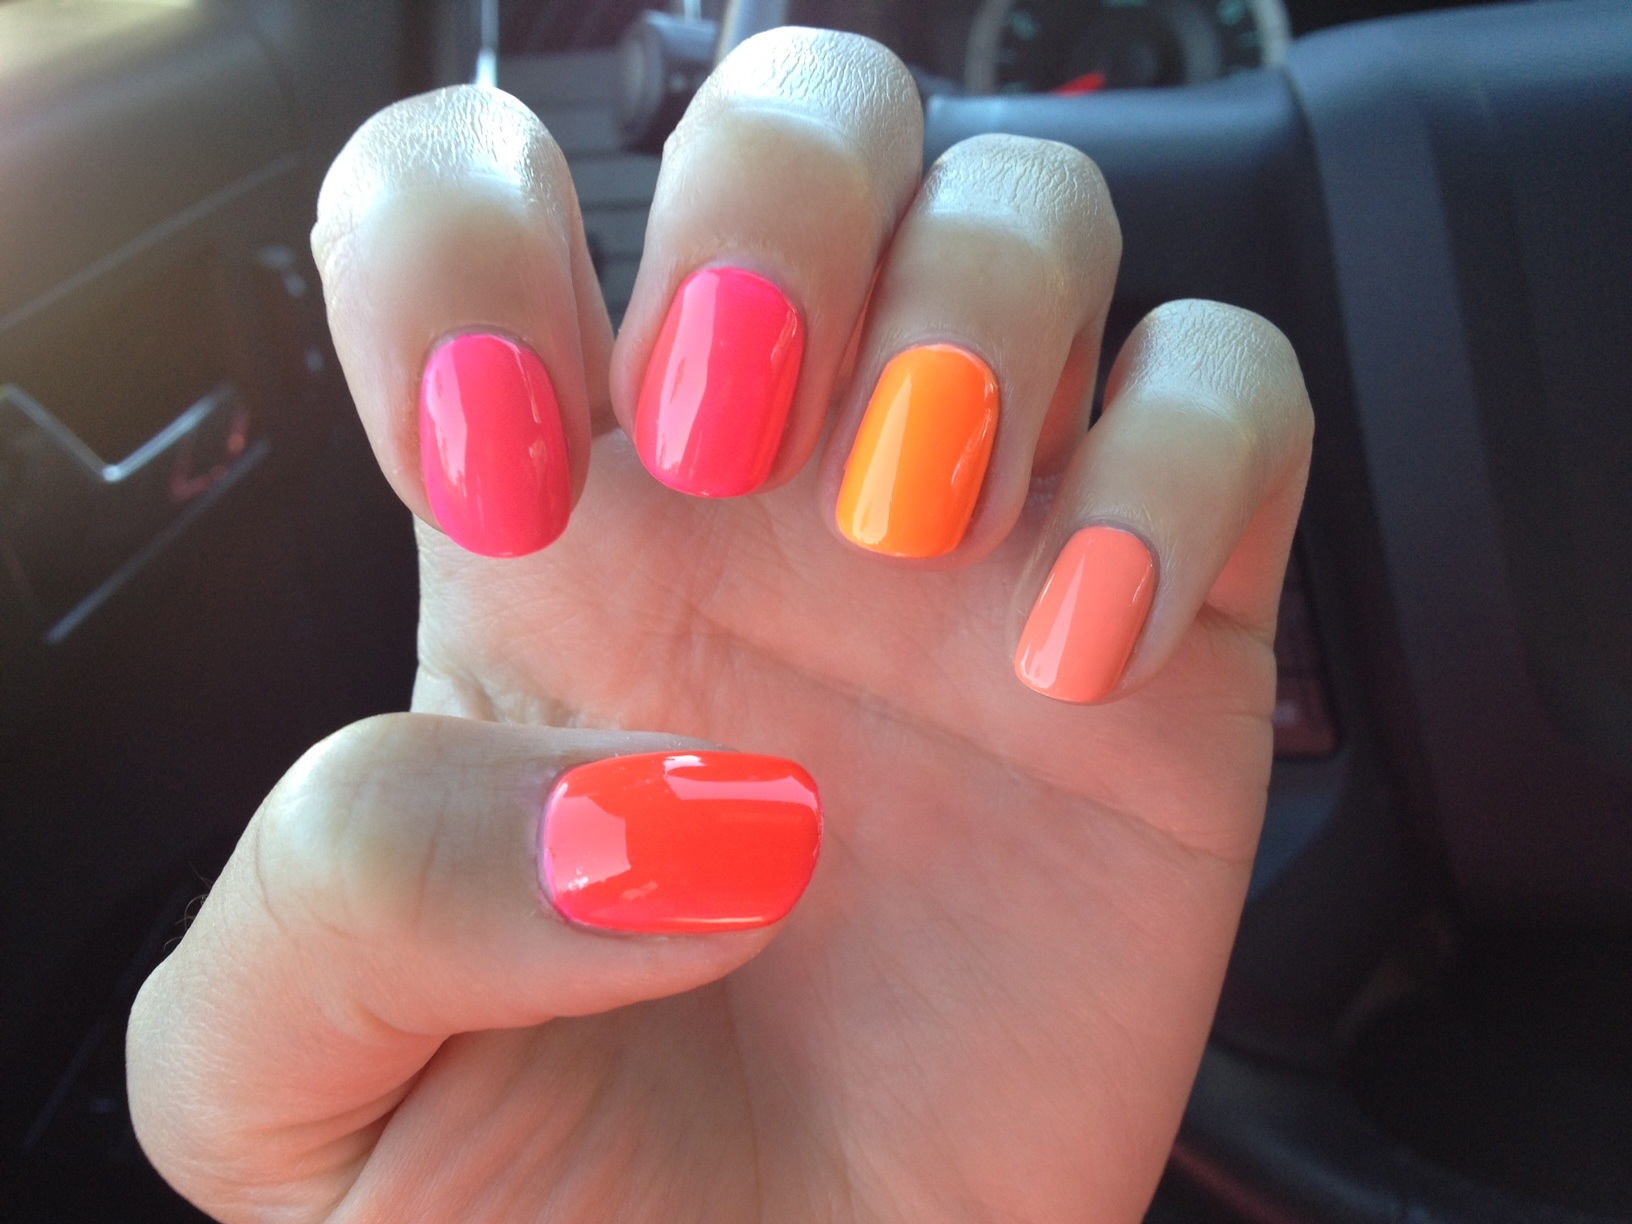
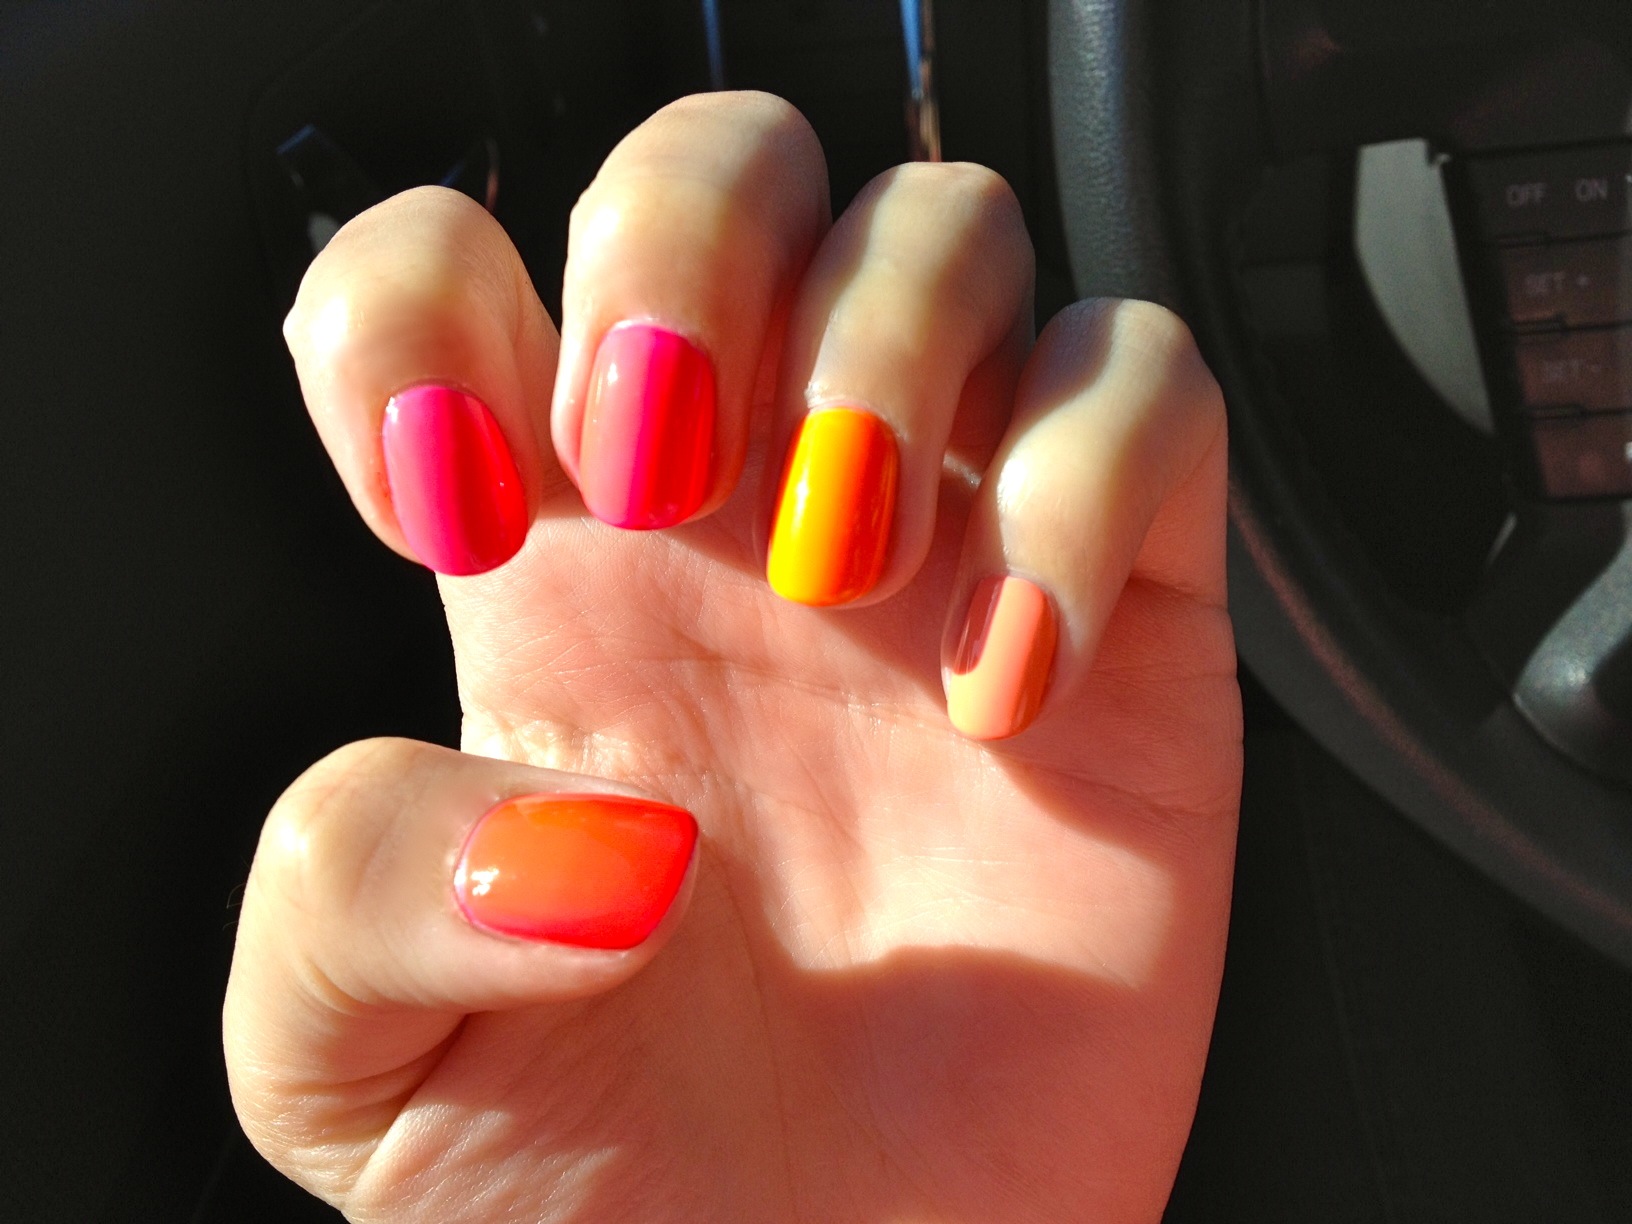
We love ombré. We love neon. So why not put them together? Like two A-list celebrities who pair up to become an A+ couple, neon and ombre's powers combine to become exponentially more awesome!

My idea came from this ubiquitous Pinterest pin; I'm sure you have seen it.

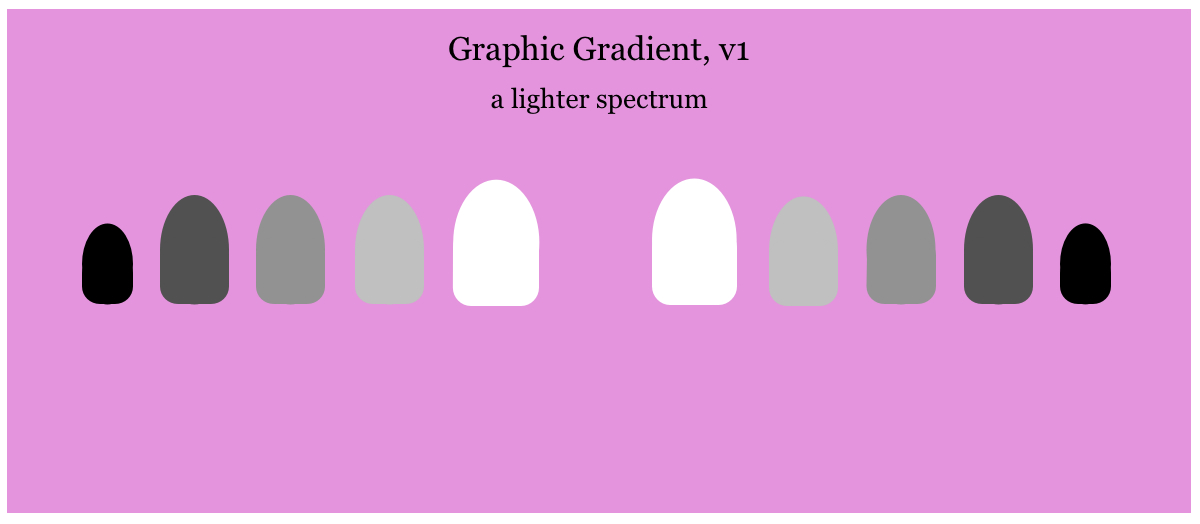
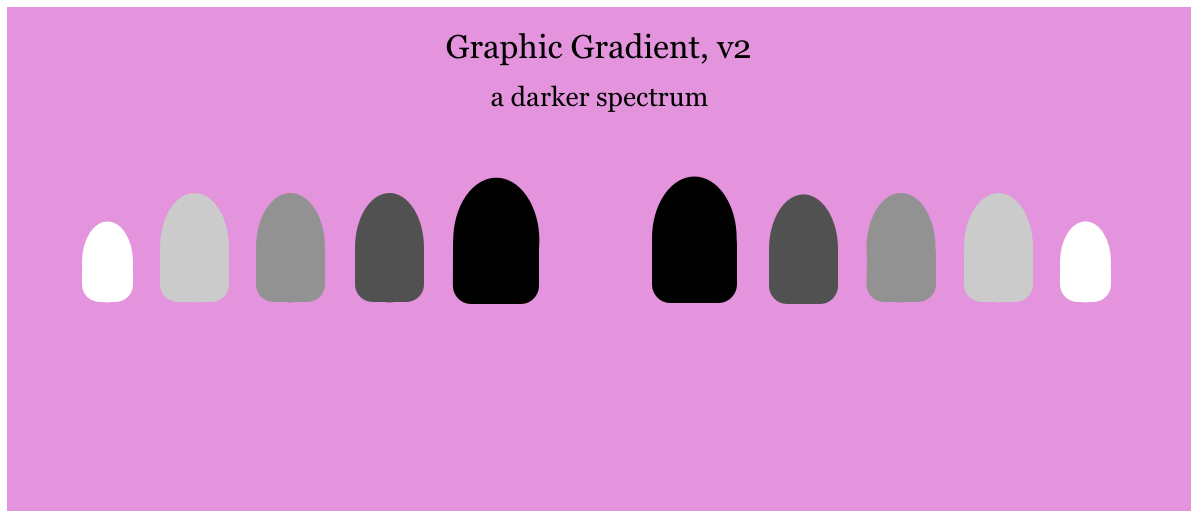
I wanted to roll with the idea but clean it up a bit; make a more definitive neon spectrum. I tested my neons on a discarded piece of snail mail and developed the perfect order.

I knew I wanted my manicure to be as jaw-droppingly neon as possible, so I painted two coats of OPI Alpine Snow as a base. Then, I painted like so:

Then, I got over eager and was anxious to start my clean-up. And in doing so, I hit my right index finger on the edge of the counter and made a huge scrape. I stared at my nail in horror — what to do, what to do! Start that nail all over again? Or... disguise this boo boo?

I remembered I had some small holographic golden stars lying around in my Stash somewhere. If I arranged them in a charming way, it might work.

I think my mini-constellation added some character!

haveablindinglybrightweekend, Francesca

P.S. Special shout out (and sincere thank you) to Weston for designing my Mani Mania headers this whole week. xx

[youtube=http://www.youtube.com/watch?v=5EdmHSTwmWY]

Manicure Mania, Pt. III: Glitter Gradient

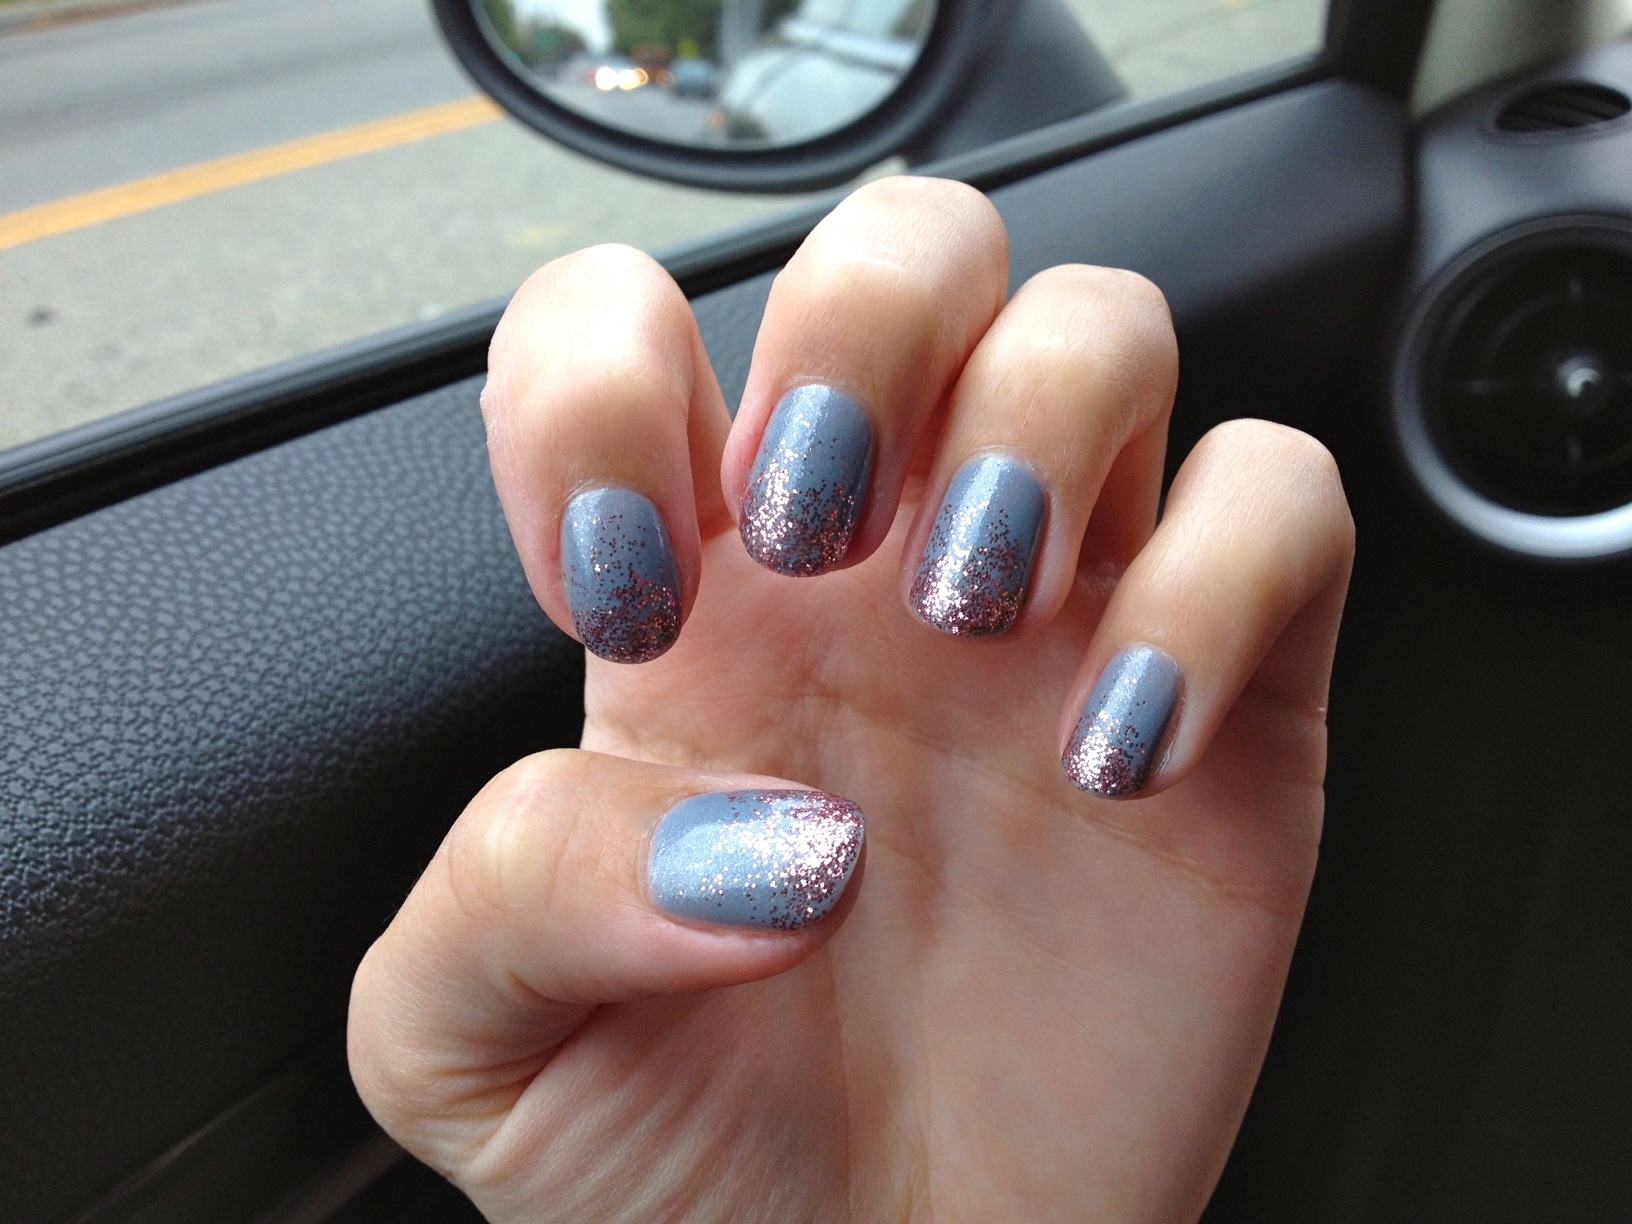
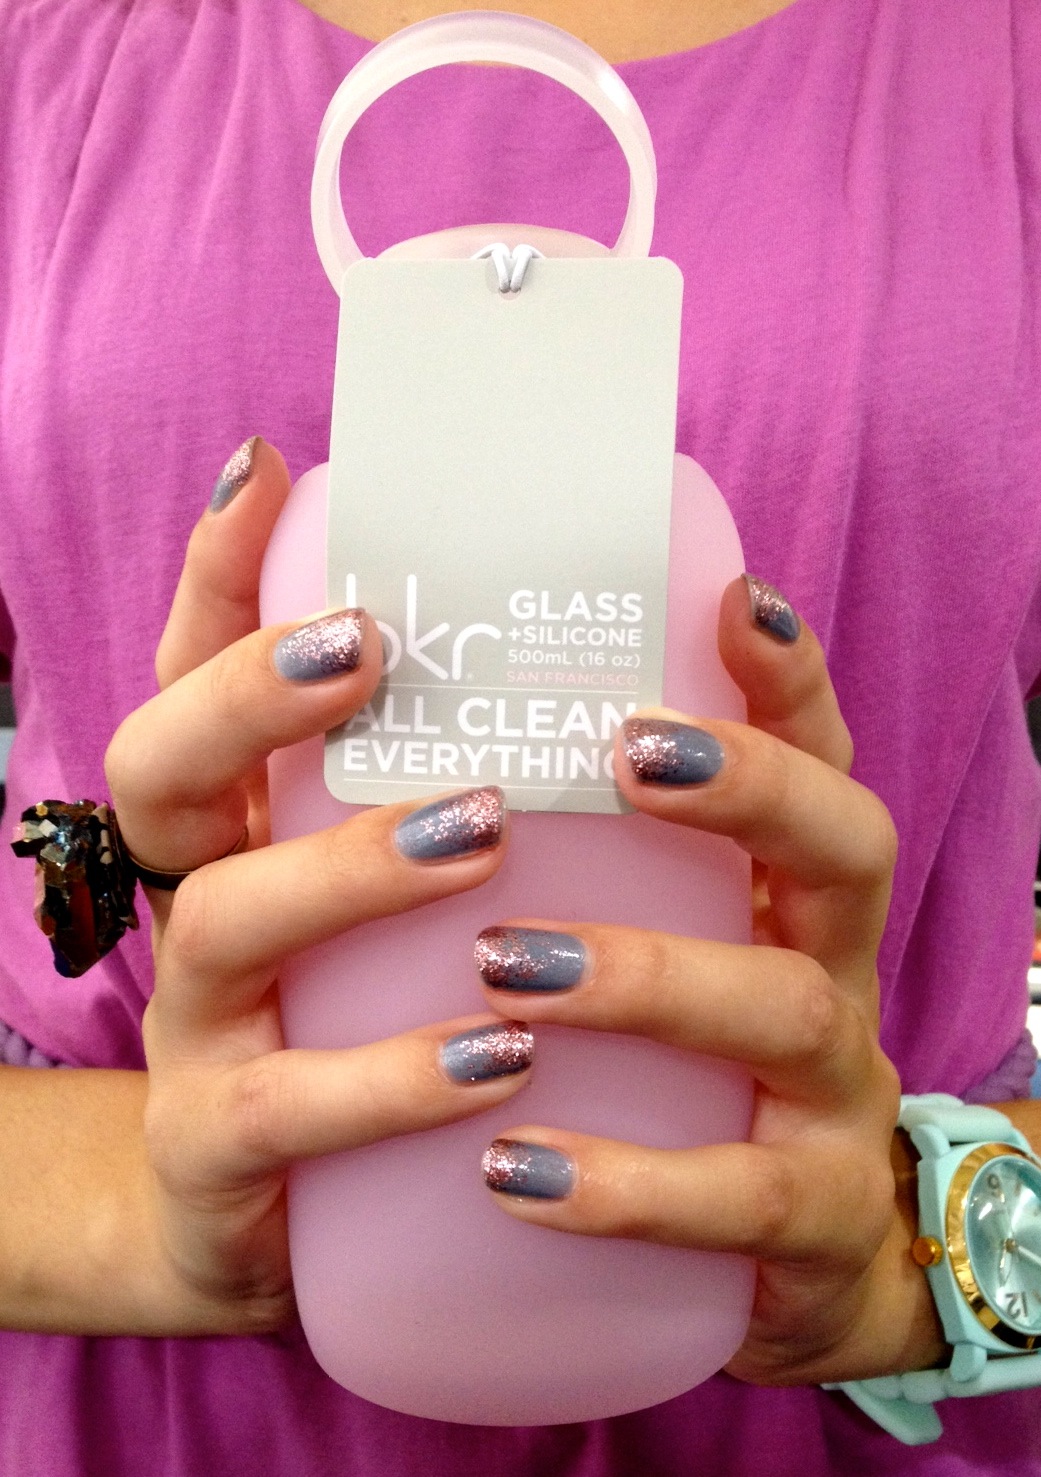
And so we continue with the mayhem that is Mani MANIA! Next up is a look that's incredibly easy to do and guaranteed to get the nod of approval (or even the ole eyebrow-raise of astonishment) from all of your pals: The Glitter Gradient.

First, pictures:

And now, here's how to do your own Glitter Gradient.

  • I first had to comb through my Stash for some good glitter / base color combos. You'll need to do the same. What we're trying to achieve is a pairing that is pleasing to the eye — but it can't be too matchy-matchy or else the glitter fade will be difficult to detect. Nor can it be too contrasty; too distracting. Eventually, I settled on two polishes that looked great together: ORLY Pixie Dust, a lavender-gray hybrid with teensy specks of silver microglitter, and Nubar Pink Glitter, a pretty shade of pink that's more sparkling rosé than bubblegum.
  • Next, I did my usual Essie base coat, followed by two coats of ORLY Pixie Dust. I let the polish dry down a little and watched a scintillating half hour of Pawn Stars. (That show gets me every time!!)
  • And now, the fun part. GLITTAH. Do not shake the bottle. With a lot of glitters, you'll notice that the glitter sinks ever-so-slightly, leaving the bottom of the bottle very dense with glitter and the upper part of the bottle with fewer glitter particles. Carefully remove the brush from the bottle. We want to dip into the very top of the polish, the part that is mostly clear polish with only some bits of glitter here and there.
  • Then, paint about 75% of your nail with this diluted glitter formula. Don't go straight across; kind of move your brush like a zizag at the top, to avoid a clear line of demarcation between glitter and no-glitter on your nail.
  • Okay, now give that bottle a decent shake (like how you'd shake a bottle of milk). This will stir up the glitter and give you a more concentrated glitter mixture to paint with. Now paint 50% of your nails with this shaken-not-stirred polish. Use the same zigzag strategy.
  • One more step! Shake, shake, SHAKE. I mean really shake it (like when you were in second grade, and you brought in small glass baby food jars and added cream and then shook it the entire day to make butter). Get the glitter as mixed up as you can! This will give you GLITTERO MAXIMO. Paint just the tips of your nails, say the bottom 25%.
  • Top it off with your favorite top coat and BAM! Sparkle fingers FTW!

sparkleandshine, Francesca

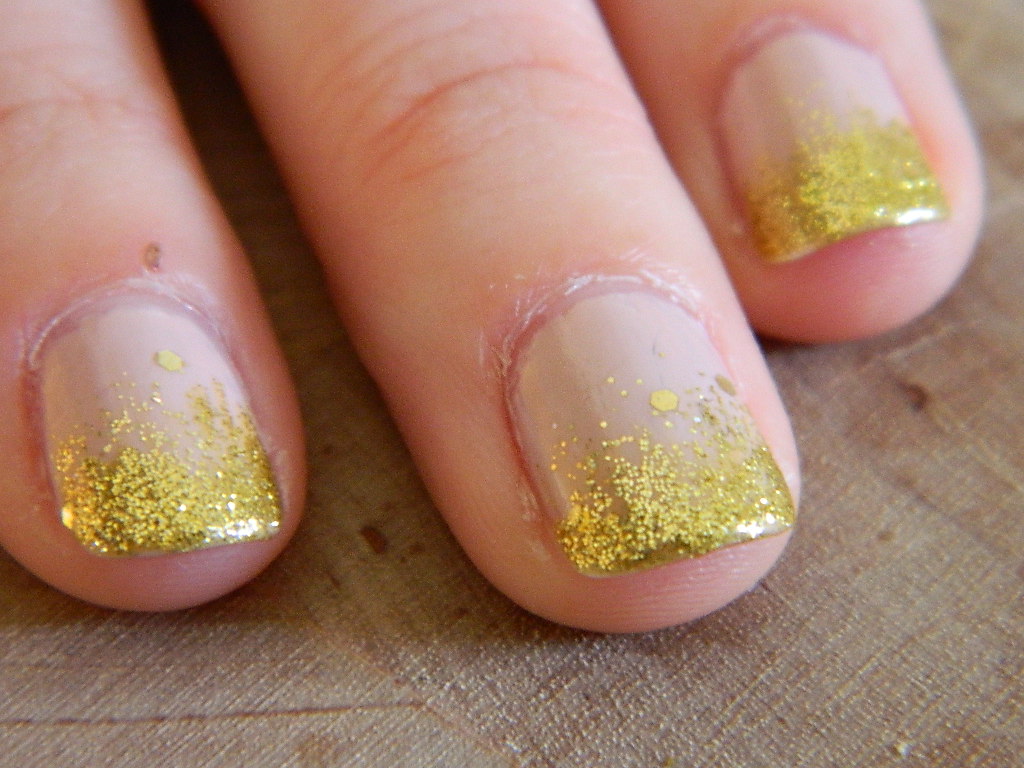
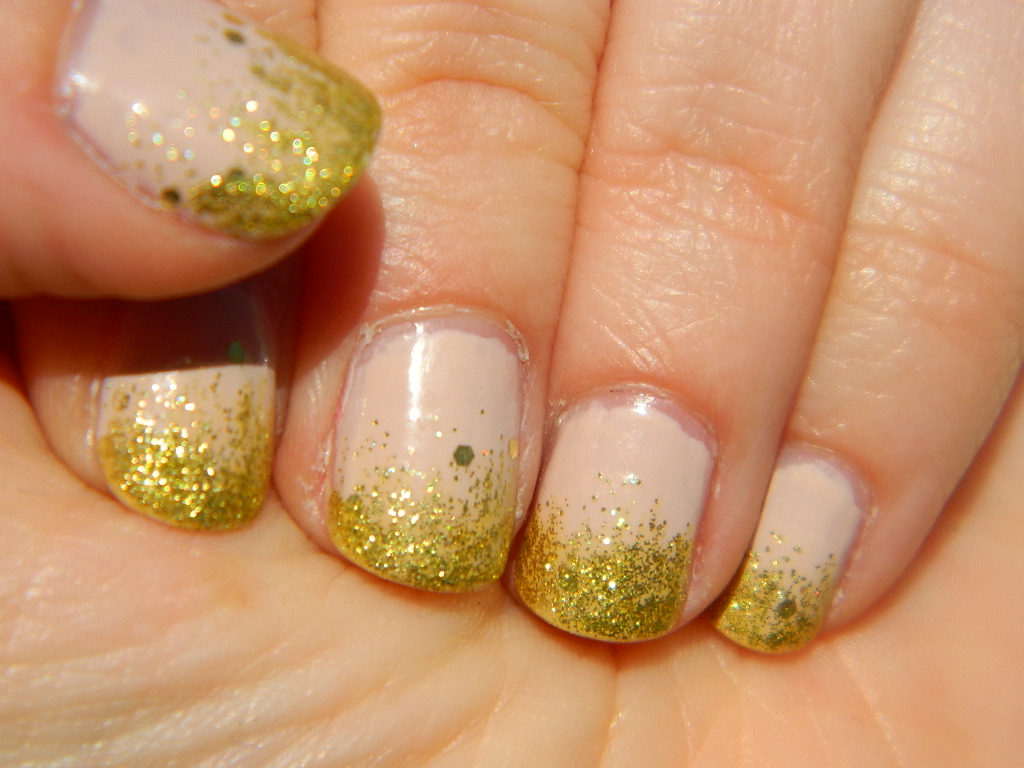
Glitter Gradient

The new trend is gradient. We have seen in here with Gloss' Ombre Unas- A Gray Gradient.  And here with my Ombre Rouge.  And here with my Sloppy Ombre.

This time, a gradient in glitter.

What is with this glitter crazy lately, you ask?  Well, I will answer that question with another question.  A scale question, no less.

On a scale of 1 to sparkles, how much do you love it when you nails glisten in the sunlight?

If you answered 1 to dull: please refer to the following trailer to begin your training in all things Glitter:

[youtube http://www.youtube.com/watch?v=QaKxGrajnzY&w=420&h=315]

If you answered dull to shimmer: please refer to the following video for further education:

[youtube http://www.youtube.com/watch?v=Rls1t25902g&w=420&h=315]

If you answered shimmer to blinding: Girl, you're a diva!  So watch this last video to graduate to Glamourdom and then continue to the following tutorial:

[youtube http://www.youtube.com/watch?v=QGJuMBdaqIw&w=560&h=315]


To start you will need Essie's Barefoot and Topless, Love & Beauty in Golden Girl, and Milani Nail Art in Art of Gold.

Cover nails in base coat.  Then two coats of Essie's Barefoot and Topless.  Let dry completely.

Then cover 3/4's of nail in one coat Love & Beauty in Golden Girl.  Let dry.

Then cover 1/4 of nail in gradient of Milani Nail Art in Art of Gold, applying it heaviest at tips.  Let dry.

Cover with top coat and marvel in the shimmer!

(On a cloudy morning and with a funky filer) 

(Full sunlight)

-Varnish

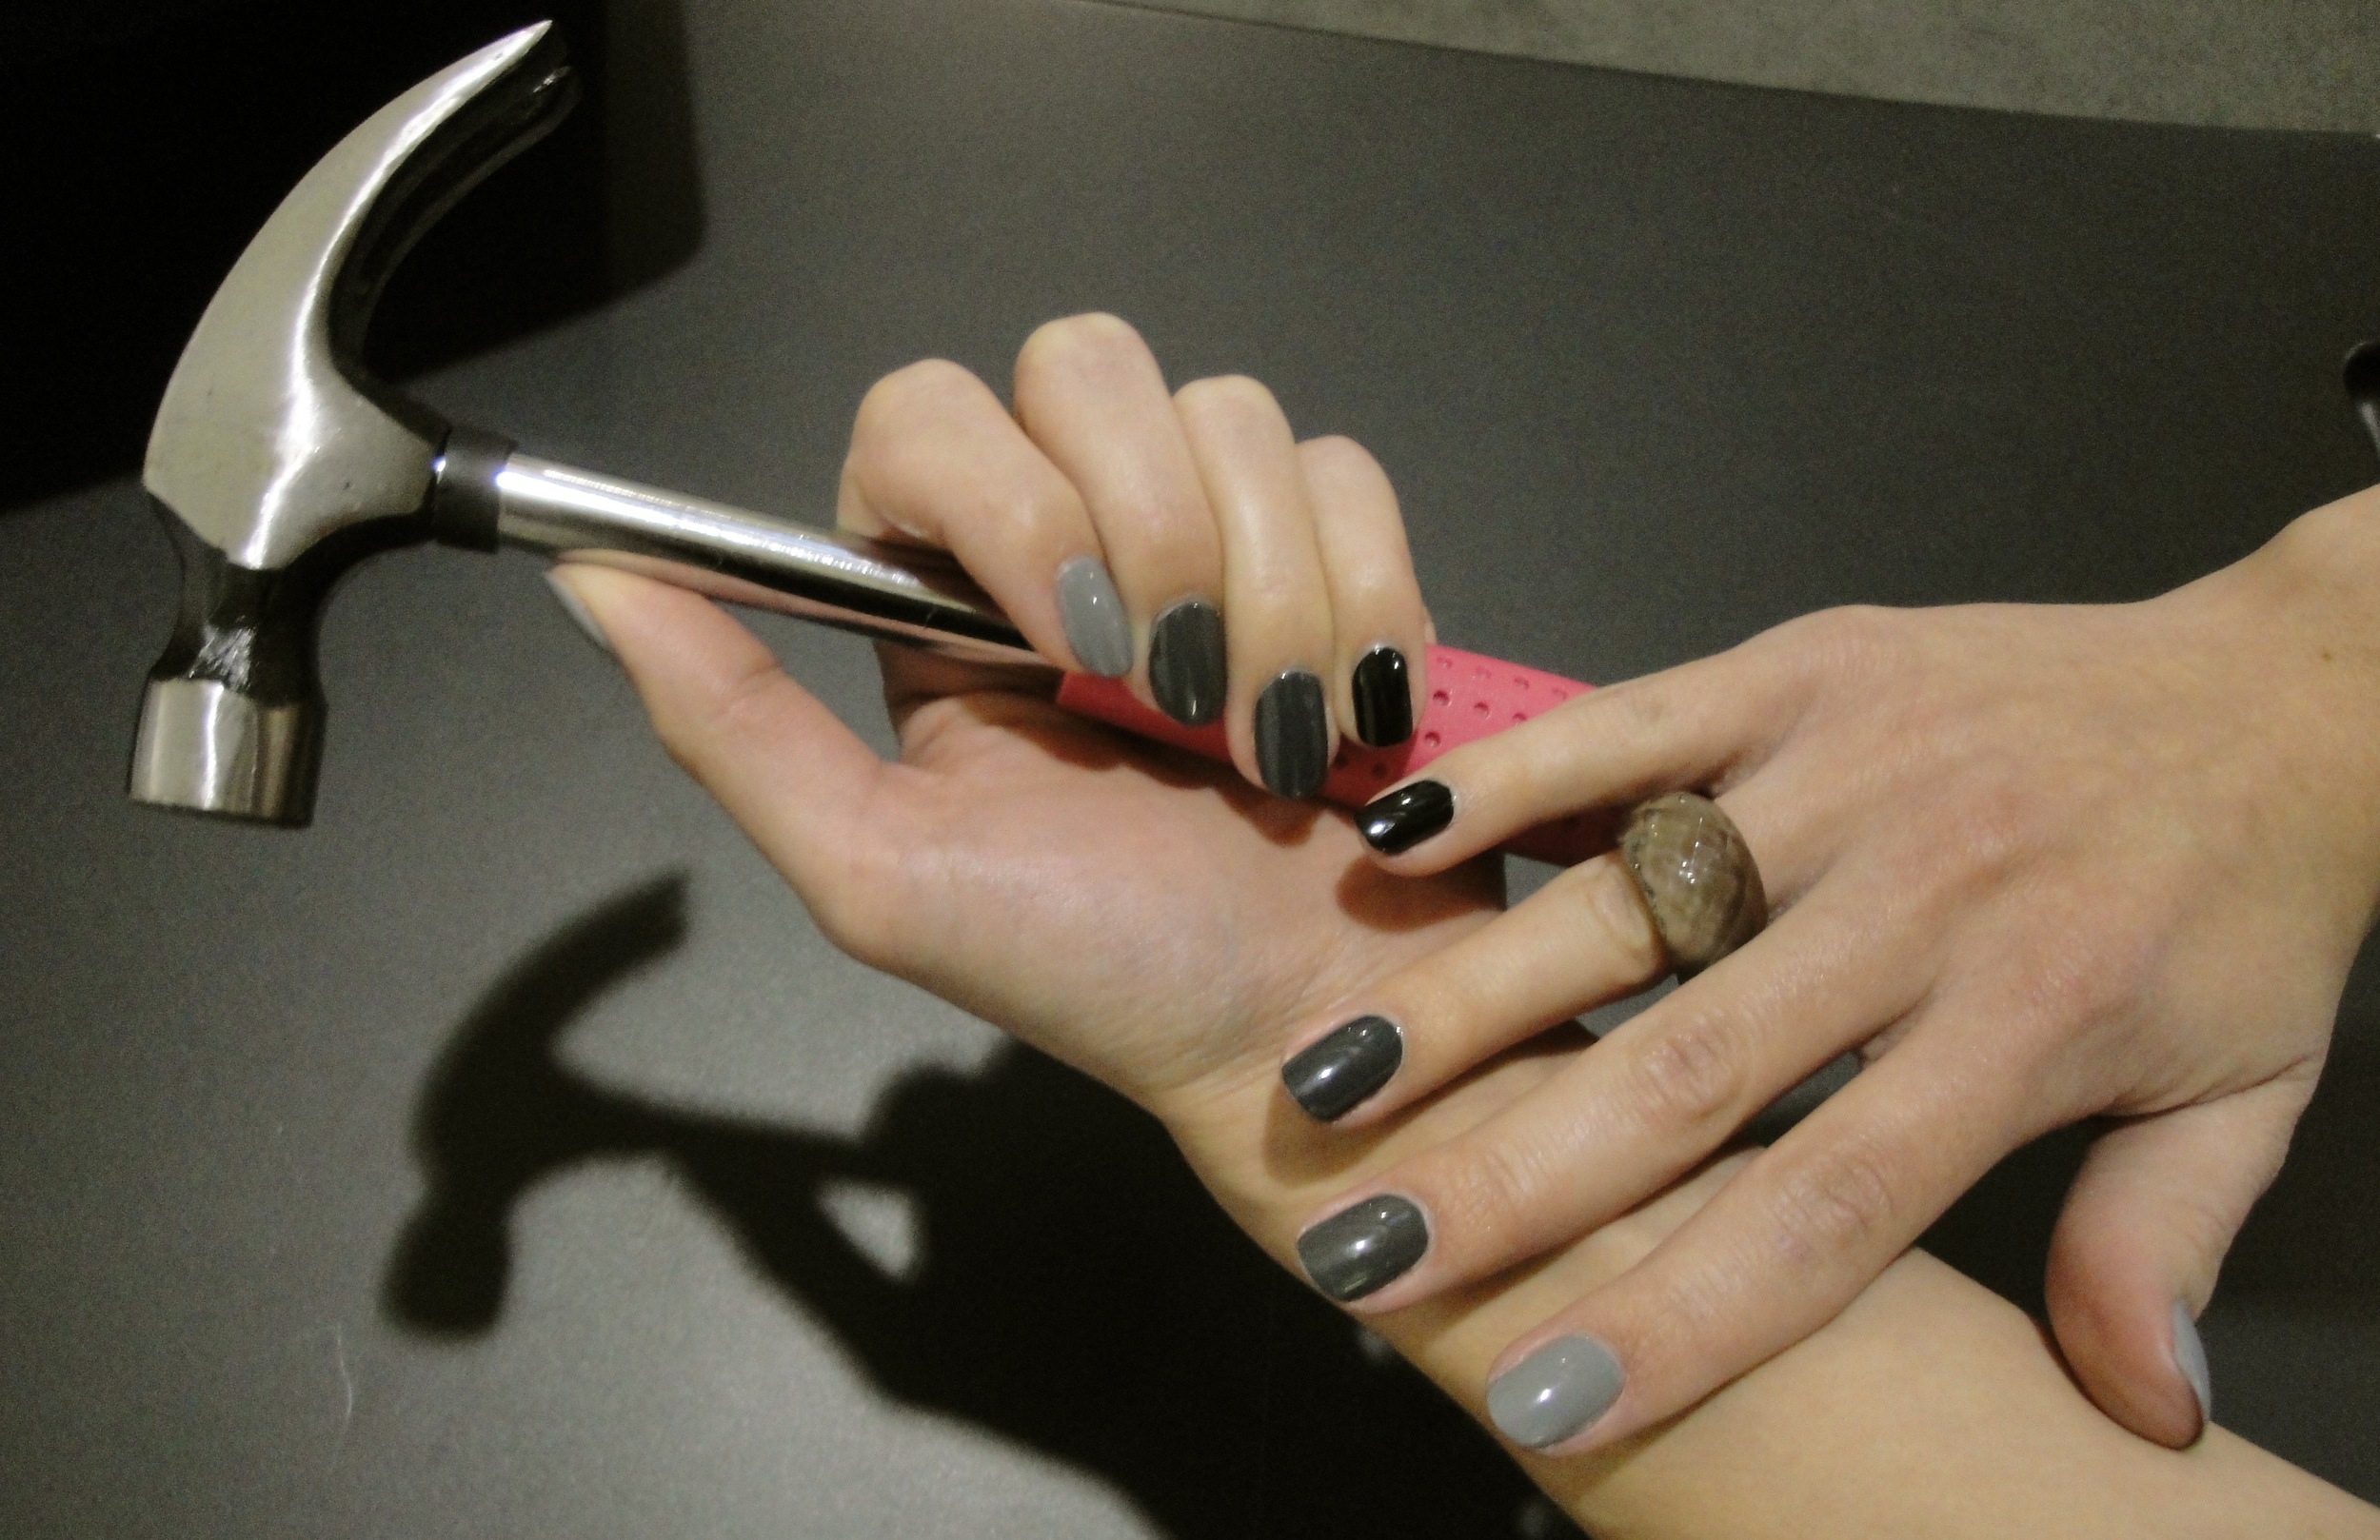
Ombré Uñas — A Gray Gradient Manicure

What’s a great way to add some D-I-Y artistic flair to your fingers without whittling hours away? An ombré manicure!

Varnish covered this in a post last month, and I’ve been meaning to try it ever since. Not to mention, I see a new variation of the ubiquitous ombré on Pinterest at least once a week, and I can’t take it anymore. Now, it’s my turn.

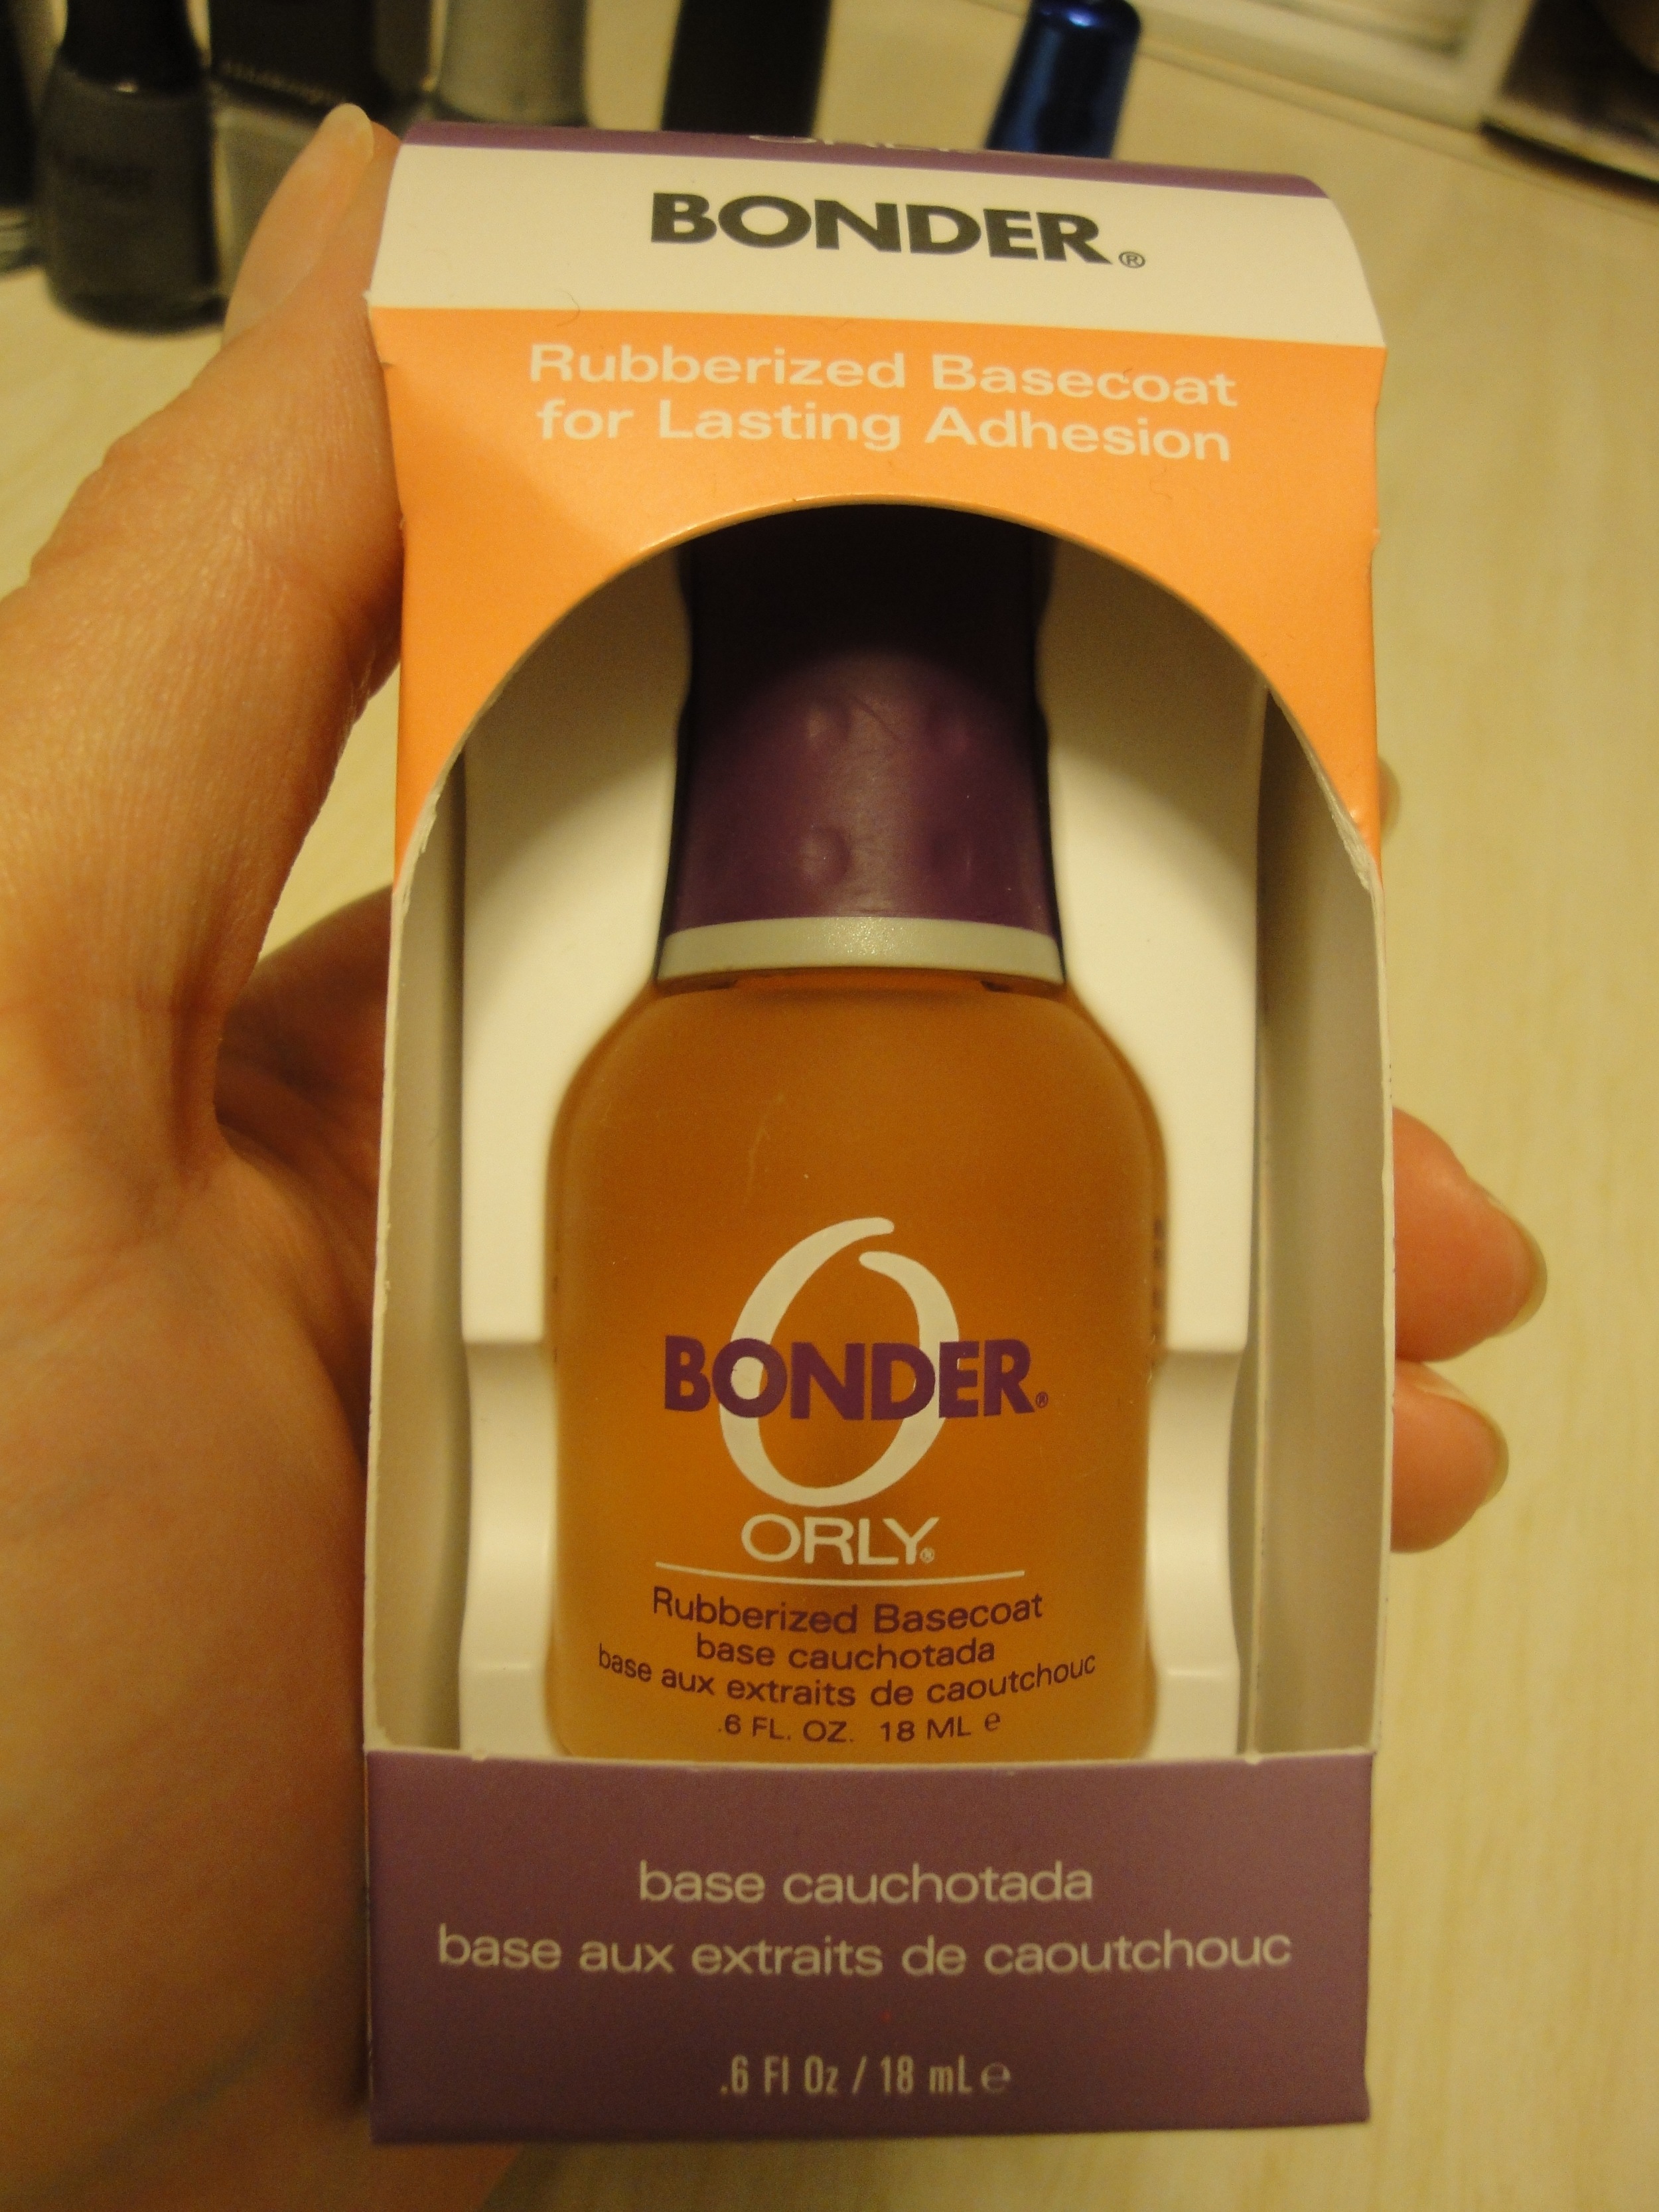
The key to painting a gradient that makes sense and looks good is access to a good-sized stash of polish. With my collection and my neighbor Celeste’s (hi Celeste!) combined, I was able to come up with an ombré that was not too shabby!

I knew I wanted to create a gray spectrum, but I debated and debated over how much contrast I should aim for. In other words, how stark a gradient should I paint? In the end, I opted for a subtle, charcoal-y spectrum, but I’ll show you my other idea in case you want to try it. I think it would look pretty sweet.

Ombré Tips (pun intended)

  • Try painting on an envelope or index card first, so that you can see how the colors will really look side by side, or see what you're missing (though as you'll see below, that's not a foolproof method)
  • I recommend sticking with one formula throughout your spectrum; I used all crème polishes for a consistent look
  • A little planning beforehand will go a long way; if you’ve got your heart set on a plum to lavender gradient, but are missing that perfect shade of purple, check with your friends to see if they can help you with your missing link before you sacrifice the look by using the wrong shade or, worse, shell out cash on a new bottle that you may not really need

"]Have you done any artsy ombrés? Send them my way and I’ll be sure to post ‘em!

xxo, GLOSS