Manicure Mania, Pt. IV: French Tip, Blown to Bits

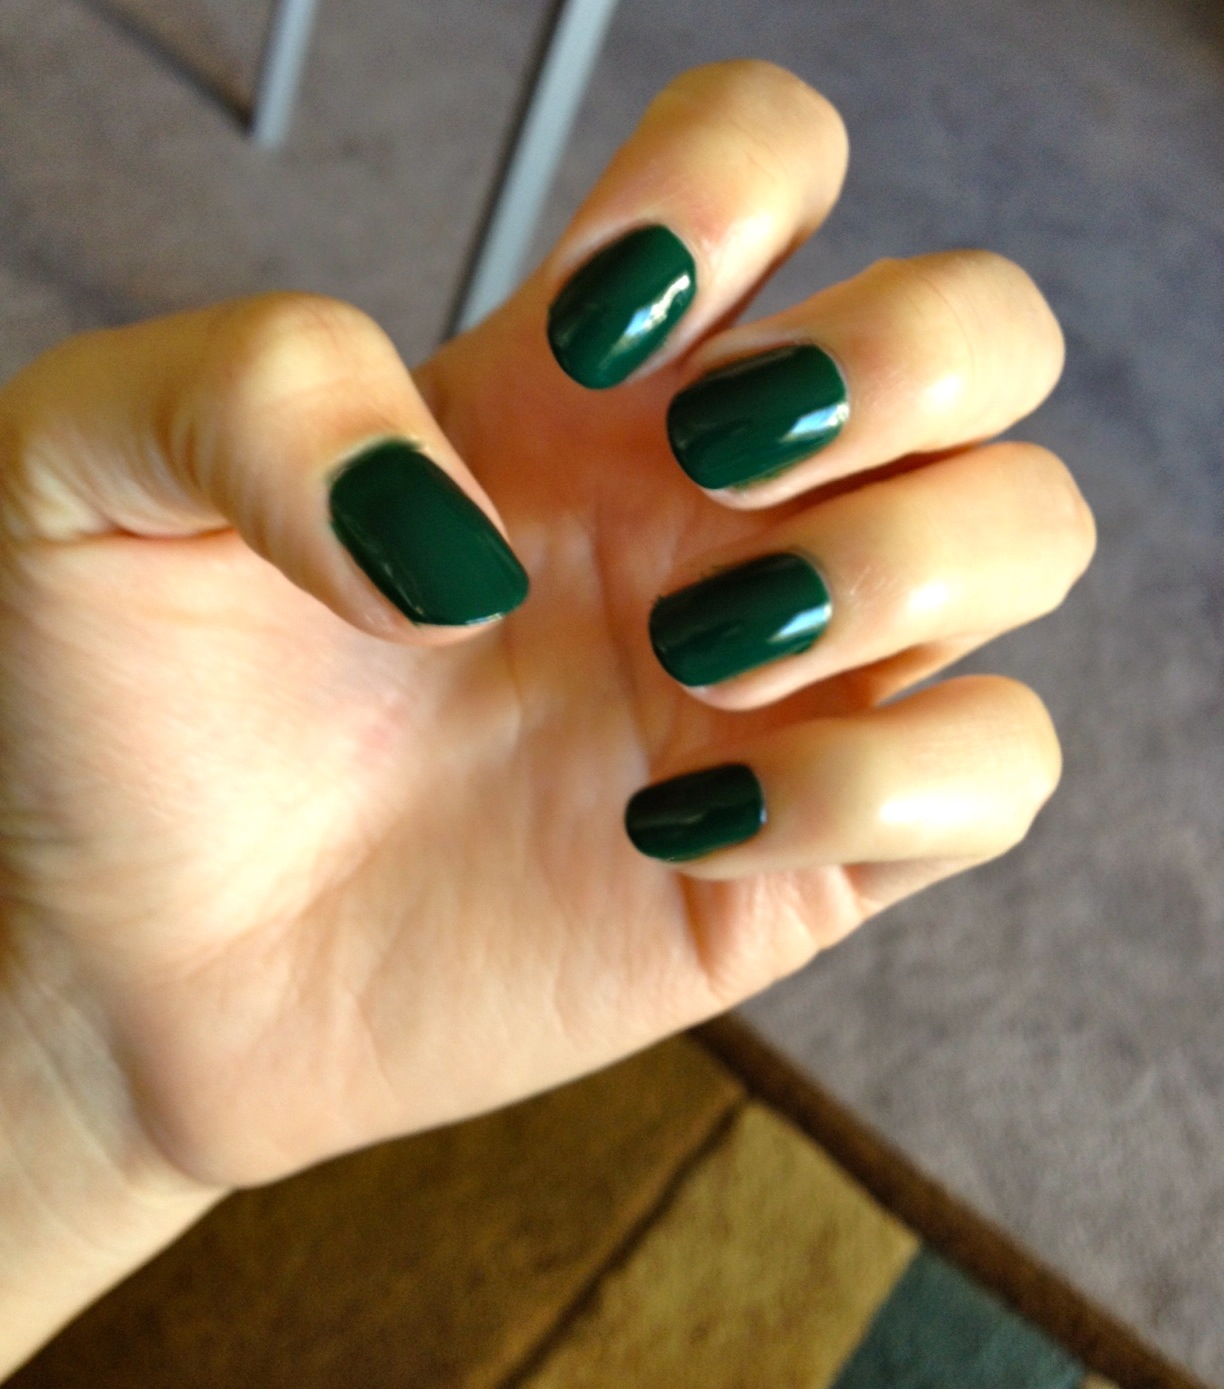
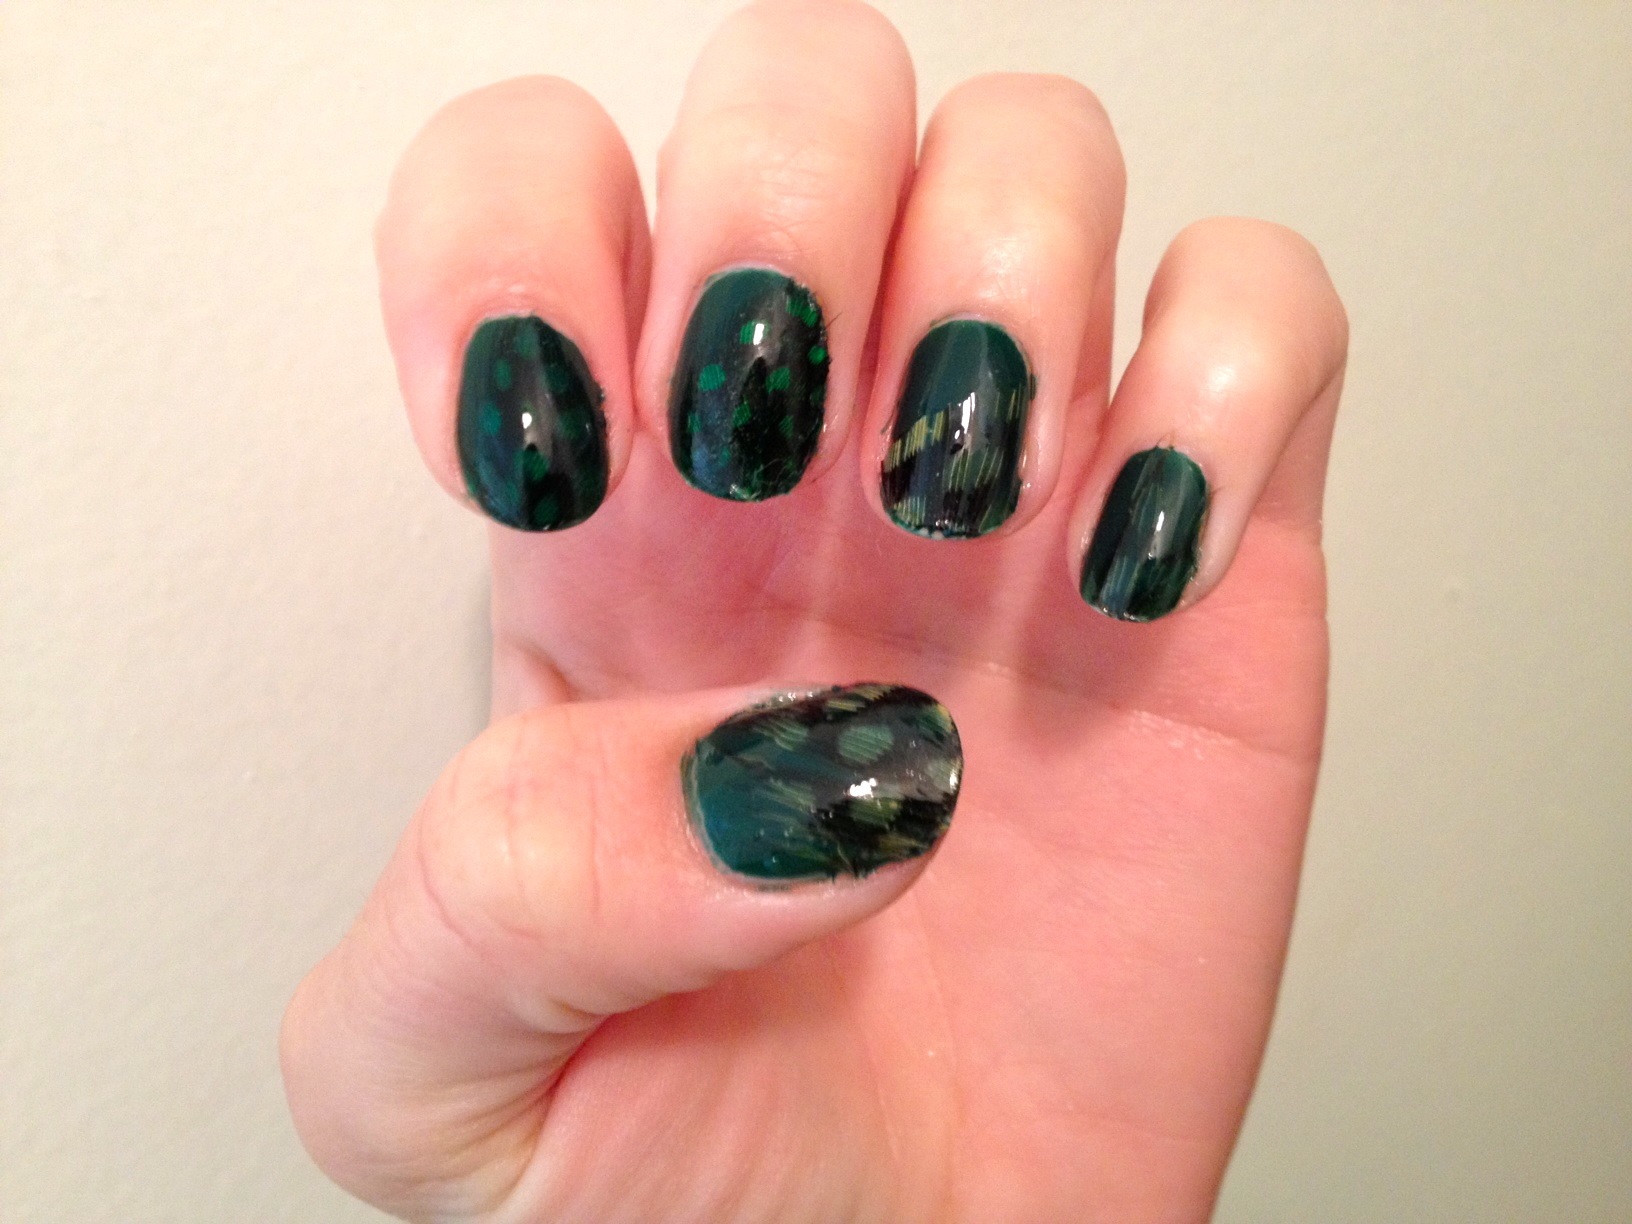
The reality of DIY nail art is that sometimes... sometimes... things don't work out. I've attempted works of art that seemed like a genius idea in theory — only to find that, in practice, good ideas don't always equal great nails. For example, I thought this gorgeous Illamasqua nail polish that my friend Alison gave me, Kink, would look awesome with feathers on it.

Feather FAIL.

When I heard that MAC was offering new & improved, on-trend press-on nails (!) I raced to my compy to see what they'd dreamed up. And I saw this:

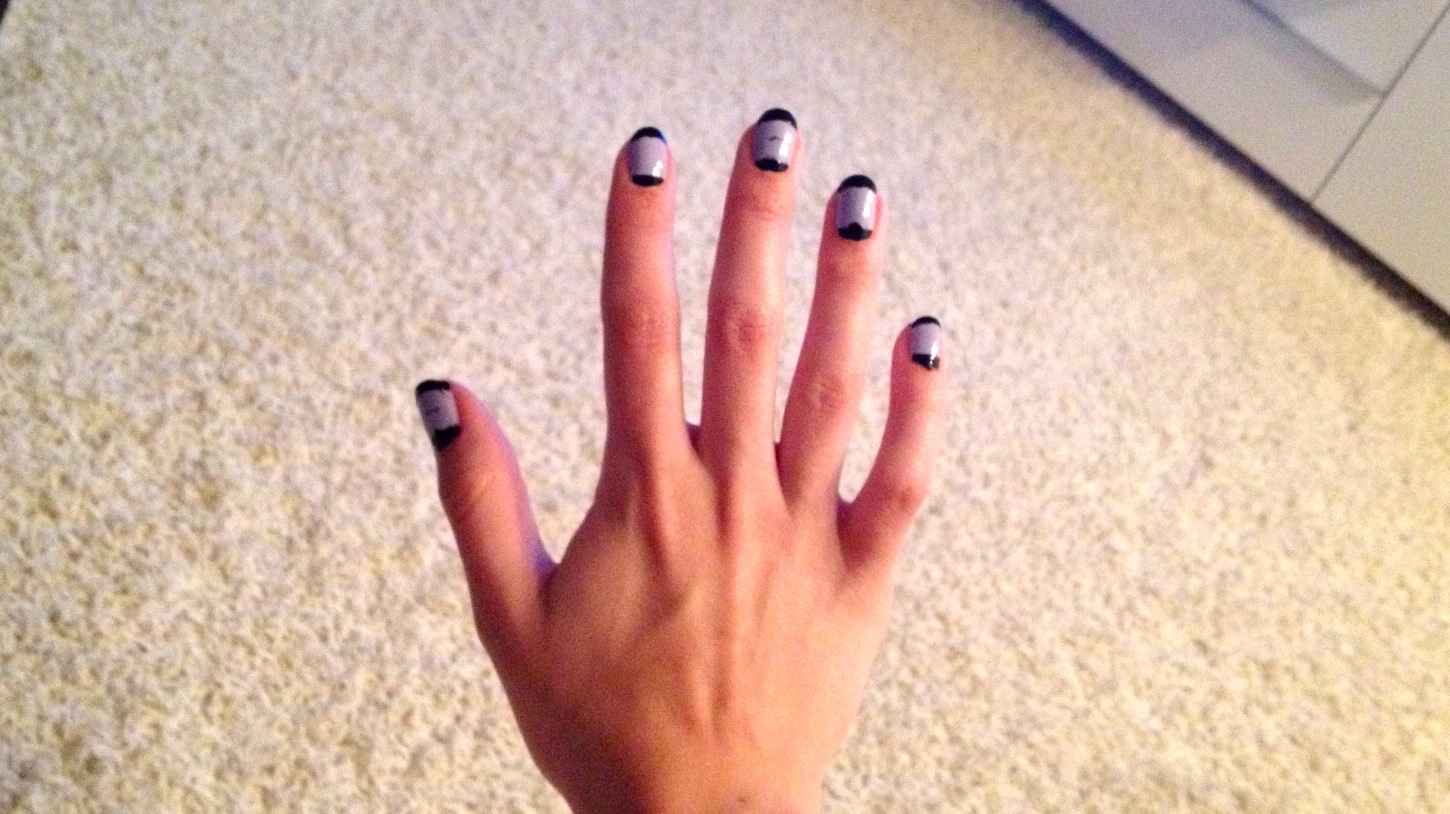
What beauty! I loved it! So crisp and clean! I thought a pale lavender would suit my wardrobe better, so I grabbed Revlon's Lily and my ol' faithful, Sally Hansen Black Heart, then I set to work.

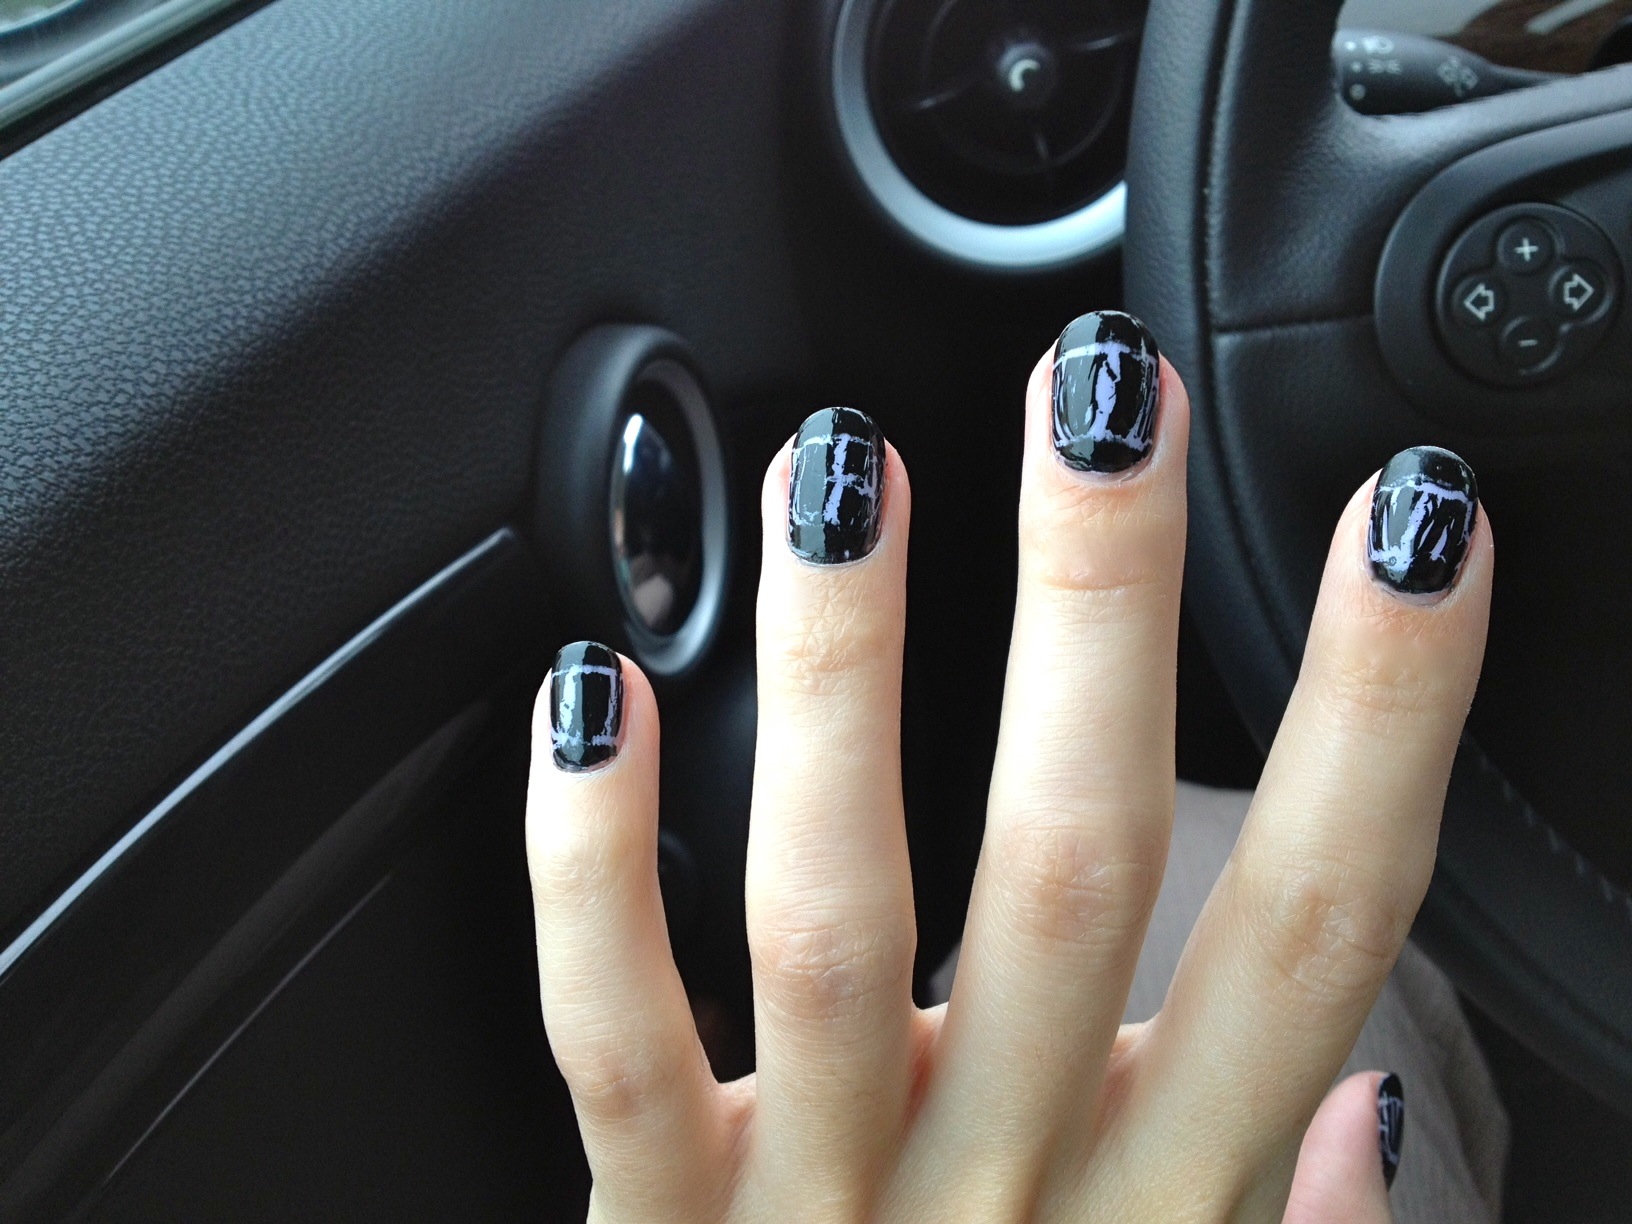
First, two coats of Revlon Lily. Next, I used french tip tape and gave myself black tips. Easy enough. Then I used ring enforcers to create a black half moon at the cuticle. And here's where I went wrong. Partly an issue of impatience, and partly due to the fact that I was really sick with a sinus infection and in a stage of delirium, the half moons were a mess.

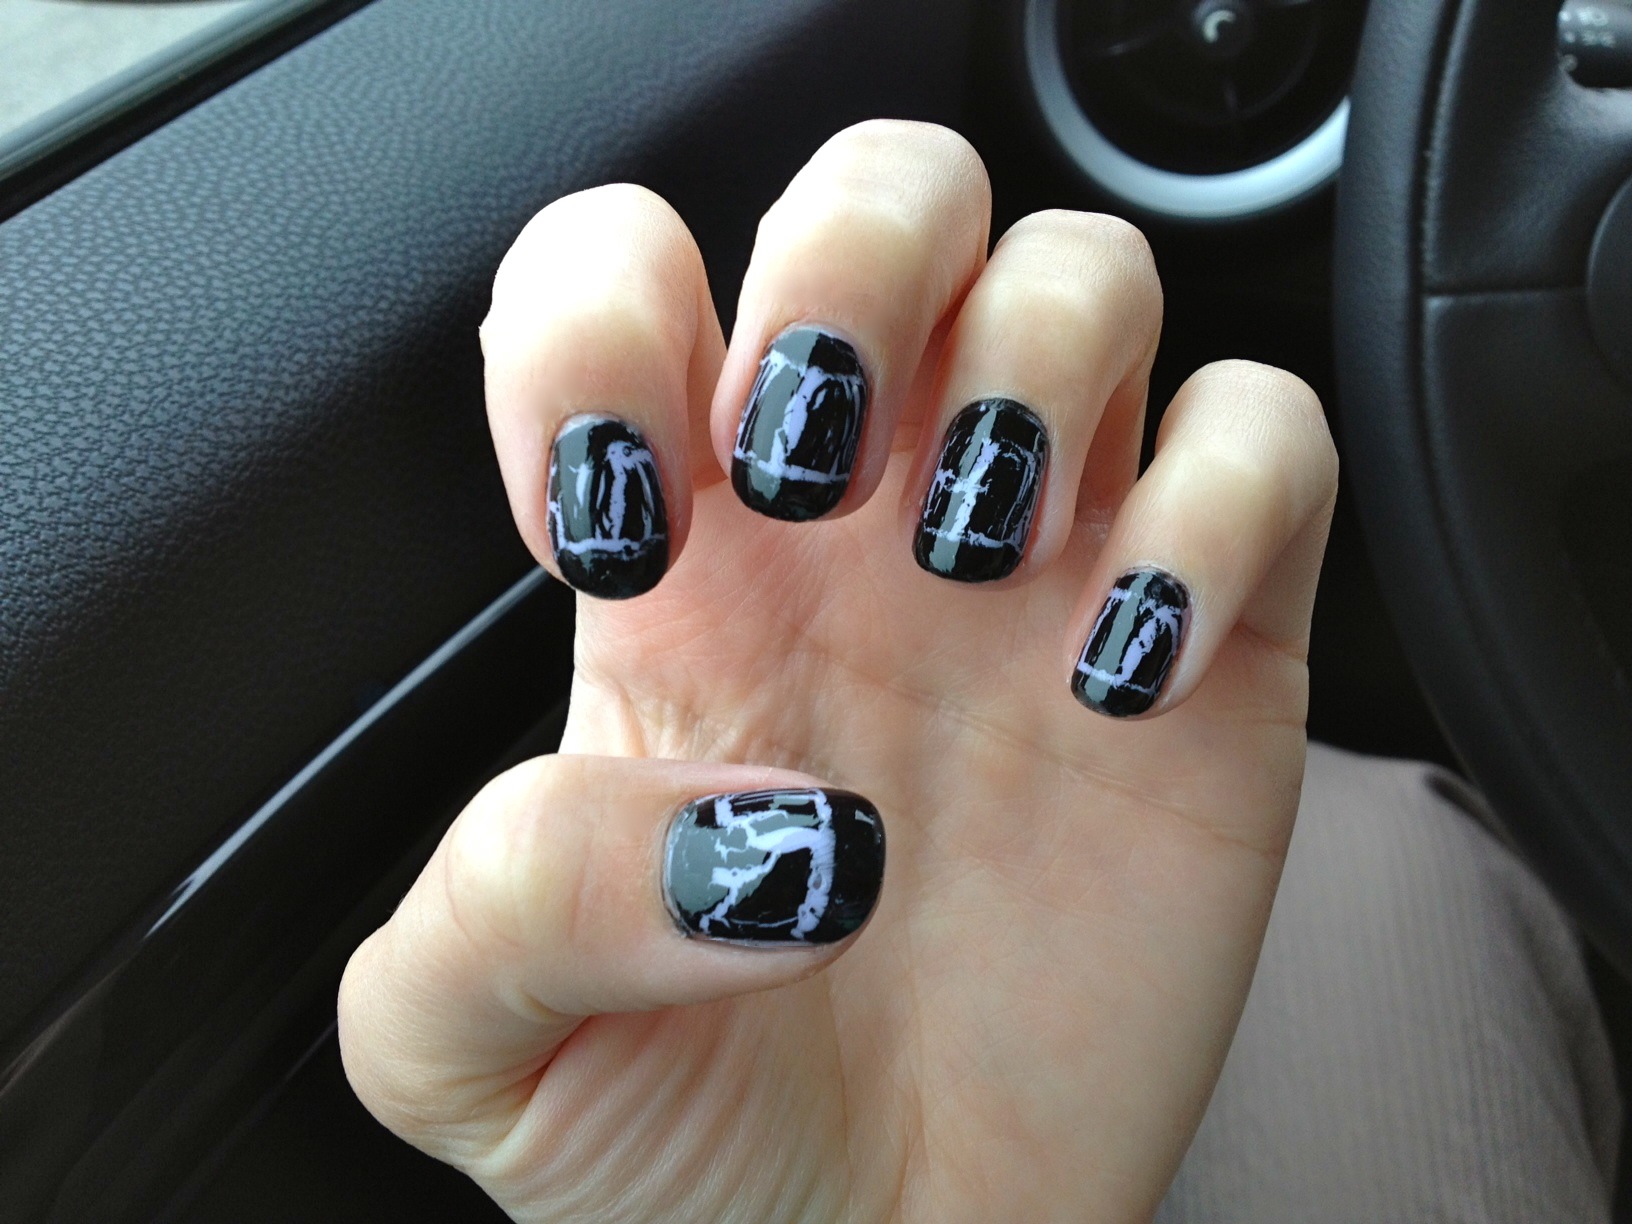
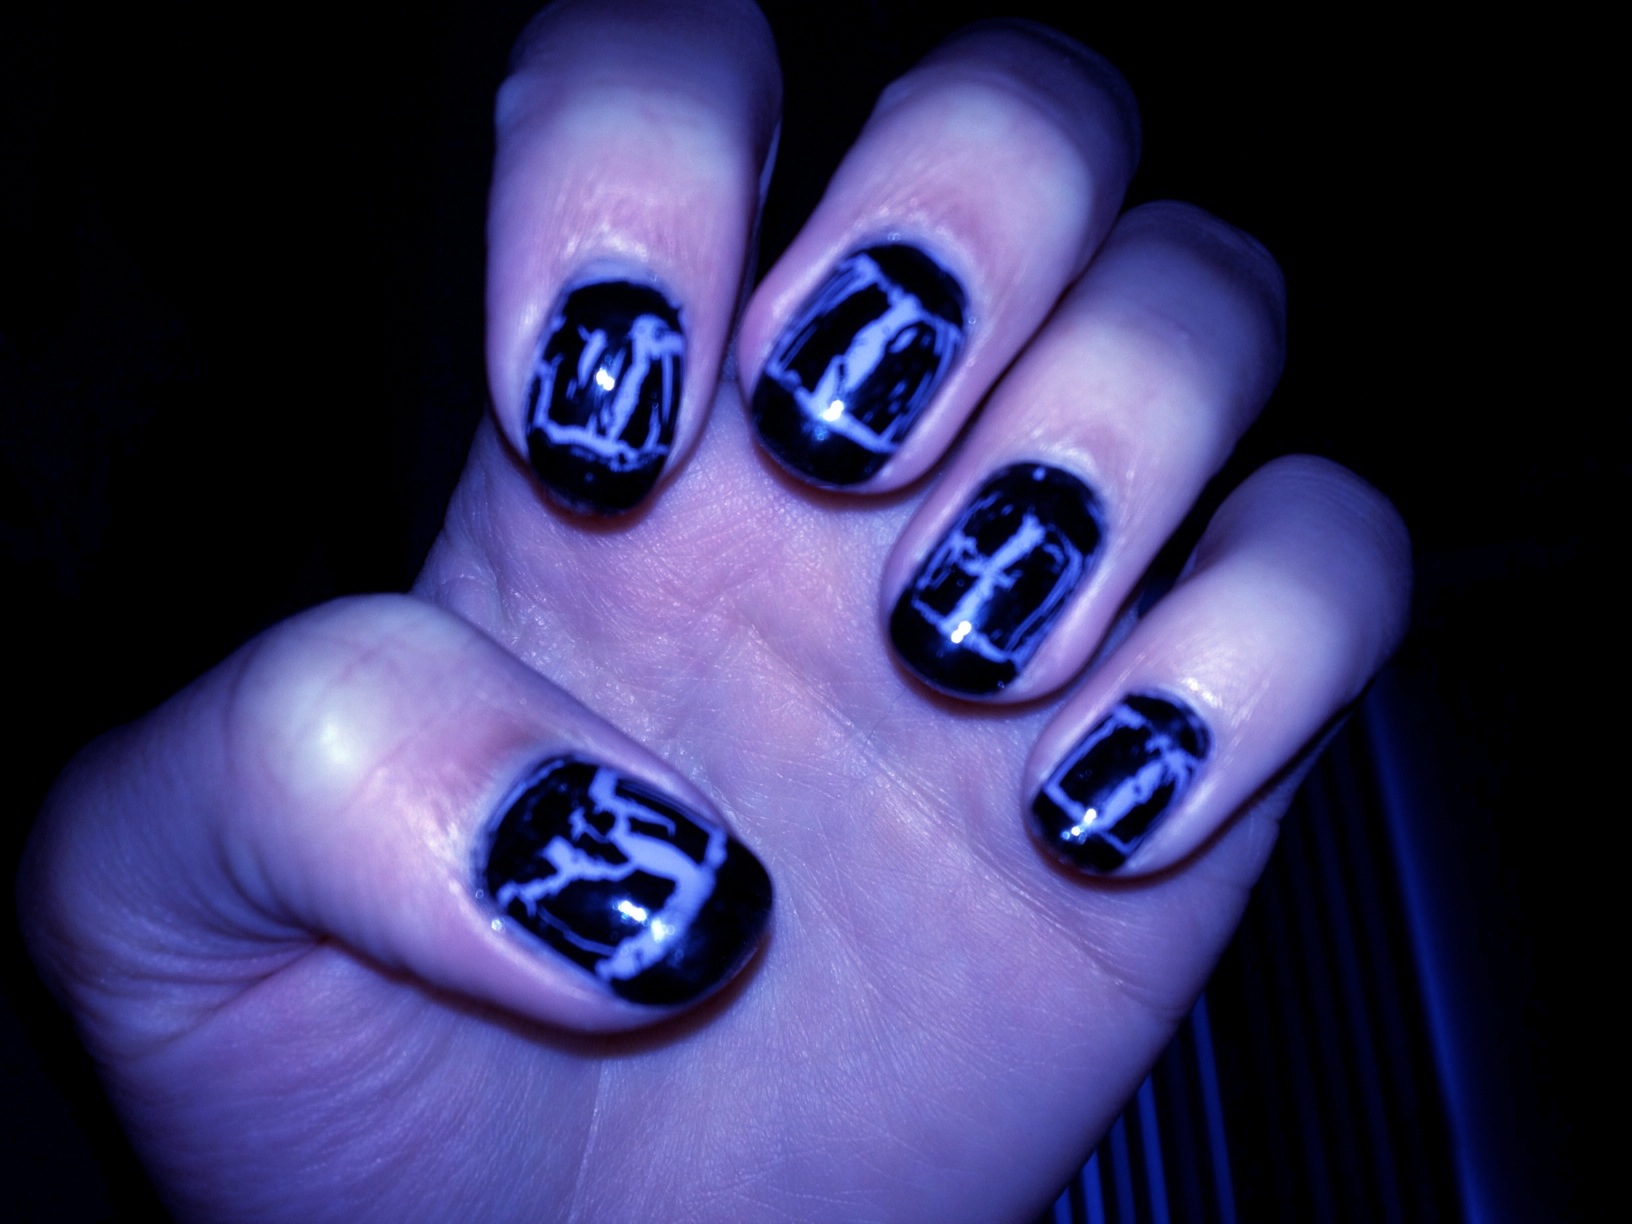
I felt too ill to start again and, so help me GAH, I was not going to let my nails go naked. There was only one product I could turn to; only one polish that could cover oh, so many sins: SHATTER.

My favorite crackle polish is by OPI, who calls it "shatter." If you apply a thin coat, you get tiny little cracks. Apply a thick coat for great, big dramatic fissures.

I thought this mani was dead for sure but, like a phoenix, it rose triumphantly from the ashes of carelessness to emerge as the shiny, eye-catching mani I knew it could be.

shattercracklepop, Francesca

Chevrons

A new tutorial. In the interest of time, because I am oooooooooh so tired, I am just giving it to you straight today.

Please insert witty and esoteric tidbits as you please....and forgive me as my brain is like soup at the moment (filled with psychobabble, perfectionism, and overwhelm).

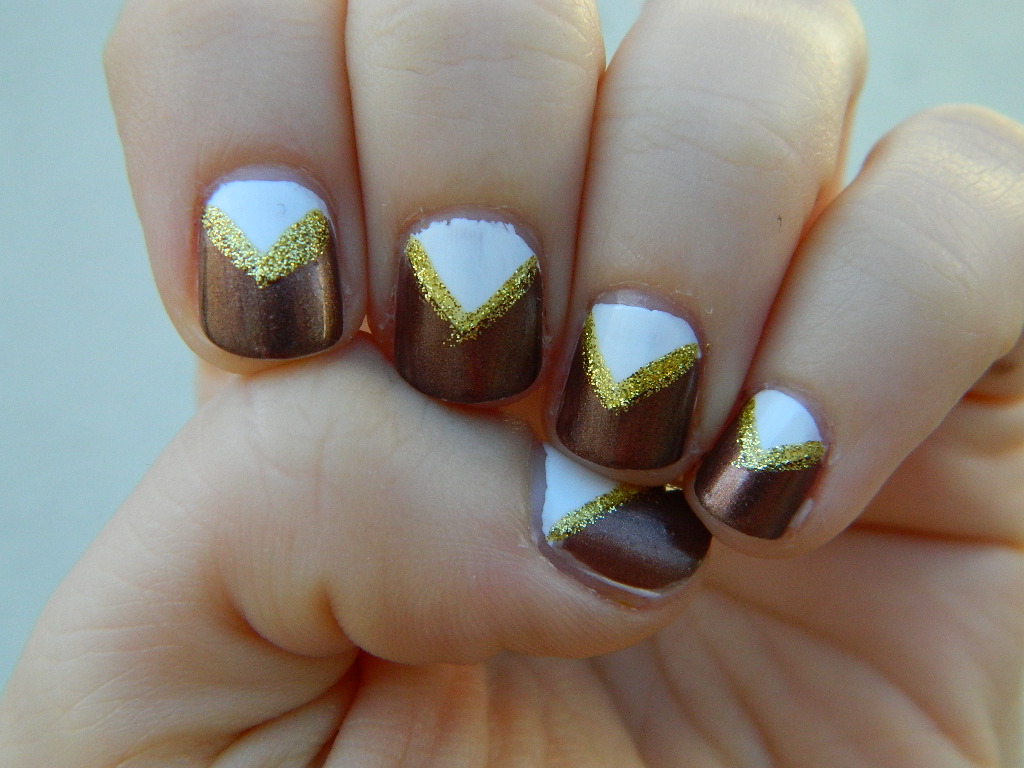
First, cover nails in base coat.  Then paint nails in one, thick coat of Sinful Colors' Snow Me White, making sure you are free of streaks.

Let dry completely.  Then using tape, cut 10 small strips; one for each finger.  Using the corner of each strip, place at top of finger nail, making a triangle of sorts.

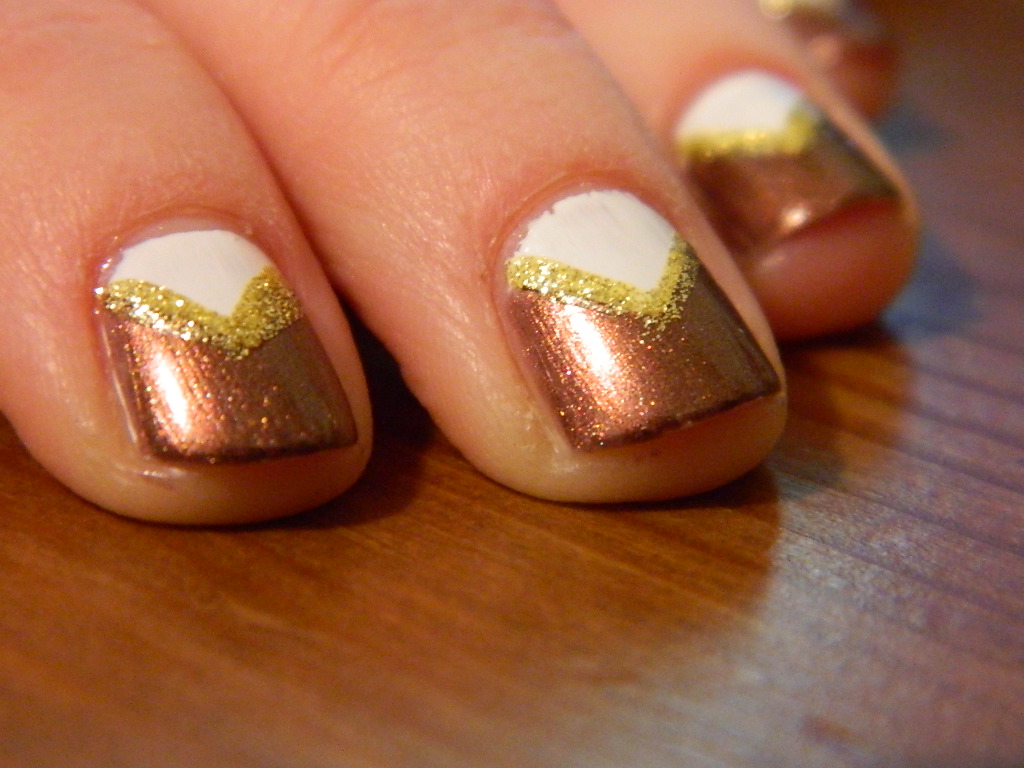
Then, using Savina's Coppersville, paint the remaining portion of your nail.  Let dry completely.

Once completely dry, gently and carefully remove tape from nails.

(This step looks so nice that you could end here.  Play with the colors a bit and have fun!  Continue to next step if you desire more....) 

Then using Milani's Nair Art in Art of Gold, carefully draw corresponding chevrons (Where the white meets the copper.  Or color A meets color B.)

(Practice with the nail art brush on a piece of paper first.  But I will say, this brush was fabulous and very easy to use!  Very impressed!)

Cover nails with top coat and marvel in your handiwork!

So many people have complimented me and these nails, often asking me "who did them?"  To which I graciously reply, "myself!"

But seriously, soooooo easy.  Try it out and let me know what you think!

XOXO, V

In the Light of the Half Moon

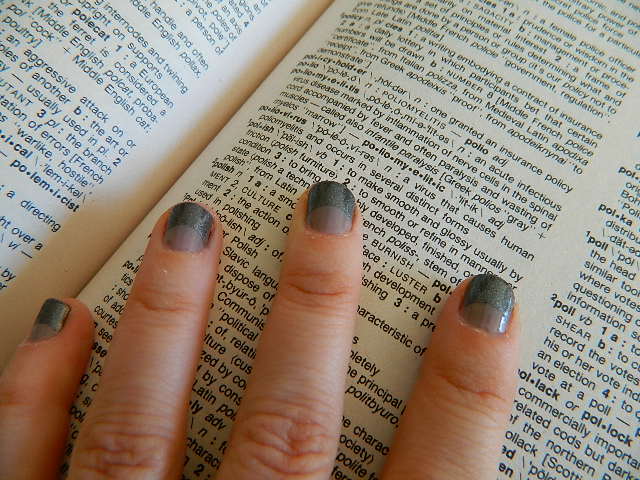
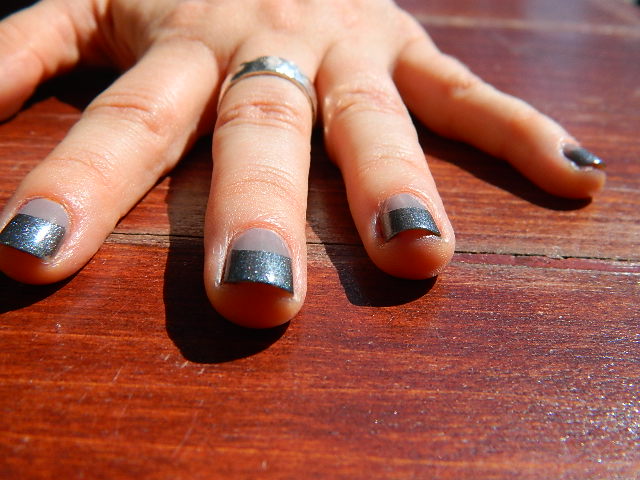
Half Moon nails are all the rage right now!  What's fun about this nail design is that you can mix and match the colors to get all kinds of different looks! This tutorial teaches you how to create a subtle Half Moon manicure using two different shades of gray, one glossy and the other matte.

Step 1:  Coat your nails in a base coat.  As usual,  used Sally Hansen's Double Duty, because it works as a base coat and top coat...and that is just plain efficient!  However, any base coat you prefer will do.

Let dry completely.

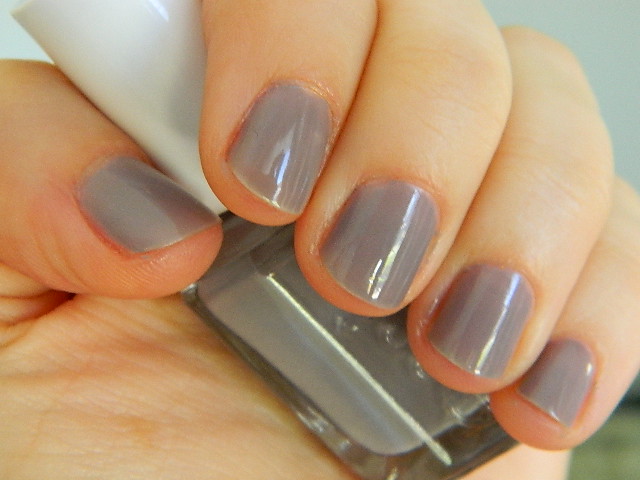
Step 2:  Coat your nails in Essie's Chinchilly.  A single, thick coat will do, as we are going to cover 2/3 of our nail with another polish.

Let dry completely.

(You can tell that this is just a single coat because the tips are not completely covered.  Do not worry to much about this.)

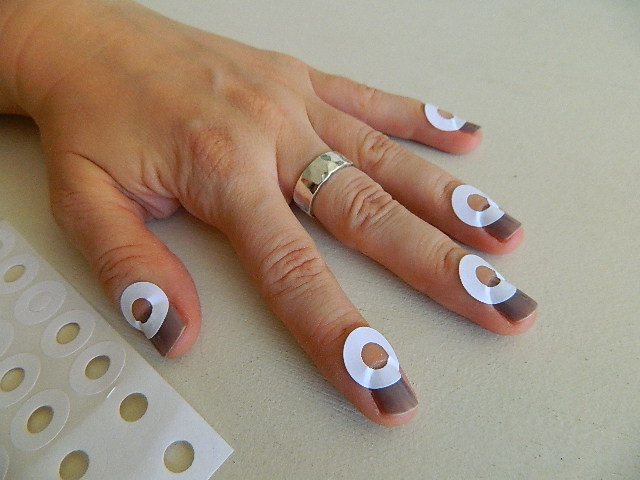
Step 3:  Using Avery Reinforcement Labels (which you can find at any local drug store), place one label onto each finger, making sure the center of the circle is lined up with the center of your cuticles.

Also, I suggest you start with just one hand, as labels on both hands may make the painting process cumbersome.

Remember, this is not an exact science, so just have fun with it.  Play around and see what works best for you.

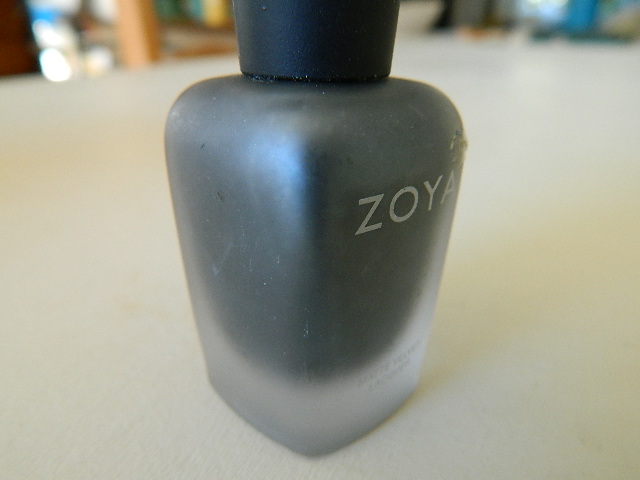
Step 4:  Coat the tips of your nails in Zoya's Loredana Mat, which is a matte polish.  One coat is plenty here, just make sure to cover tips completely and neatly.

Let dry completely.

Step 5:  Once your tips are dry, slowly and carefully pull the reinforcement labels off each of your fingers. 

Step 6: Clean up any stray nail polish or smears from your fingers with a bit of polish remover and a flat head makeup brush.

(I pour a small amount of polish remover in the cap of the bottle and dip the brush in the remover as necessary.  Use paper towels to blot any excess remover from the brush.)

Step 7:  If you have not already done so, repeat step 3-6 on your second hand.

Step 8 (optional):  Using the same base/top coat (Sally Hansen Double Duty), polish your nails off with a thick top coat. 

This step is optional because once you cover your nails in a top coat you will lose the matte effect of Zoya's Lorendana Mat.

I did use a top coat on my nails as this helps my nail polish to last much longer than without a top coat. 

(Look at how Zoya's Loredana Mat sparkles in the sun!  All these hidden colors are such a lovely surprise!)

XOXO, Varnish